Step-By-Step DIY Survival Cement
AllOutdoor Staff 04.07.14

Practical Primitive posted step-by-step instructions on how to make your own survival cement. This is great for making shelters or cookers.
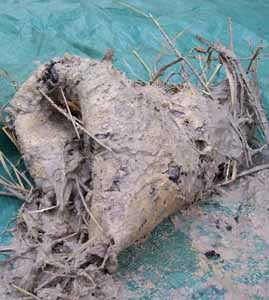
The recipe is simple, but it’s important to know what type of materials you’ll need and what the finished product should look like.
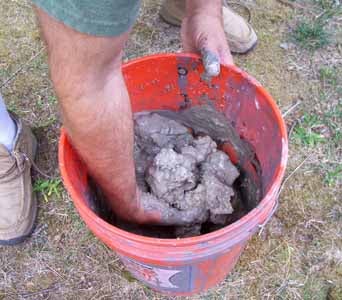
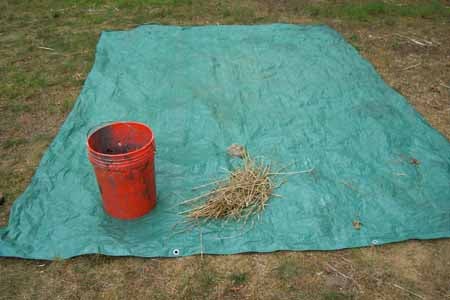
1. Find a source of mud with as high a clay content as possible (If you smush some of the mud into a ball and it retains it’s shape, you should be good.) and fill up a bucket with it.
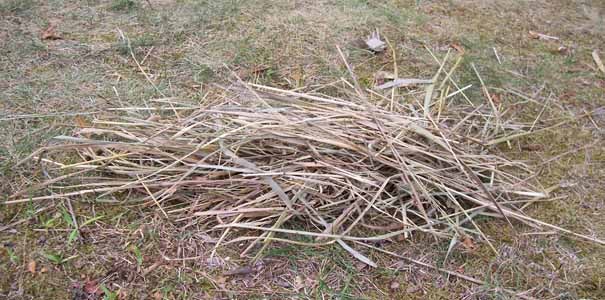
2. Harvest a big armload of dry grasses and cut into lengths of about 6-12 inches.
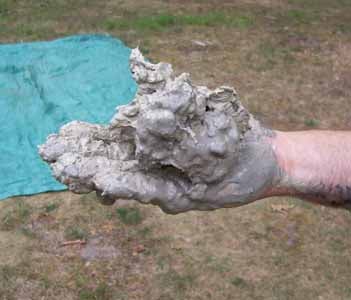
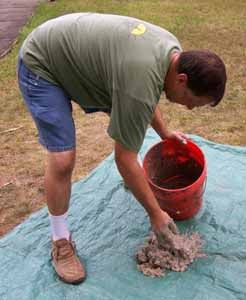
3. Hydrate to your clay to a point where it will squish, not run, easily through your fingers. The consistency must be wet enough that it can be molded, but not so watery that it will not hold it’s shape.
4. Spread a tarp on the ground and place the bucket of mud and the grasses at the edges of the tarp.
5. Dump the mud out of the bucket into the center of the tarp and place about half of your grass on top of the mud.

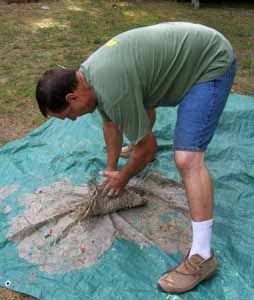
6. Fold a corner of the tarp over the top and stomp on it barefoot.

7. Step off the tarp and fold it in half, turning the mixture back onto itself. Do this a couple of times until it has formed back into a sort of ball. Continue to add the remaining grass until the grass has been thoroughly combined into the mud. You want the grass to be between 40%-60% of your mixture, depending on the project.
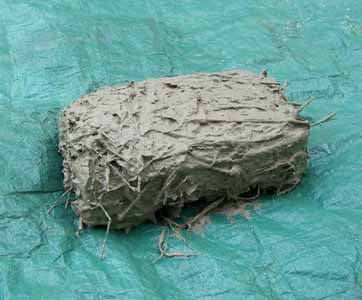
8. Begin your survival cement project immediately, as once it begins to dry out the mud will harden and be difficult to mold.