How to Sharpen a Knife, Part I
Tony Sculimbrene 11.19.13

Sharpening a knife is simple task that is difficult to master. Like chess, it’s easy to explain what needs to be done and how to do it, but getting all of the subtleties down is another matter.
Knife sharpening also happens to be a topic where everyone has an opinion. But let’s get something straight: the point of sharpening is to get a sharp edge on your tool so you can use it. Sharpening an edge beyond what you need is a distinction without a difference. You can talk about slicing free hanging silk all you want, and a sharp knife is a safer knife to use, but to an extent there is a cult built around sharpening. People see it as this Zen exercise, and if you really go down the sharpening road, you’ll find that there are people that do more sharpening than cutting. That strikes me as incredibly silly. So get your stuff as sharp as it needs to be to do a given task and then move on.
Also remember that some tasks, such as cutting rope, do better with a jagged utility edge than a finely ground, high polish edge.
But always remember: the greatest mirror polished, convexed edge in the world will do you no good if you don’t actually use your knife.
Grinds, Bevels, and Steels
Before we get to the How To portion of the article, let’s get some background information out of the way.
All knives have a grind. A grind is the way in which the slab of steel is brought to an edge capable of cutting. Almost all knives have at least two grinds: the main grind used to hog away a lot of material and the much smaller, finer cutting edge used to terminate the blade into a fine point. For purposes of clarity, I am going to call the cutting edge grind the “cutting bevel”.
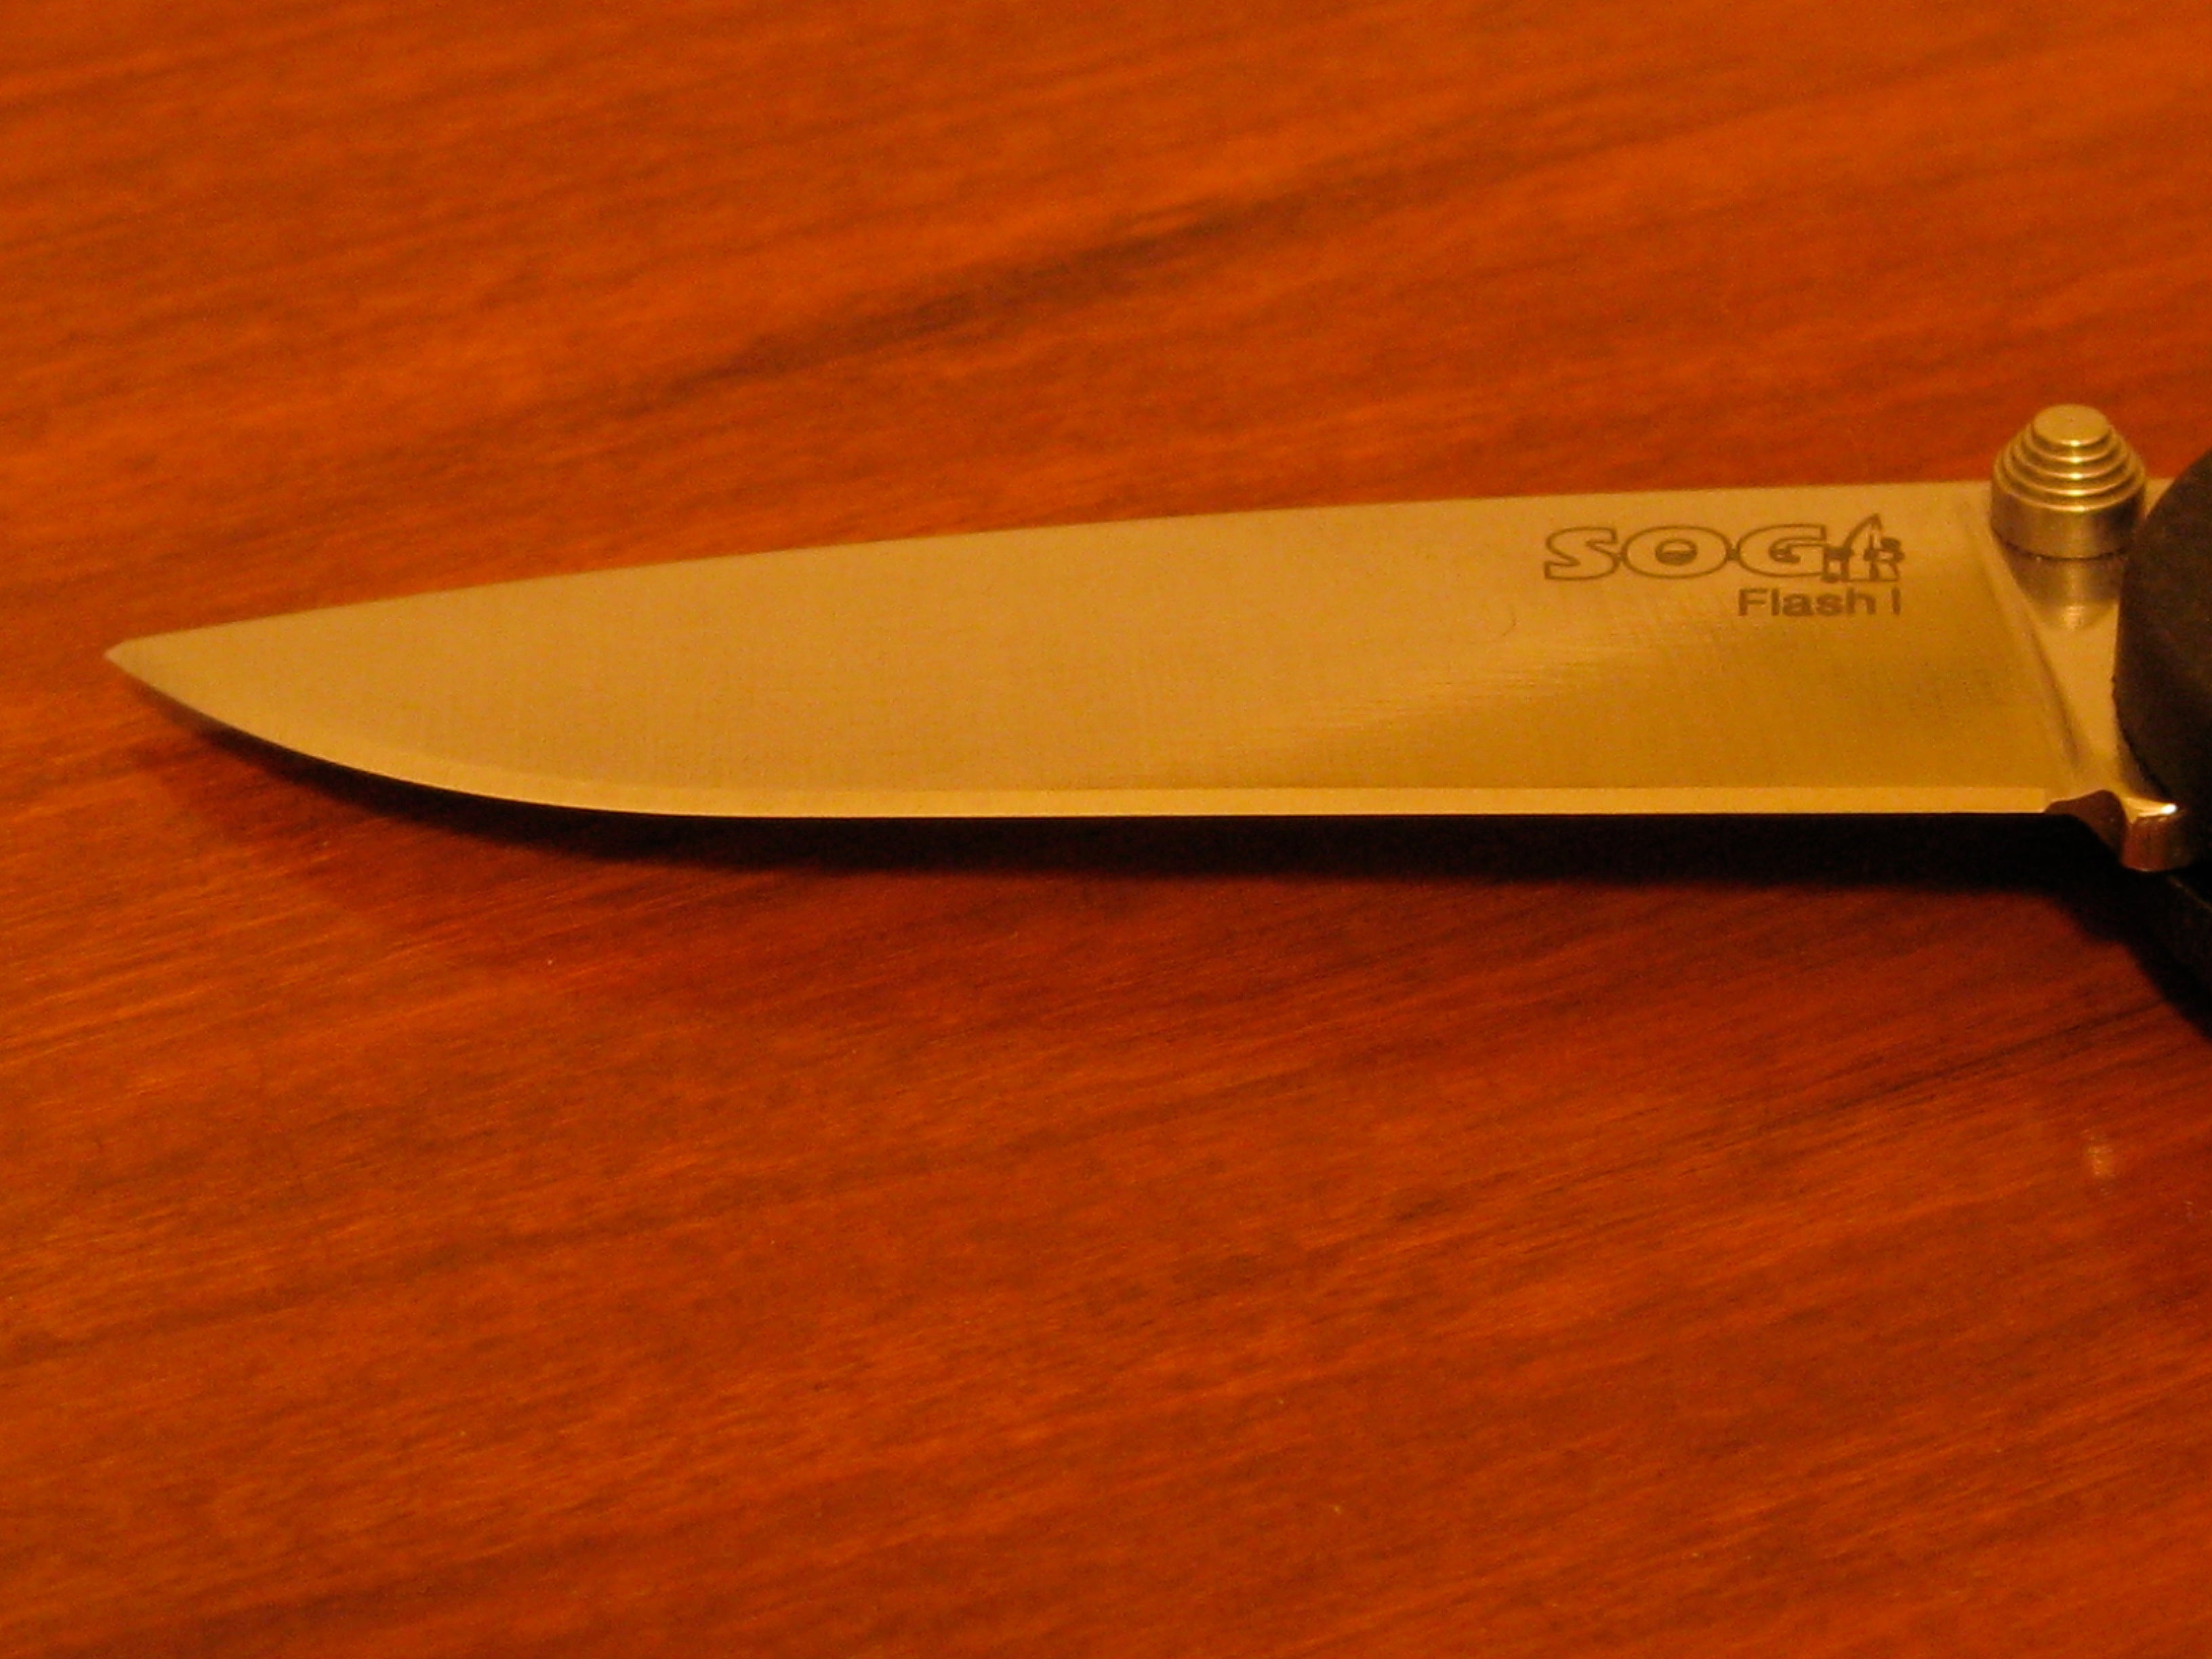
The main grind usually has a shallower angle (something like 20 degrees) than the cutting bevel (usually between 30-40 degrees). This is done to ensure that the cutting edge is not weak or too thin. I said “usually” because some traditional fixed blade knives from Scandinavia have a so-called “zero grind” or “scandi grind,” where the main grind tapers down all the way to the cutting edge. They are more fragile than a regular grind, but they slice very well. I find this grind harder to maintain, though some folks swear it’s easier.
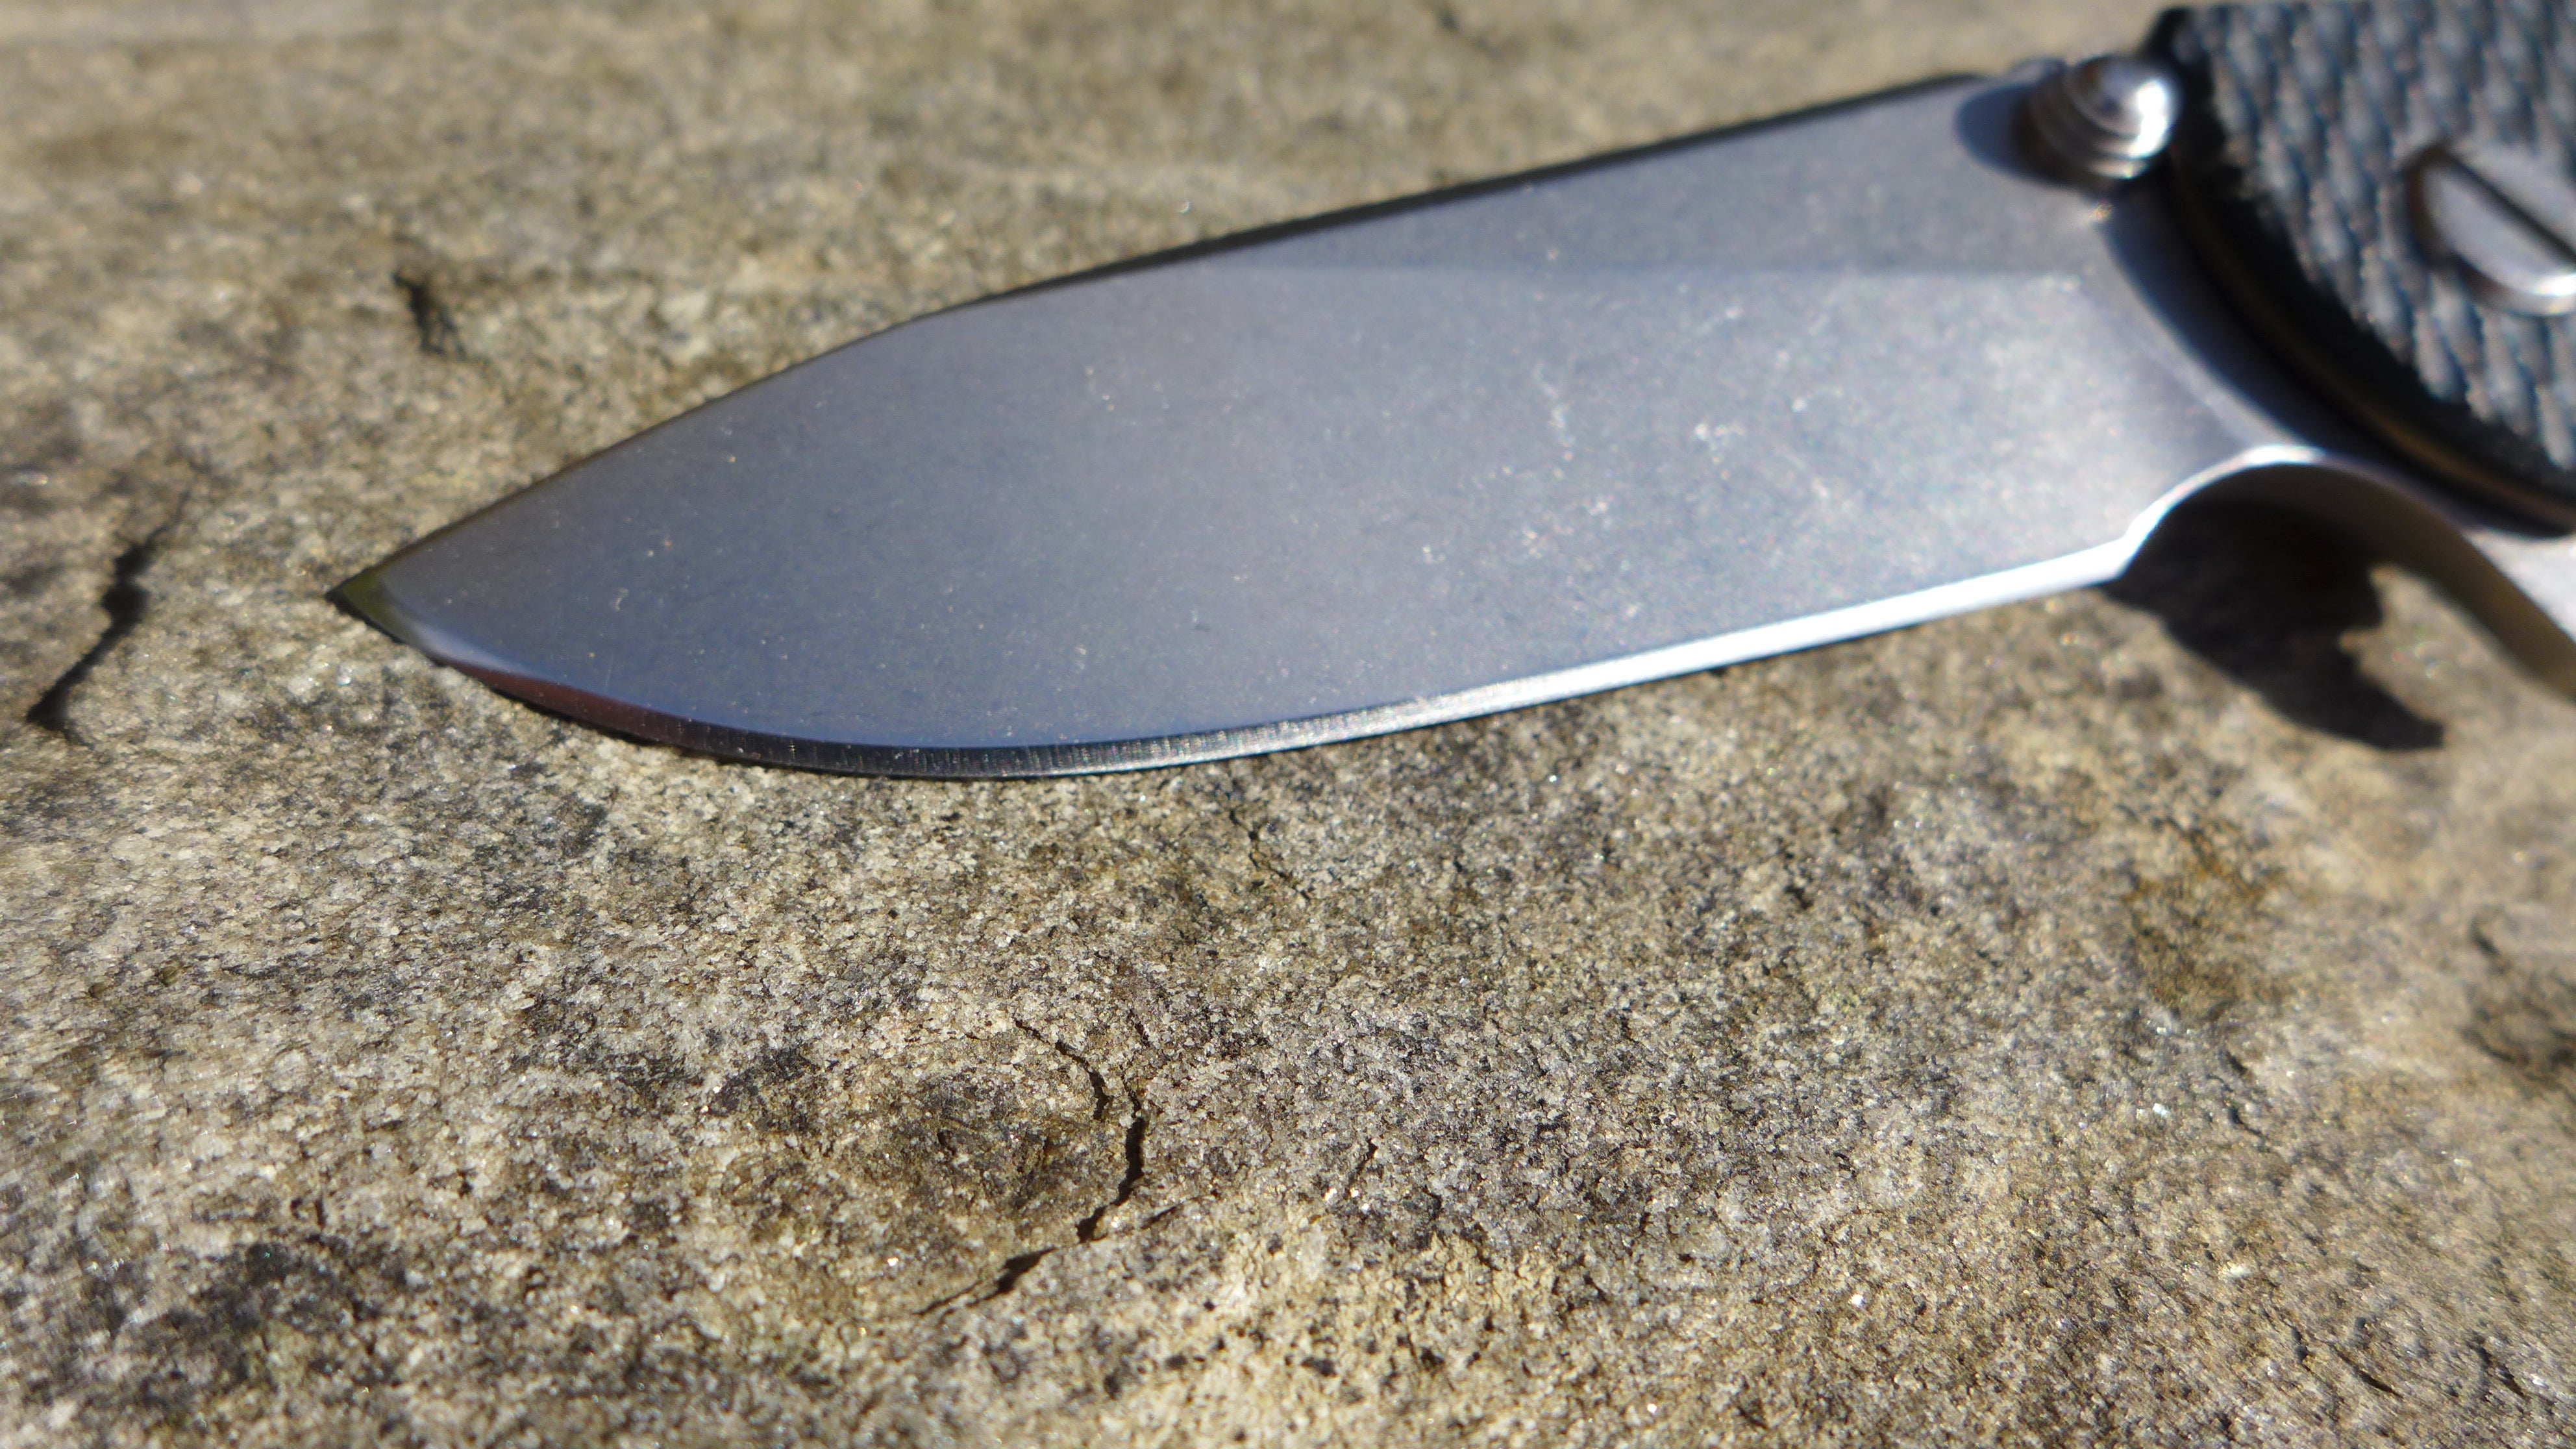
Aside from the zero grind, there are three other types of grinds: a hollow grind, a convex grind, and a flat grind. Taking them in reverse order, the flat grind is the simplest to understand. If you looked at the blade in profile, you could draw a straight line from the start of the grind to the beginning of the cutting edge. In a convex grind, the grind on the main portion of the blade would rise above the straight line drawn from the start of the main grind to the beginning of the cutting bevel. In a hollow grind, the grind on the main portion of the blade would dip below the straight line from the start of the grind to the beginning of the cutting bevel.
All three grinds have advantages and disadvantages. A flat grind, because of its consistent approach to material, is less likely to clog or jam on the cutting medium. In a hollow grind you can get to a finer cutting bevel much easier than you can on the other two grinds. Finally, a convex grind is generally more sturdy than the other two grinds. There are a host of other costs and benefits, but that’s are a quick summary.
One of the big reasons to upgrade to a high end steel is because a harder steel will allow you to put a thinner angle on a knife and still maintain strength. As an example, suppose that you have an AUS-8 blade with a 40 degree angle on the cutting bevel. That same same knife in a harder steel, say M390 or Duratech 20CV, could be sharpened at a 30 degree angle on the cutting bevel.
Because of the increased hardness, the M390 cutting bevel at 30 degrees would have the same strength as the AUS-8 at 40, but it would slice much better. These numbers aren’t exact, just estimates. So while some folks complain about all of the fancy steels being expensive and unnecessary, this, along with edge retention, is the major benefit to upgrading.
Stropping
It may sound funny, but the key to keeping a knife sharp is in not sharpening it. Yes, I know that sounds like advice from Yoda, but it is true. Instead of sharpening, you should be stropping.
Stropping is blade maintenance. By stropping your knives, you avoid the need to grind away a lot of steel to restore a keen edge. If you do not strop your knives regularly, then 1) you are missing out on a truly keen edge; 2) you are wasting time sharpening; and 3) you are likely cutting with a much more unstable cutting edge.
Stropping works because of how a knife cuts on a microscopic level. If you could zoom way in on a knife edge, you’d see that the actual cutting is done by a very thin and jagged piece of steel, which I’ll call a “micro-edge” for purposes of clarity.
As you cut, that ultra thin piece of steel comes out of alignment and eventually folds over or breaks off. This is why a knife goes dull. Stropping does nothing to the main part of the knife. Instead it works just the thin piece of steel, the micro-edge. But by consistently and evenly addressing this piece of steel with a material equivalent to a very high grit, the edge is straightened and in some cases unbent. By the way, when someone says you have a “wire edge,” they are referring to the micro-edge, and a “rolled edge” is when that highly unstable micro-edge folds over or bends very easily. Proper stropping and sharpening will result in a more stable edge that is less likely to fold over.
Here is the awesome thing about stropping: you don’t need fancy tools to strop a knife (hell, you don’t need fancy tools to sharpen a knife either, though they help). For a long time I used an old leather belt without any stropping compound at all. Then I got a bit of compound and it worked better, but the honest truth is the best and most effective strop, given my techniques and abilities, is a piece of cardboard. If you take the piece of cardboard and set it on its edge (so you can see down into the corrugations) and run the knife along that edge, moving the knife from spine to cutting bevel you will get good results.
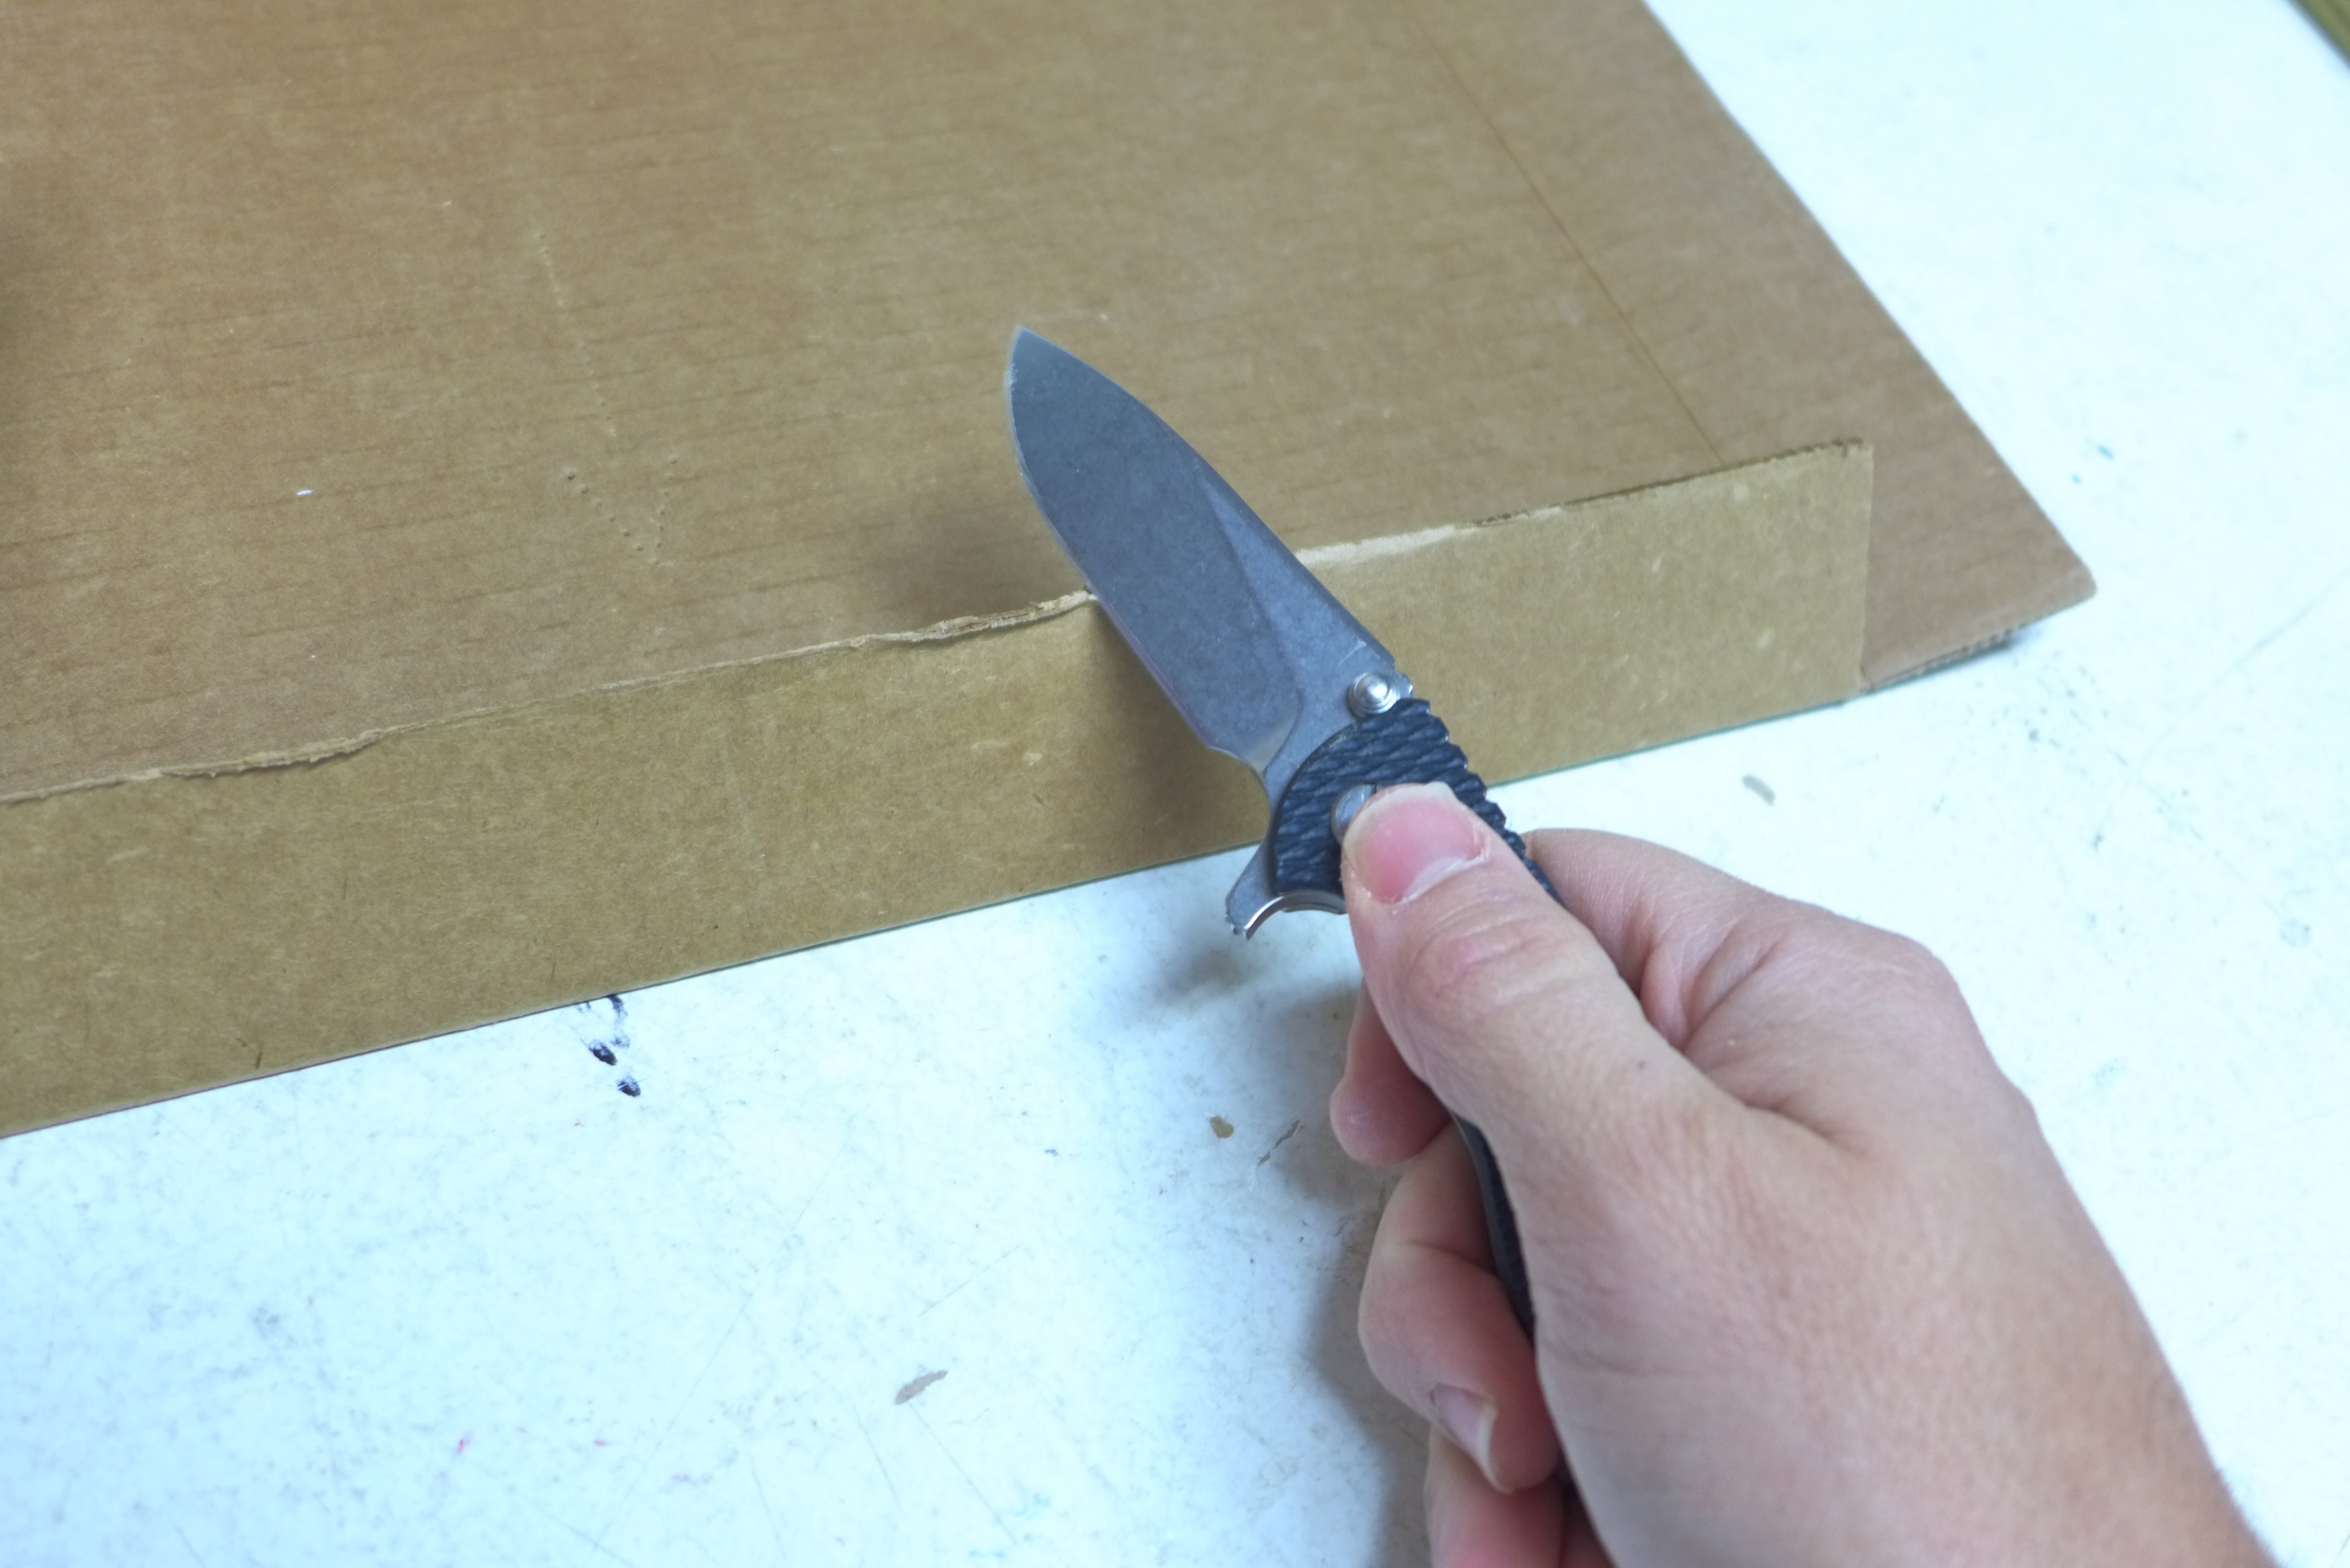
Do this an even number of times on both sides with a consistent angle of approach. and you will get a very keen and very stable micro-edge. I then like to burnish it a bit on the flat side of the cardboard using the same strokes a few times to hit the entire micro-edge at once to ensure it is straight. If done right, stropping will eliminate a “burr”. By that, I mean the sense that after use or sharpening one side “bites” more than the other. That burr is caused by the micro-edge leaning to one side. This will lead to a rolled edge more quickly, and though it might feel sharper than a properly stropped edge, it is not.
A properly stropped knife, even with the new high end steels, will cut better and last longer than one that isn’t stropped. Furthermore, it will reduce the need for sharpening. Done well and done consistently, stropping will save you a lot of time grinding away steel. When stropping doesn’t improve a knife’s cutting performance, then that means the micro-edge is gone completely or beyond repair. At that point, its time to actually sharpen the knife.
More on that in Part II
