Building a Custom Rifle in 43 Photos

   09.29.17

Building a Custom Rifle in 43 Photos

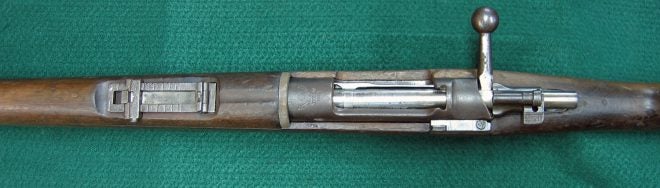
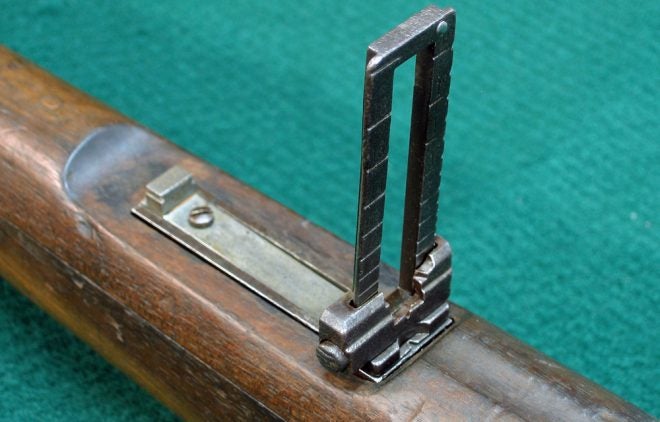
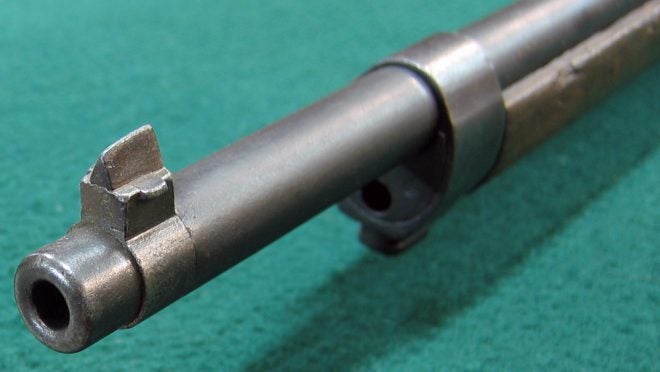
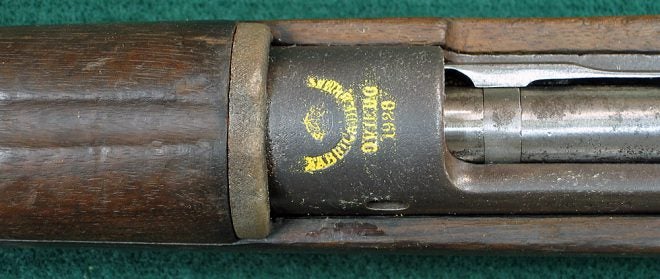
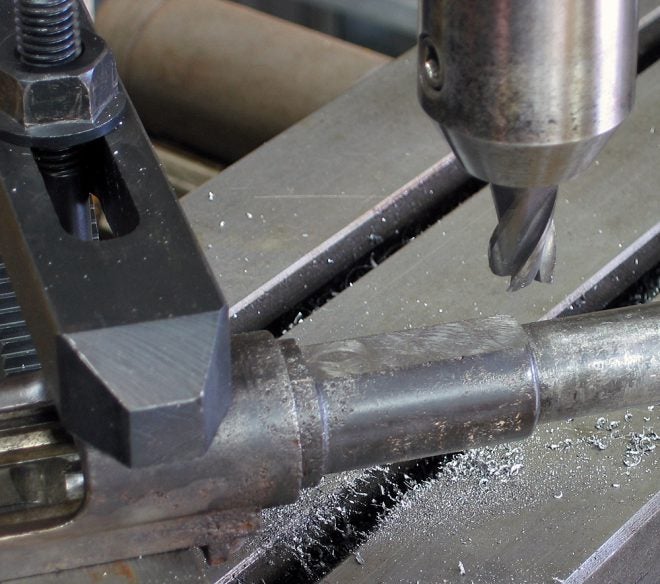
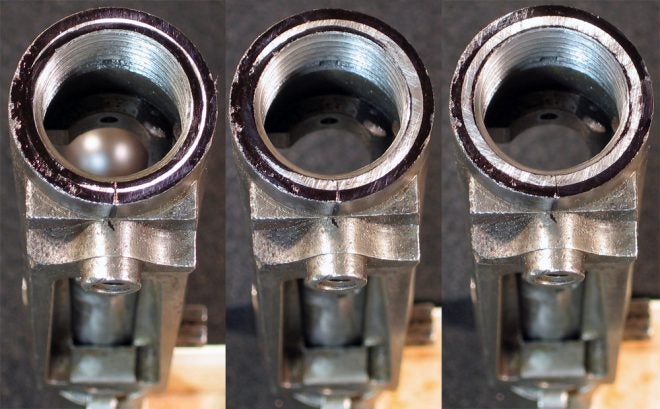
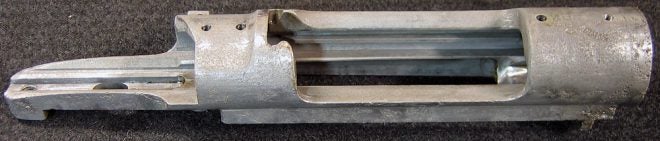
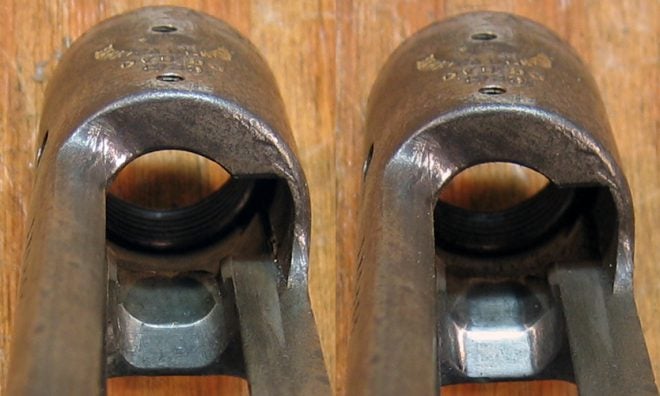
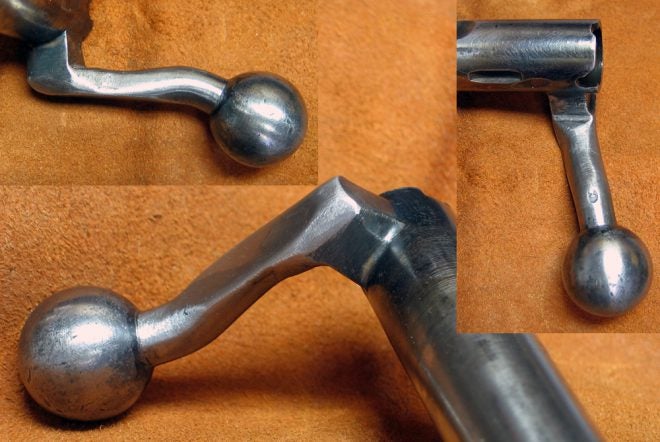
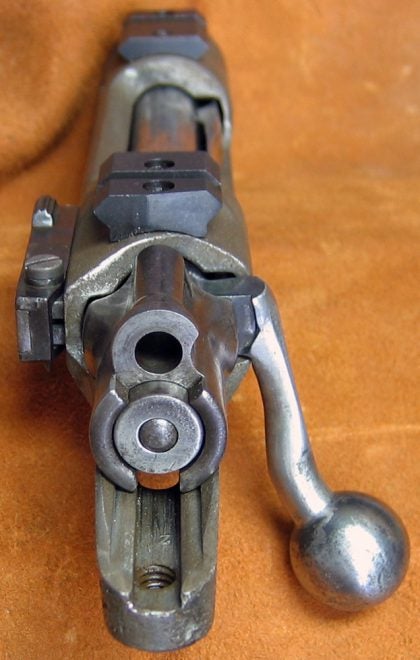
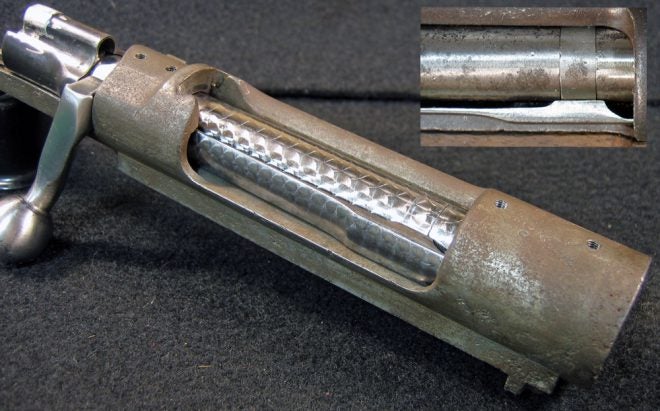
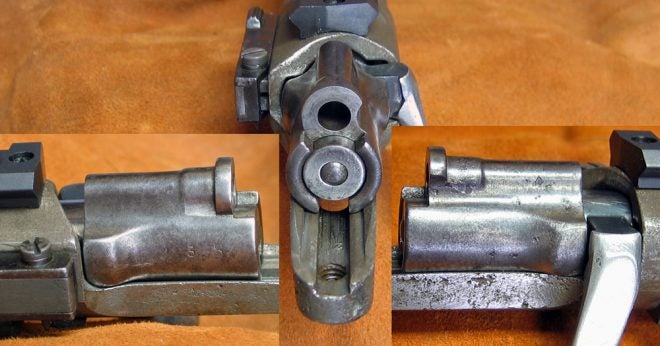
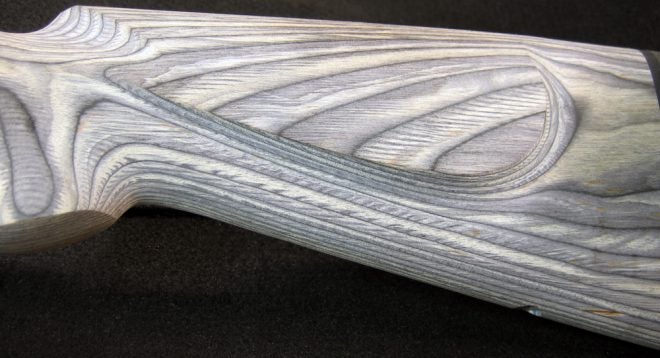
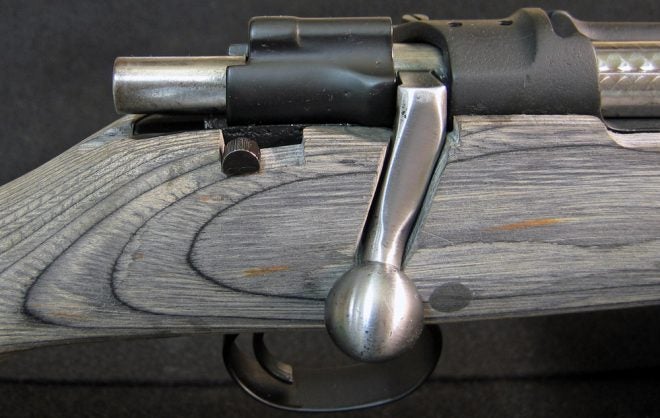
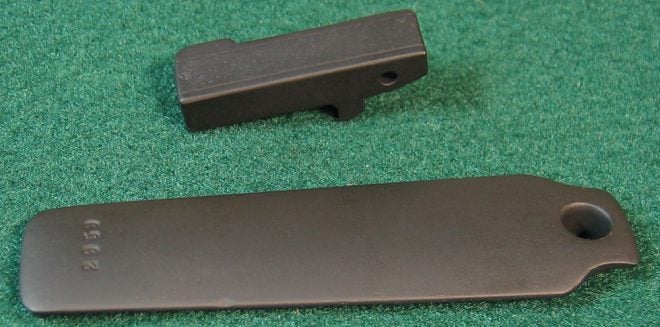
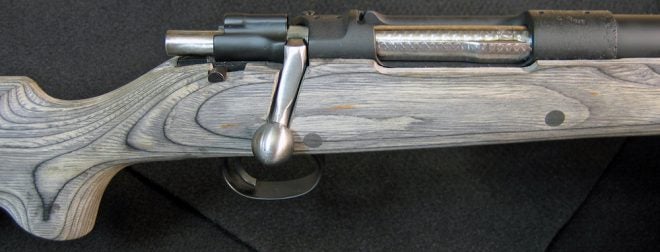
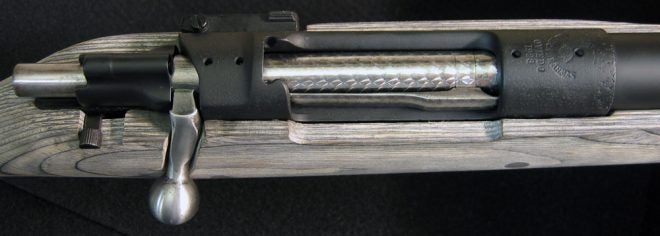
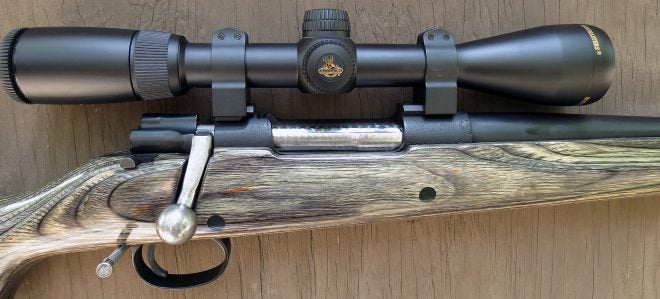
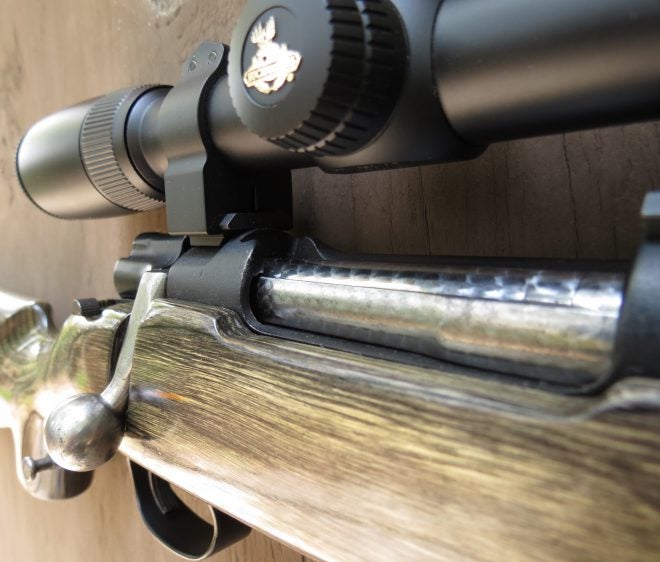
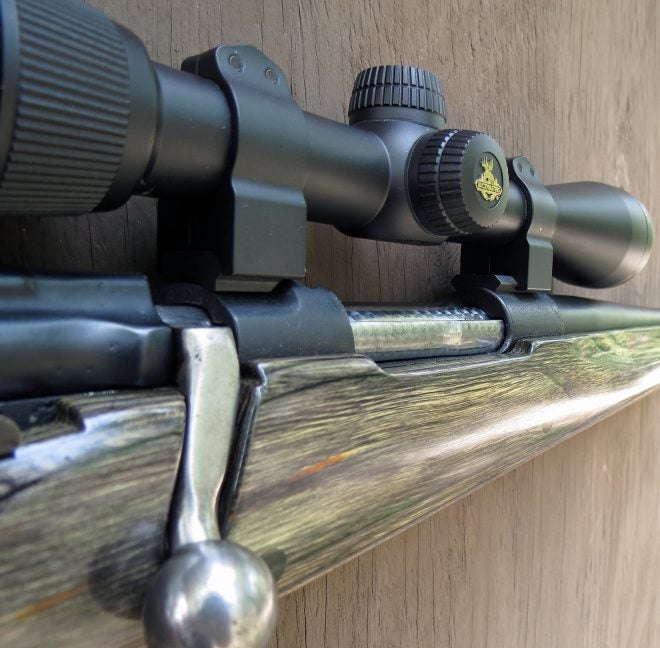
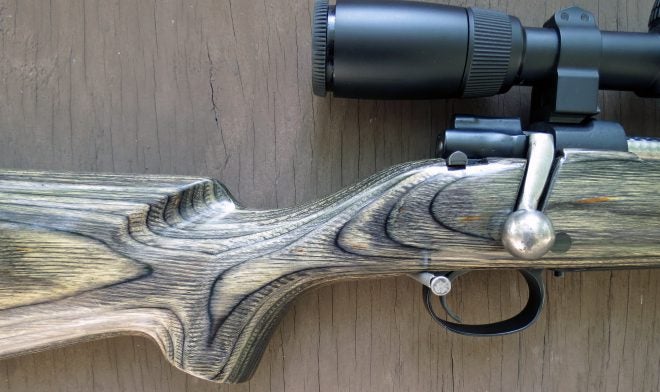
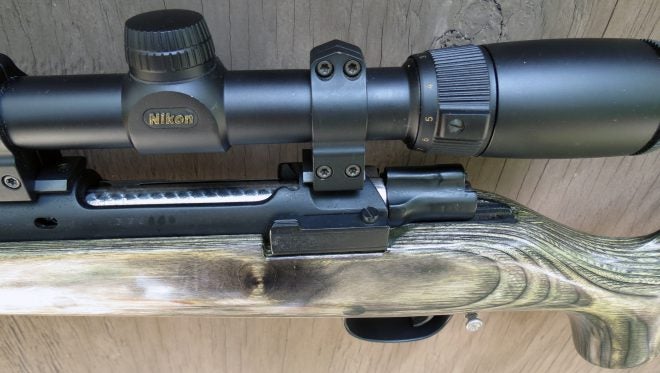
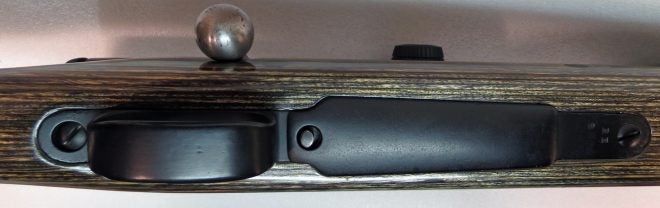
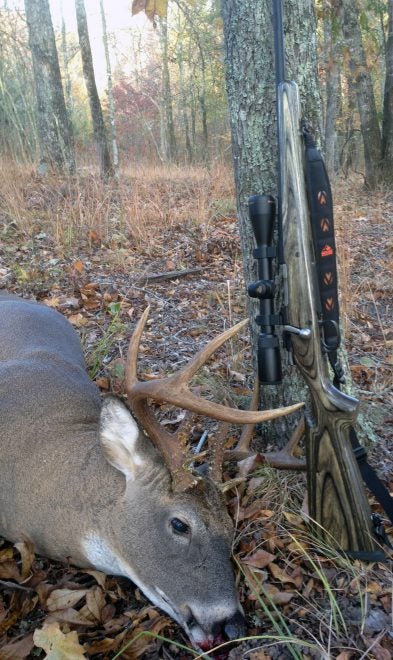
There are few things more satisfying than breathing life into an old machine, especially when that machine is a firearm. Here’s a photo tour of a Spanish ’93 Mauser rifle which I received in terrible shape and then proceeded to rebuild.

Top view of the old dog. (Photo © Russ Chastain)
Rear sight. The base has been derusted with Evapo-Rust (Photo © Russ Chastain)
Like everything else, the front sight had been abused. (Photo © Russ Chastain)
Made in Oviedo, Spain, in 1928. (Photo © Russ Chastain)
The barrel was shot out and ruined; I had to mill flats on it so I could unscrew it from the receiver (because it was so tight). (Photo © Russ Chastain)
Facing the front of the receiver to ensure proper mating with the new Adams & Bennett Series 2, F14 contour, 21" chrome moly barrel with 1 in 9.5" twist. (Photo © Russ Chastain)
Facing the front of the receiver to ensure proper mating with the new Adams & Bennett Series 2, F14 contour, 21″ chrome moly barrel with 1 in 9.5″ twist. (Photo © Russ Chastain)
Evapo-Rust cleaned up the receiver, and I drilled & tapped the top for scope mounts. (Photo © Russ Chastain)
Polished the feed ramp. (Photo © Russ Chastain)
I used a new Timney trigger, and had to re-use that original trigger pin. (Photo © Russ Chastain)
I had to elongate the hole in the receiver tang, so the sear had room to move. (Photo © Russ Chastain)
The trigger guard fit fairly well, but I did have to elongate the trigger slot towards the rear. (Photo © Russ Chastain)
I cut an angle on the magazine follower so I can more easily close the bolt when the magazine is empty. (Photo © Russ Chastain)
New Oberndorf extended mag release installed (arrow). Inset shows original (left) and new. (Photo © Russ Chastain)
The original straight bolt handle would have interfered with scope mounting... plus it requires more hand movement to cycle the bolt. (Photo © Russ Chastain)
The original straight bolt handle would have interfered with scope mounting… plus it requires more hand movement to cycle the bolt. (Photo © Russ Chastain)
I cut off the bolt handle and welded it on at an angle. I gave it some rearward lean as well as making it lower. (Photo © Russ Chastain)
I ended up bending the handle in and bending the grasping ball outward a few times before I was satisfied. After a lot of filing & other fine-tuning, here's the result. (Photo © Russ Chastain)
I ended up bending the handle in and bending the grasping ball outward a few times before I was satisfied. After a lot of filing & other fine-tuning, here’s the result. (Photo © Russ Chastain)
I know it's kinda crude, but I'm still proud of it. (Photo © Russ Chastain)
I know it’s kinda crude, but I’m still proud of it. (Photo © Russ Chastain)
After inletting the stock for the bolt handle, the ball is the only thing that protrudes when the bolt is closed -- and when opened, the handle clears the scope. (Photo © Russ Chastain)
After inletting the stock for the bolt handle, the ball is the only thing that protrudes when the bolt is closed — and when opened, the handle clears the scope. (Photo © Russ Chastain)
The bolt was ugly and rust-pitted, so I jeweled it to conceal some of its flaws. (Photo © Russ Chastain)
My Timney trigger has its own safety, so I decided to get rid of the bolt safety. I could have bought a new bolt shroud, but what fun is that? (Photo © Russ Chastain)
I used a welder to fill up the hole for the old safety. (Photo © Russ Chastain)
After working the weld down and removing the old flange. (Photo © Russ Chastain)
Some "before" pics of the trigger guard. (Photo © Russ Chastain)
Some “before” pics of the trigger guard. (Photo © Russ Chastain)
After some file work, the trigger guard has some contours and looks a lot nicer. (Photo © Russ Chastain)
Stock time! I used a Boyds laminated stock, and needed to remove wood between those arrows. (Photo © Russ Chastain)
Initial fit of receiver and trigger guard. Some bedding compound was definitely needed, to fill those gaps. (Photo © Russ Chastain)
I had to remove some wood to make room for the trigger-mounted thumb safety. (Photo © Russ Chastain)
Bedding for the recoil lug. (Photo © Russ Chastain)
After bedding the receiver in the stock. Inletting the stock for the bolt handle was all me; it was a blank slate. (Photo © Russ Chastain)
After. I love how the bolt ball is the only thing that sticks out. I later filled that gap (top) with bedding compound. (Photo © Russ Chastain)
I decided I didn't like this cheekpiece, so I removed it. (Photo © Russ Chastain)
I decided I didn’t like this cheekpiece, so I removed it. (Photo © Russ Chastain)
I had to cut a fairly deep notch into the stock so the safety has a place to live. (Photo © Russ Chastain)
I used Cerama-Coat spray-and-bake finish on this gun. It's fair, but not very rugged. (Photo © Russ Chastain)
I used Cerama-Coat spray-and-bake finish on this gun. It’s fair, but not very rugged. (Photo © Russ Chastain)
Starting to actually look like a gun again. (Photo © Russ Chastain)
She's a beauty. Next, I sanded the stock and finished it with Tru-Oil. (Photo © Russ Chastain)
She’s a beauty. Next, I sanded the stock and finished it with Tru-Oil. (Photo © Russ Chastain)
The Cerama-Coat didn't fill scratches or rust pits. (Photo © Russ Chastain)
The Cerama-Coat didn’t fill scratches or rust pits. (Photo © Russ Chastain)
The jeweled bolt is a nice touch and the bolt handle is just about perfect. Note the finish already wearing off the rear of the receiver cutout. (Photo © Russ Chastain)
Warne Maxima steel scope bases and rings are plenty stout. (Photo © Russ Chastain)
The Boyds stock is nicely designed. The Tru-Oil turned it green! Nice effect, but unexpected. (Photo © Russ Chastain)
Plenty of old rust pits are visible, bearing witness to this rifle's legacy. You can see where bedding compound has filled the area just behind the bolt release, which was a big gap. (Photo © Russ Chastain)
Plenty of old rust pits are visible, bearing witness to this rifle’s legacy. You can see where bedding compound has filled the area just behind the bolt release, which was a big gap. (Photo © Russ Chastain)
Black bedding compound was used to fill gaps around the trigger guard/floor plate assembly. It blends in nicely. (Photo © Russ Chastain)
A few hours into this rifle's first deer hunt, one shot dropped this fine buck in its tracks. (Photo © Russ Chastain)
A few hours into this rifle’s first deer hunt, one shot dropped this fine buck in its tracks. (Photo © Russ Chastain)
Avatar Author ID 61 - 1035994789

Editor & Contributing Writer Russ Chastain is a lifelong hunter and shooter who has spent his life learning about hunting, shooting, guns, ammunition, gunsmithing, reloading, and bullet casting. He started toting his own gun in the woods at age nine and he's pursued deer with rifles since 1982, so his hunting knowledge has been growing for more than three and a half decades. His desire and ability to share this knowledge with others has also grown, and Russ has been professionally writing and editing original hunting & shooting content since 1998. Russ Chastain has a passion for sharing accurate, honest, interesting hunting & shooting knowledge and stories with people of all skill levels.

Read More