Modifying a Tripod Deer Stand
Kevin Felts 10.02.18

As hunting season approaches, big box outlet stores will be getting their seasonal deer hunting supplies in stock. Depending on location and opening of deer hunting season, stores may be setting up feeders and stands where customers can see them.
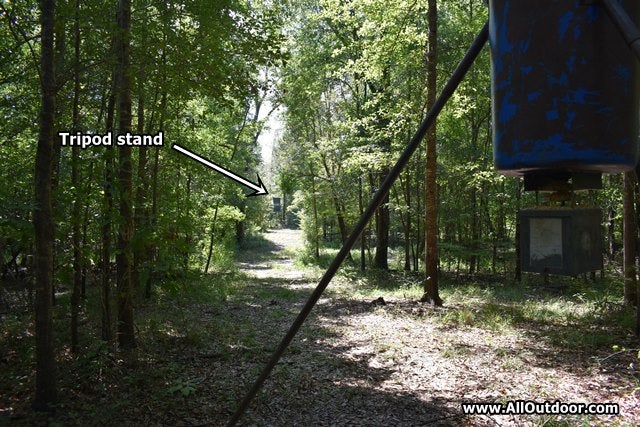
One such item is the tripod deer stand. This is a metal frame supported by three legs, thus the name “tripod.” Some tripods have two seats, while the most common only have one seat.
Why would some consider purchasing a tripod stand? They are fairly easy to setup and move. Within a few minutes, two people can take the stand down, load it in a truck, and relocate it to another location. For all intents and purposes, this is one of the easiest deer stands to setup.
However, as easy as the tripod stand is to setup it provides no protection from the elements, and the hunter is sitting in the wide open. A lot of hunters will attempt to set the stand next to a clump of bushes or trees to conceal their movements.
So, what can be done to the stand to provide protection from the elements and hide the hunter?
One easy solution is to attach pressure treated plywood to the metal frame with self-tapping screws. After the plywood is attached, paint it your favorite camouflage pattern.
Another option is to attach pressure treated 1x4s to the base of the frame, and just under the guardrail, then staple a camouflage tarp to the 1x4s.
To provide rain protection, use cable ties and attach 1x1s to the uprights, then build a frame at the top of the 1x1s. On top of the frame screw a piece of plywood, tarp, or metal tin. On top of the plywood put some strips of roofing tar paper.
Wrap the guardrail with pipe insulation and secure with cable ties.
What we are left with is a lightweight and portable deer stand that provides some protection from the elements.
The following tools were used to modify a tripod deer stand here on the farm:
- Drill.
- Skilsaw.
- Tape measure.
- 1 1/4 inch long self tapping screws.
- Two camouflage tarps around 20 feet long.
- Pipe insulation.
- Cable ties.
- 4′ X 4′ piece of pressure treated plywood.
- Three pressure treated 1X4s 12 feet long.
- Four pressure treated 1X1s around six feet long, for the uprights for the roof.
In all, it took around 1/2 a day to get boards screwed on, the roof mounted, and the tarps wrapped around the stand.
The bad news is if the reader uses tarps, the tarps will have to be replaced every few years. UV rays break the material down and the tarps will come apart. A more permanent solution would be to use metal for the sides, or pressure treated plywood.
When the tripod is stood up, be sure to drive long nails through the base of the legs. Some people tie a cinder block to the bottom of the stand. The cinder block and nails are to help prevent the stand from blowing over during rain storms.
Good luck and happy hunting.
