Review: Savage Renegauge Semi-Auto 12 Gauge Shotgun
Russ Chastain 09.29.20

As my readers could tell, I was excited to receive a Savage Renegauge shotgun for review back in July. I even took a bunch of photos and wrote up a preview post here on AllOutdoor. Now that I’ve had the chance to live with it for a while, it’s time to review it for y’all.
(Photo © Russ Chastain)
The Renegauge’s case is pretty nice and offers many precut spots to store choke tubes and such, but it’s not what I’d consider airline grade. For most purposes, it will do just fine. The dimensions of the closed case are 46-1/2 x 12-3/4 x 4-1/2 inches.
(Photo © Russ Chastain)
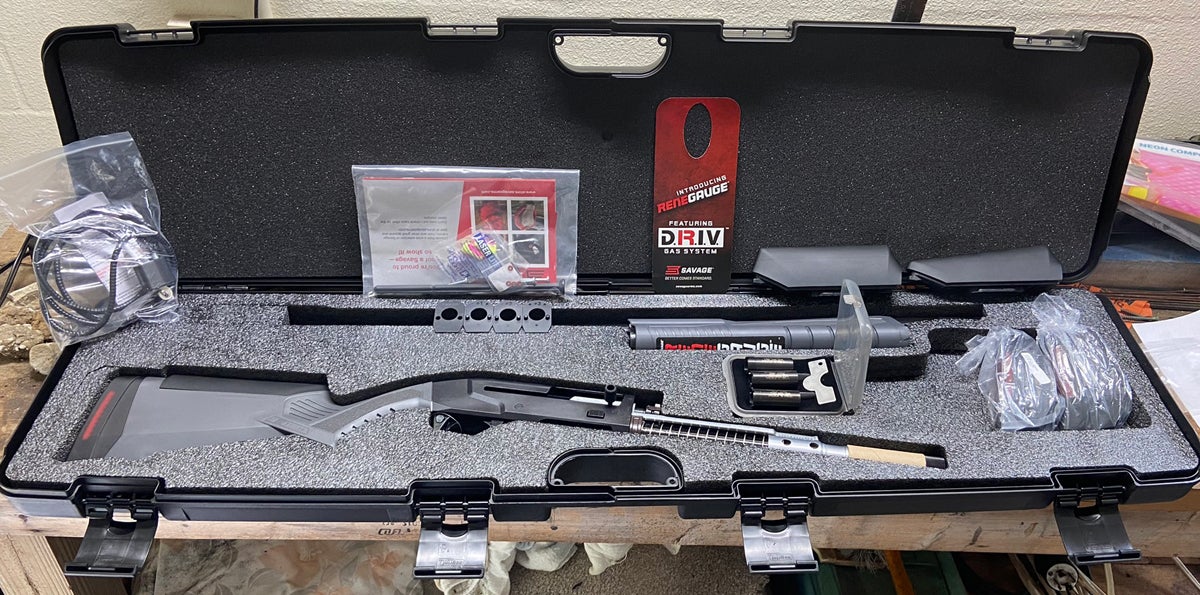
What Comes With it
Included with the 12 gauge semi-auto are the 28″ (actually 27-7/8″) barrel with 3″ chamber, a plastic case containing three choke tubes (improved cylinder, modified, and full) and a choke tube wrench, three butt pads of assorted lengths, three cheekpieces of assorted heights, a cable lock with a really long cable, screws for the butt pads, shims for the butt stock, “washers” for the butt stock shims, a plastic magazine plug so long it restricts magazine capacity to only one shell, and a very slim owner’s manual.
Adjusting the Renegauge Stock
After I wrote up the preview post, I set about adjusting the butt stock to fit me. I was amazed to find zero information about this in the owner’s manual, which is pretty pathetic — it doesn’t even contain instructions for tearing down the shotgun for cleaning. But I forged ahead anyhow.
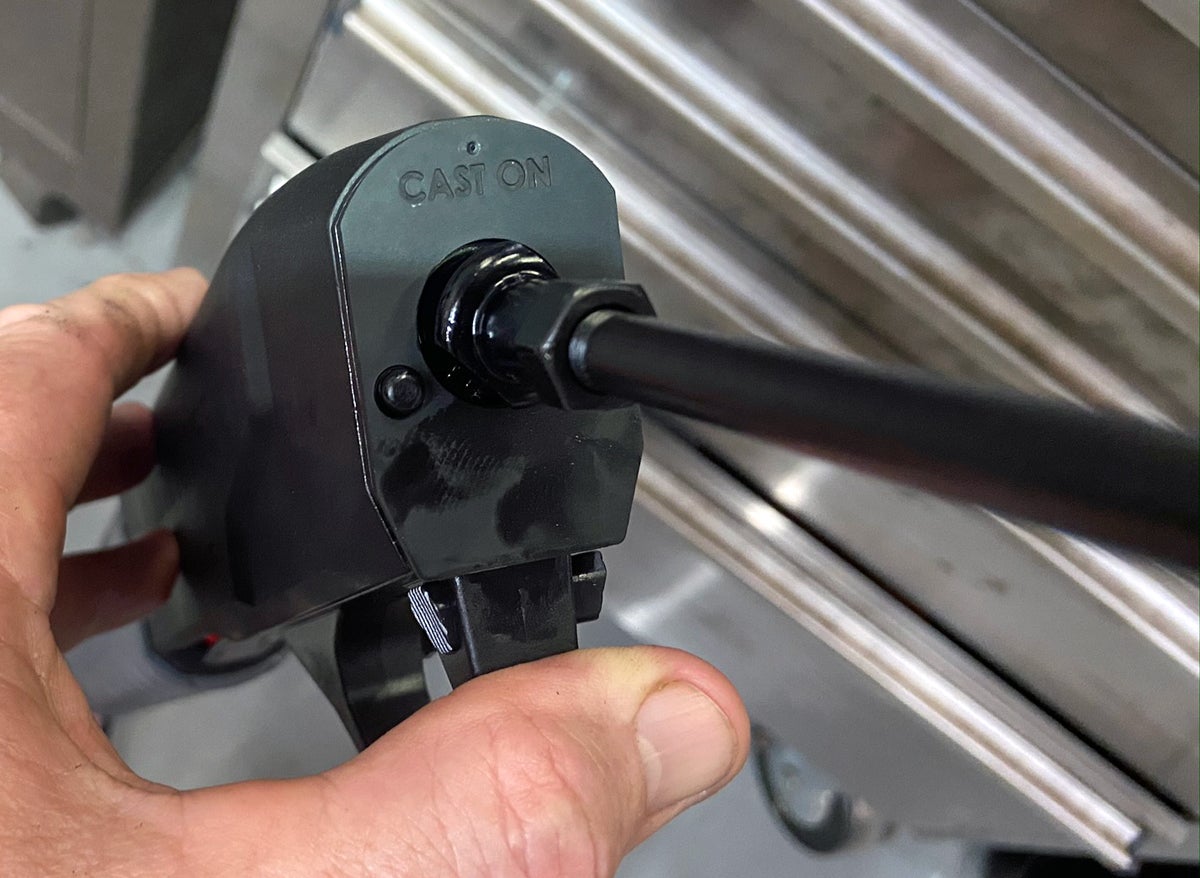
After removing the butt pad via two phillips-head screws, I found the means of holding the stock to the receiver, which is not at all what I expected and which makes things pretty awkward. There’s a threaded stud protruding rearward from the receiver at an odd angle: not parallel with the butt stock. A nut is threaded onto that stud, and that’s what secures the stock to the receiver.
(Photo © Russ Chastain)
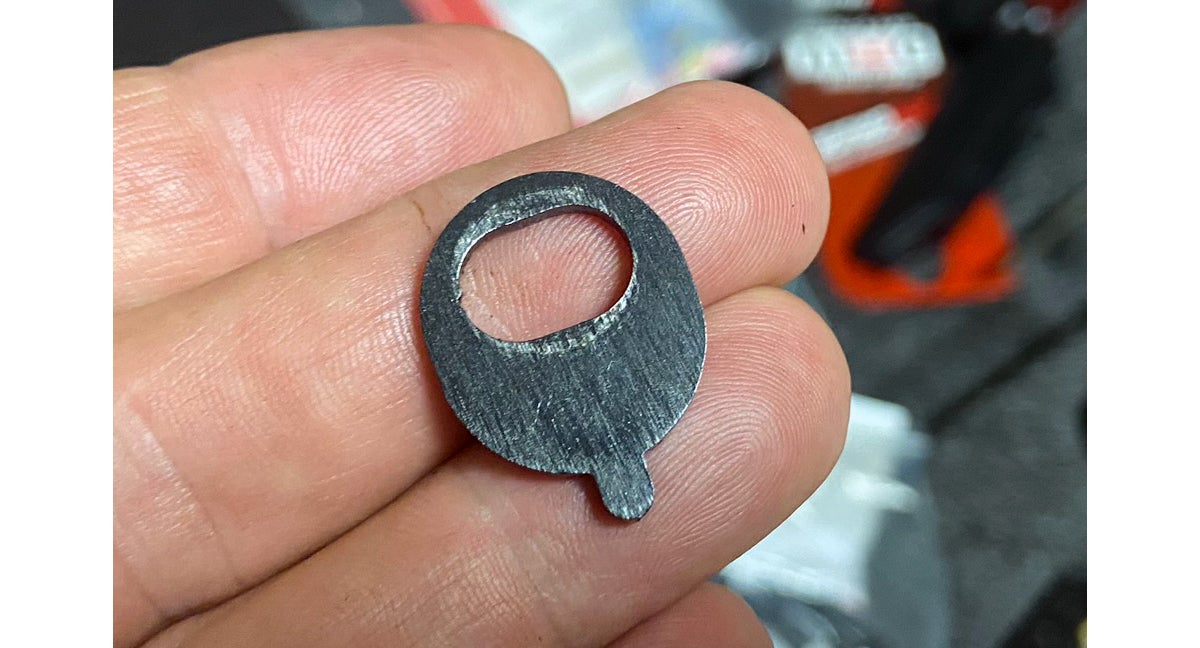
The stud being at an odd angle meant I had to use a universal joint on the long extension for my 3/8″ ratchet, and a deep socket was required. Below the nut is a washer with a key protruding from one side to locate it in the stock. Here’s a picture of the one I removed.
(Photo © Russ Chastain)
This is when I guessed what the three mysterious things might be, although they weren’t mentioned in the manual. I can only surmise that the markings (holes punched in them) are meant to correspond with the barrel shims.
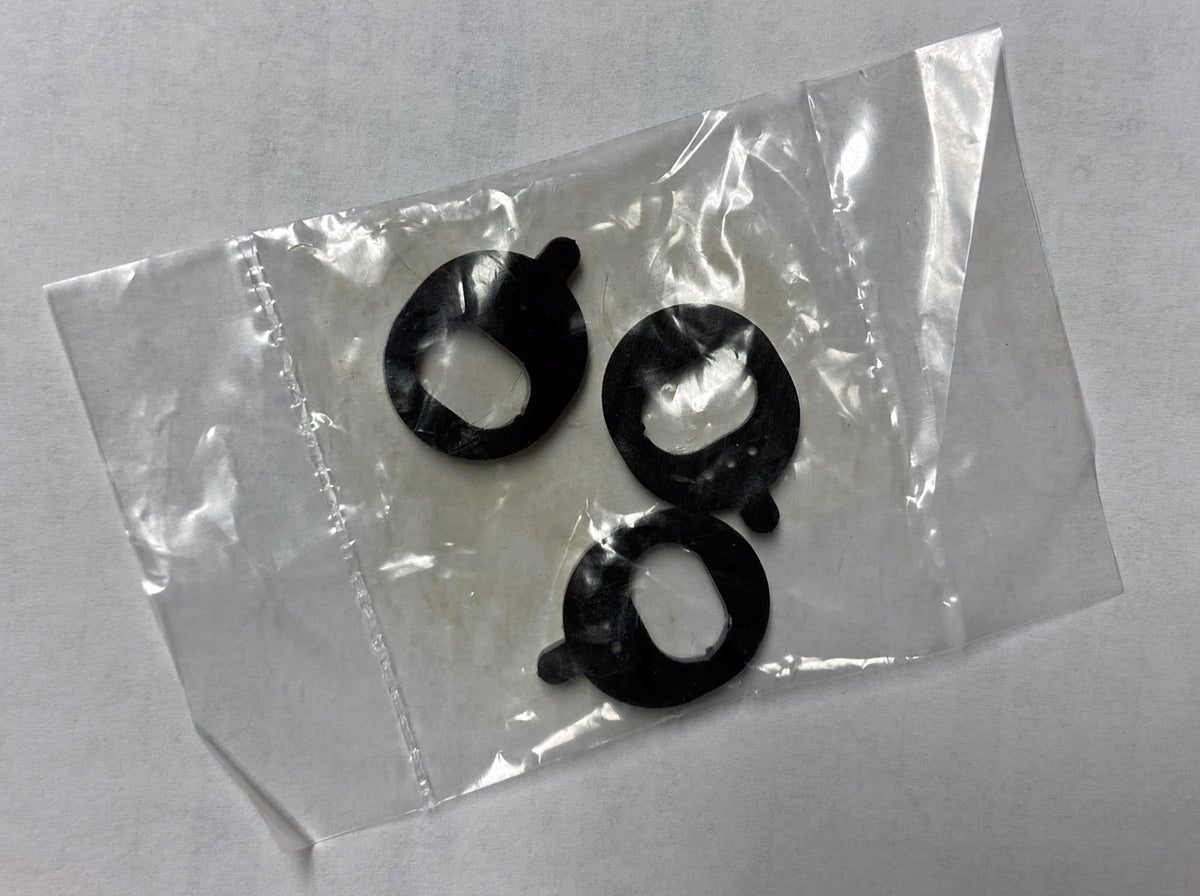
(Photo © Russ Chastain)
I went ahead and installed the shims I guessed would fit me, and put the butt stock back on. And that’s when things got aggravating.
(Photo © Russ Chastain)
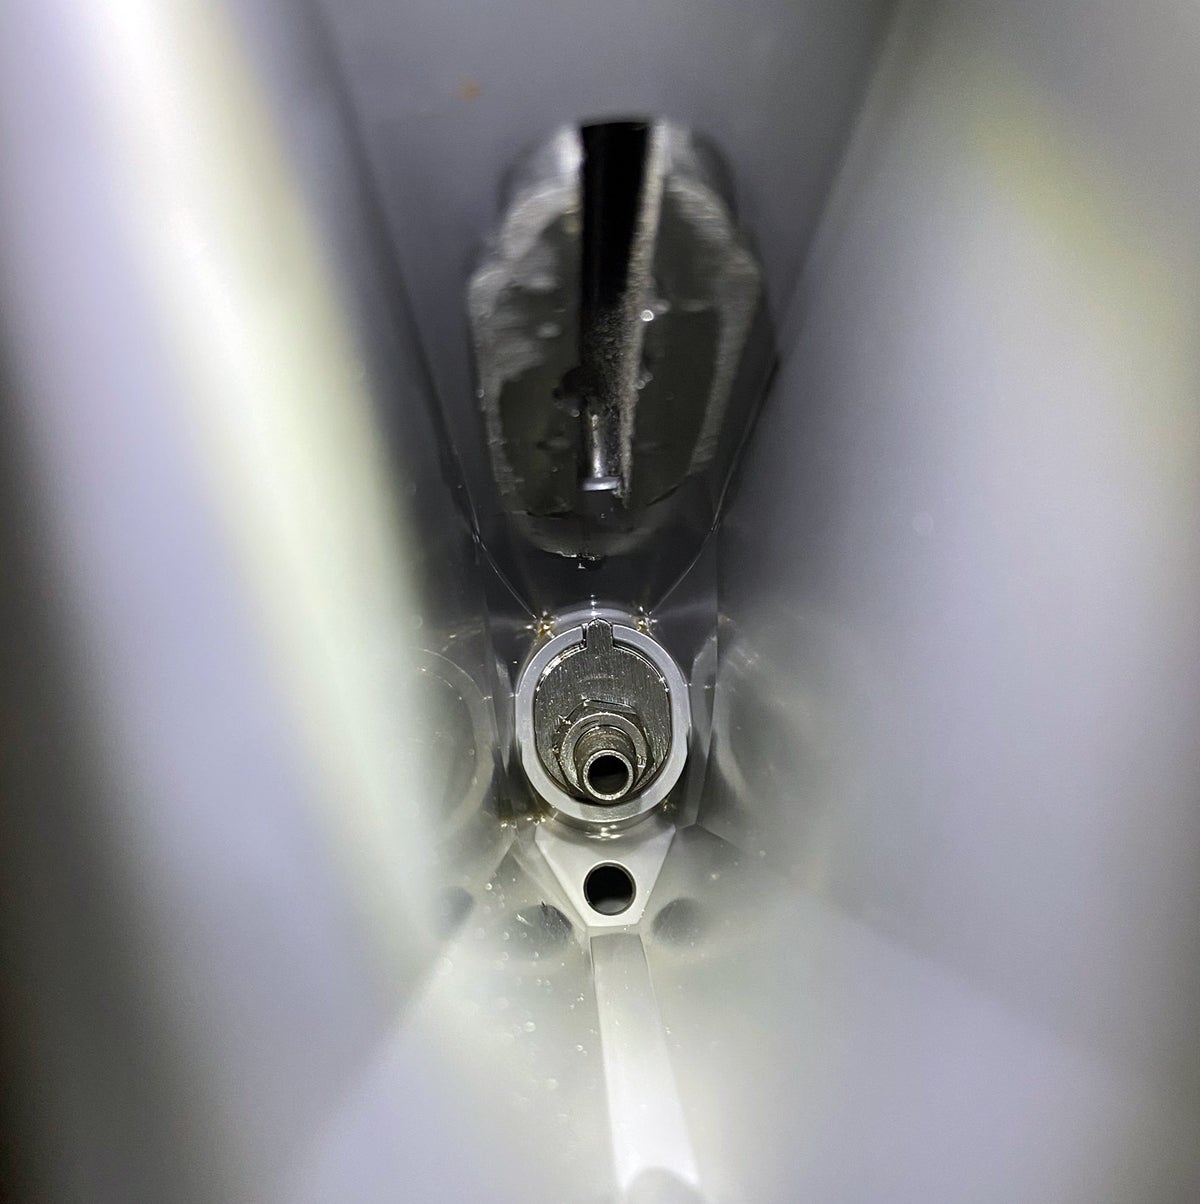
I’m used to dealing with guns which use long bolts to secure the stock to the receiver. These bolts usually slip into long holes which act as guides to keep the bolt straight and help guide the socket or screwdriver as you tighten or loosen the bolt. But as you can see, the threaded stud is quite a long reach down in there, and you have to thread a nut onto it. And the stud is not “square with the world.”
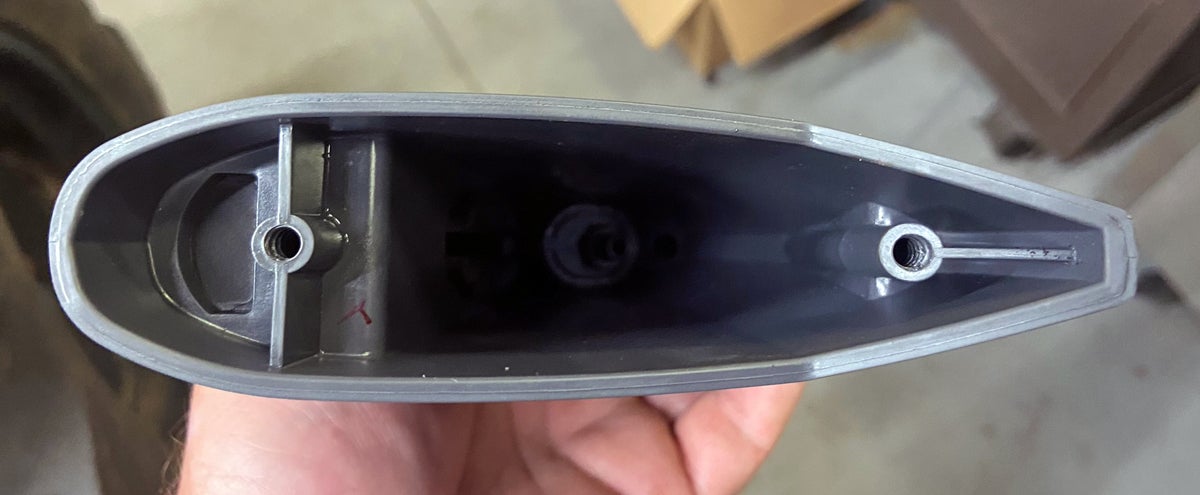
(Photo © Russ Chastain)
By the time it was over, I had used some tools which the average shotgun user might not keep handy. In all, it required:
- Long philips screwdriver
- Flashlight
- Magnetic parts retrieval tool
- Long-reach needlenose pliers
- 3/8″ ratchet with long extension, universal joint, and deep socket
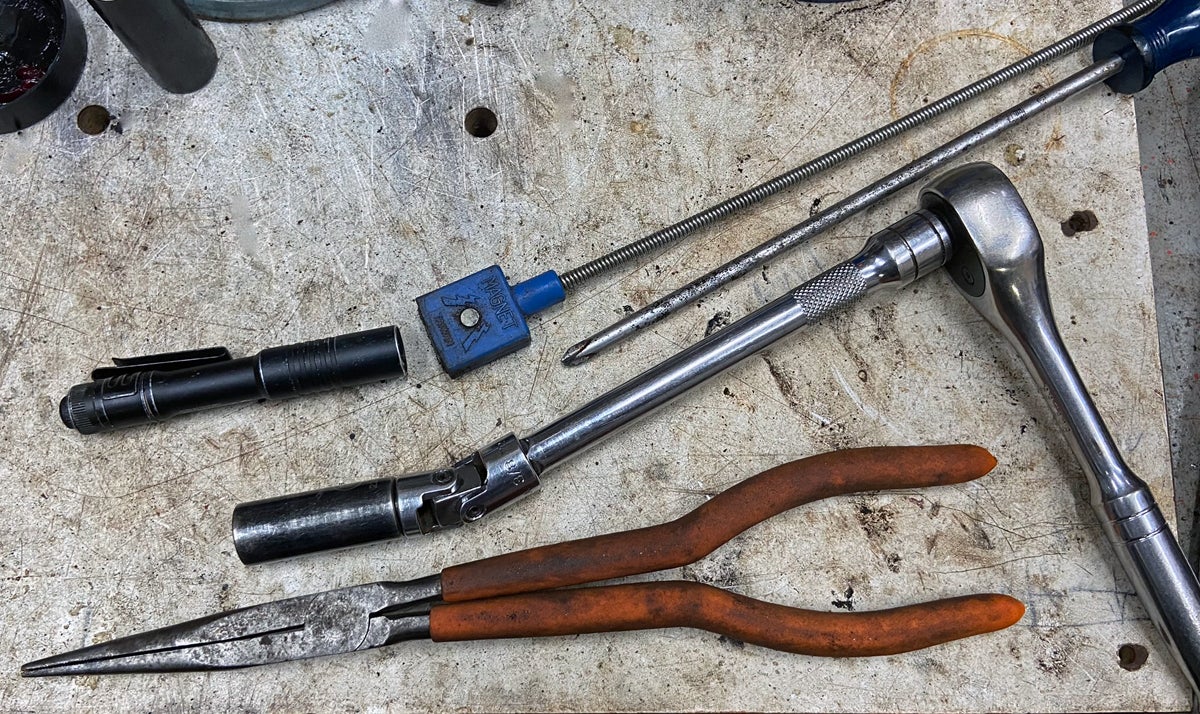
(Photo © Russ Chastain)
To the Range!
Armed with a shimmed shotgun and a variety of ammo, it was time for a function test. After all, the Renegauge claims it will function well with hot and mild shells of various lengths, so I set out to test that.
Magazine capacity of my Renegauge was three 3″ shells or four 2-3/4″ shells, but I loaded it in this order (below) and was able to juuust squeeze in a 3″ shell with three 2-3/4″ shells.
- Remington Express Mag 4 Buck 3” guns only (chambered)
- Winchester Super X high brass 2-3/4” no. 4
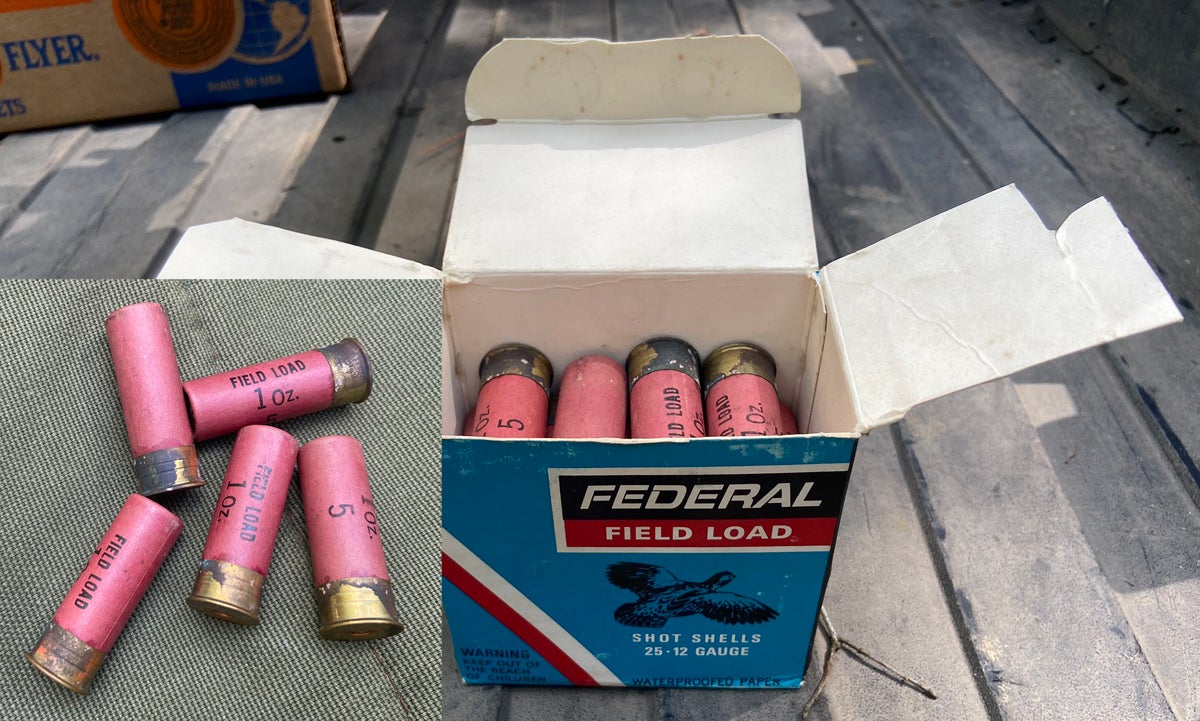
- Federal field load 3 dram 1 oz no. 5 2-3/4” (paper shell)
- Sears Xtra Range “maximum load rifled slug” 2-3/4”
- Remington 3” Magnum steel BB 1 1/4 oz 1375 FPS
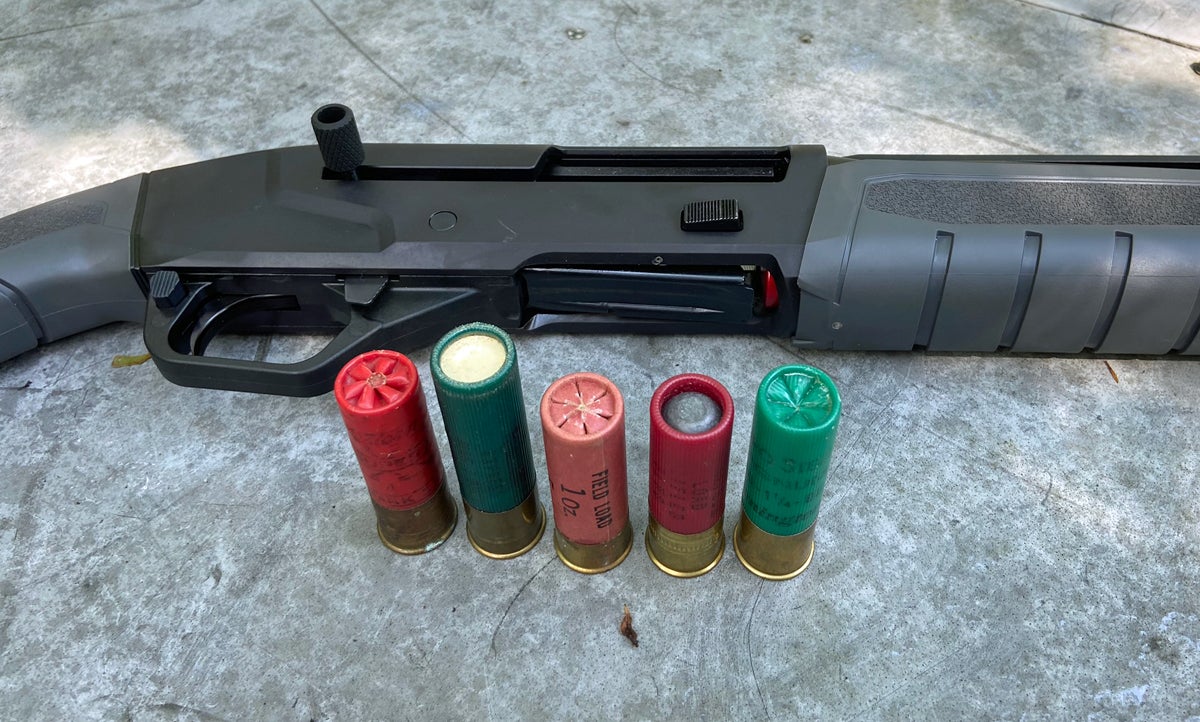
(Photo © Russ Chastain)
I fired them all rapidly, with no function trouble whatsoever. It kicked like a mule, and the case head of the paper shell split — caused no doubt by corrosion of those old shells.
I needed to burn up that old paper-shell ammo, so I stoked the Renegauge with 5 rounds and let ‘er rip. It failed to extract the 4th shell, and all case heads had problems due to old age and corrosion. Also, the Savage extractor didn’t particularly like these rims, and the first one I manually chambered would not come out with the extractor. I had to take the gun apart to get it out.
(Photo © Russ Chastain)
Clay Busting
I decided it was time to shoot at some clays, so I did. I used a variety of ammo not particularly suited to busting clays, but this was mainly about function testing while shooting at targets. I had some troubles; here are the highlights from my notes:
Loaded with 5 rounds (4+1) Remington Express high brass 2-3/4” 7-1/2 shot. Once again it was difficult to get the 4th round into the mag.
After about 18 rounds, I had a failure to feed with high brass 2-3/4” 7-1/2 Express. I had just fired twice at a clay.
Had a jam; see pics. A firm bump of butt against ground allowed the cycle to complete and chamber the round, which fired and ejected fine. It was the last round in the mag.
Here’s what it looked like when it jammed, before I bumped the stock to complete the cycle.
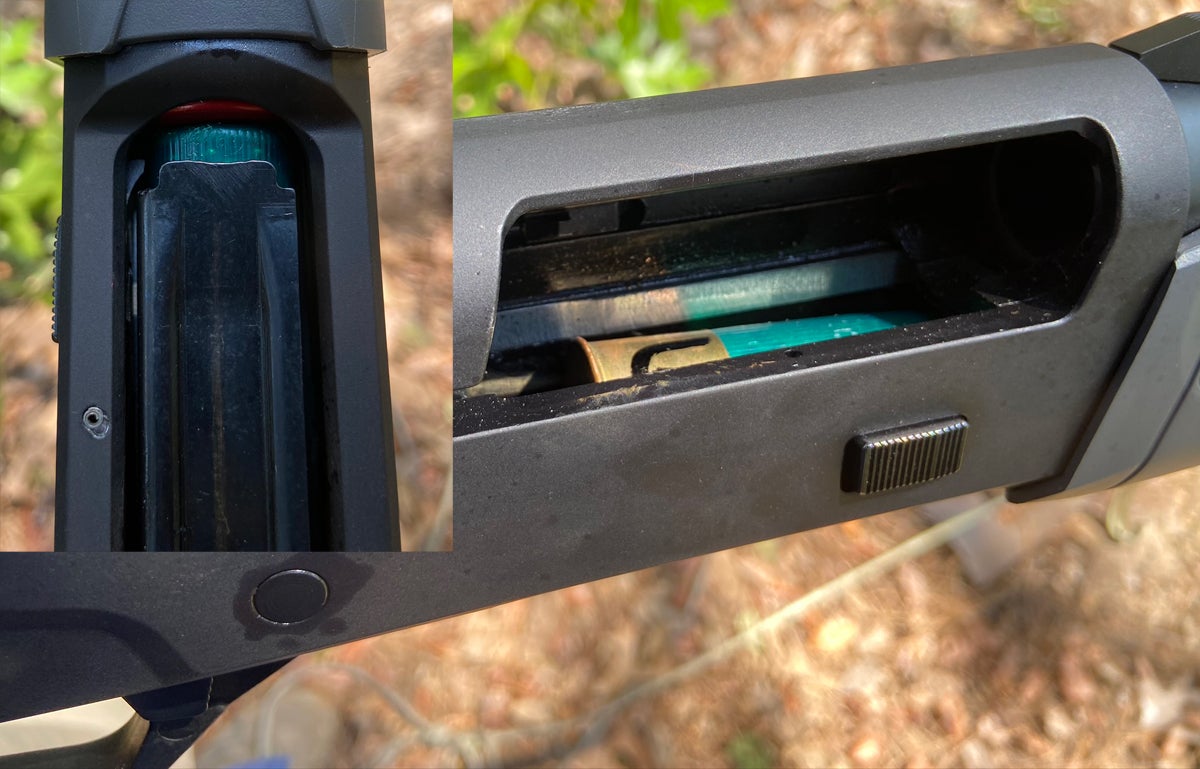
(Photo © Russ Chastain)
After I burned up a variety of old birdshot ammo (6, 7-1/2, and 8 shot), I fired a couple rounds of magnum steel BBs and a couple Winchester super steel no 2 with no snags.
I fired about 32 shells. Ejection was more or less consistent, but some empty shells were only about 2 feet from my own two feet while others were about 8-9 feet away. There were two main clusters with just a few spent shells lying near me.
Time for a Teardown
From there, it was back to the house for a much-needed cleaning. With no teardown or cleaning info in the owner’s manual, I took a look on Savage’s website — and found nothing. Lame.
I eventually found this video, not by searching the Savage site, but by searching YouTube. Lame again. It also has obnoxious “music” which interferes with the voiceover.
Savage Renegauge Rough Barrel
The barrel had come to me dirty, and I hadn’t cleaned it before shooting. I set out to give it a good cleaning, and to my disbelief the barrel kept looking worse as it got cleaner. It’s difficult to photograph the inside of a barrel without a bore scope, but I did my best.
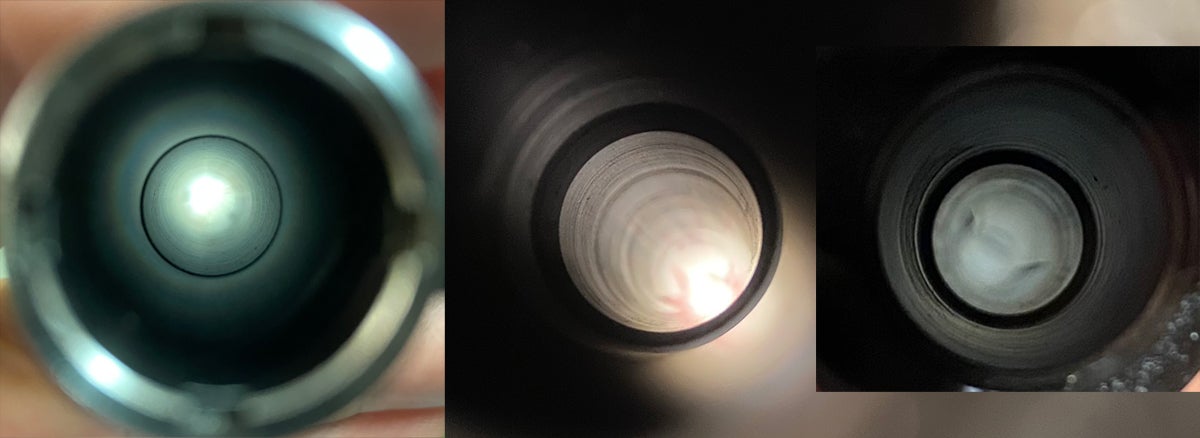
(Photo © Russ Chastain)
Stunned at this incredibly rough barrel, I reached out to my contact. Savage apologized, provided no explanation for the rough bore, and insisted on sending me another shotgun and having this one returned. When the “new” shotgun arrived at the gun shop, I unpacked it to eyeball that bore, but couldn’t tell anything about it because it was so filthy.
Back home, I set to cleaning it. After much work I got it pretty clean and found out it was even rougher than the first Renegauge.

(Photo © Russ Chastain)
I was later told that my first Renegauge barrel is indicative of current production, and my second one was “a pre-production firearm.” So this is not a fluke; they apparently believe it’s acceptable to manufacture and sell shotguns with rough bores.
I have never seen a shotgun with barrels so rough, and that includes the cheapest break-action single-shot you can buy. Anyone familiar with shotguns knows that the inside of the barrel (the bore) should be mirror-smooth and shiny. It blows my mind that anyone would bring a gun to market — especially with an MSRP north of $1500 — with roughly-bored barrels.
In fairness to Savage, I will include their explanation as provided to me.
Here’s Savage’s Renegauge process.
- Material is cut to required length (24”, 26”, 28”)
- Ream Bore to within .001
- Burnish bore to finish size
- Turn profile, thread breach end, thread choke
- Chamber
- Polish
Chrome lining barrels aids in barrel life, but it also serves an aesthetic purpose. When shotgun barrels (and many rifle barrels) are cut, they’re chemically treated to better accept the chrome. This initial treatment abrades the inner surface of the barrel, eats away some of the tool marks, and facilitates adhesion of the chrome. That chrome builds up, filling in the imperfections, and creates a more uniform surface. Chrome build up is measured in thousandths of an inch—usually .002 +/-.
Melonite is a chemical process that alters the material properties inside the barrel. The process can’t cover tool marks. The benefits, though, are worth it. Melonite protects both the inside diameter and outside diameter with the same corrosion resistance, lubricity, and surface hardness. If this were a rifle, the barrel could be lapped and polished before the Melonite is applied, but as this is a shotgun, those imperfections in the barrel’s inner surface are cosmetic and don’t influence performance.
Conclusion
The Savage Renegauge obviously has some problems, especially with barrel manufacture. If that isn’t corrected ASAP, I predict the Renegauge will quietly disappear from their catalog due to lack of sales. Aside from that, Renegauge could use much better documentation in the manual and on the Savage website, including clear directions on disassembly & reassembly for cleaning, as well as adjusting the butt stock.
Assuming that was taken care of and their barrels were mirror-smooth like everybody else’s, the Renegauge would be a pretty good shotgun. Is it anything earth-shaking? Not really. Renegauge cycles light loads and magnum loads, but the Remington 11-87 has been doing the same for 33 years now with an MSRP hundreds of dollars lower than Renegauge.
Honestly, I hated writing this review. I much prefer to write positive stuff, but in fairness to our readers I must be brutally honest and say that I cannot recommend the Renegauge. Consumers deserve to know the good and the bad about products and, well, there it is.
Happy hunting, everyone.
