DIY: Upgrading my Old Busted Cooler into a Bootleg Yeti
Eugene L. 05.02.22

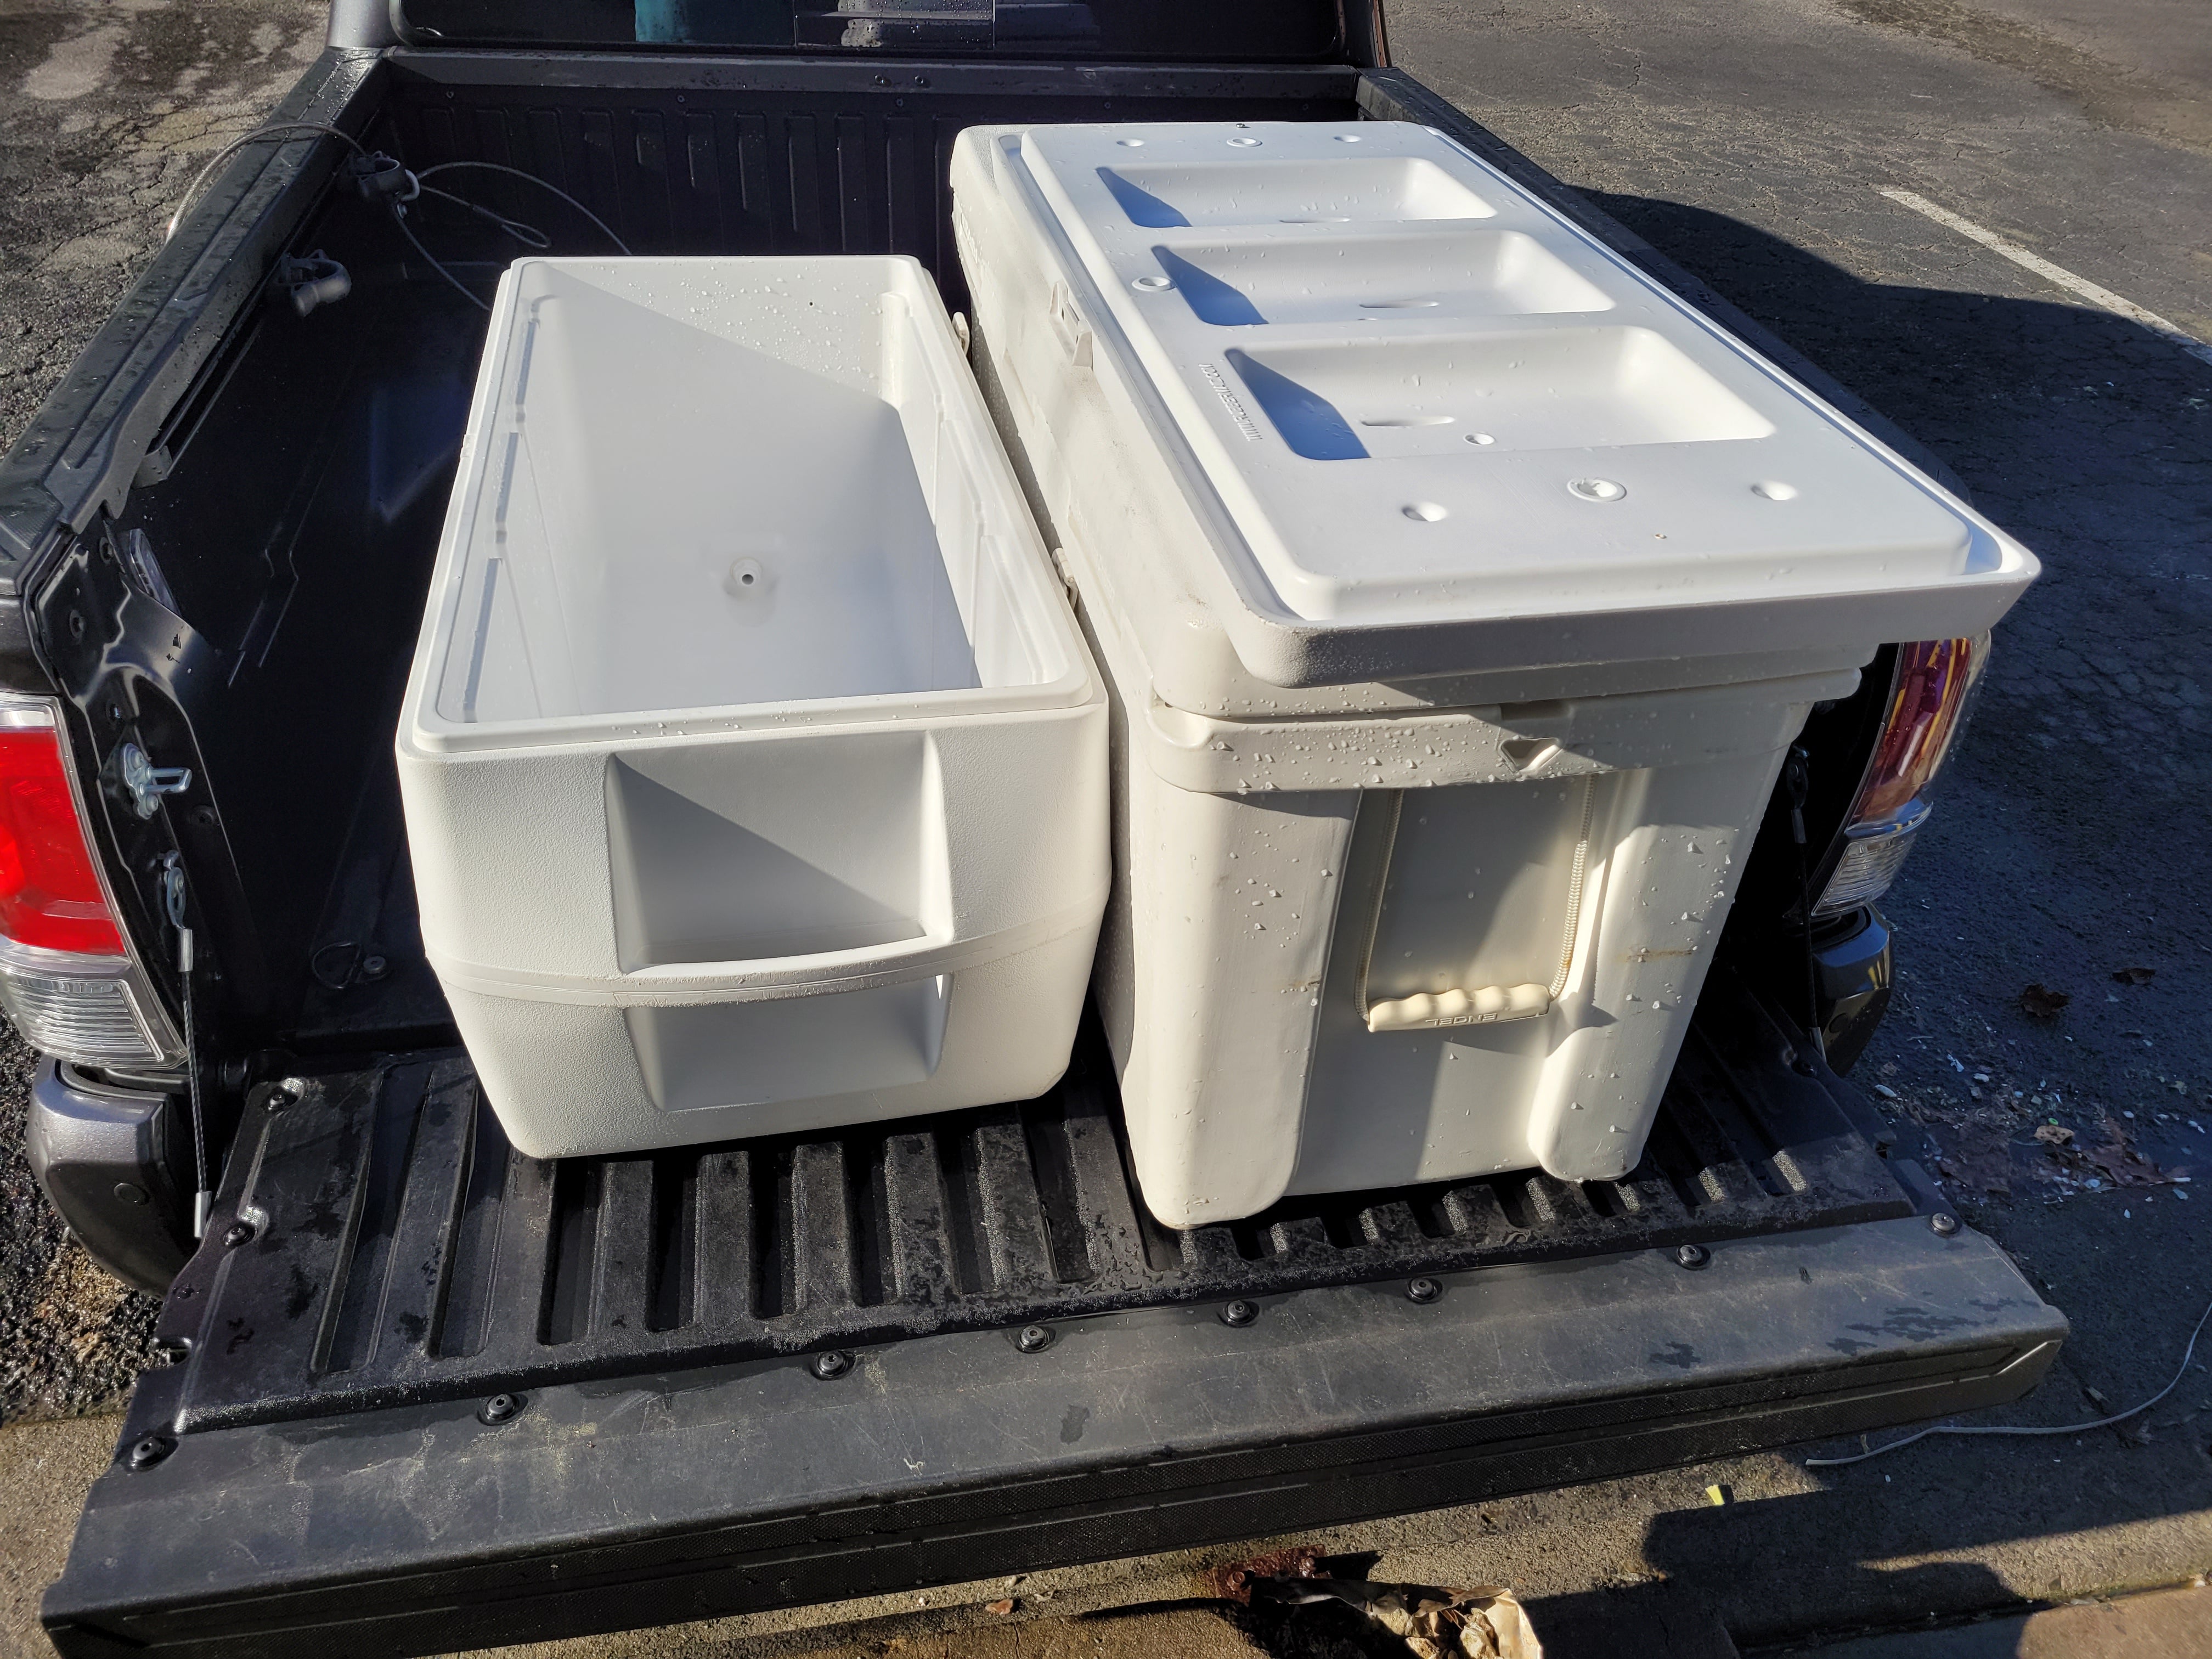
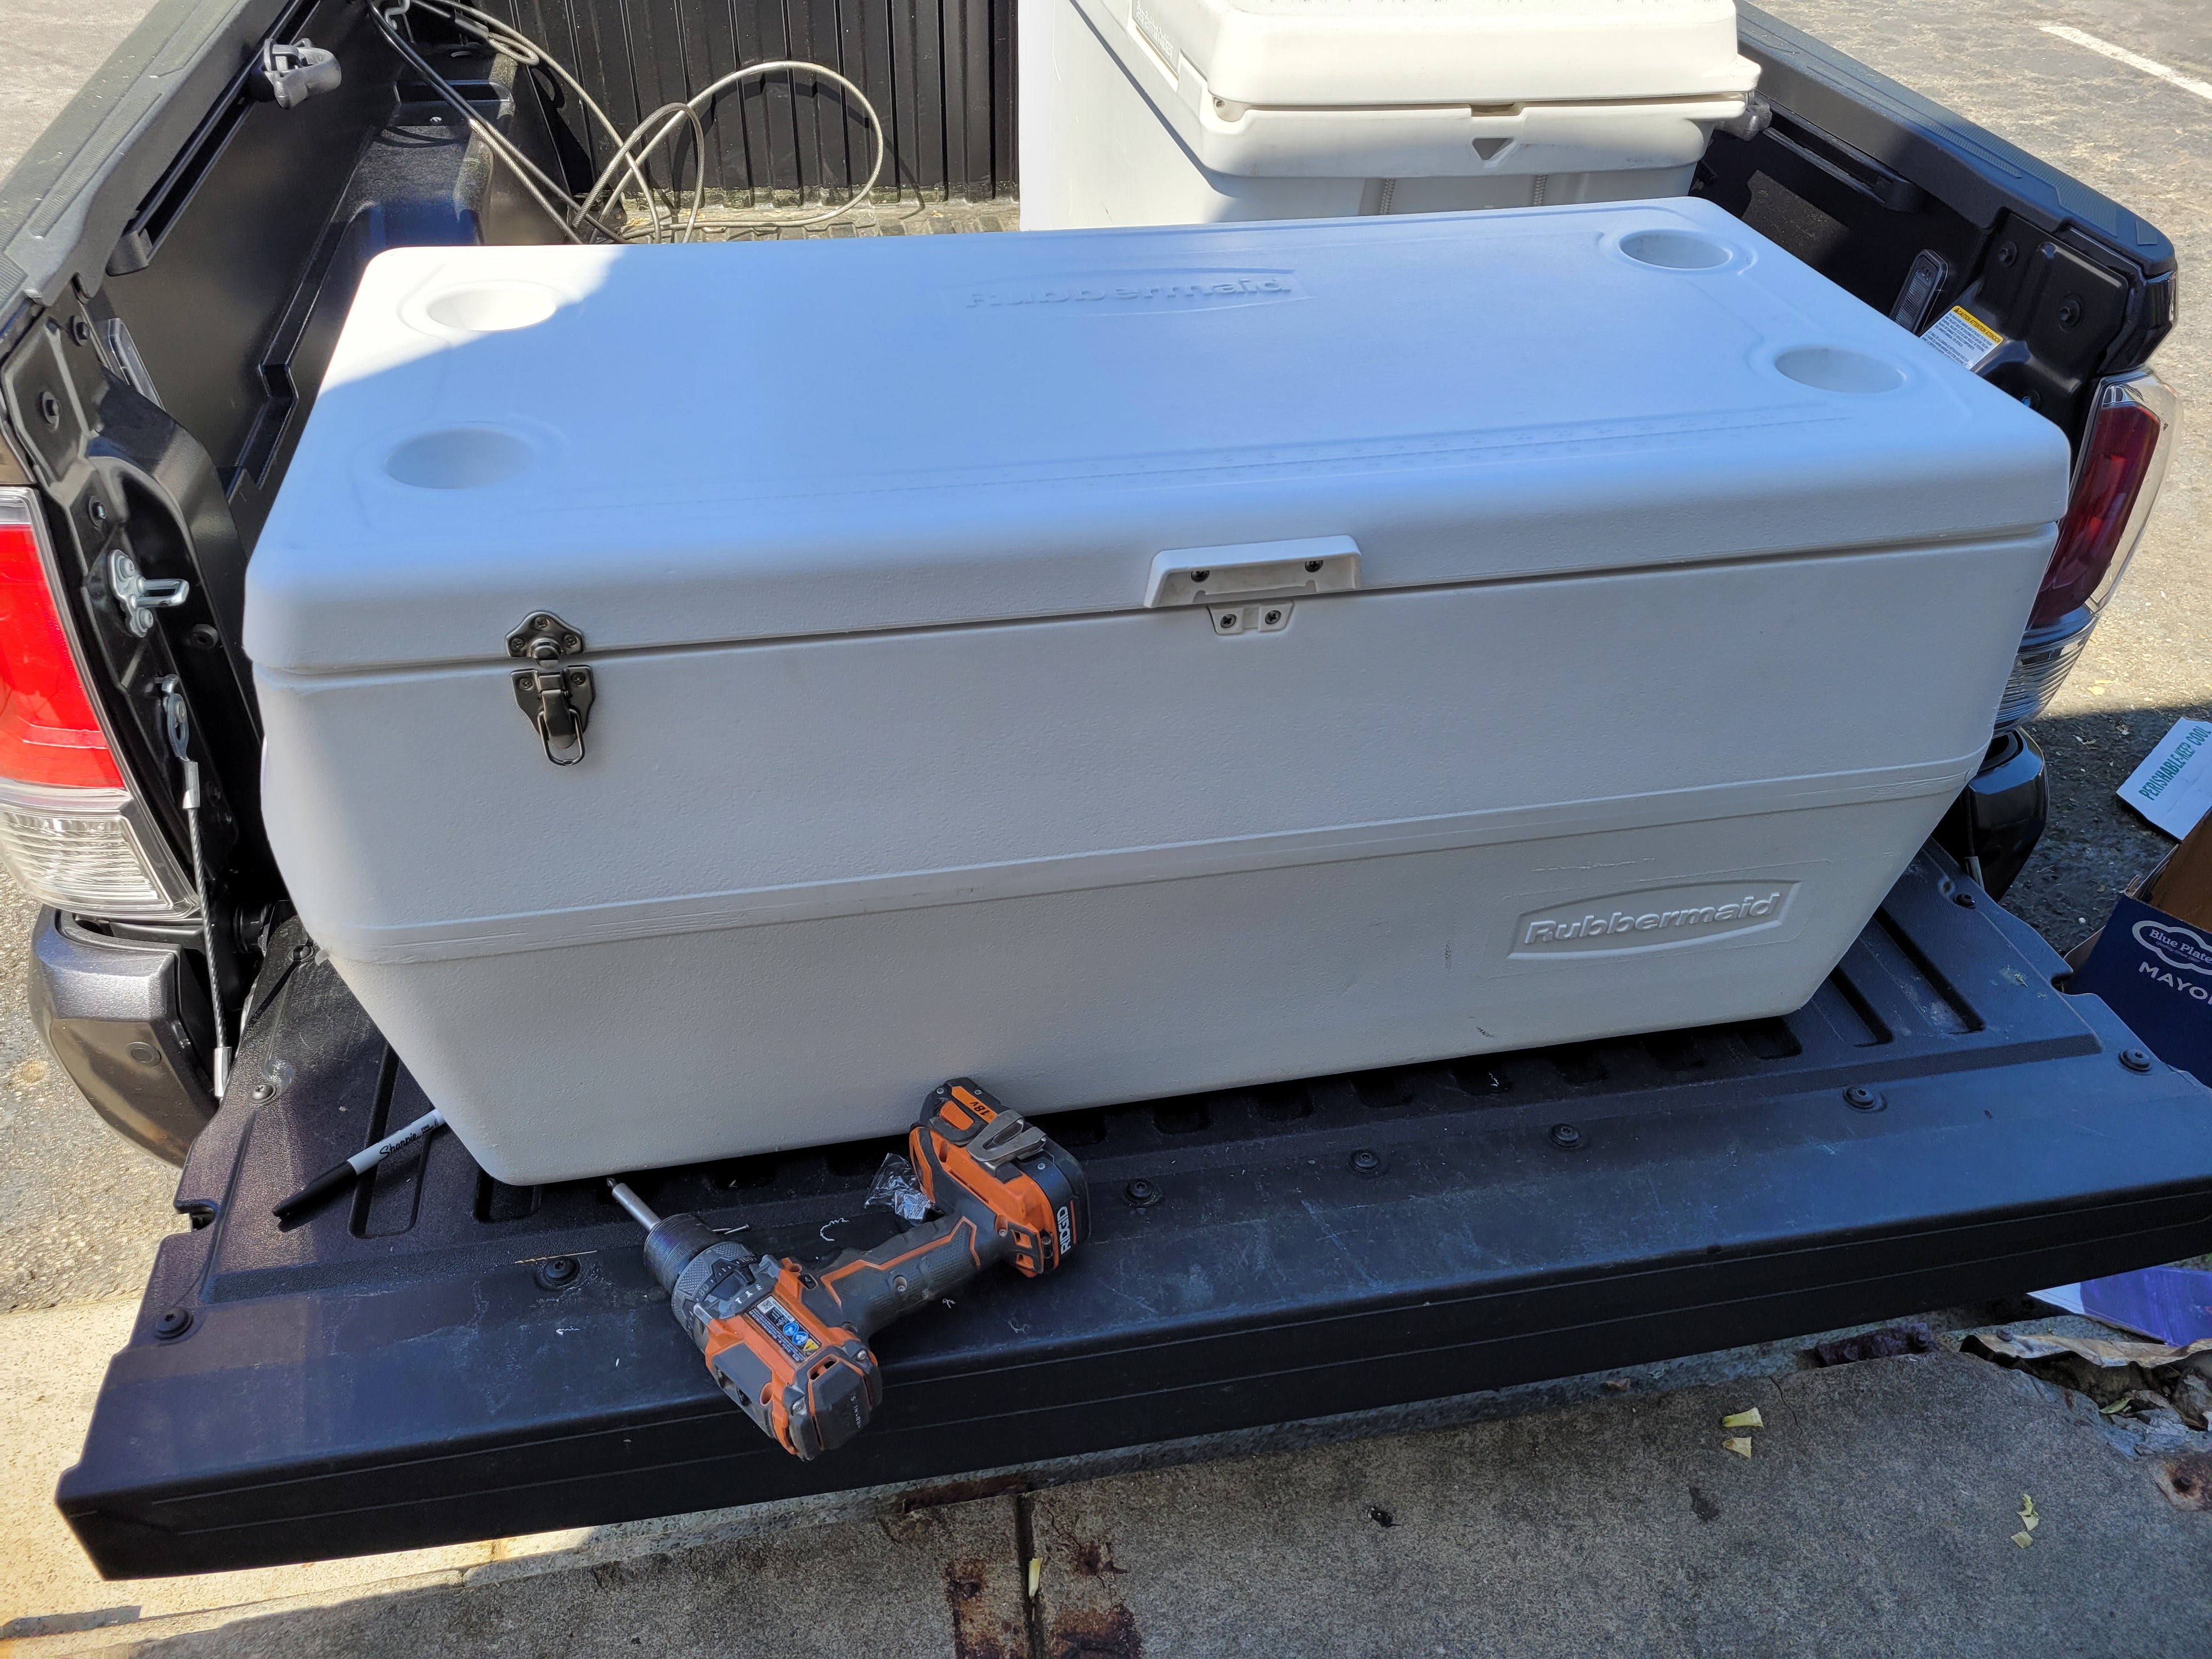
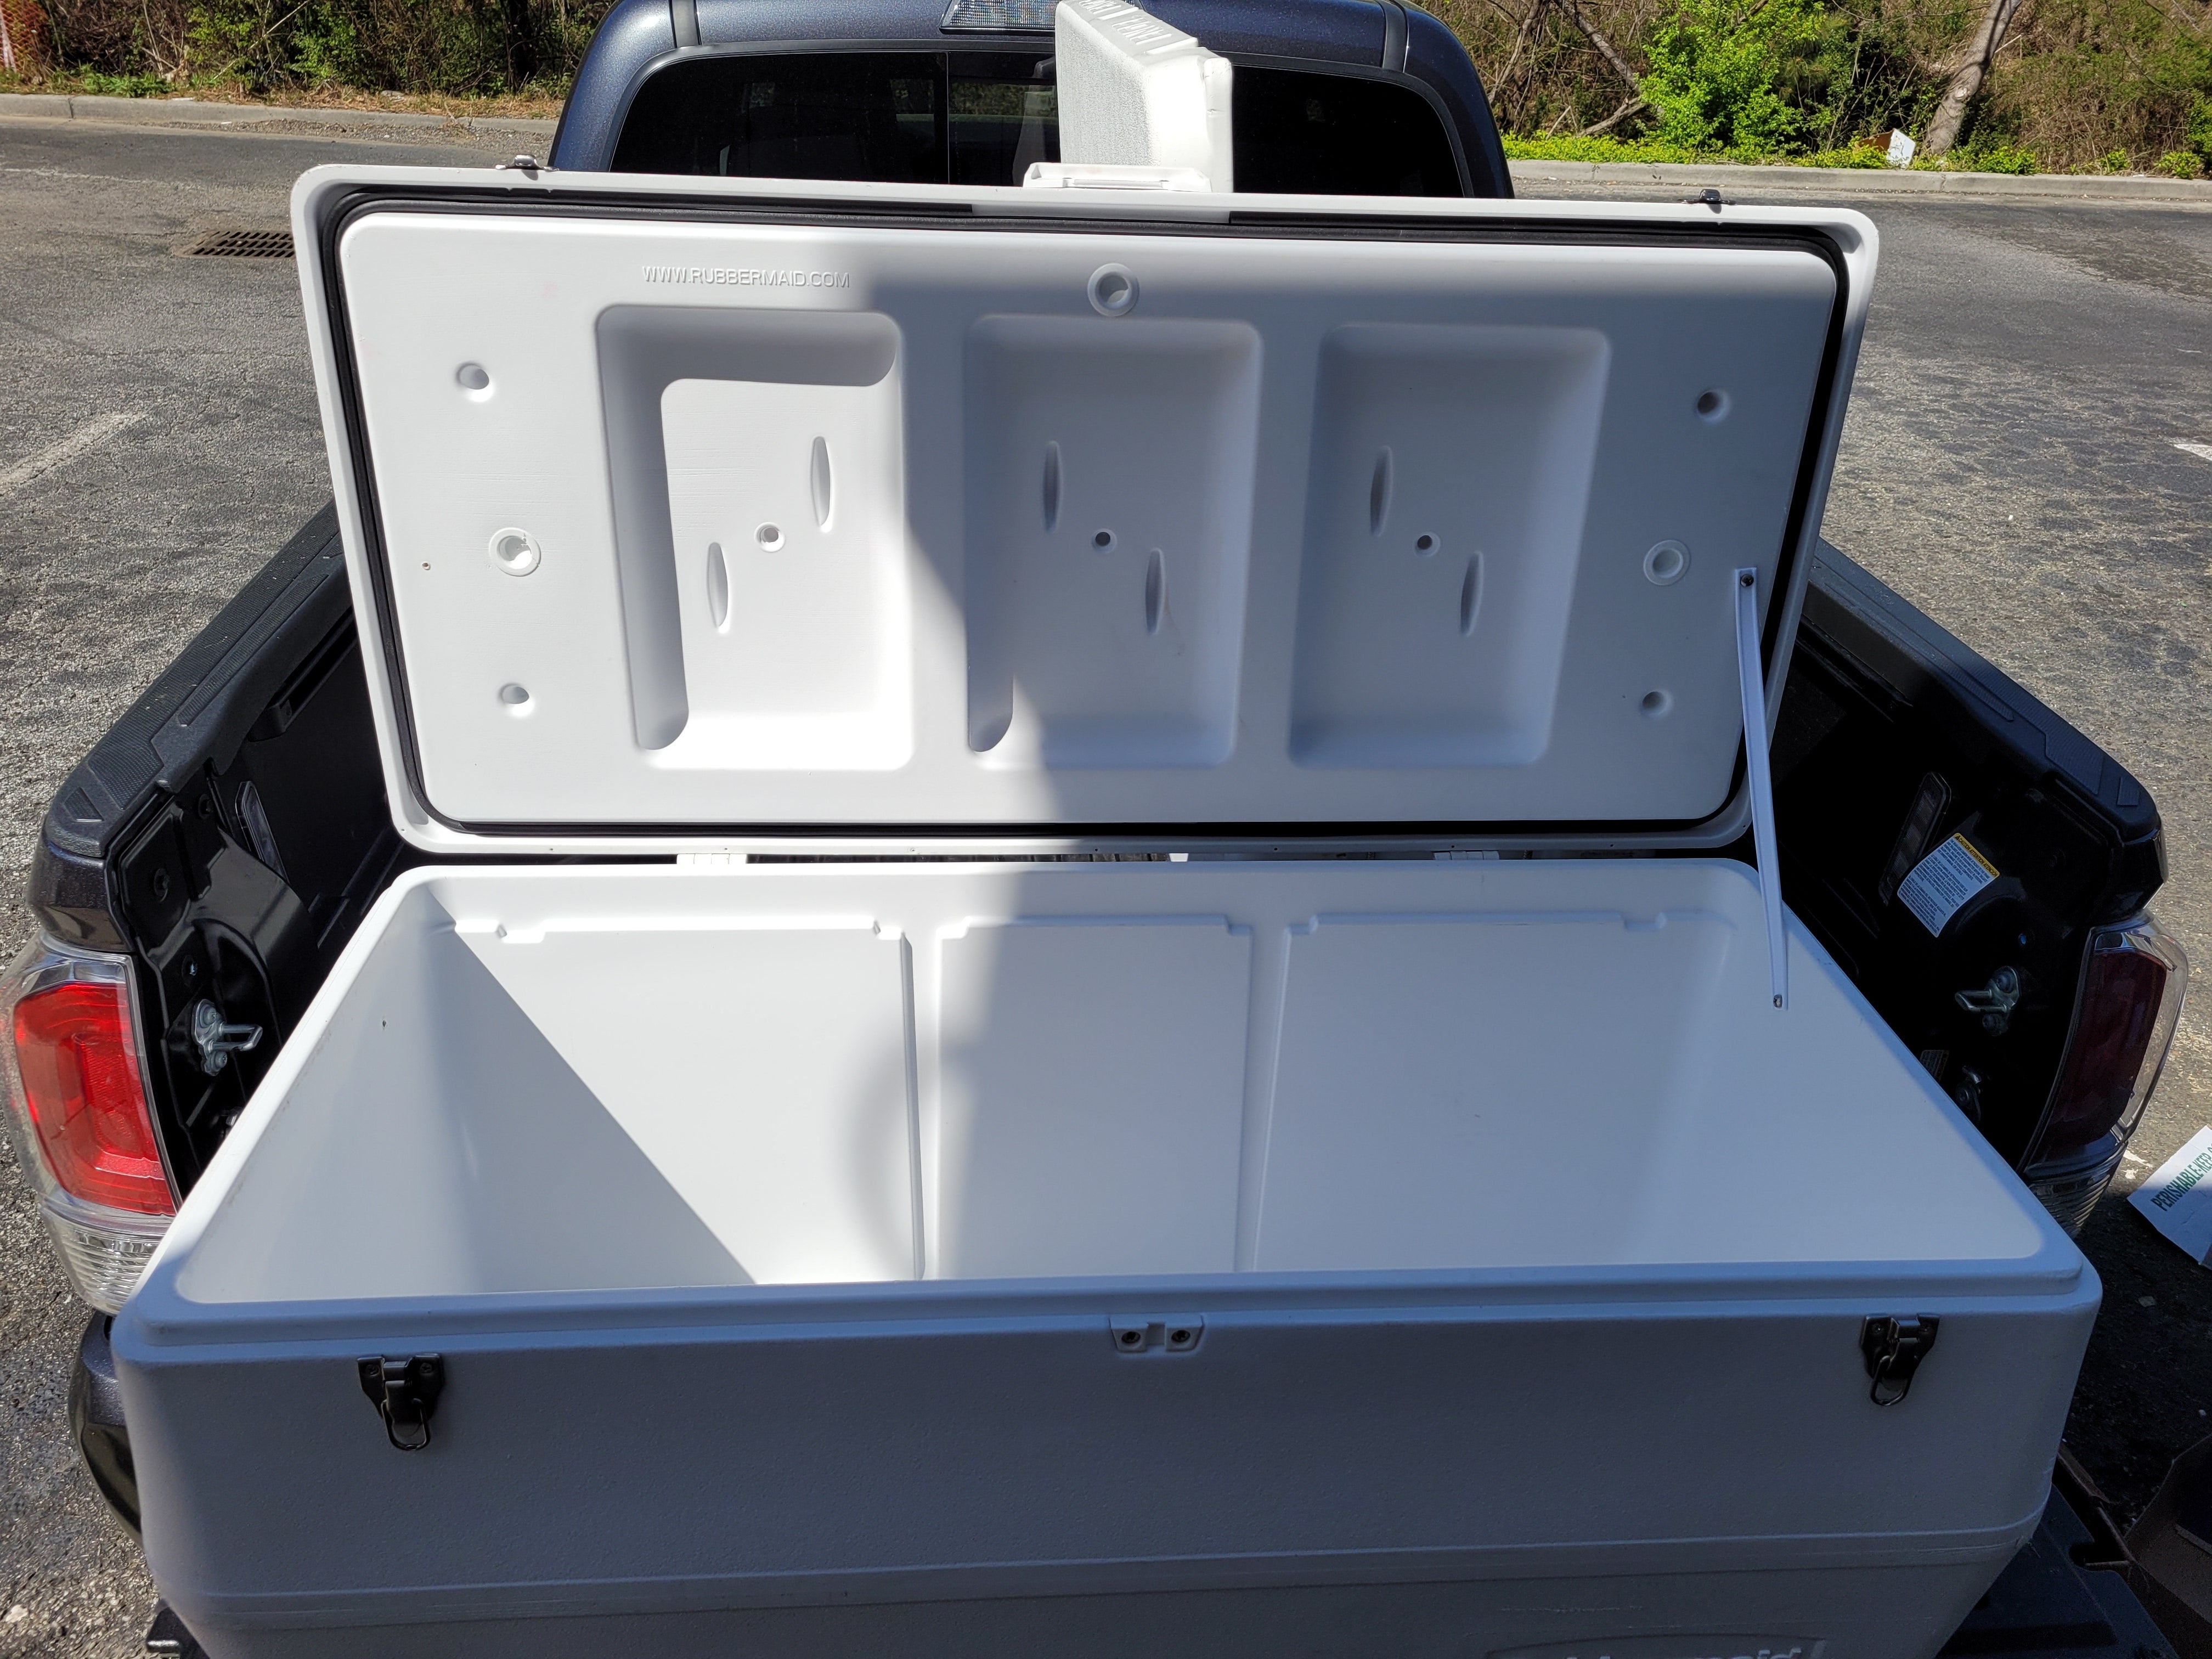
With fishing trips and work, more cooler space is always welcome for me. I already have a nice 165qt Engel cooler chained down in the back of the truck, but having two coolers would be even better. Especially for keeping food and drinks separate from bloody fish and bait. Or, at work keeping meats and poultry away from vegetables and dairy, but the problem is I don’t want to spend another $600 dollars on another large rotomolded cooler. So, that’s where this busted old 150qt Rubbermaid Marine Cooler comes in. These old Rubbermaid Marine Coolers retailed about $100 back when we bought it 8 years ago. Made of blow-formed plastic with foam in both the body and lid, a decent cooler for the money, but this old Rubbermaid is definitely showing its age now. This thing has been used hard and put away wet. The lid straps are gone, the latch broken off, hinges missing screws, and cooler feet worn through. The foam in the lid is probably cracked at this point, you aren’t supposed to sit on coolers apparently. We definitely got our money’s worth out of it over the years, but now it’s time to give it new life. I will try to Frankenstein this thing on a budget and bring it back as a Bootleg Yeti.
 Old Rubbermaid 150 Qt. Marine Cooler, latch gone, hinges busted, lid straps gone.
This old busted 150qt Rubbermaid Marine Cooler was stored outside on top of a storage container exposed to the elements. So, the thing needed a good cleaning. I recommend using a blend of 3-2-1 mix of water, bleach, and dish soap mix in a spray bottle. Spray down whatever cooler you want to clean and let it soak for a bit. DO NOT wear nice clothes for this, you will ruin them with the bleach in the mix. Give the cooler a good scrub and then rinse. Use a magic erasure for any tough stains usually, that will take care of them.
DIY: Upgrading my Old Busted Cooler into a Bootleg Yeti
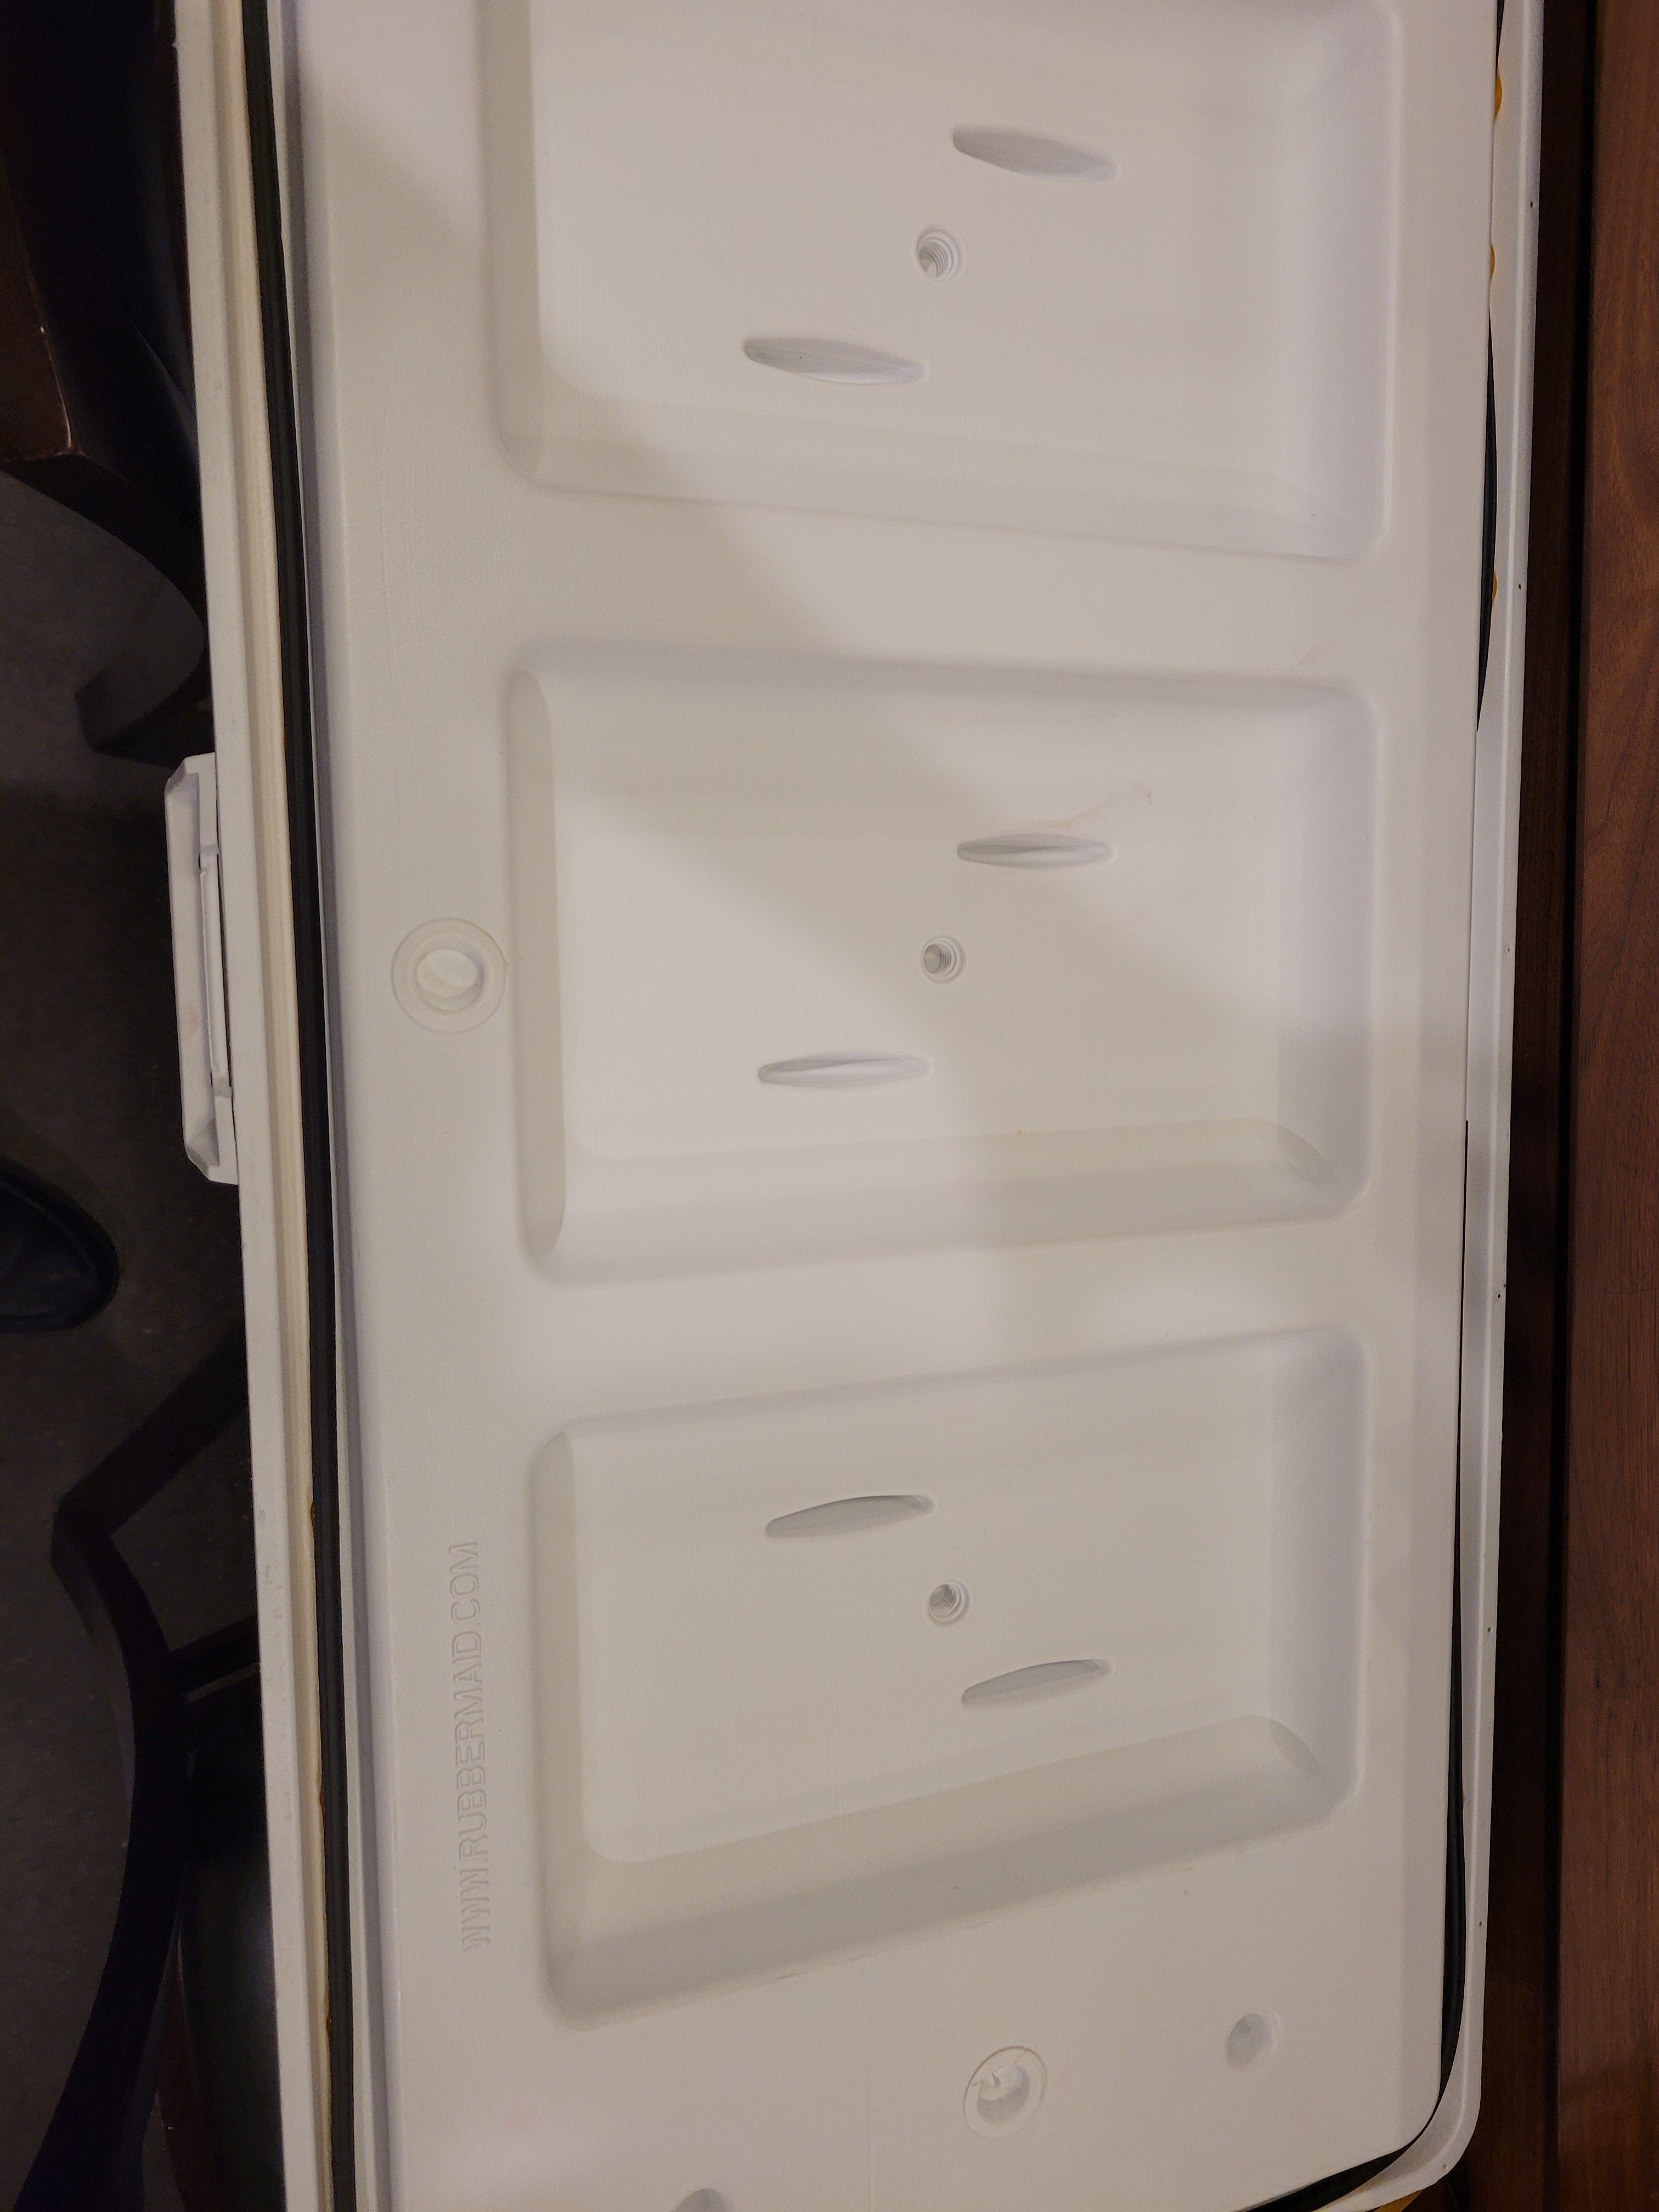
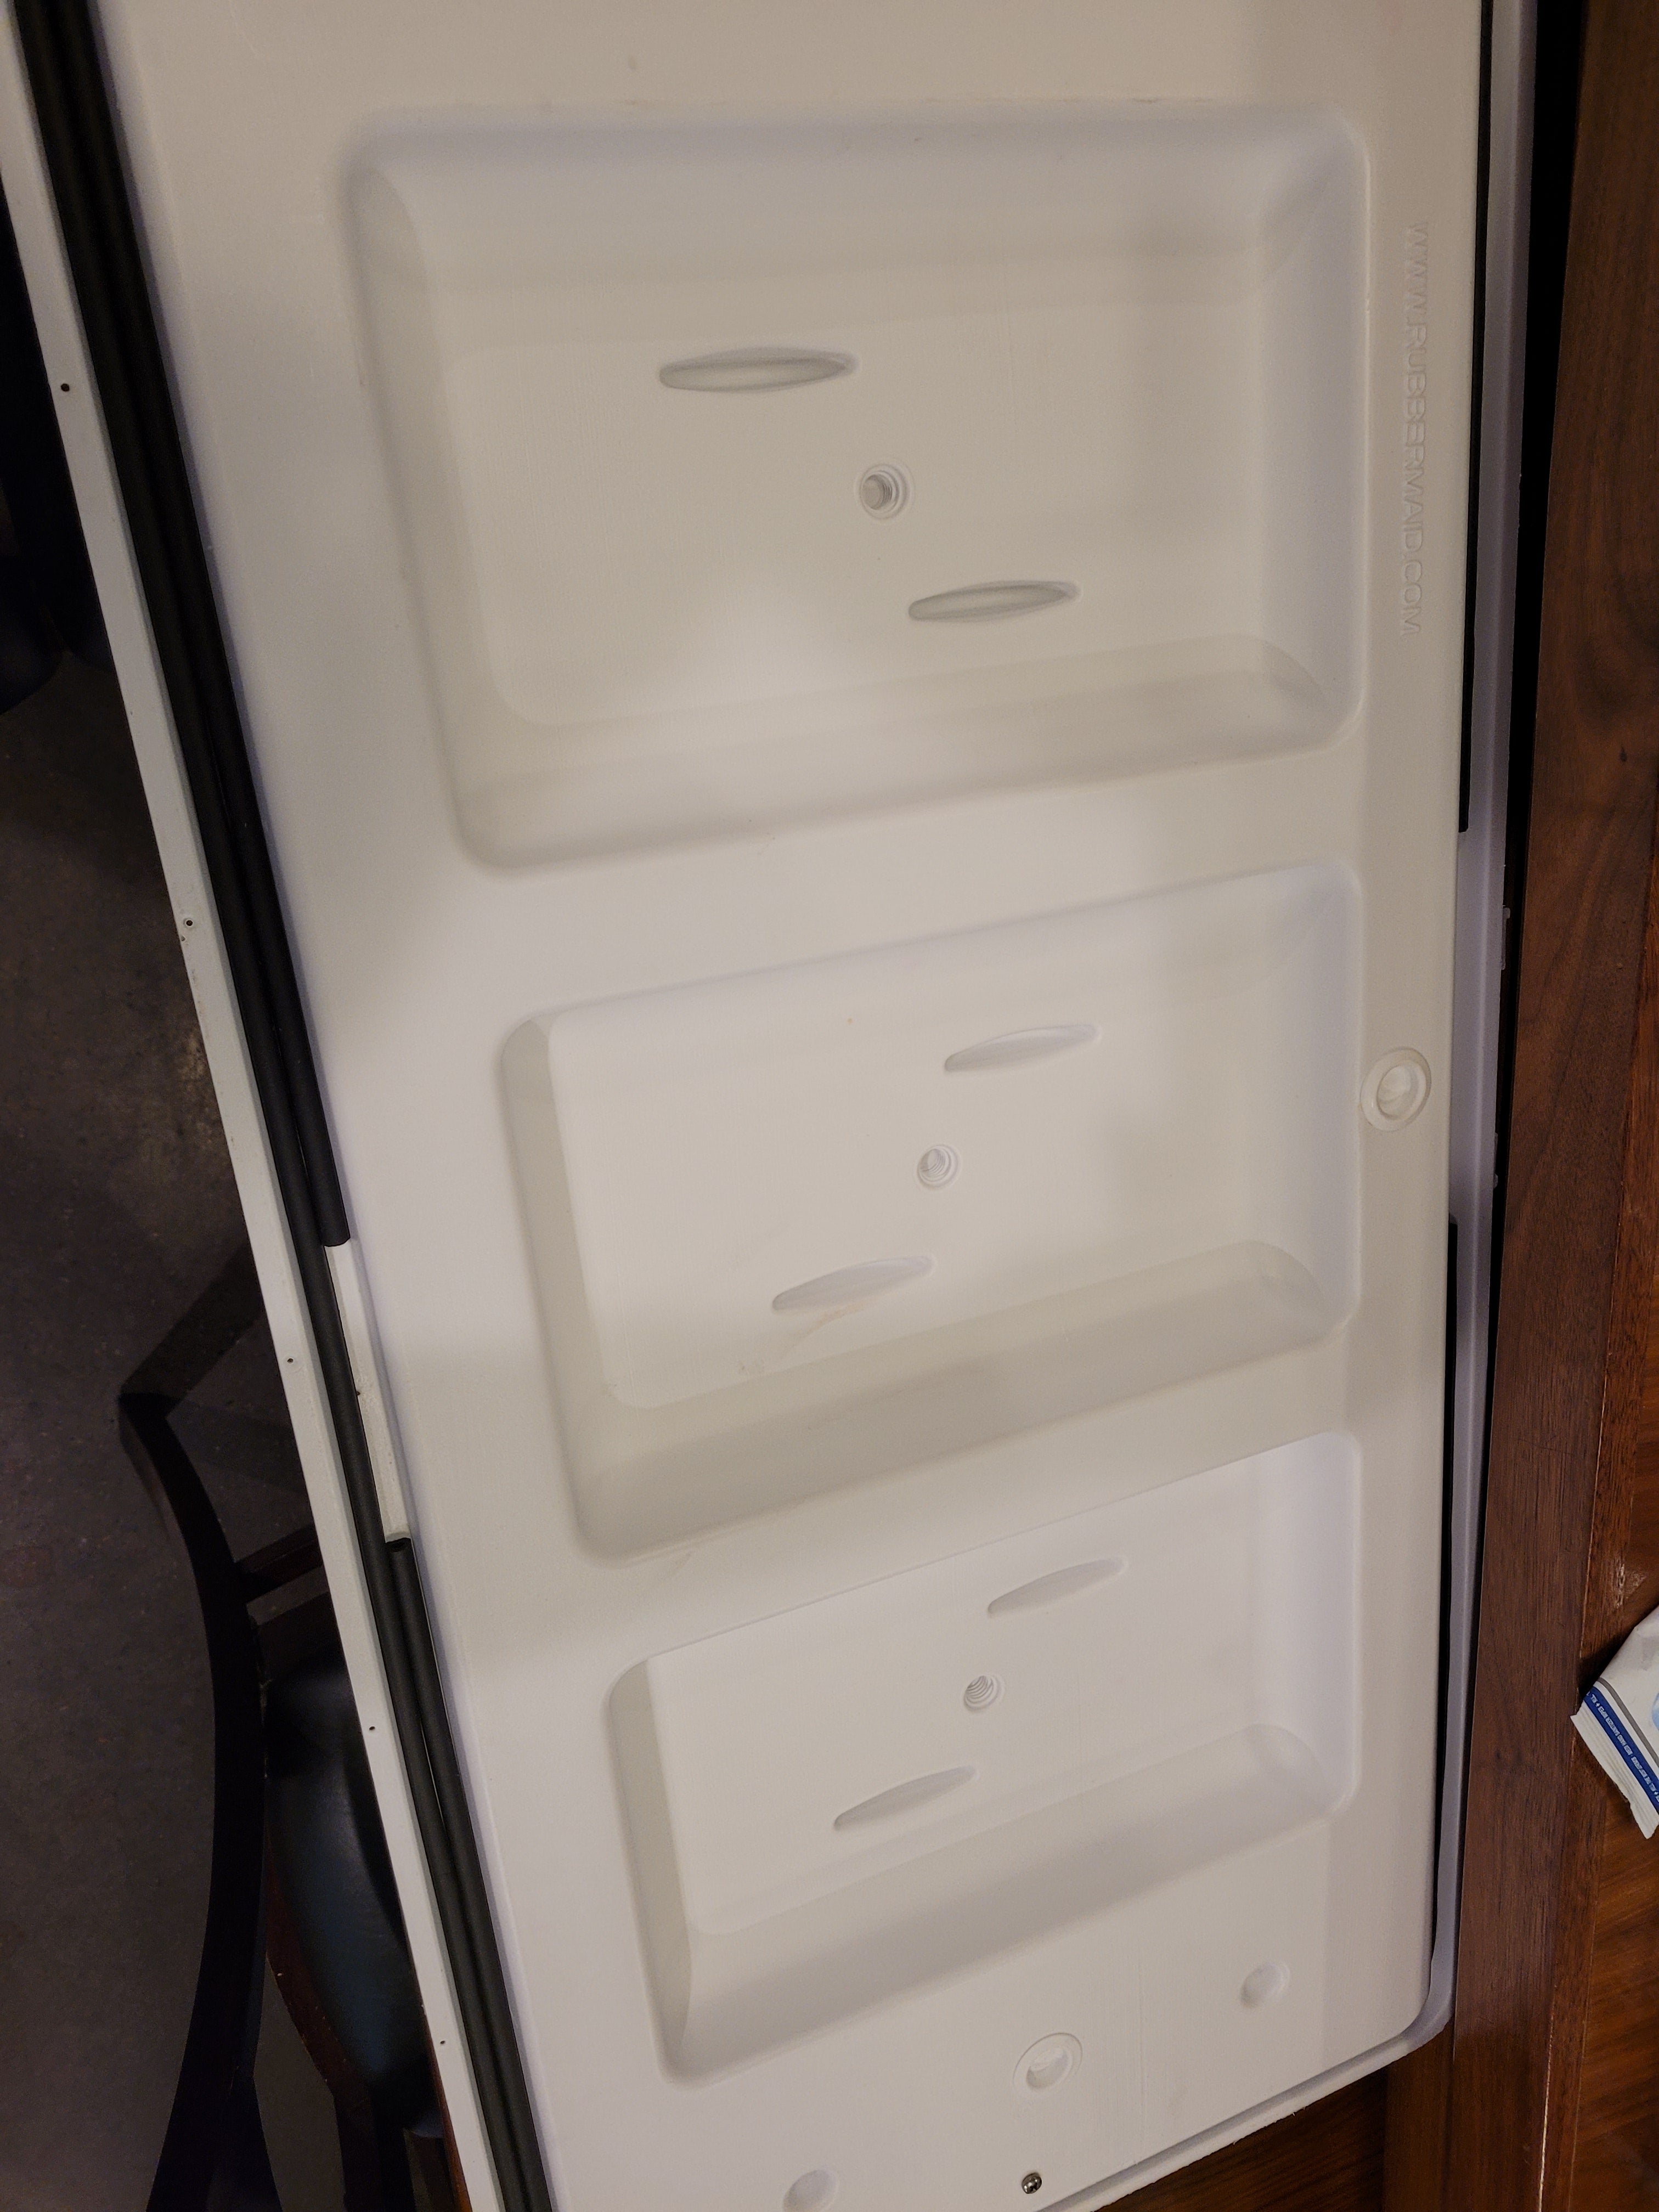
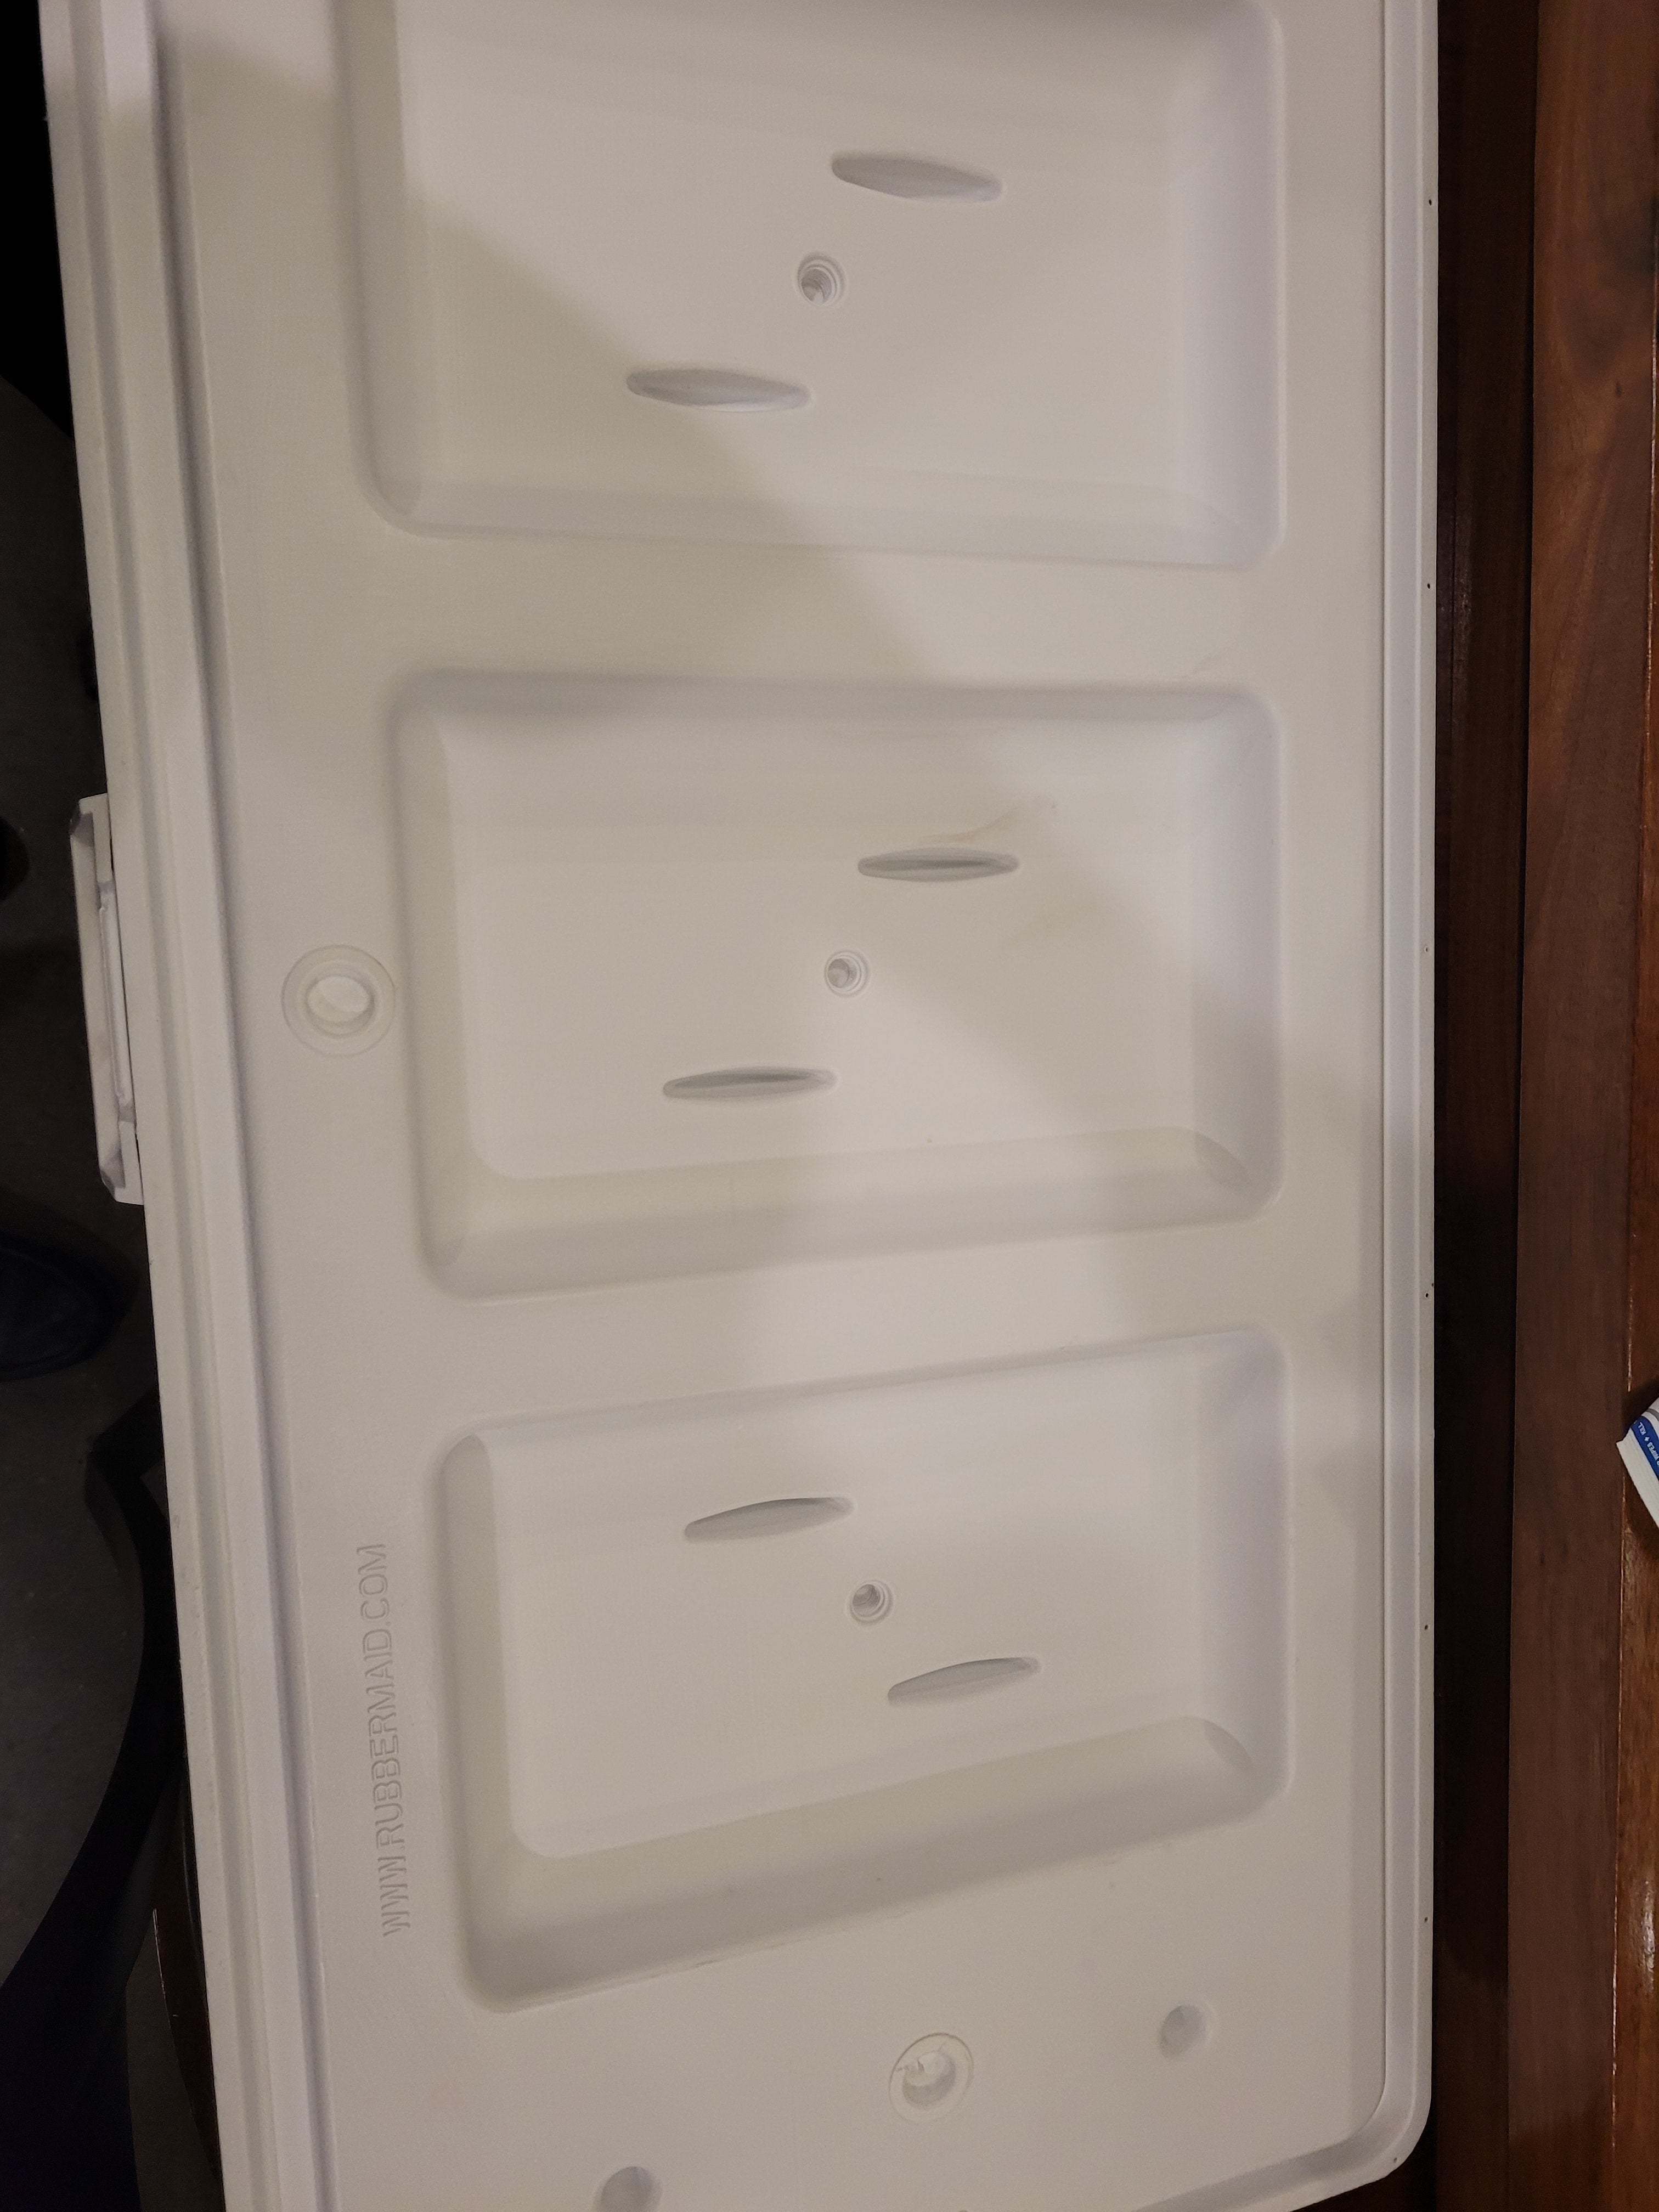
Now the cooler wasn’t crusty anymore, time to add weather stripping to the lid to make a gasket. All the nicer rotomolded coolers have a gasket on their lids to create an air seal to keep that cold air in and warm air out. So for my Bootleg yeti, I bought some Black EPDM Cellular Rubber Weatherstrip Tape to make a gasket. It was two strips that were 8.5ft long each. I wiped the groove in the cooler lid with isopropyl alcohol first to degrease then applied both strips as smoothly as possible. Even though they were not long enough to reach the layers overlapped which should be good enough.
The next step for the cooler was to reattach the lid, which was relatively easy. While the original screws were torn out, just get some oversized stainless steel screws to replace them. That way they can bite into the lid and hold firm. Same with attaching the new lid strap as well, stick to stainless steel screws or they will rust.
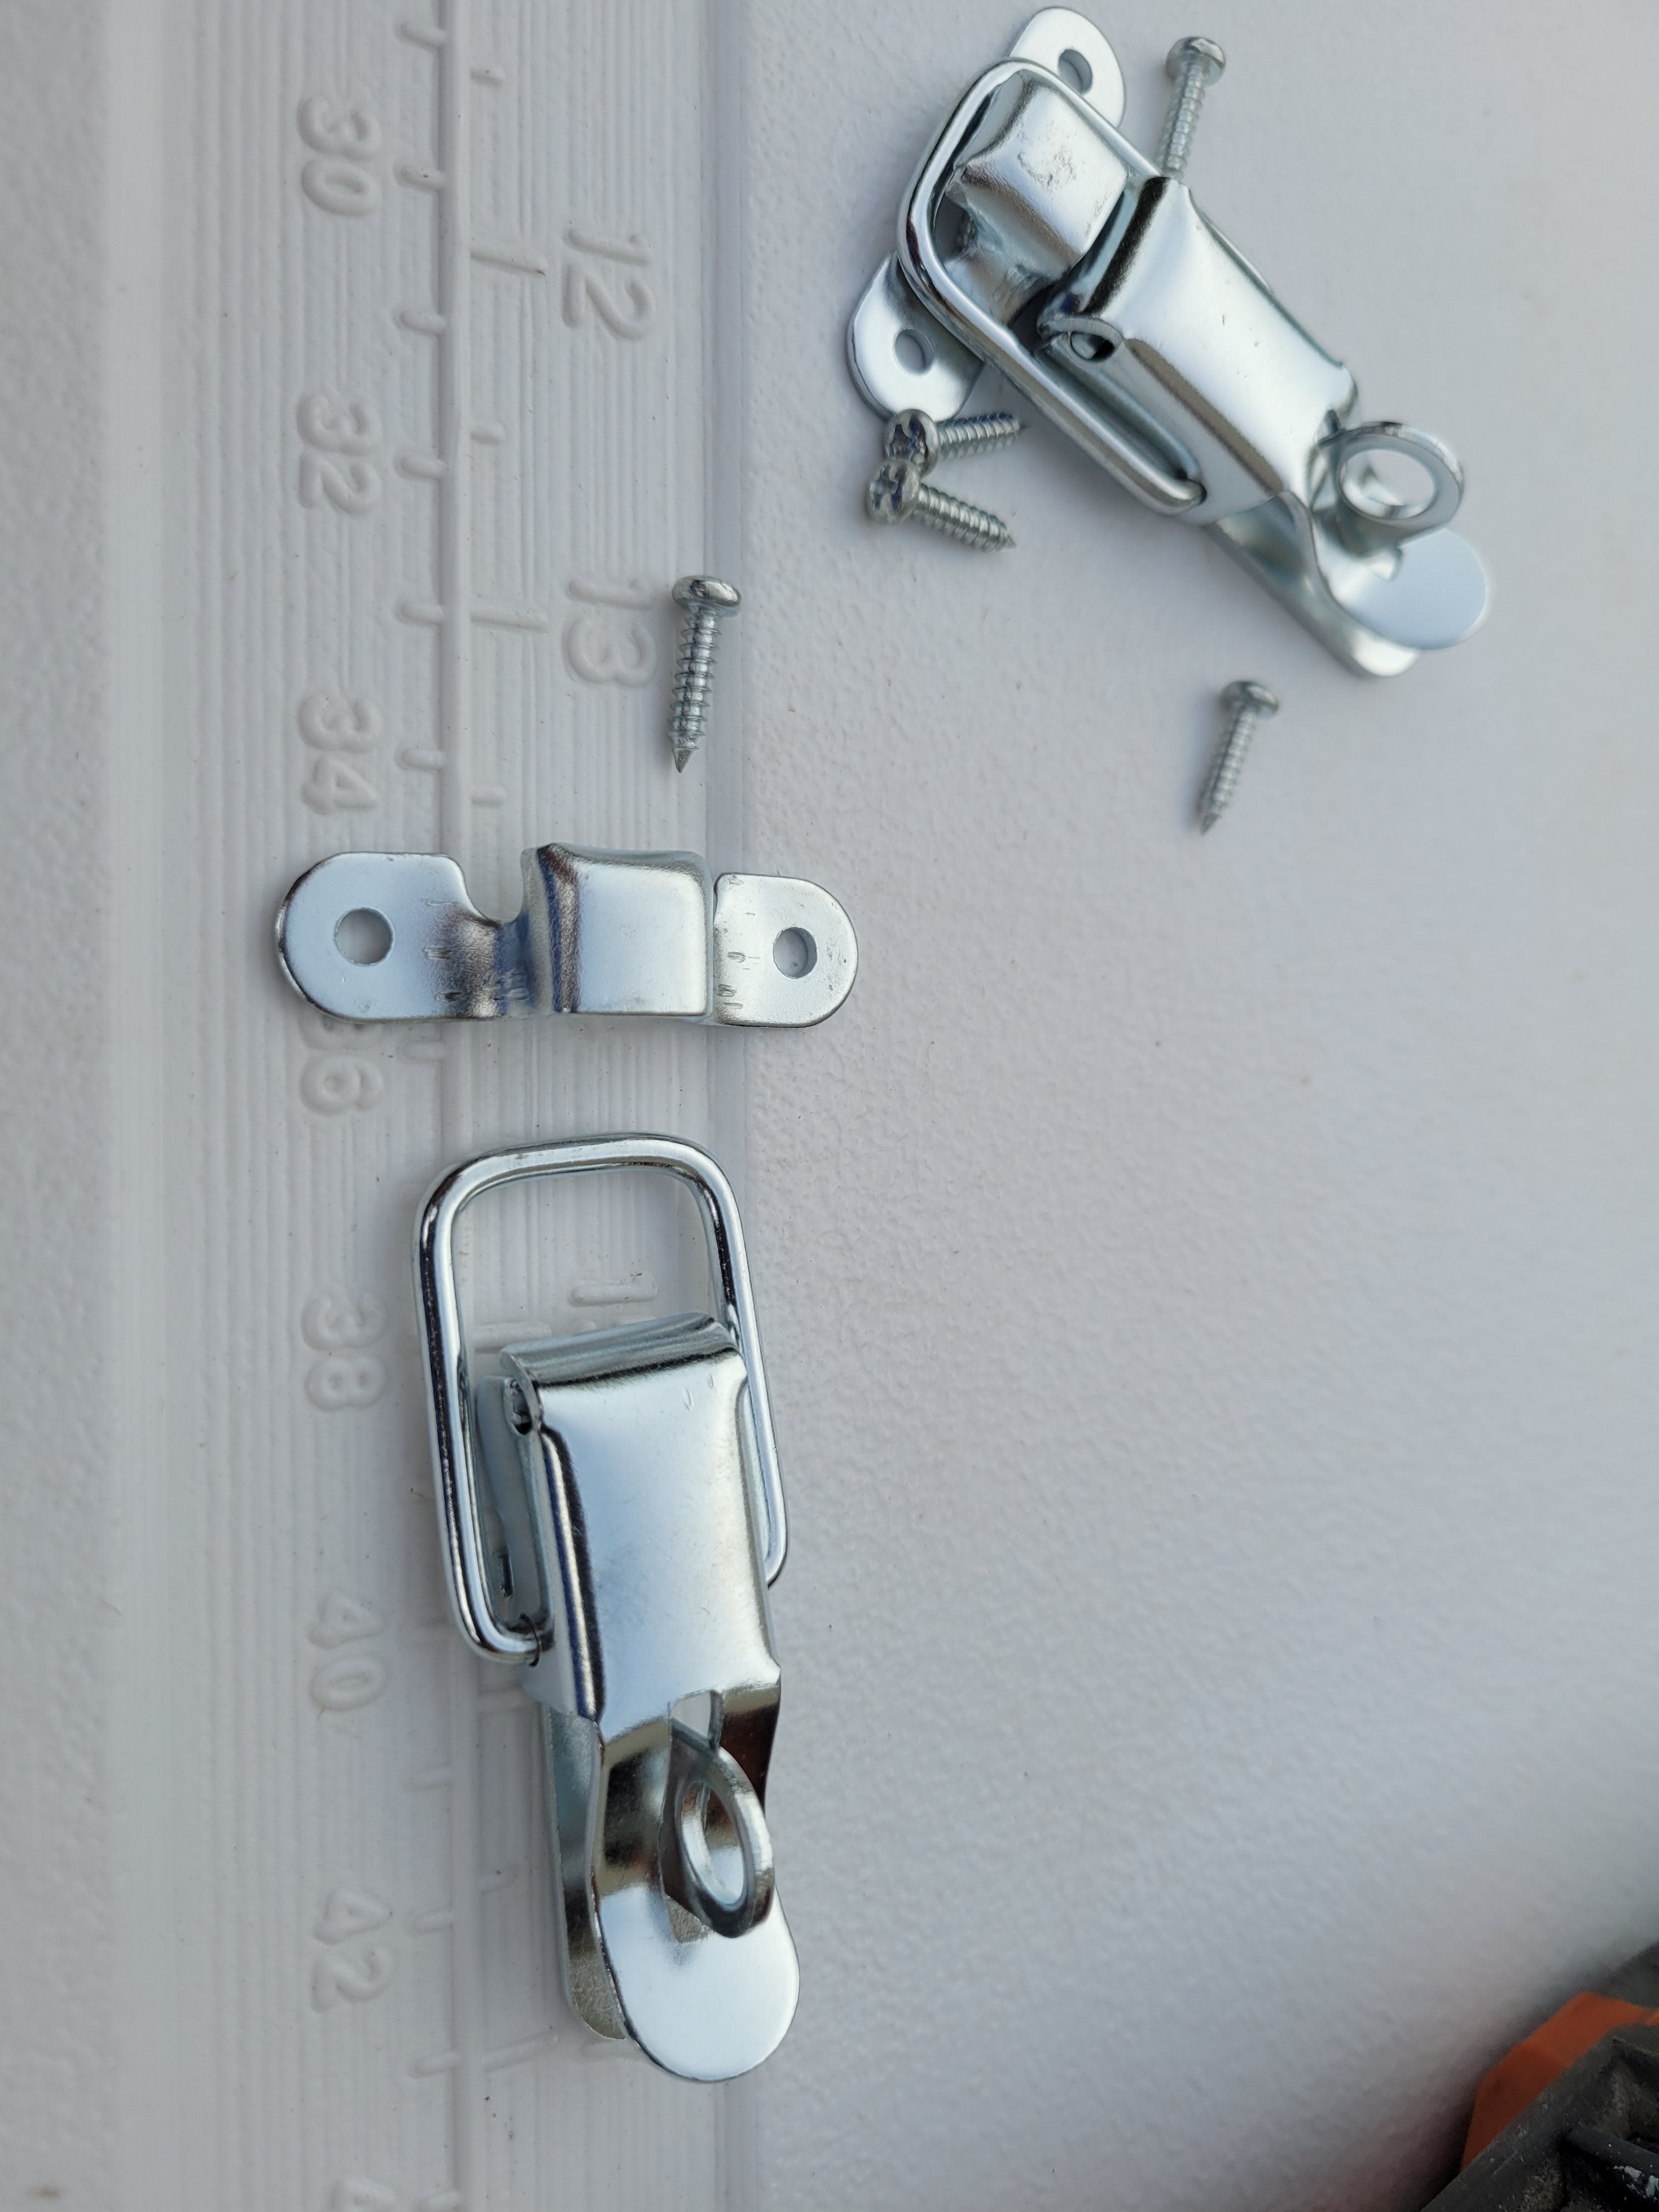
The final step for the Bootleg yeti was to attach new latches for the cooler. The original latch was broken and long gone. That original design would not really work for this cooler with the gasket installed though. You want chest latches that can apply pressure to the lid to create the best seal possible when you close them.
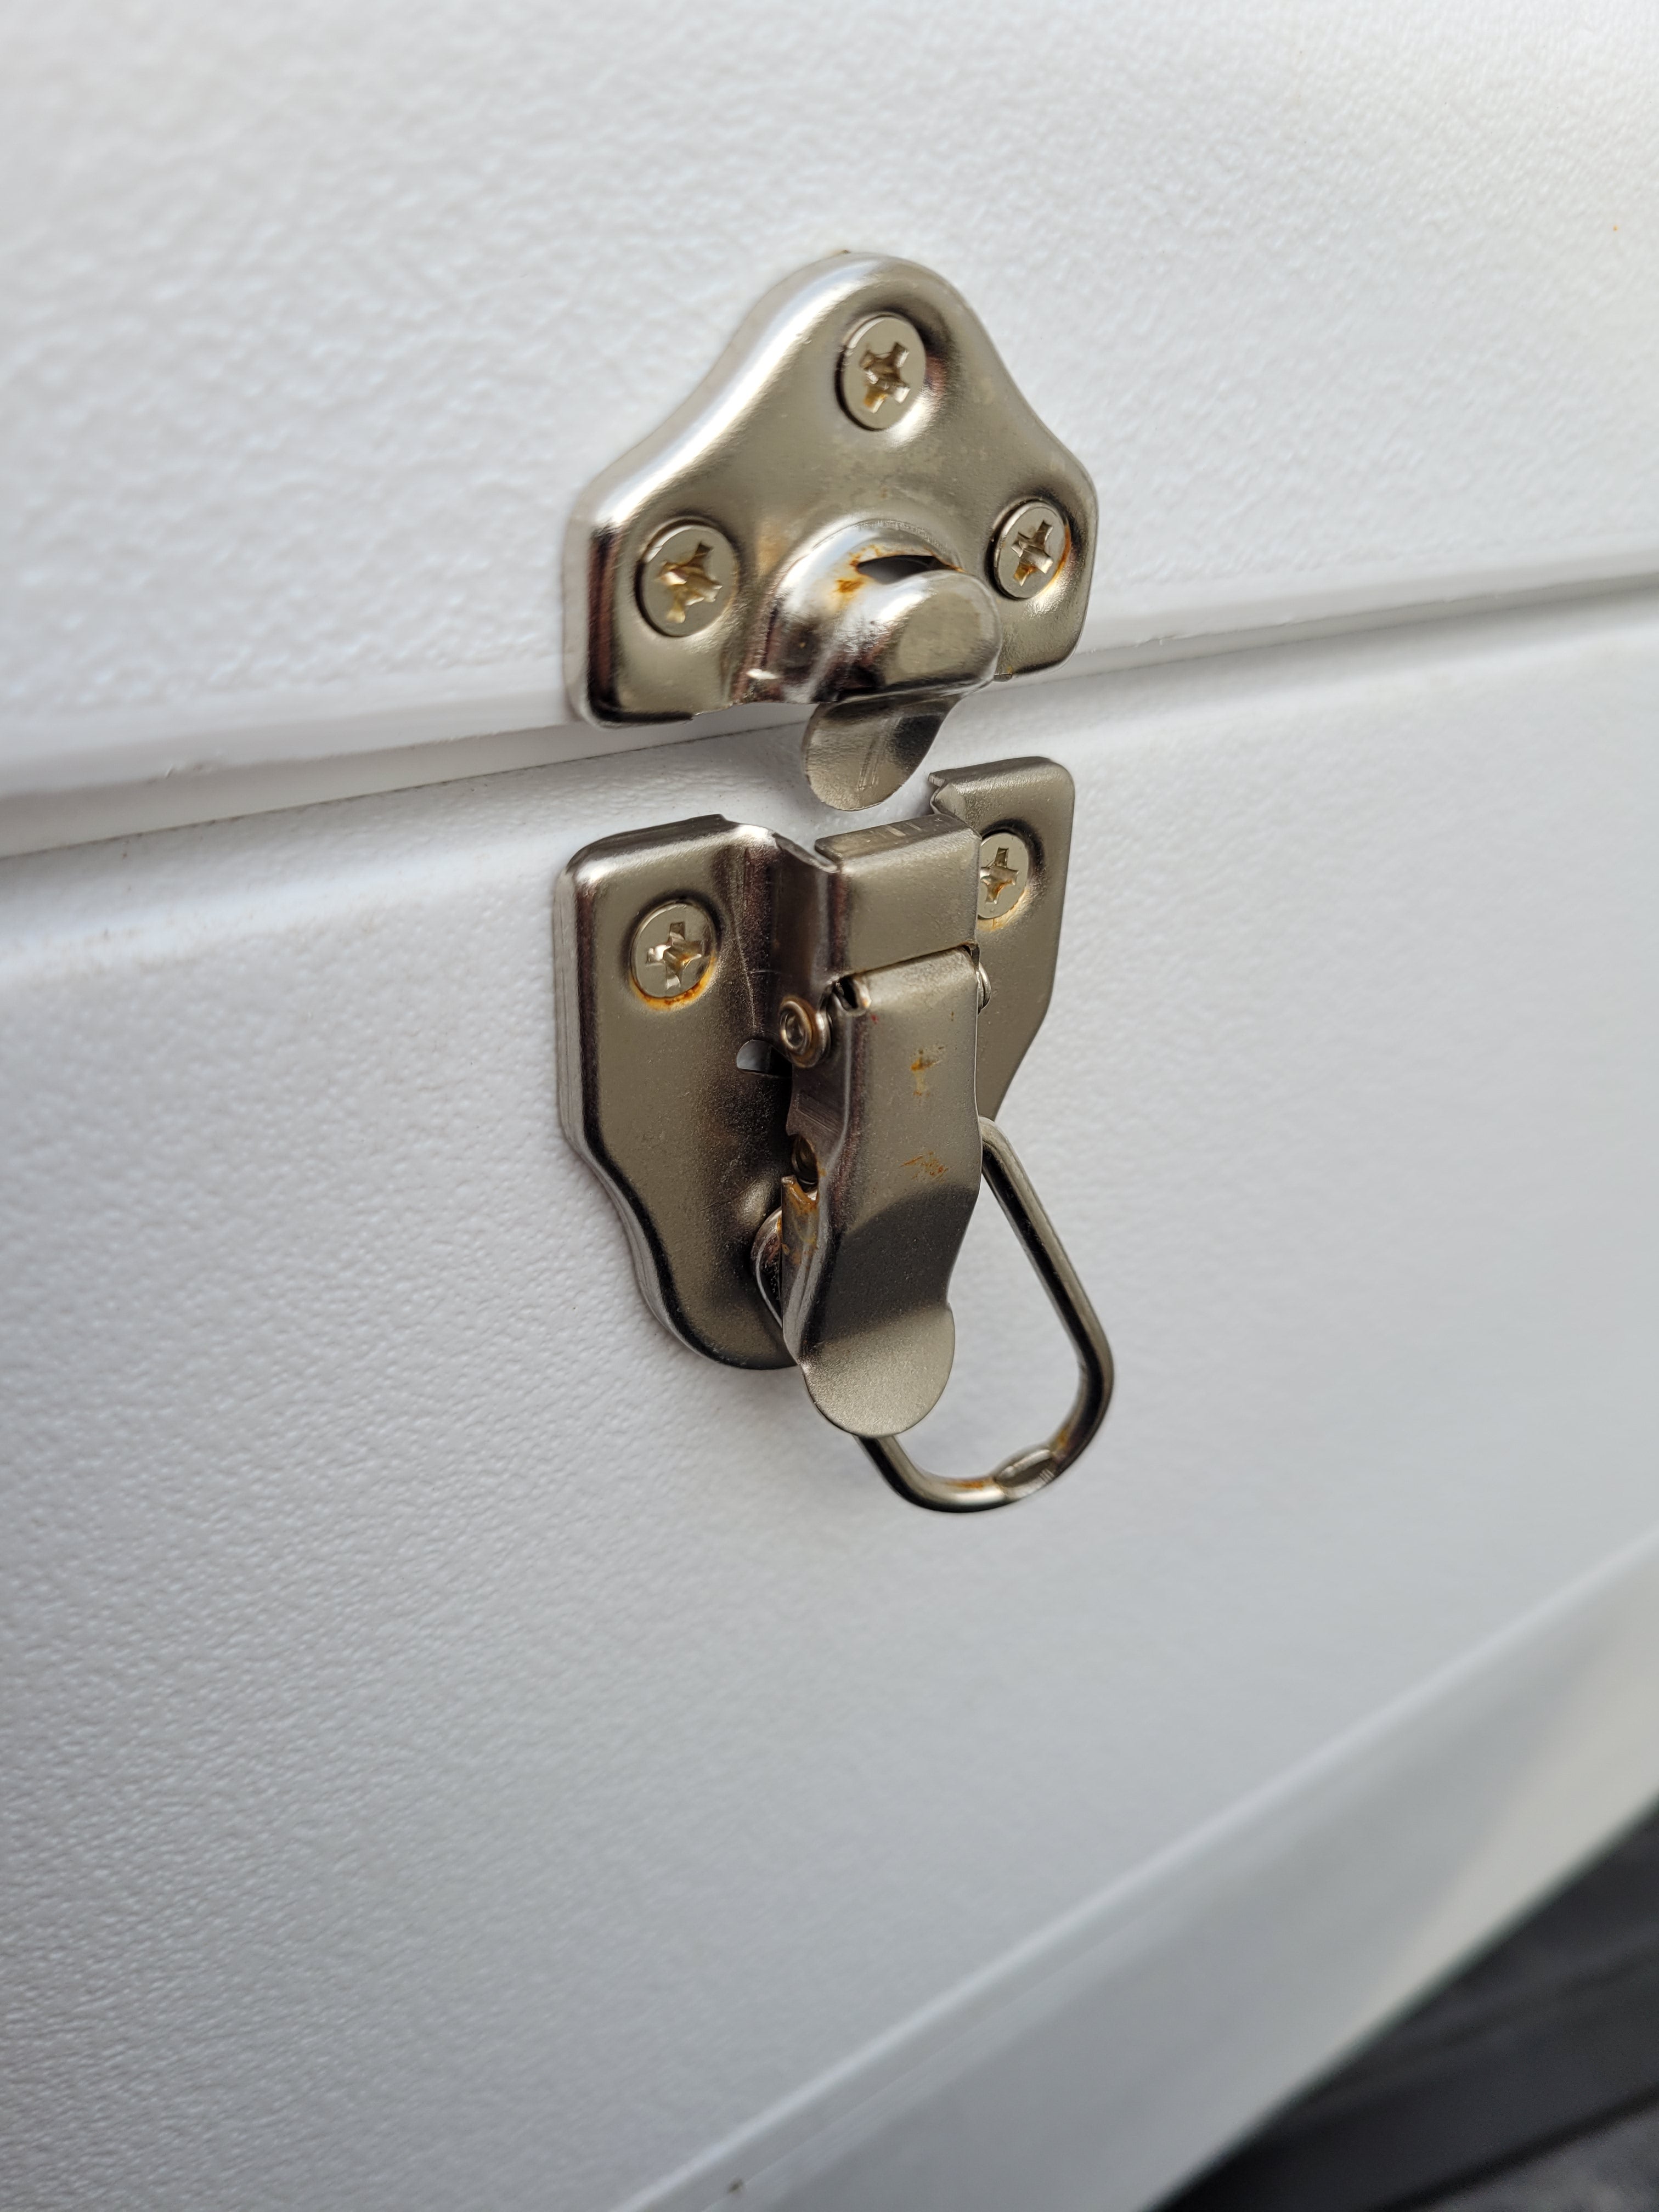

But don’t use Home Depot Chest latches, or any chest latches that have this design. The hole that has the wire will warp and bend. These latches gave out while I was on a fishing trip, while they could still close. As soon as you opened them they dropped the wire into the truck bed. So those latches had to go, I got another pair from a local hardware store, these have held up much better and even have the benefit of being able to have a lock attached to it. So while I wouldn’t call this bear rated but definitely enough to keep nosy people out of your cooler if you lock it.
Total spent on this little project of reviving this old cooler, I spent about $20 dollars in materials and a couple of hours of time. During initial tests with this Bootleg Yeti, it did hold ice better than before we put it away. It was only getting a couple of days of holding ice at that point. With the gasket and latches though, I got about 4 days of it holding ice. That’s a substantial performance improvement compared to how it performed before.
There are a couple of things that could be done to cooler to possibly improve performance though. Injecting more spray foam into the lid could be something to be done. When screwing in the second set of latches I noticed the lid did not have insulating foam all the way to the edges. As well as redoing the gasket material so there are no gaps left.
While both of these could help with the ice retention, I feel like the additional effort and money might not be worth the results. I’d say just using a decent set of chest latches and adding a gasket is a very cost-effective method of improving an old cheaper cooler. I will have a side-by-side competition out soon of this Bootleg Yeti vs A Engel Cooler. That way we can see if this might be the ticket for you instead of spending so much on a rotomolded cooler.
