DIY Taxidermy: Trophy Fish Jaw Mount – Cheap & Easy
Eugene L. 06.06.22

A good easy way to make a trophy of a good catch is a jaw mount. Similar to a European Mount for deer, you are saving the jaws and teeth of the fish as a trophy. No need to mess with preserving skin and scales, this is a very straightforward method that just takes a lot of time. For these mounts, I recommend sticking to larger fish only, with a substantial bone structure for their jaws. Anything very toothy is very impressive once completed and highly recommended.
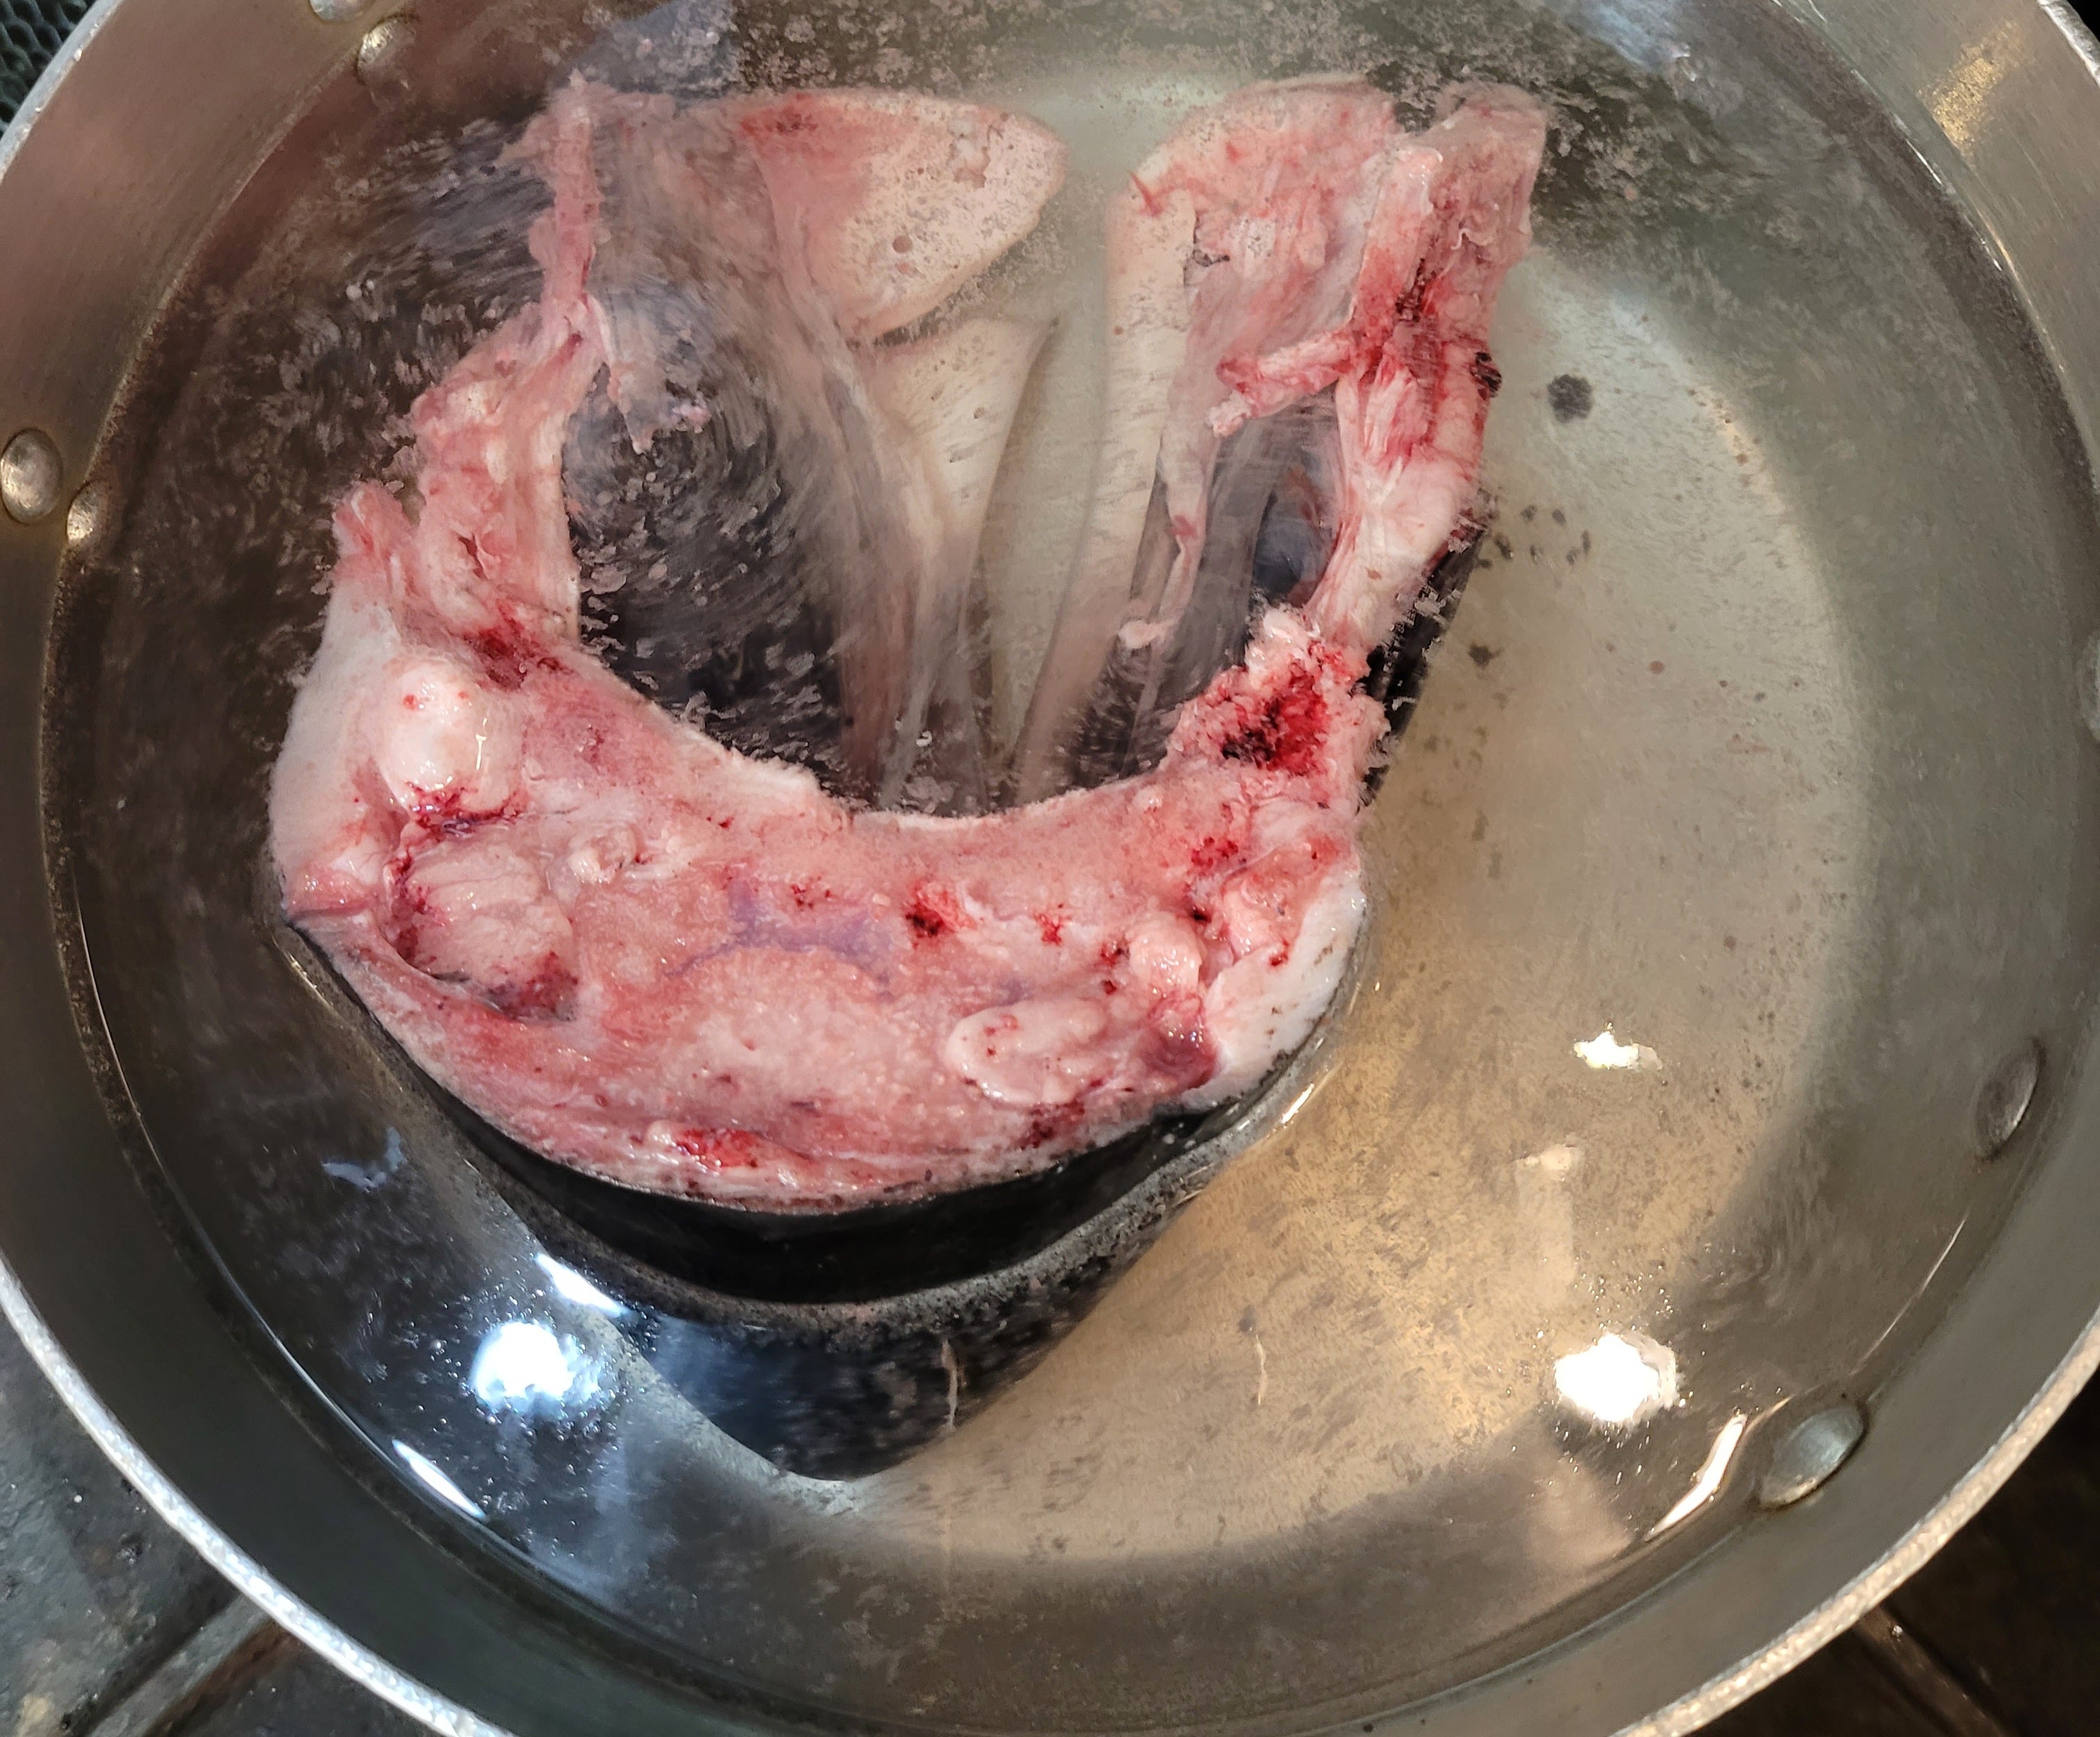
For starting off a jaw mount you can either cut the jaws off the fish carefully. You don’t want to cut off a piece or nick the jawbones. While this takes more time to prep before the boil, it means an easier job de-fleshing the bones. Or, you can just chuck the whole head into the pot to be boiled. You’ll have to sort through the leftover bones and flesh in the pot though. Whichever way you go with though, you want to boil the fish jaws or head just long enough for the meat to fall off the bones. If you over-boil the bones you will start losing teeth and breaking down. So, make sure to keep an eye on the pot and check periodically.
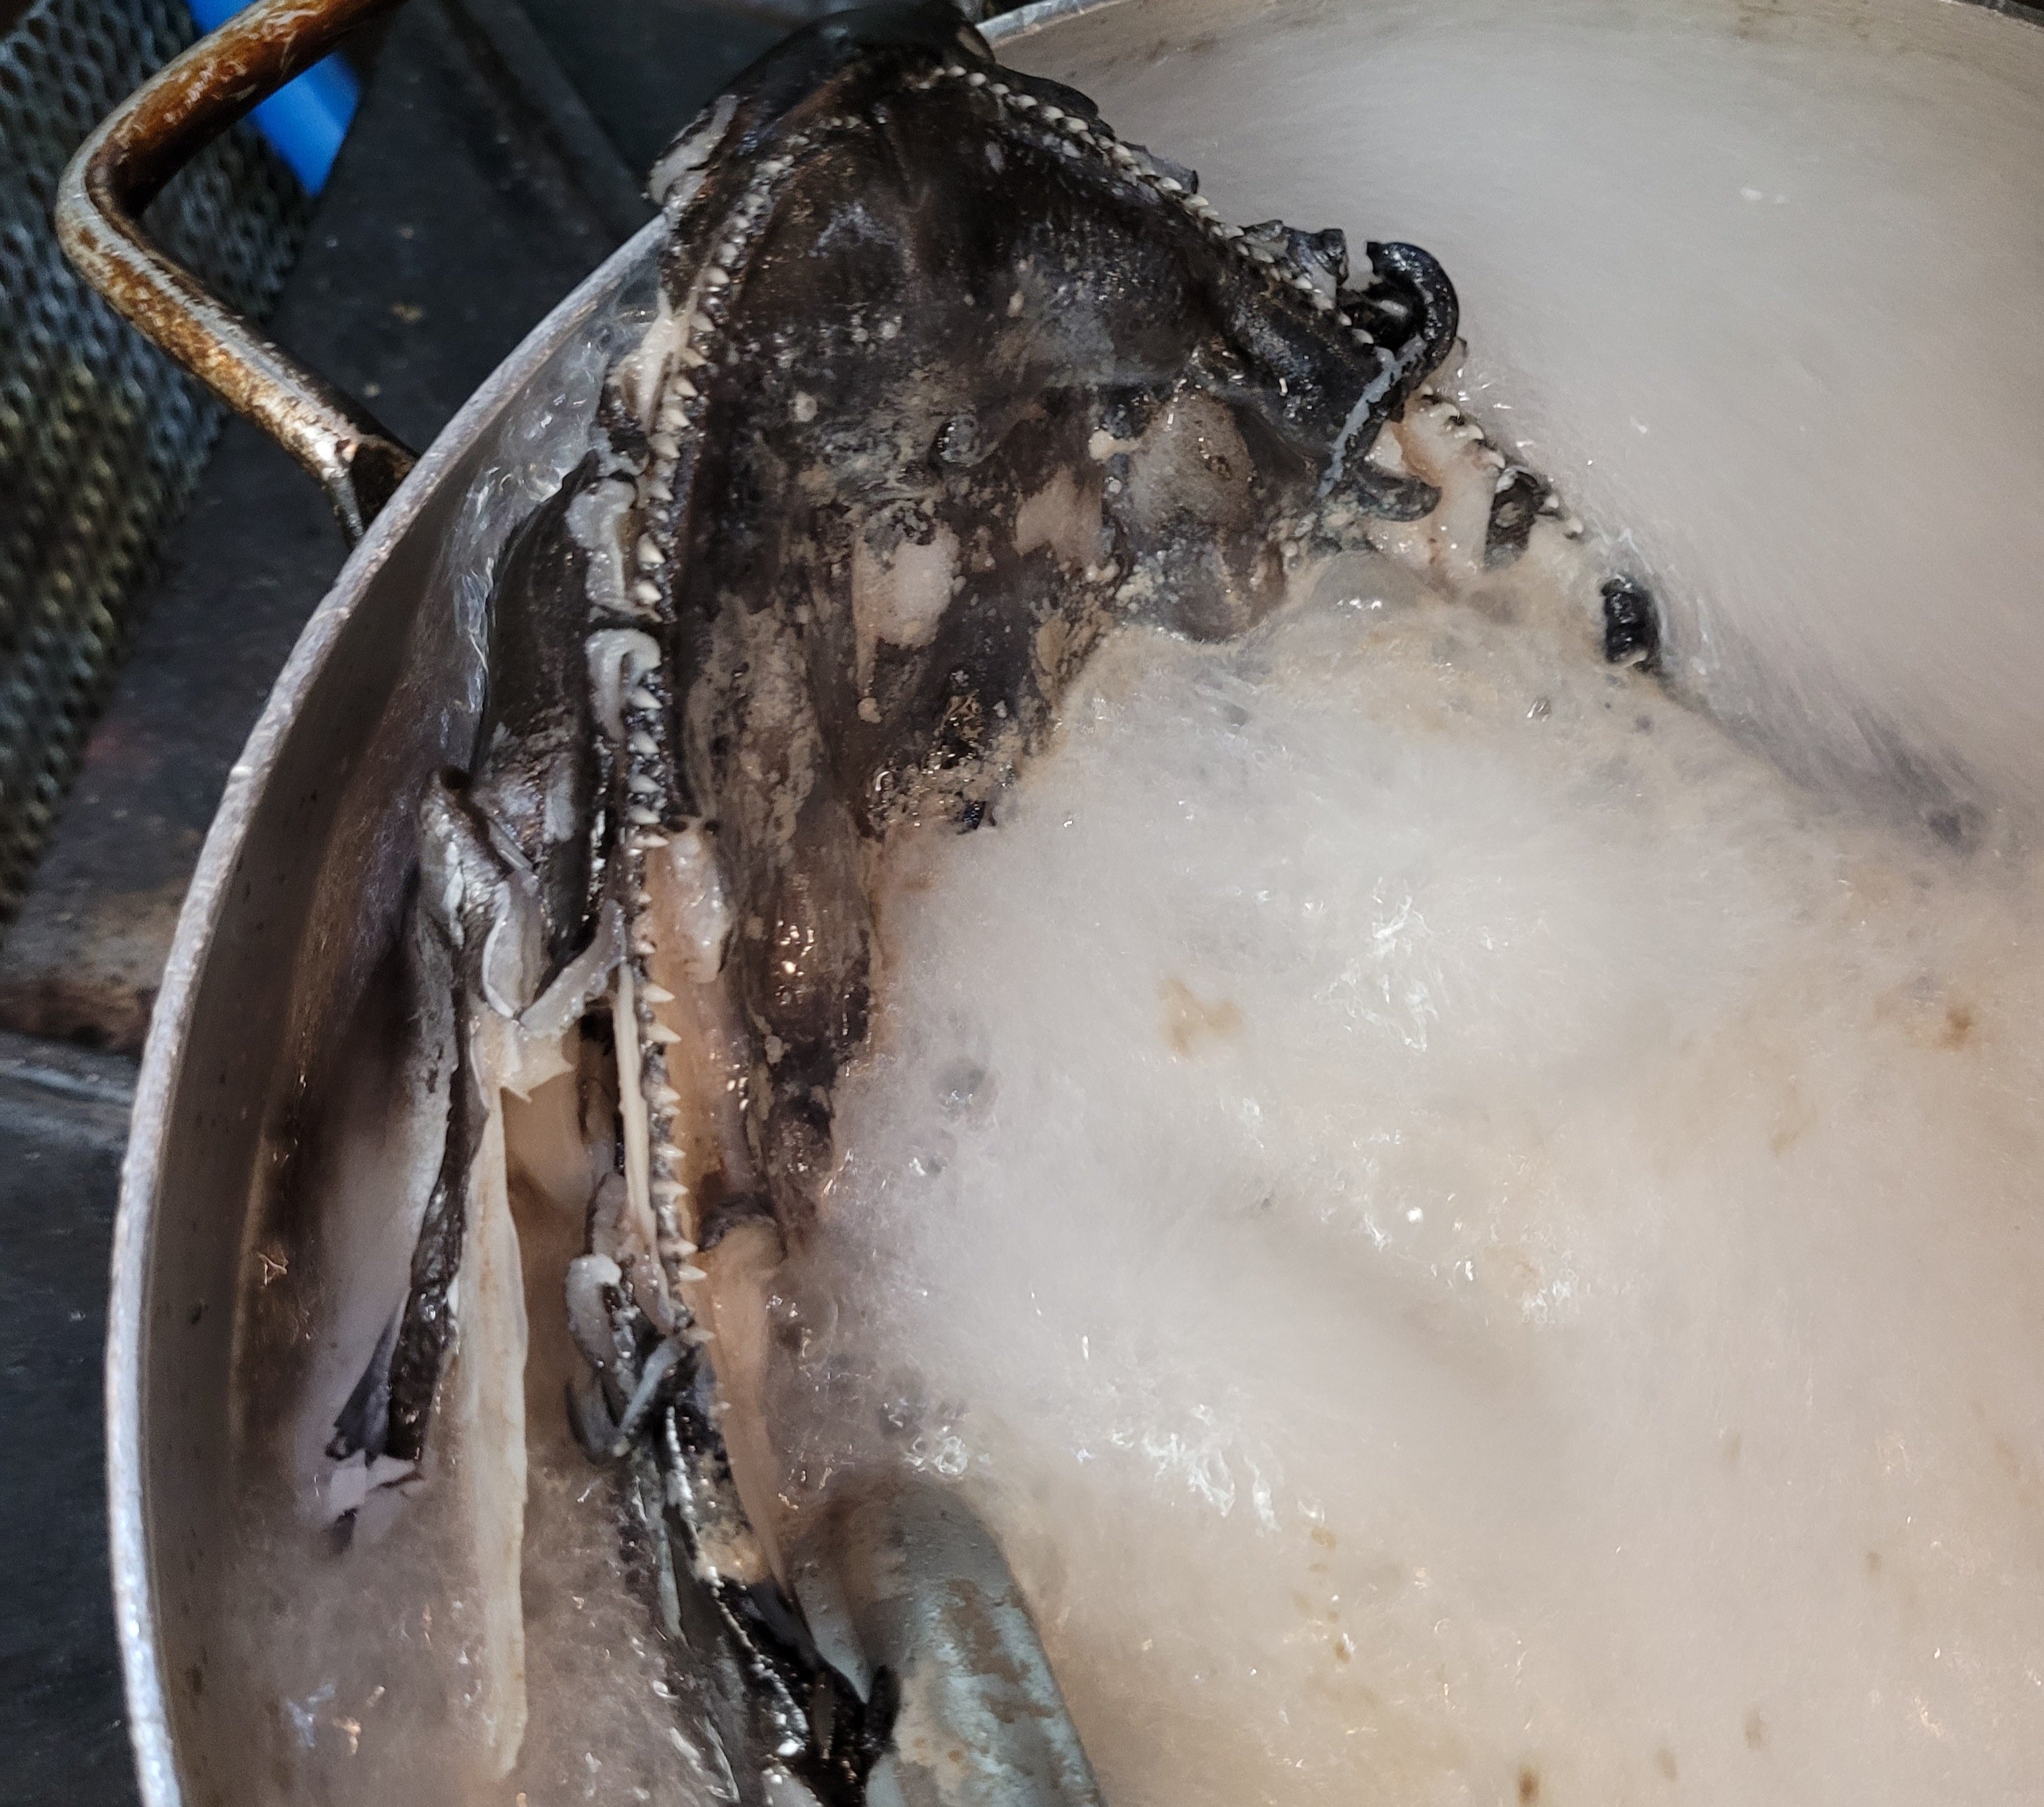
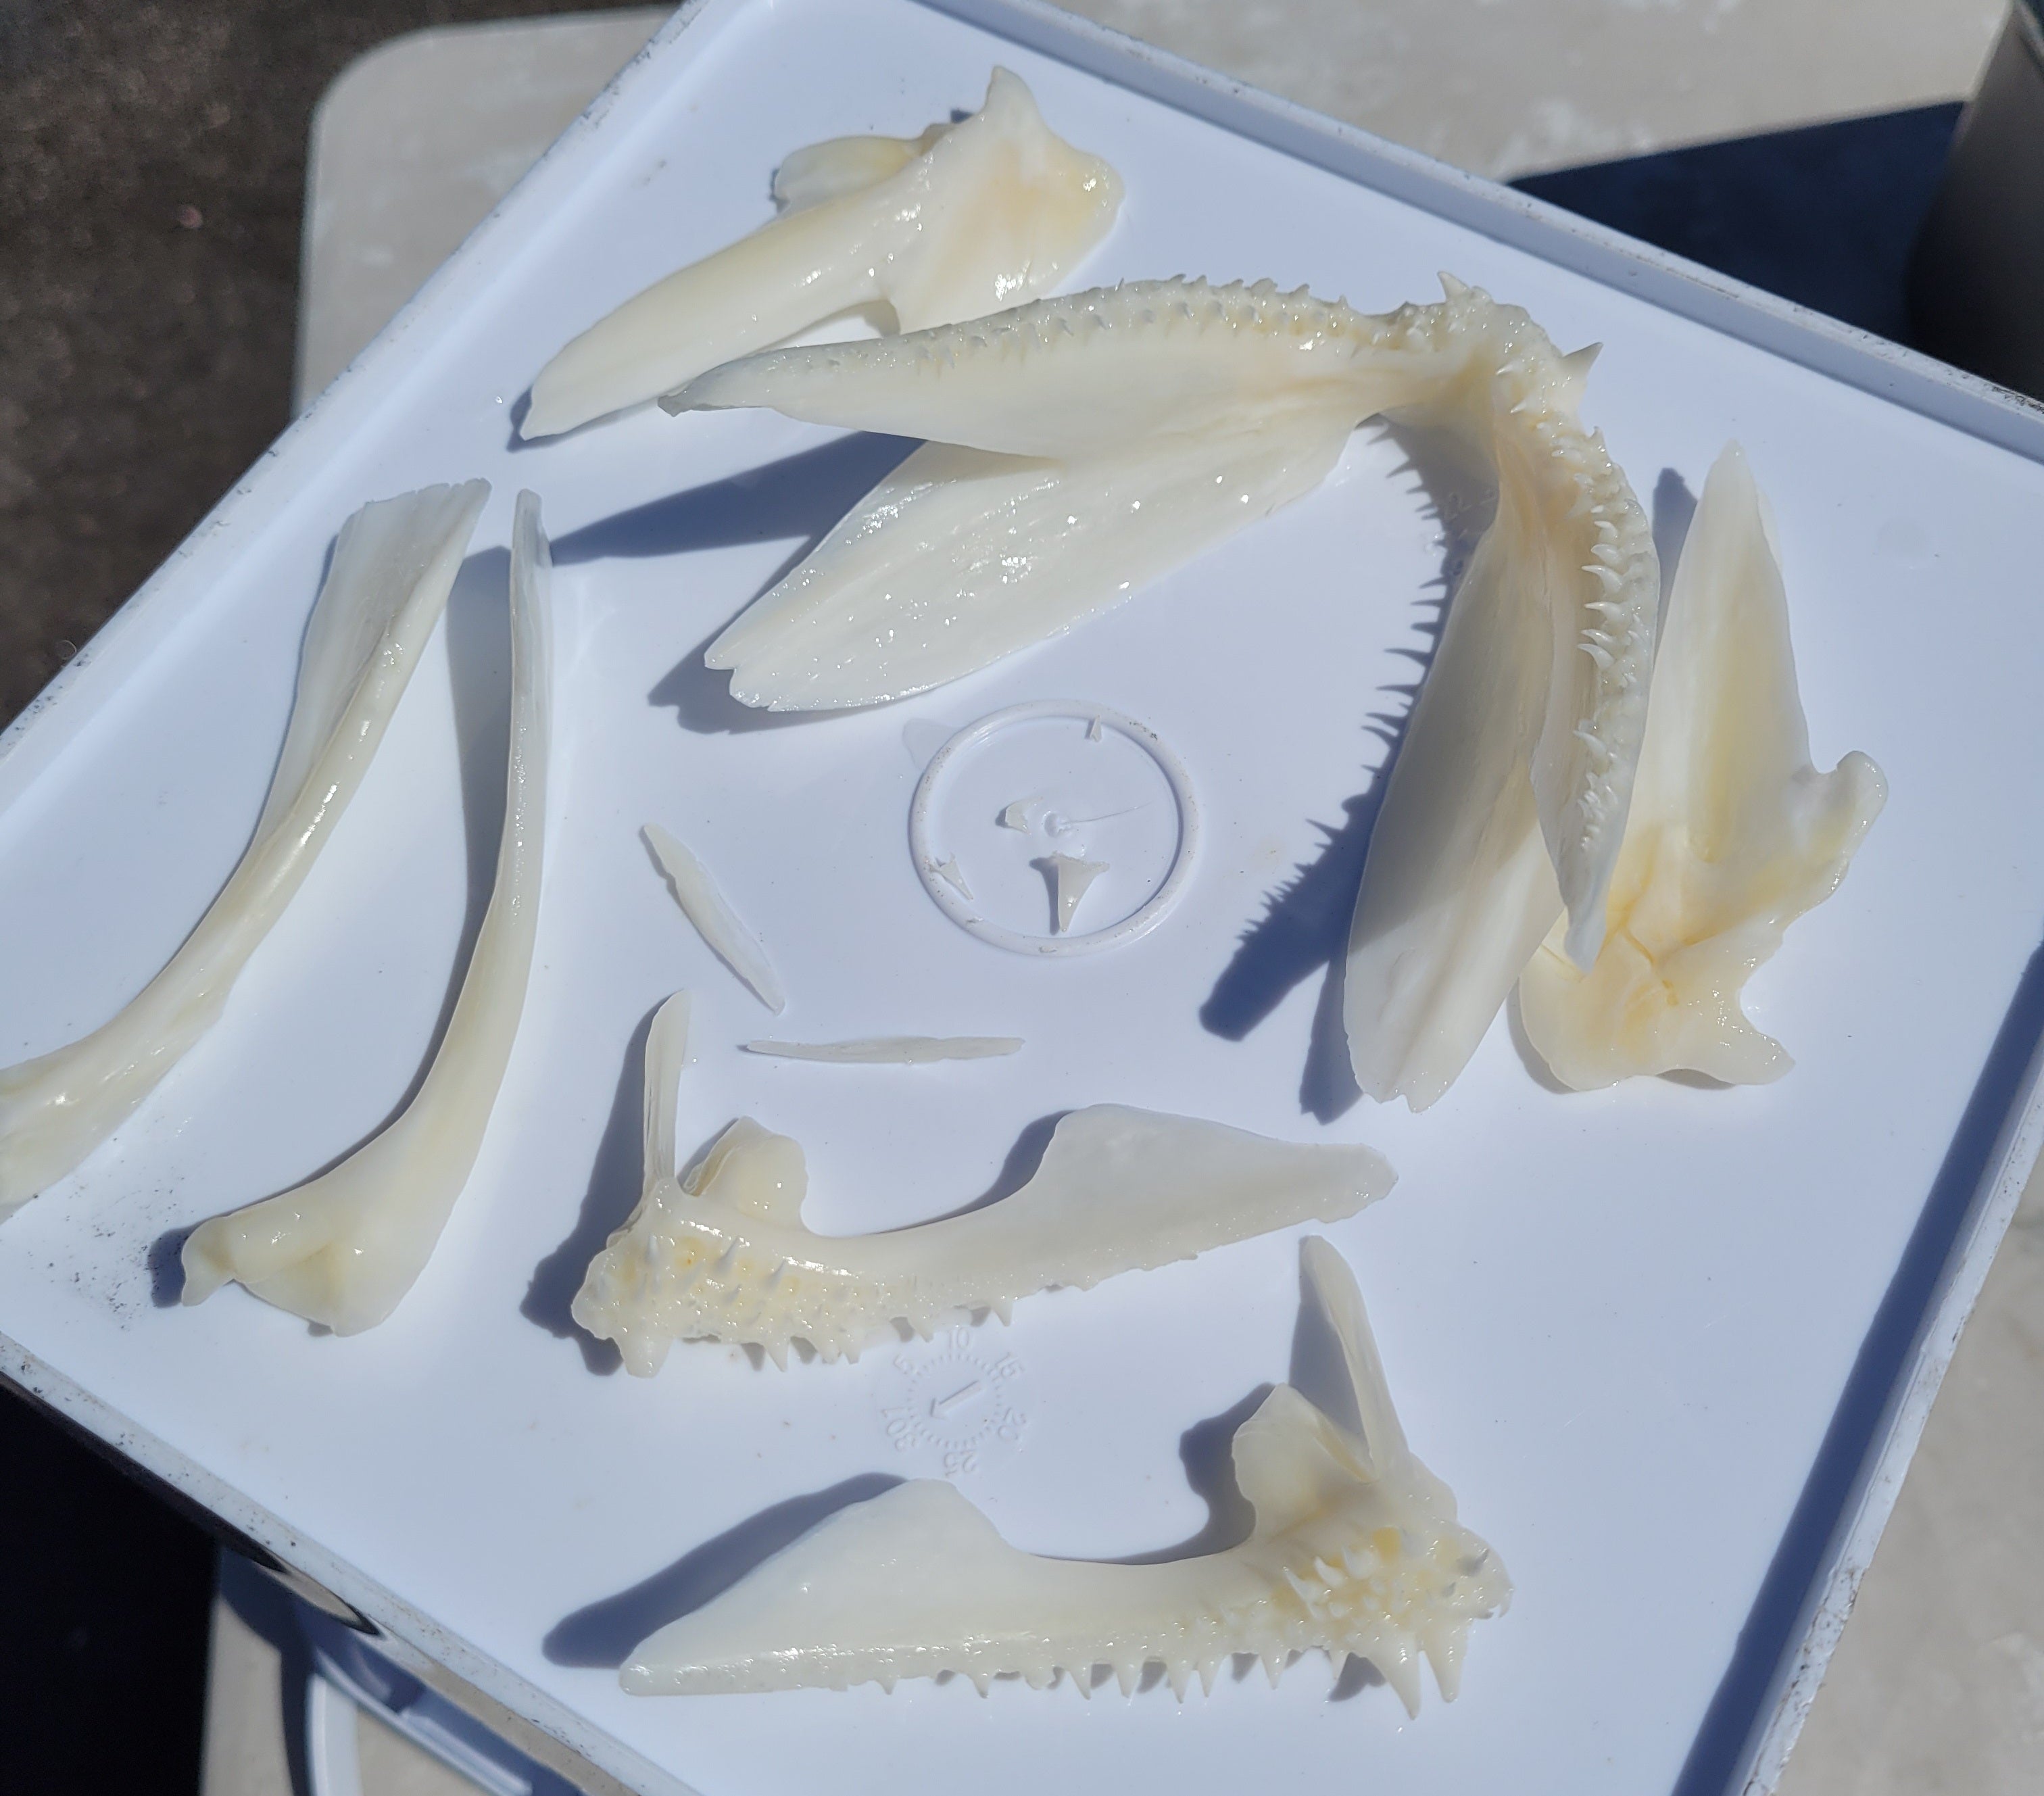
Once the jaws are ready, carefully remove the meat and skin from the bones. Doing this outside in a bucket with the hose in it or over a shop sink with the water running is a good idea. Remove as much flesh as you can but the tiny bits will be taken care of in the next step. Other methods that can be used for de-fleshing the jawbones would be putting the jaws into a mesh bag. Then, staking the bag to an anthill. The ants will pick the bones clean enough to start the next step, but will take a while. If for some reason you have a dermestid beetle colony, they will do a great job at cleaning the bones as well.
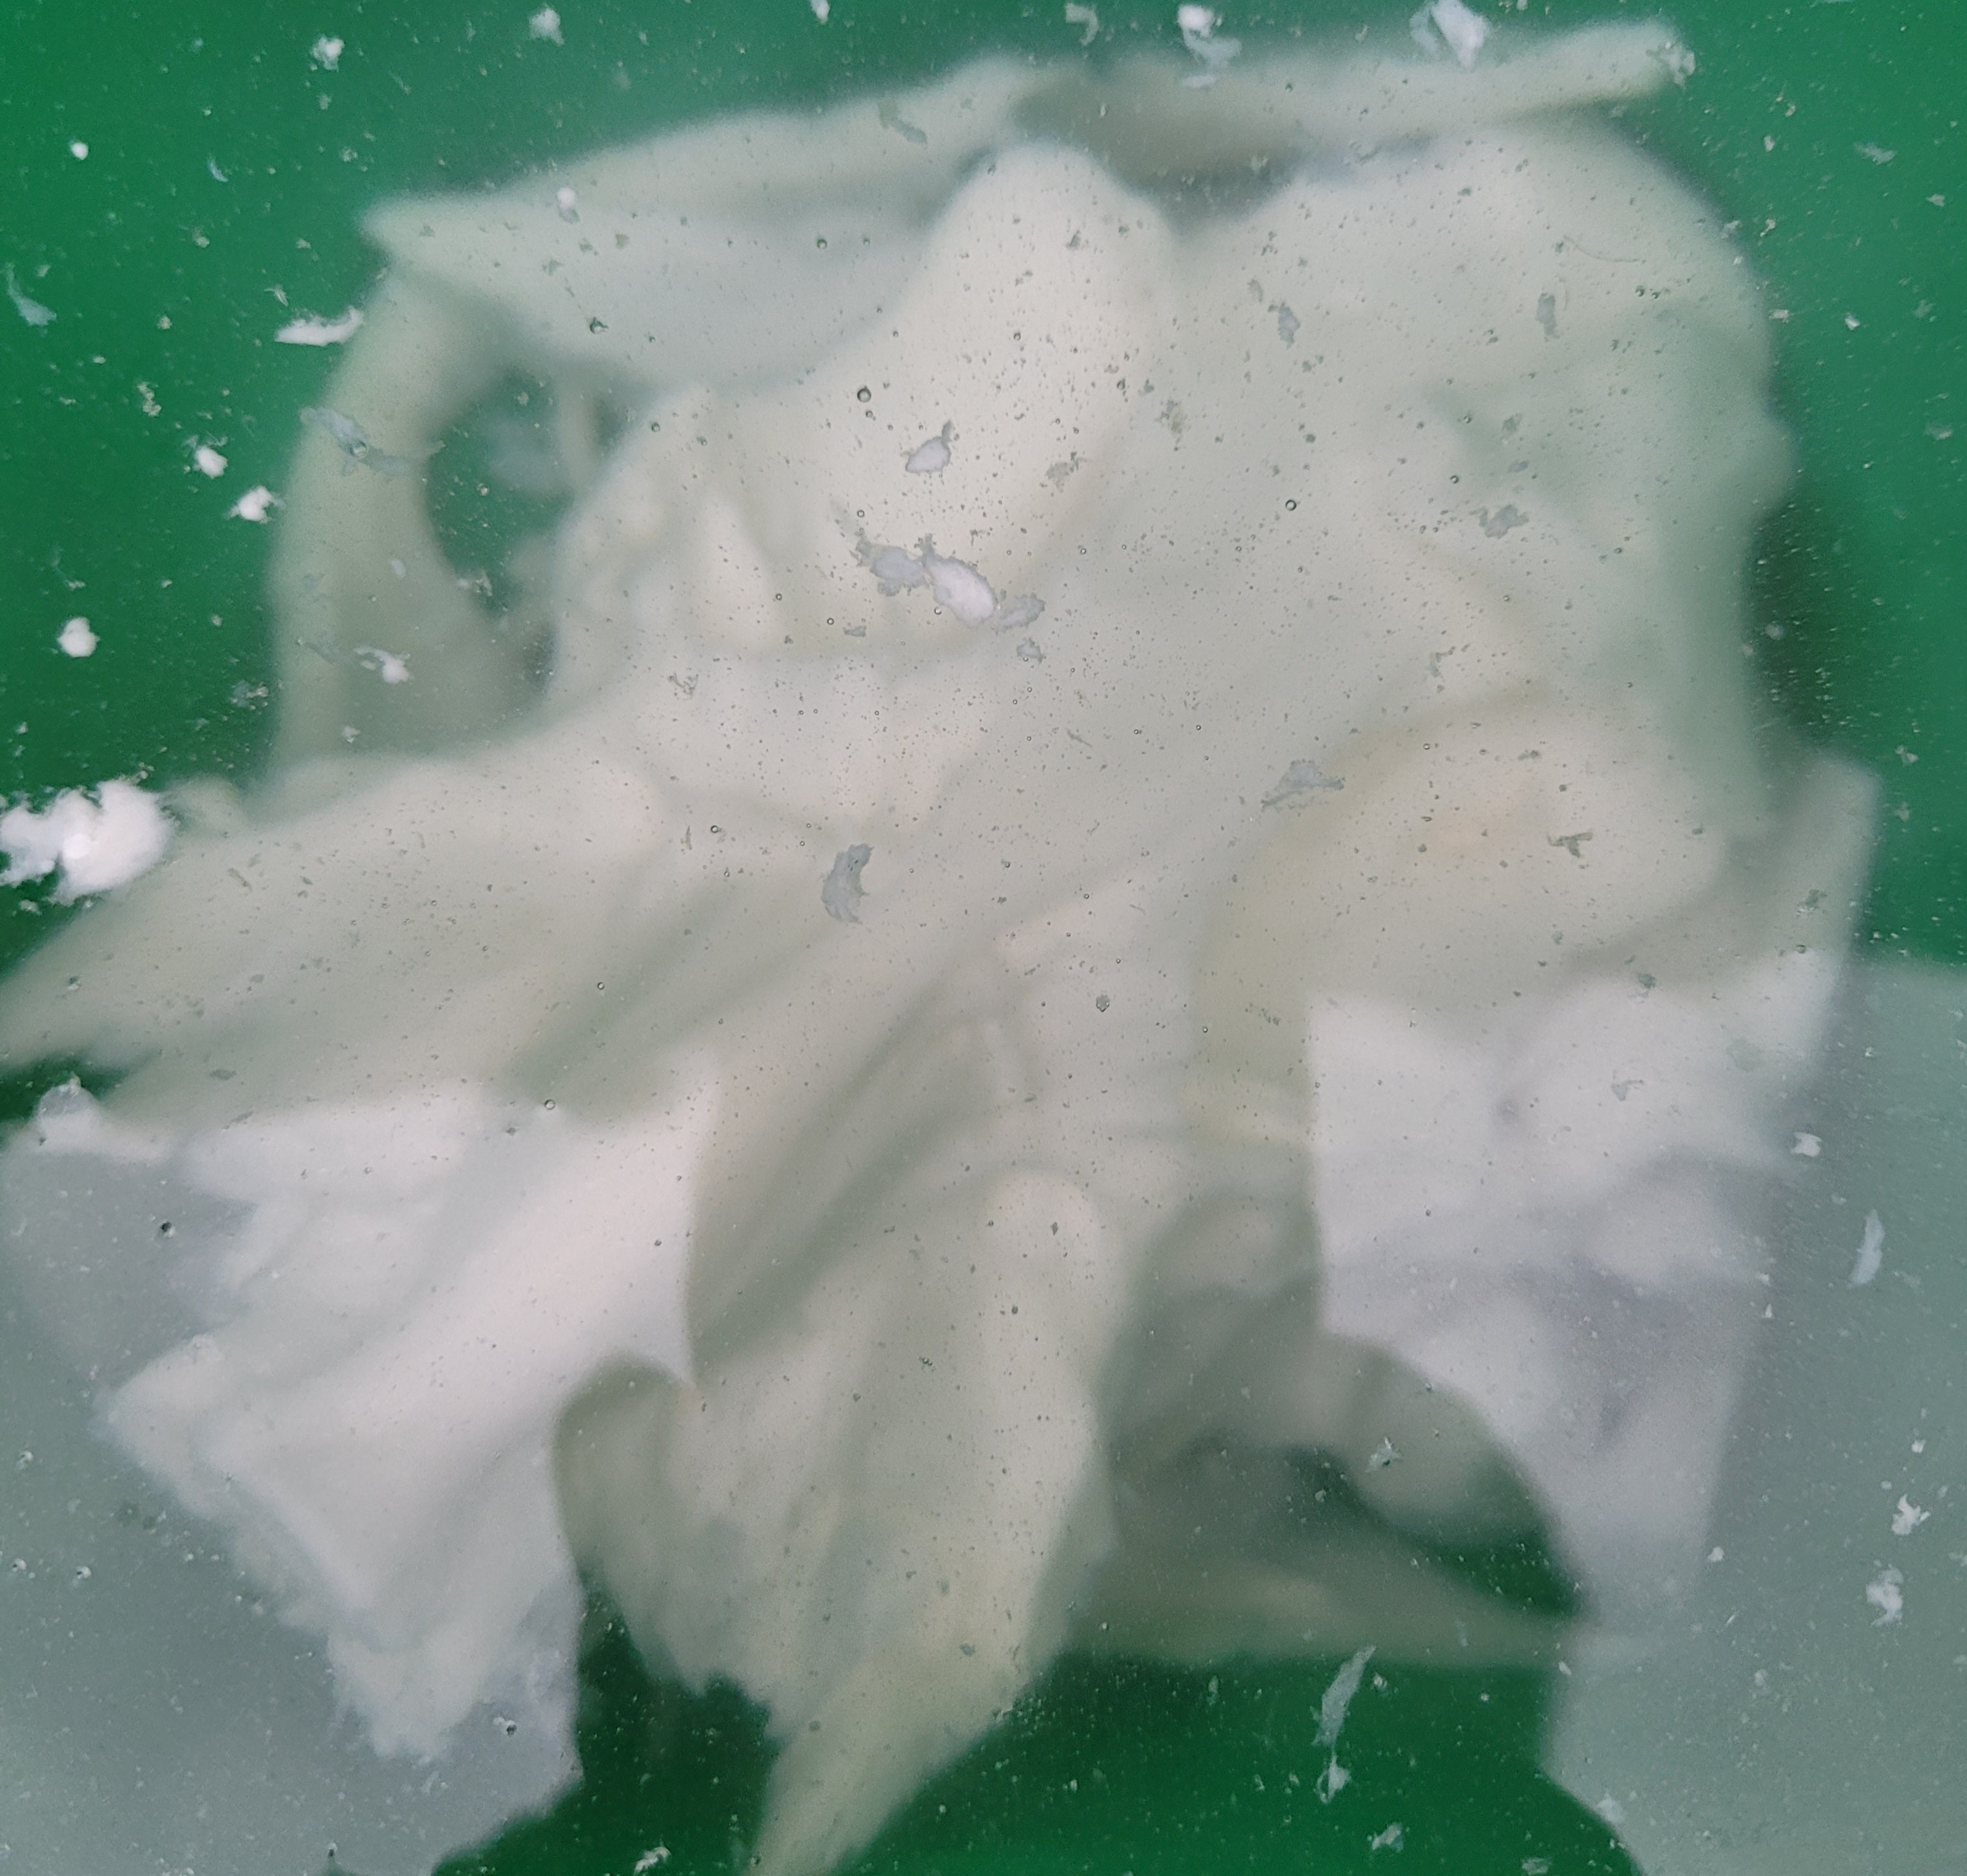
The next step is one of the longest steps, the soaking period. Now that the majority of the flesh is gone, it’s now time to remove the small pieces and pull the oil and fat from the bones. You will need some hydrogen peroxide and dish detergent. Put the bones in a container just big enough for them then pour in some hydrogen peroxide and a little dish detergent. For the hydrogen peroxide, you can use the 3% hydrogen peroxide available in the pharmacy section of the supermarket. Or, for faster results, you can order concentrated hydrogen peroxide online. Then, dilute it down to about 10 – 15% volume and soak the bones in that solution.
WARNING Hydrogen Peroxide in higher concentrations can easily burn you. Wear gloves and eye protection.
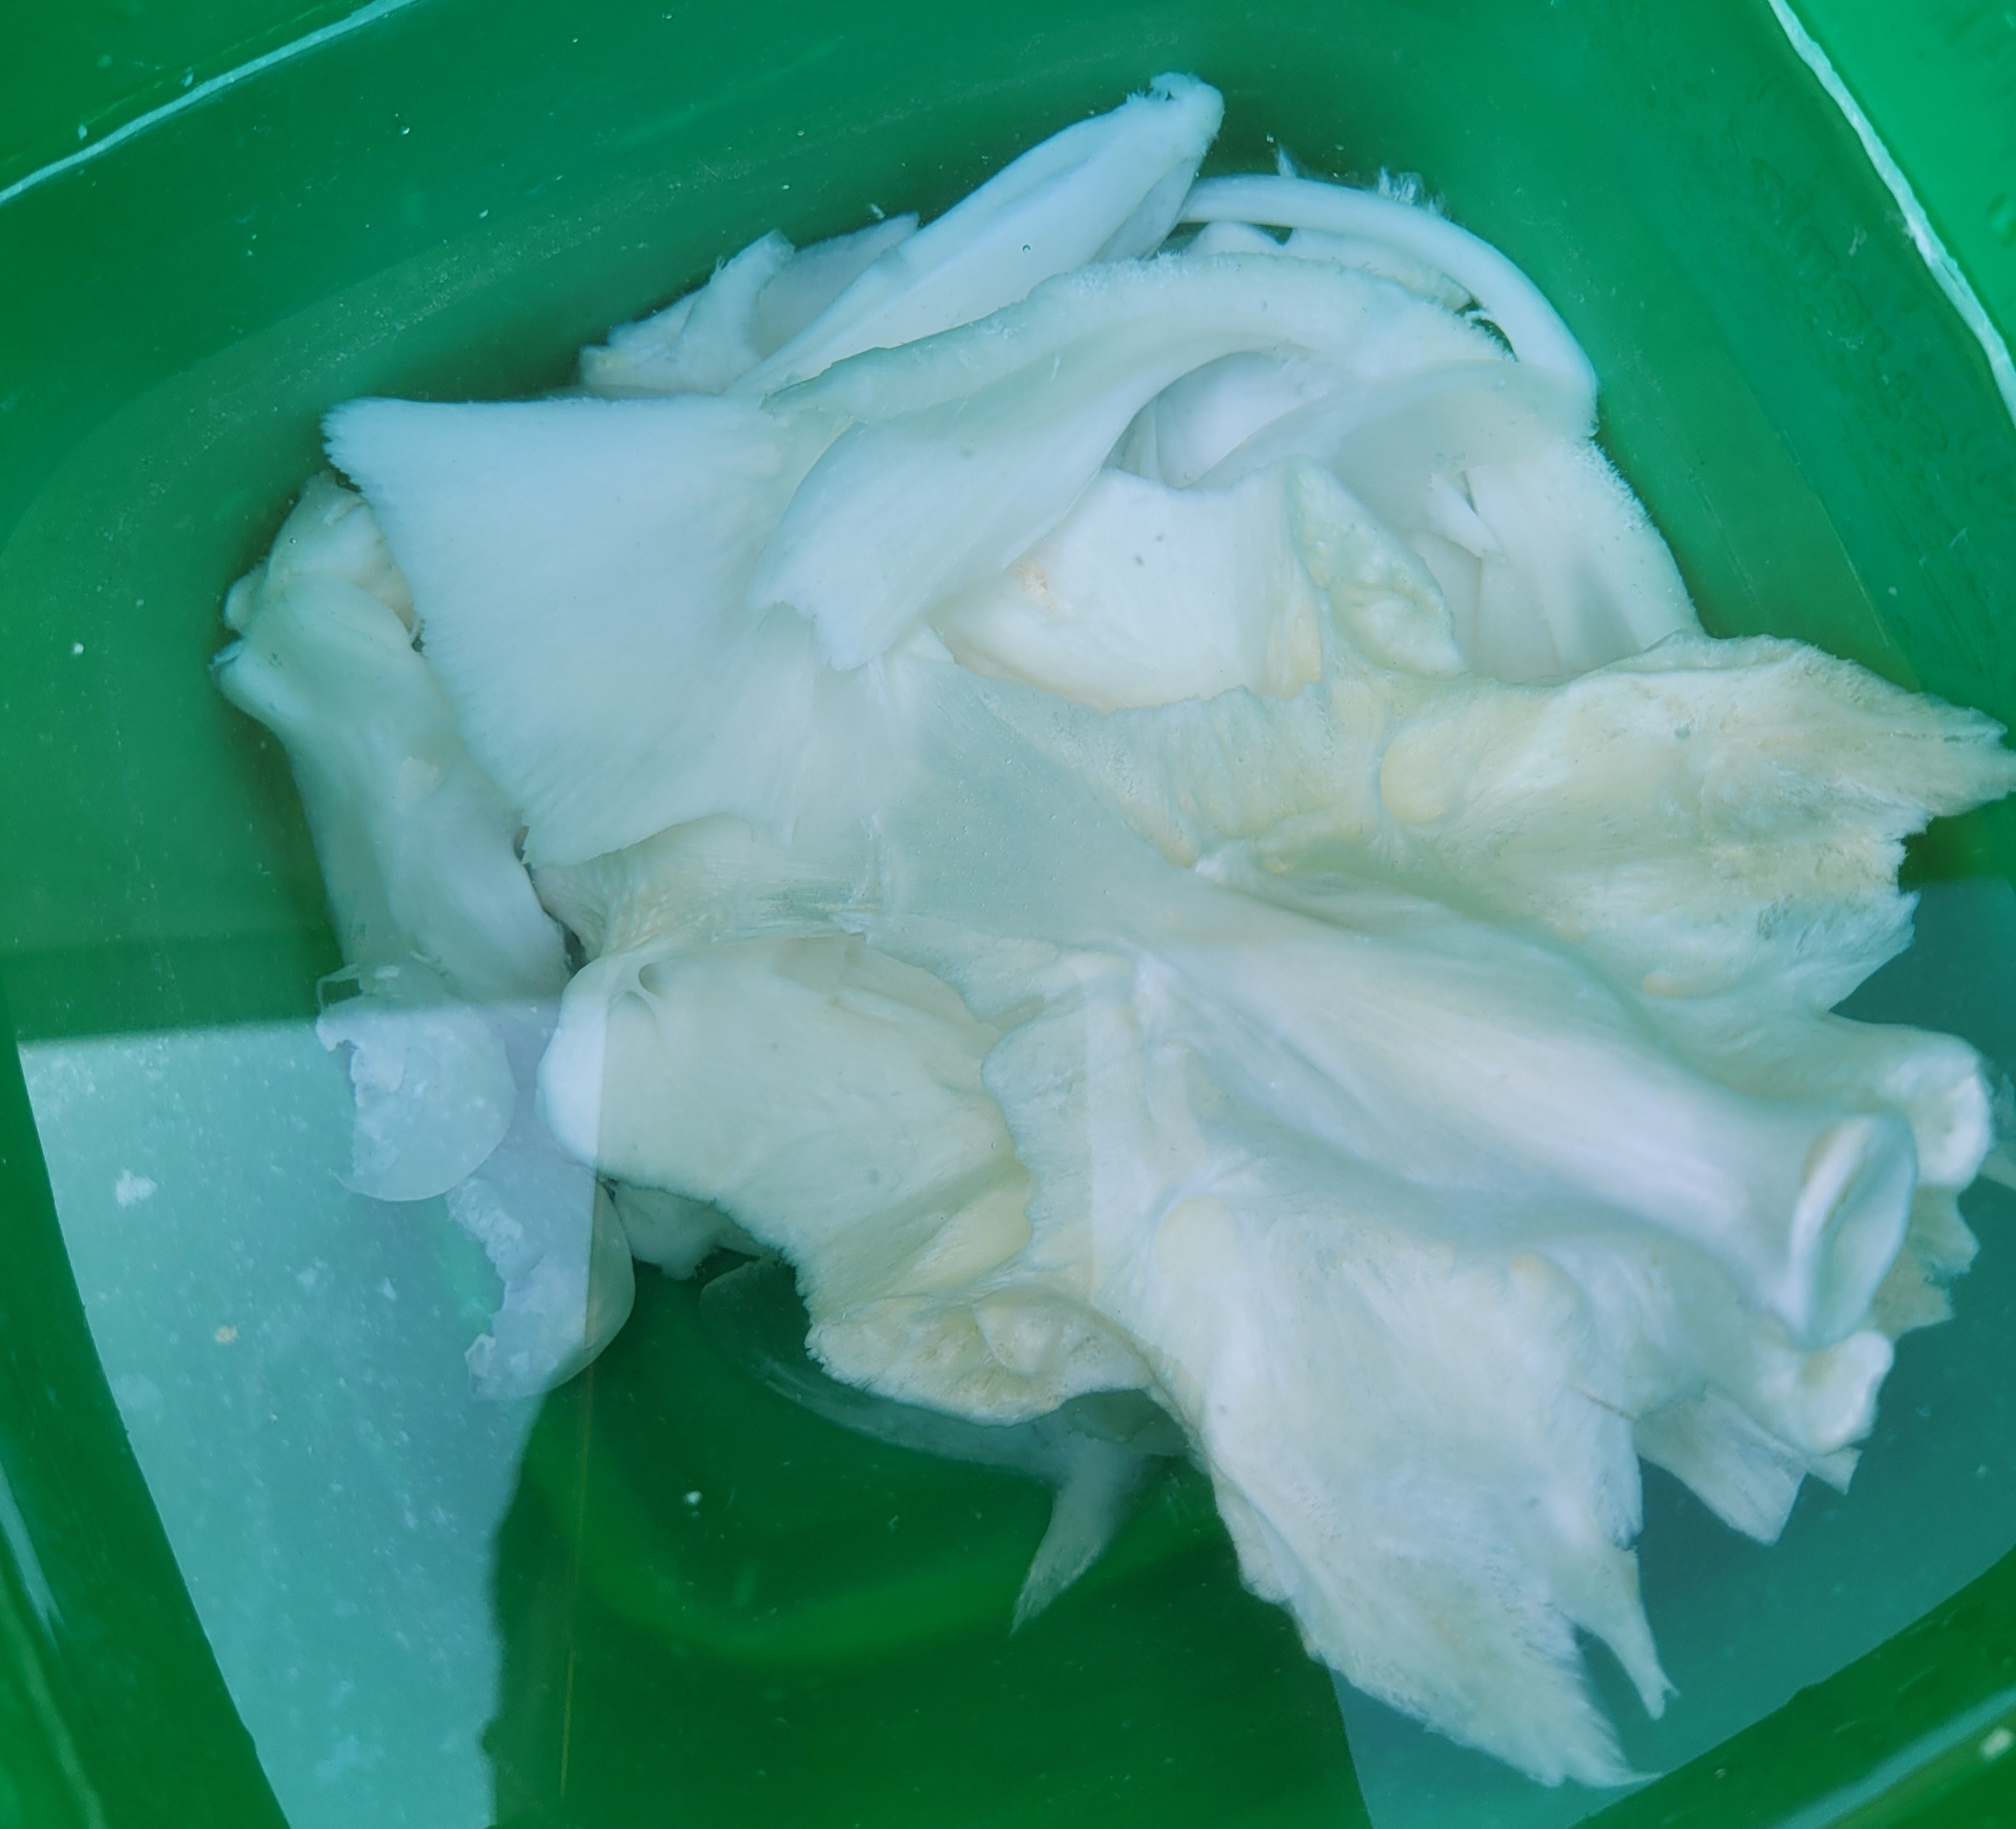
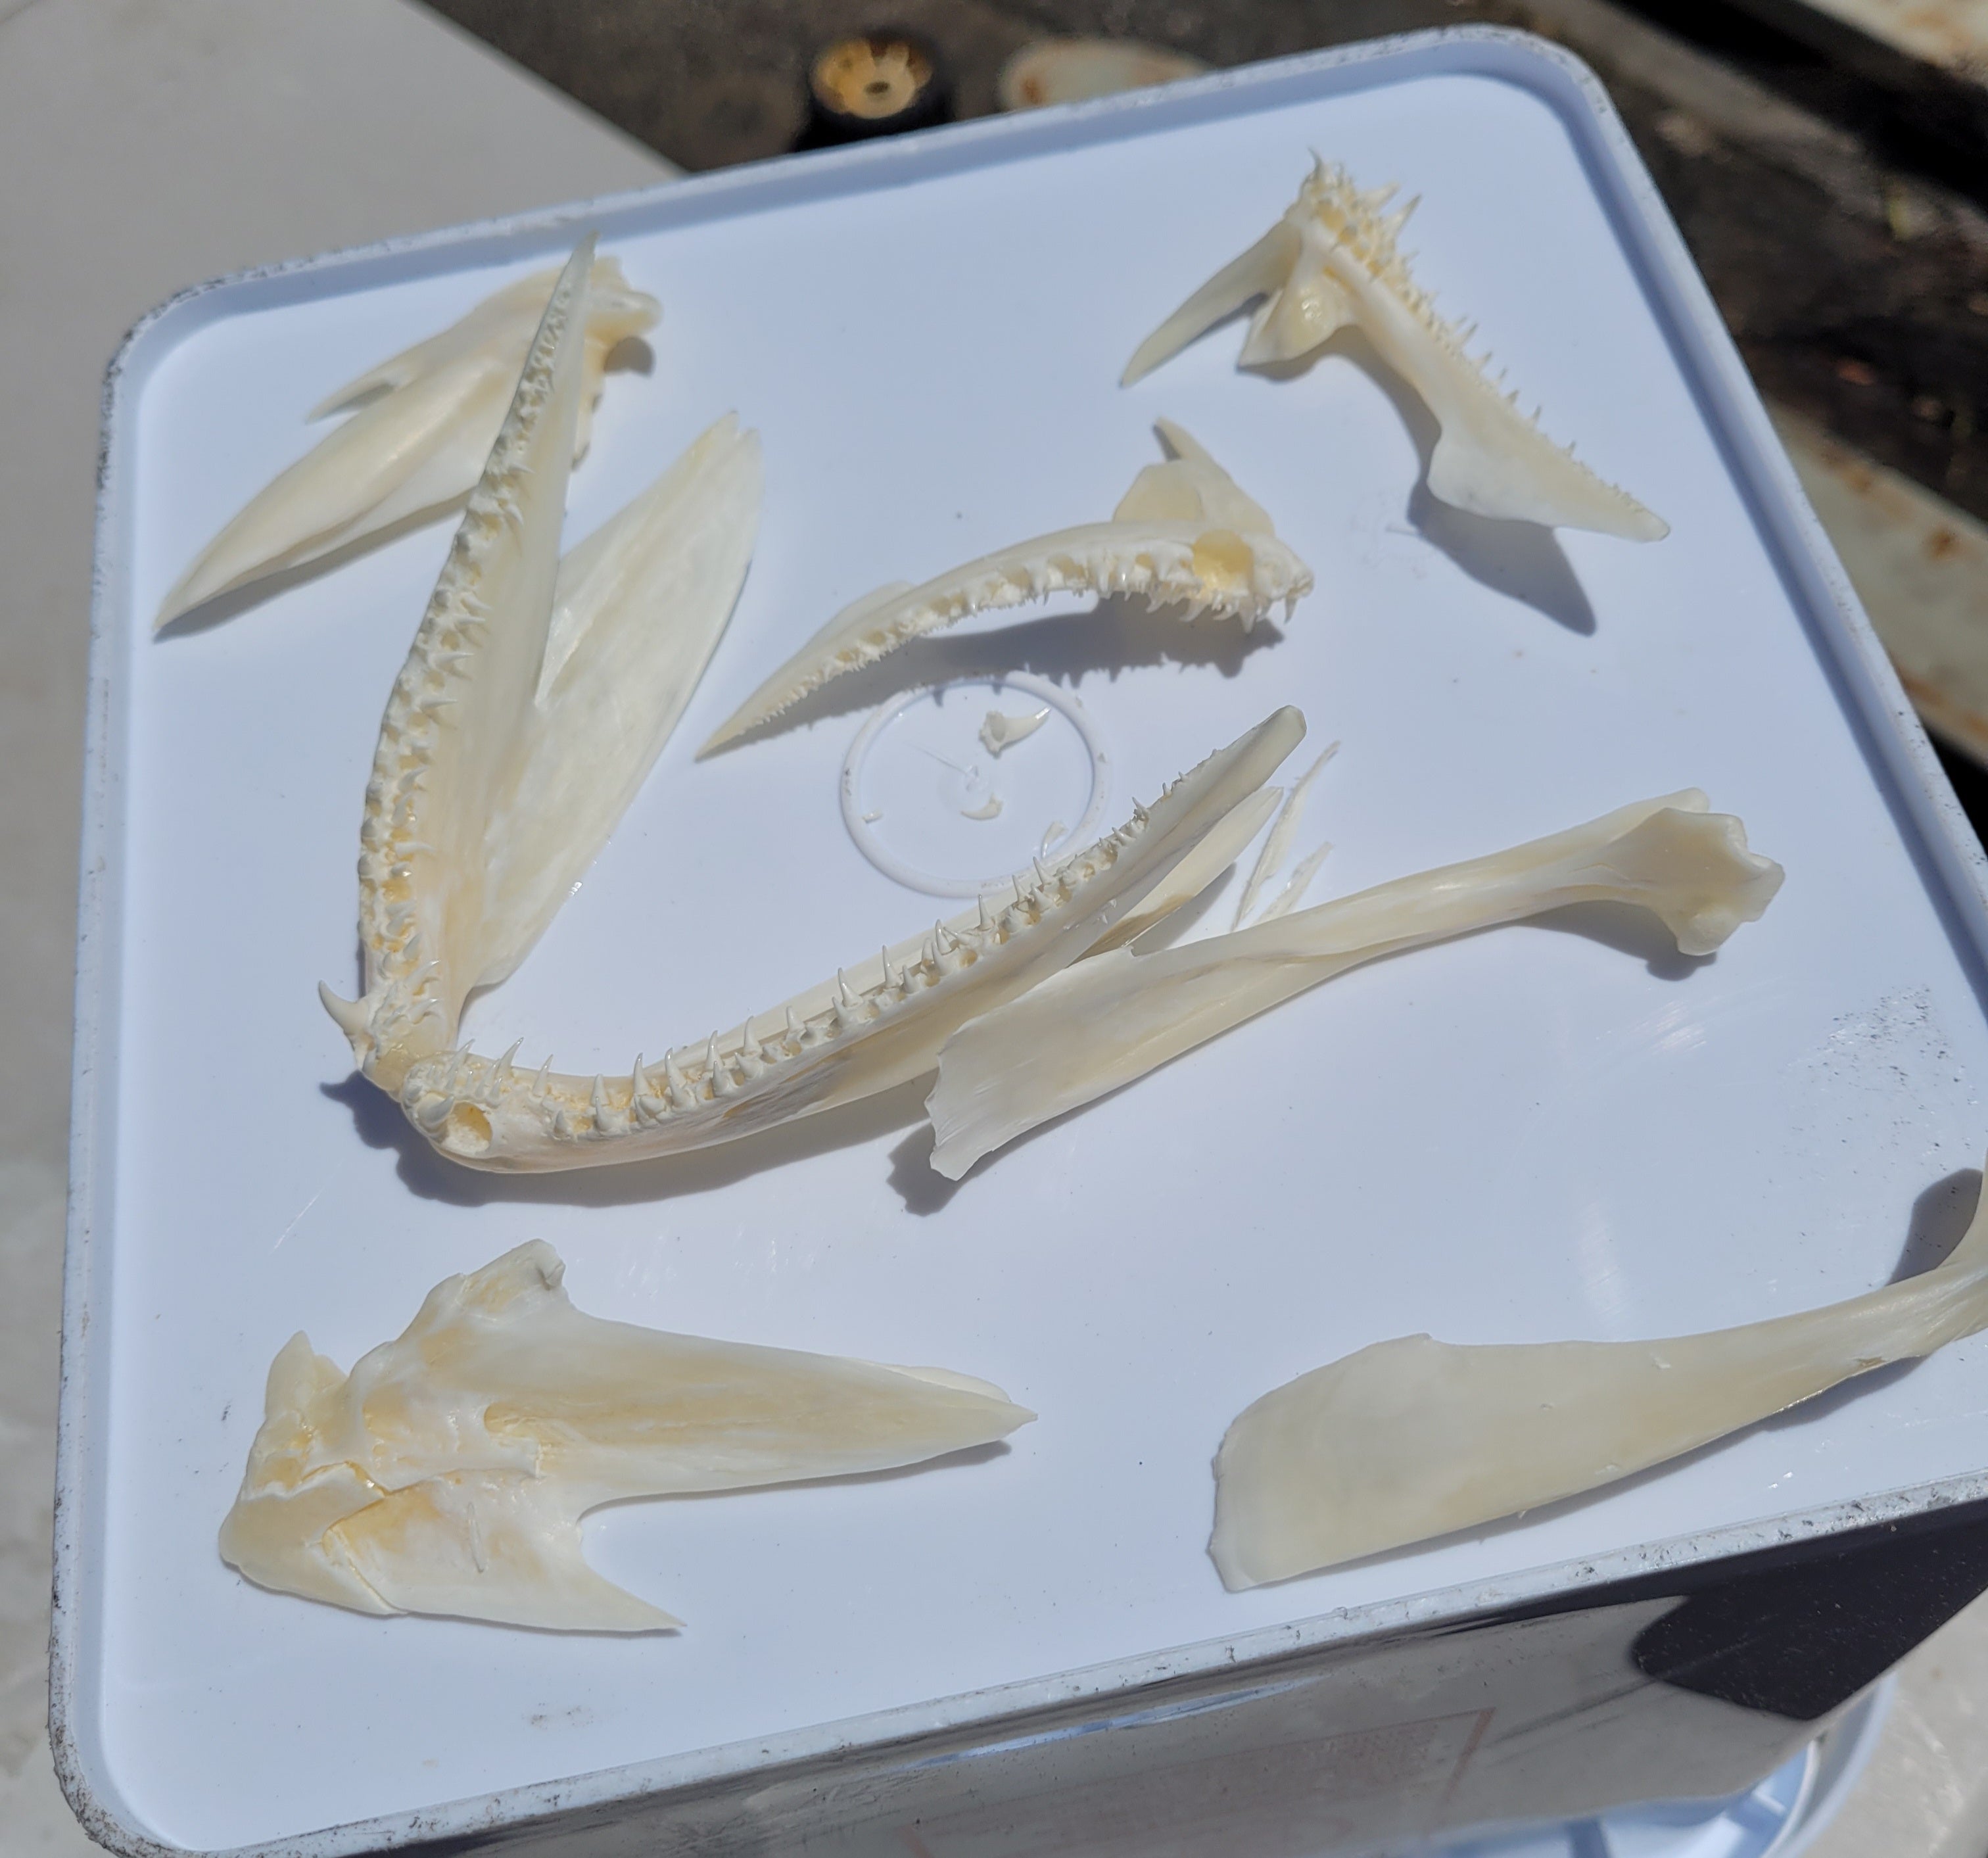
This step will take multiple soaks and rinses to get the bones where you want them. You need to pull all the oil and fat out of the bones or they will yellow and discolor with age. The hydrogen peroxide will also oxidize any of the little pieces of meat and skin you weren’t able to remove. As well as bleach the bones white. You will need to do this multiple times until the peroxide soaks stop having chunks and scum form on the surface. I recommend flushing with water between soaks to help work loose and rinse out any leftover bits. The soak and rinse step can take up to a month, it all depends on how clean you want to go. The cleaner it is the better your final mount will look.
The next step is sun drying the bones, while they will look pretty white at this point. Drying them in the sun does help a decent amount. I recommend a couple of days of sun on a hot day, you don’t want any moisture left. Once the bones are dry, you are ready for assembly.
Whichever fish you are working on when it’s time for assembly you should have a reference picture available. That way you don’t glue any bones upside down or connect them at the wrong spots. Make sure you try to dry-fit each of the bones together first on each jaw. They should inlet with one another to a certain degree. Work one jaw at a time, so work on the lower jaw and assemble it. Then using that lower jaw for size reference you can assemble the upper jaw to be the right width so it can be glued onto the lower jaw.
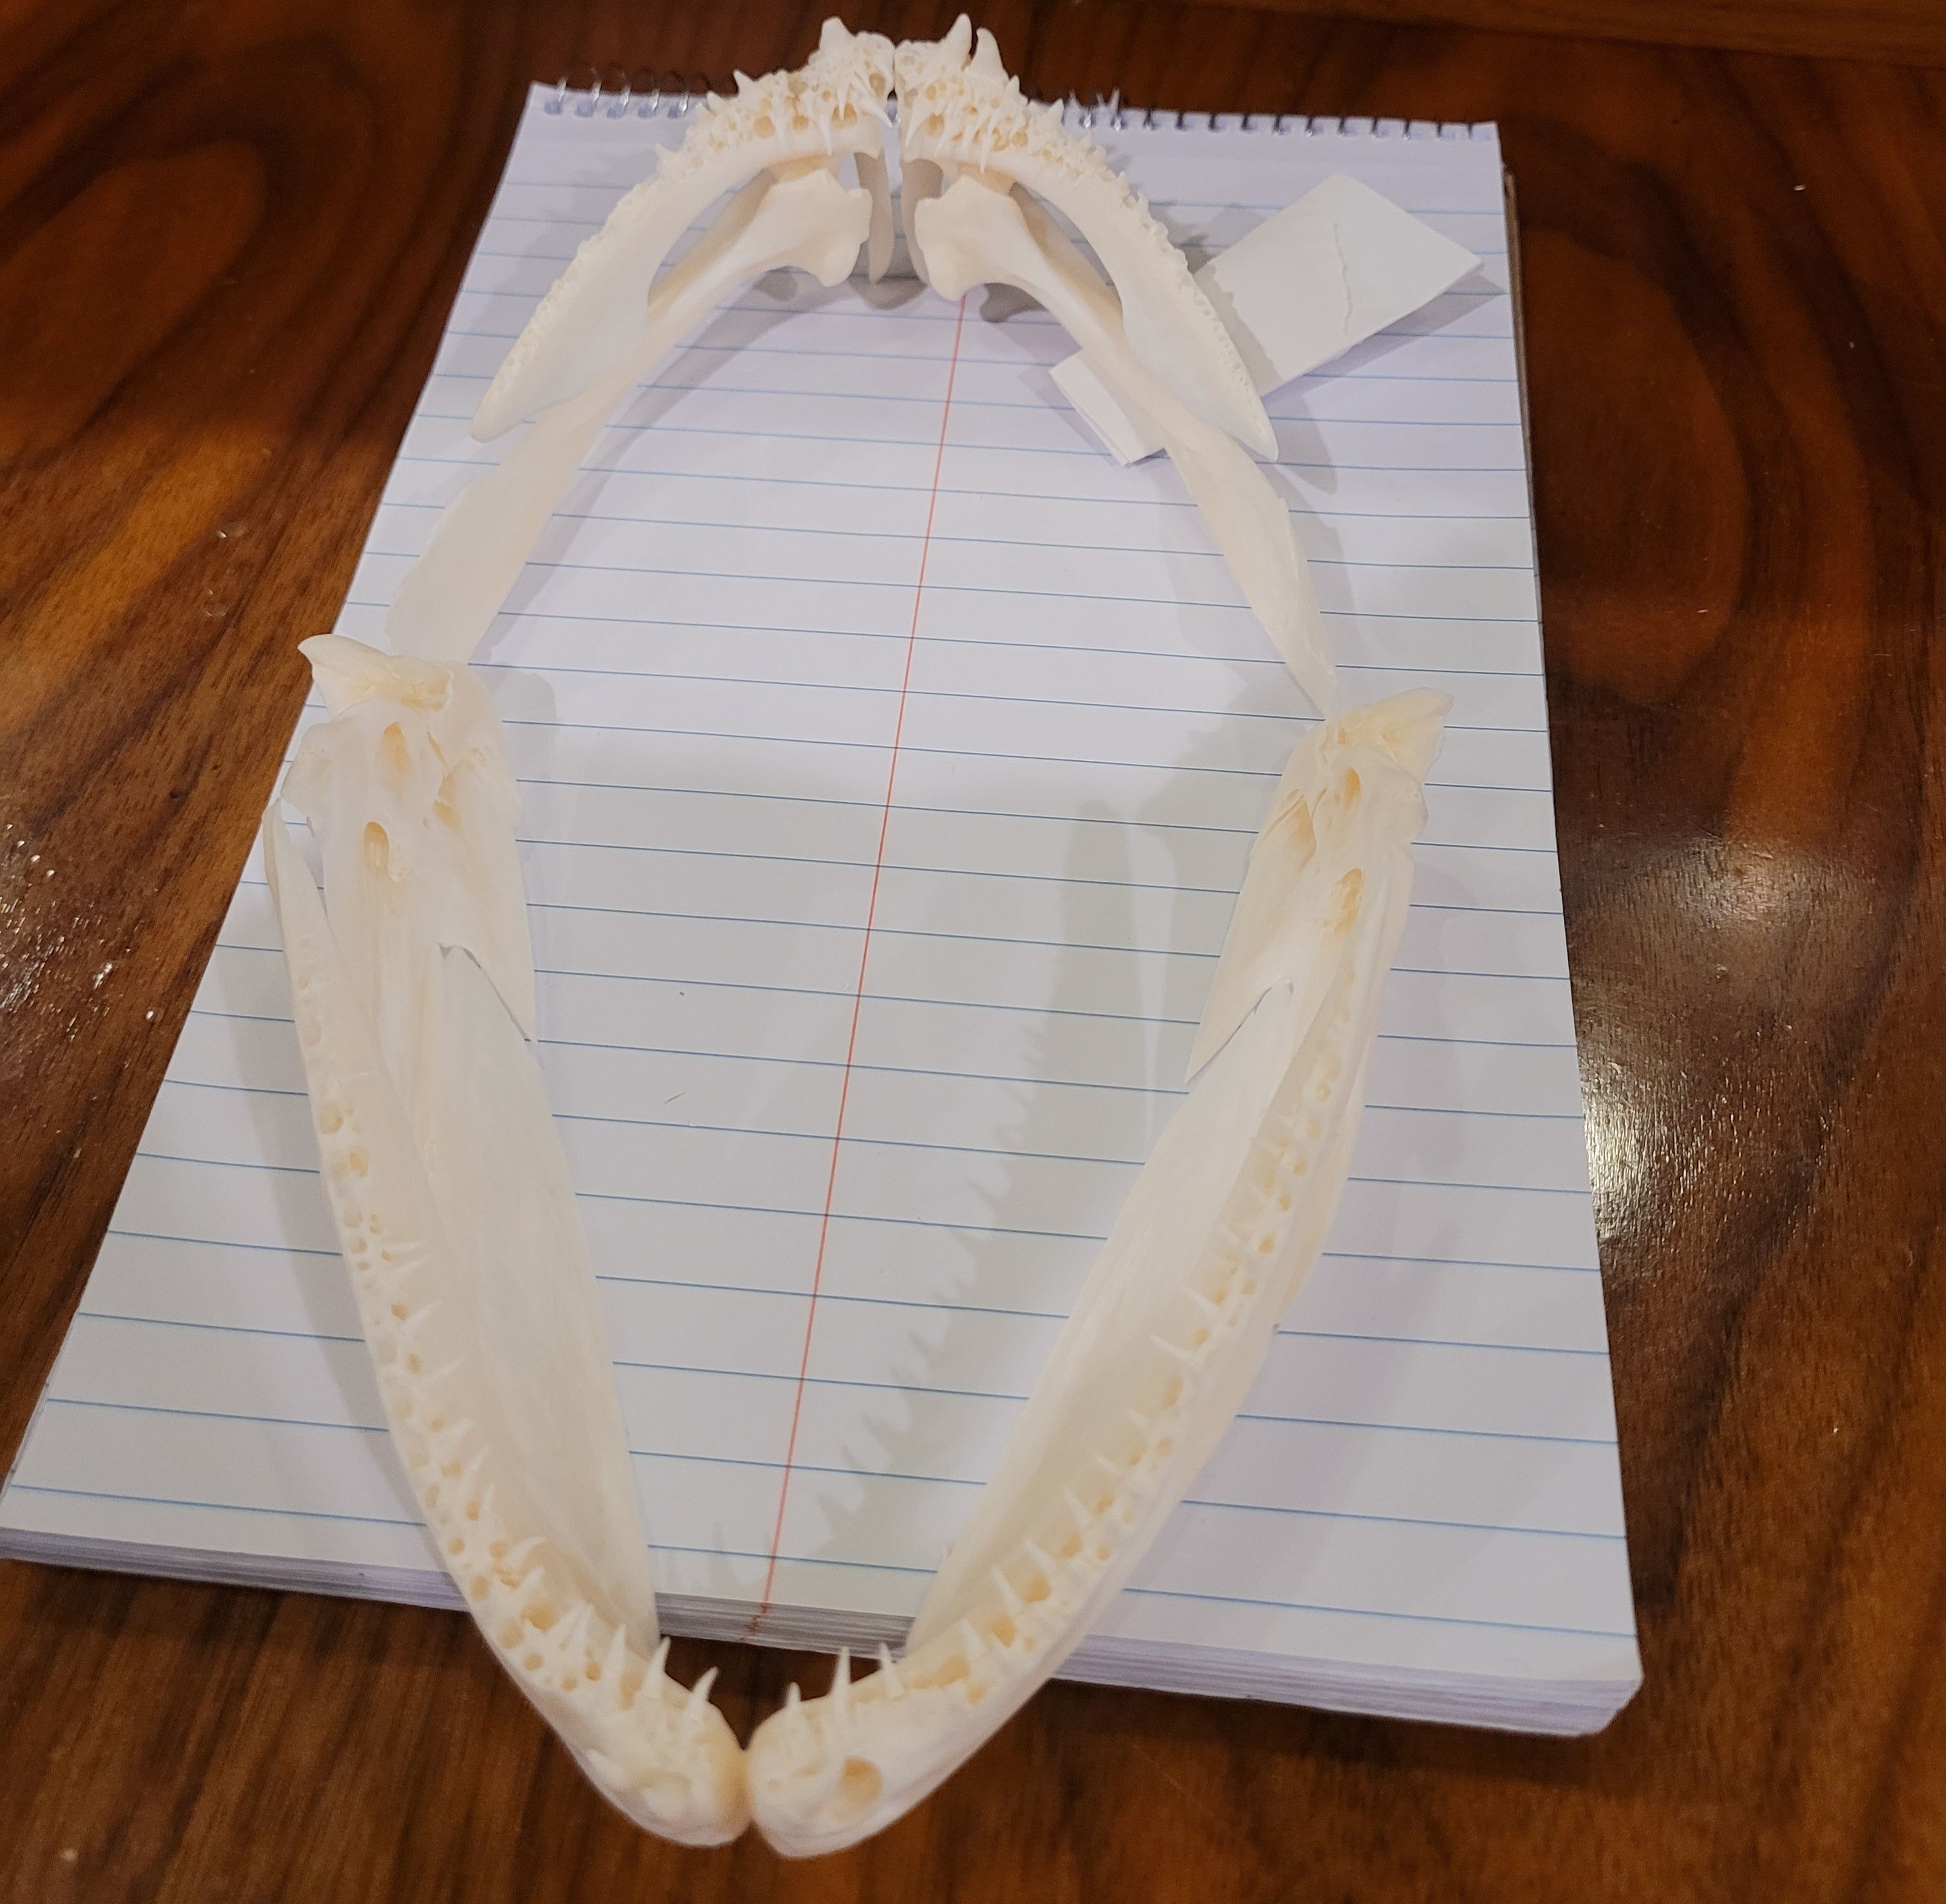
This step is pretty fiddly, with a lot of gluing your fingers together. I use a gel-type super glue for better control. You can also use baking soda or an insta-set super glue accelerator spray to set the super glue. That way you are not stuck holding the bones together for 5 minutes.
DIY Taxidermy: Fish Jaw Mount Trophy
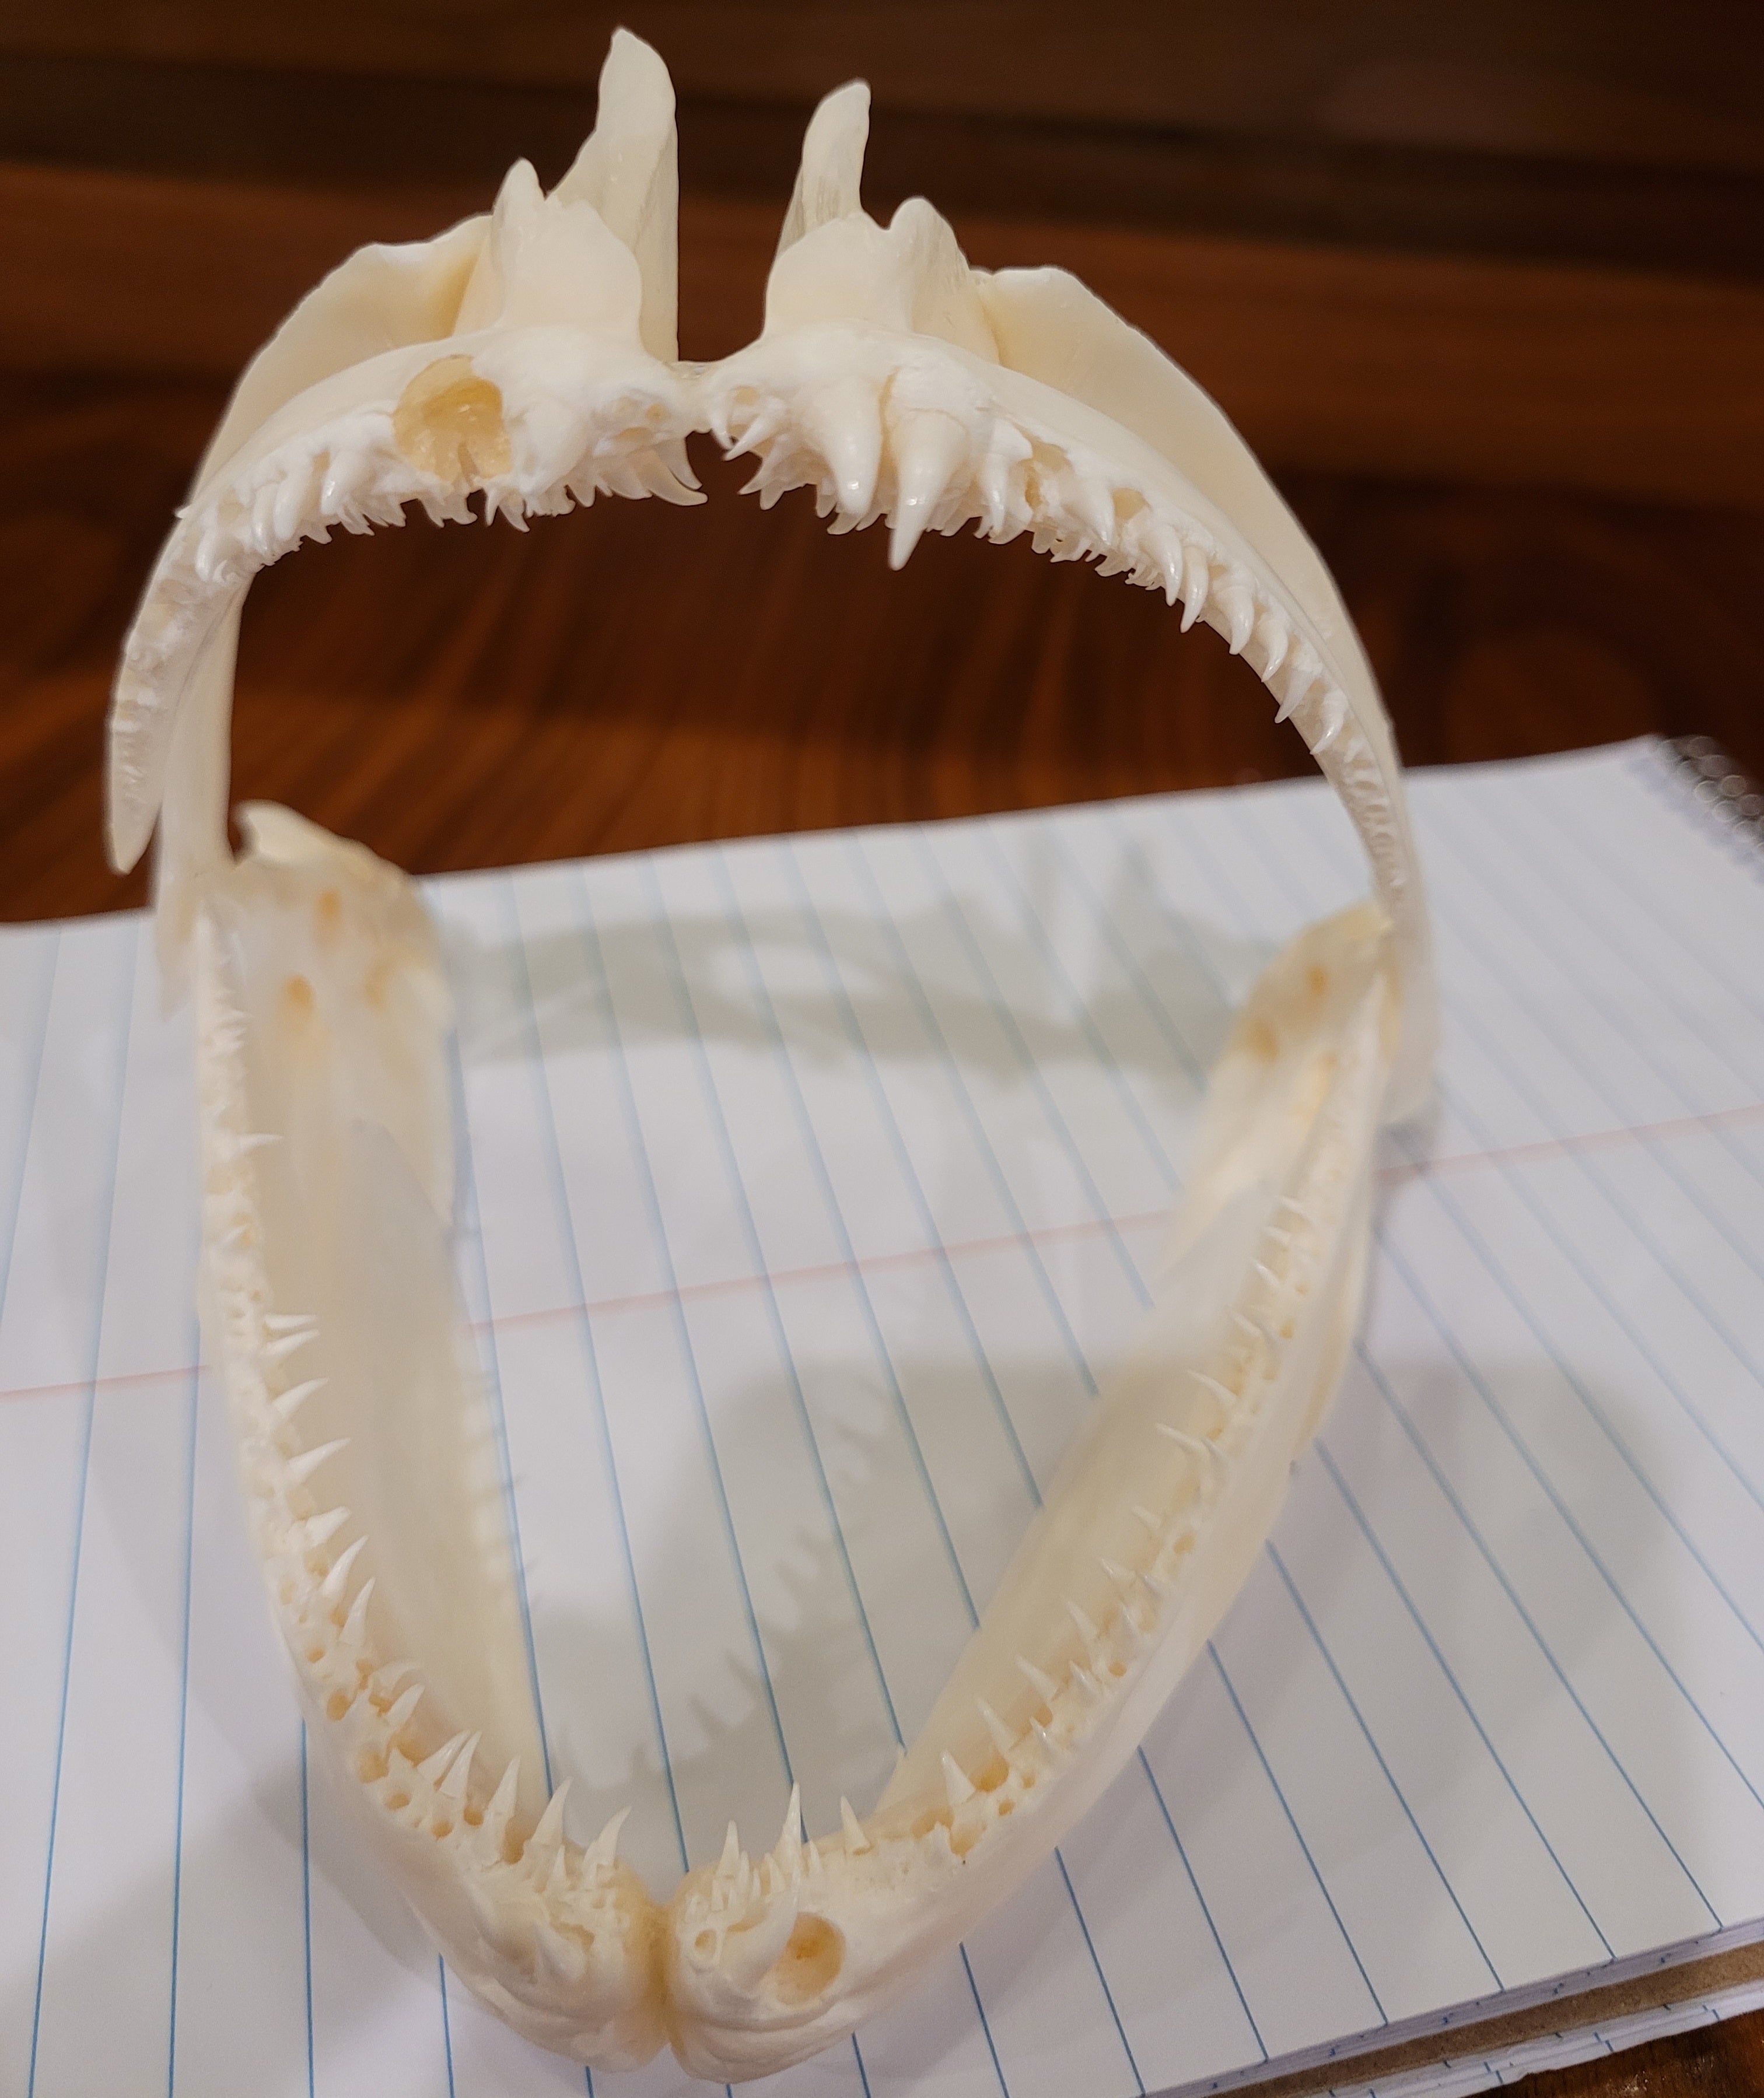
After the two jaws are together, you’re finished. Put the jaw mount on a shelf or your desk, but do be careful they are fragile. You can attach them to a plaque or base, but I don’t do that. I just keep mine on my bookshelf next to some of my other fishing keepsakes and classic fishing reel.
