Dunstan Chestnut Tree Update September 2019
Russ Chastain 09.17.19

In my ongoing process of trying to establish some Dunstan chestnut trees to attract more deer to our hunting property, I recently took measures to better protect and nurture the two (one and a half?) small trees that survived the long hot dry Georgia summer.
When I visited in August after having last seen them in late April, I was sad to see that two of the four were dead and one of the survivors was barely hanging on. So when I went back in early September, I was determined to give those two trees a better chance to survive.
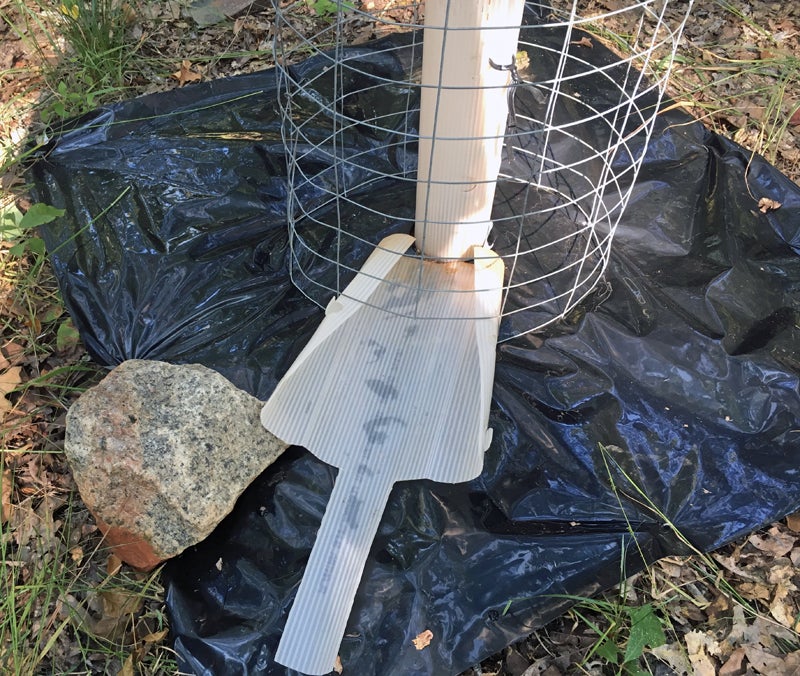
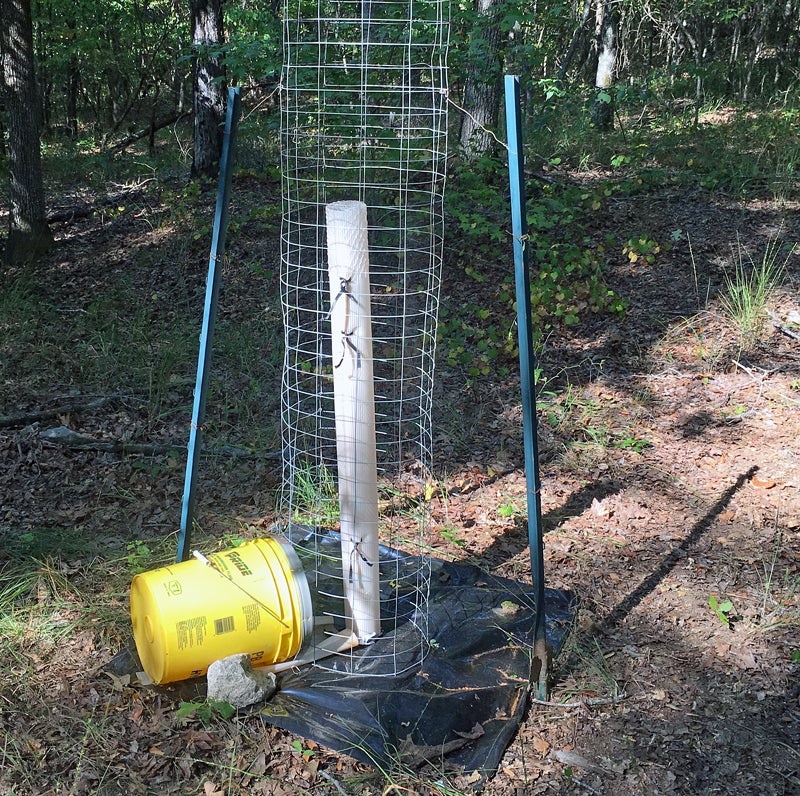
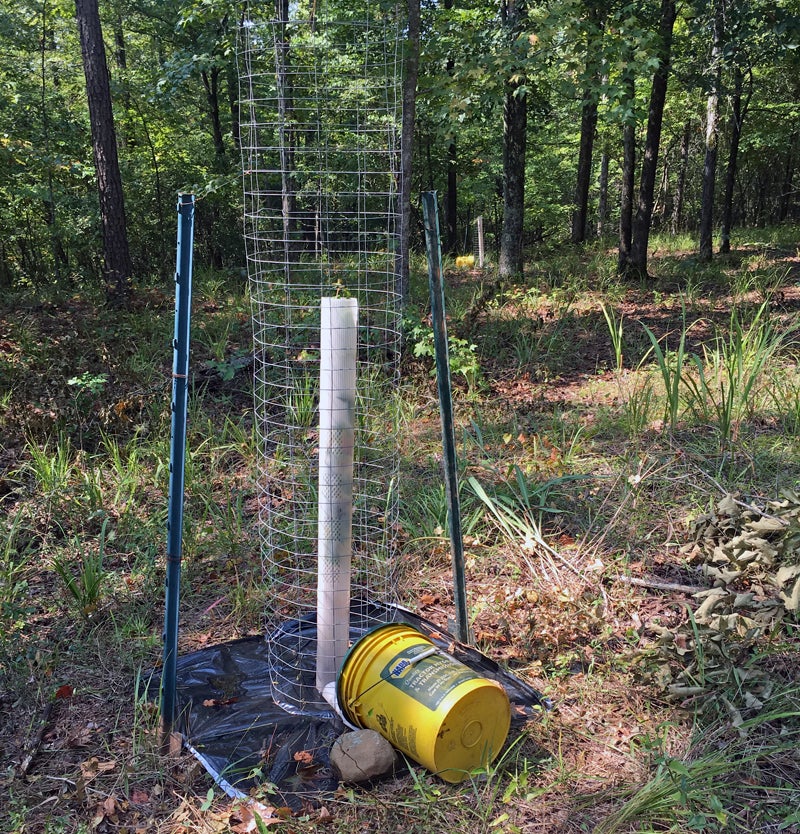
I started by making a pair of wire cages. I used 6′ long lengths of 4′ wide 2″x4″ welded wire fencing, rolled them into cylinders lengthwise, and left small wires sticking out of one end to allow them to poke into the ground a little.
In the woods, I used a machete to remove small weeds and vines on the ground around the base of the tree, and staked down one of the square plastic weed barriers that came with my trees. Then I placed the cage over the tree.
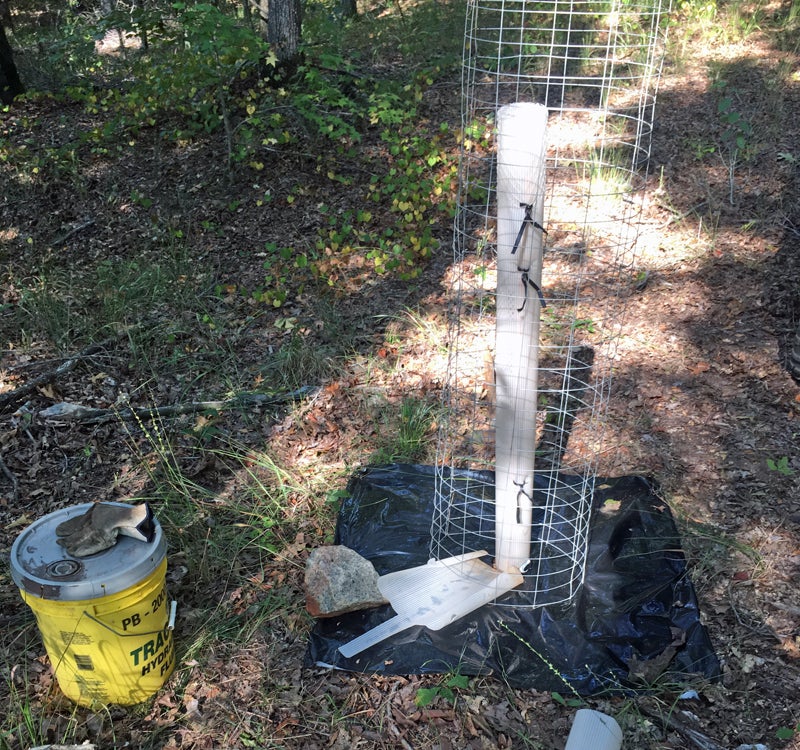
(Photo © Russ Chastain)
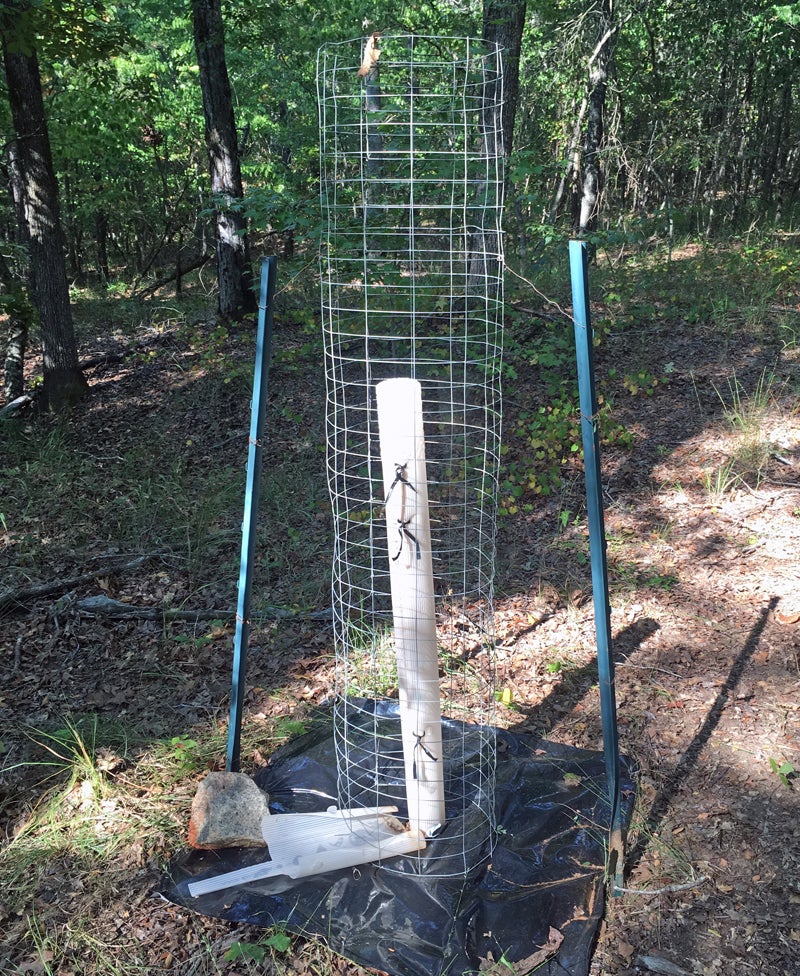
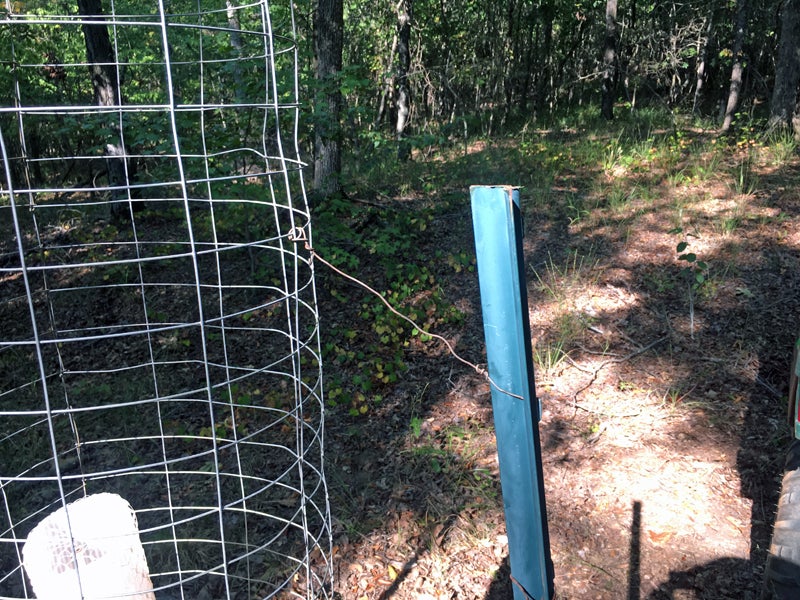
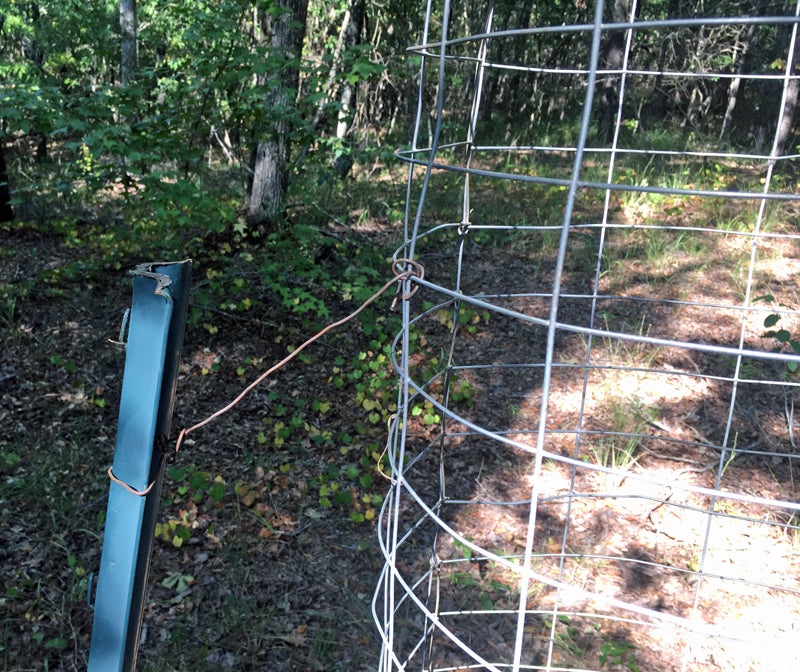
To keep the cage in place, I used what I had: Steel fence posts. I drove them into the ground until they were nice and solid, then attached each one to the cage using a length of steel wire.
(Photo © Russ Chastain)
Then I drove each fence post a little deeper, drawing the wire nice and tight. The result was a nice steady cage that doesn’t wobble around. And the base of the cage has those wires going down into the dirt, so the base ought to stay where I put it.
(Photo © Russ Chastain)
(Photo © Russ Chastain)
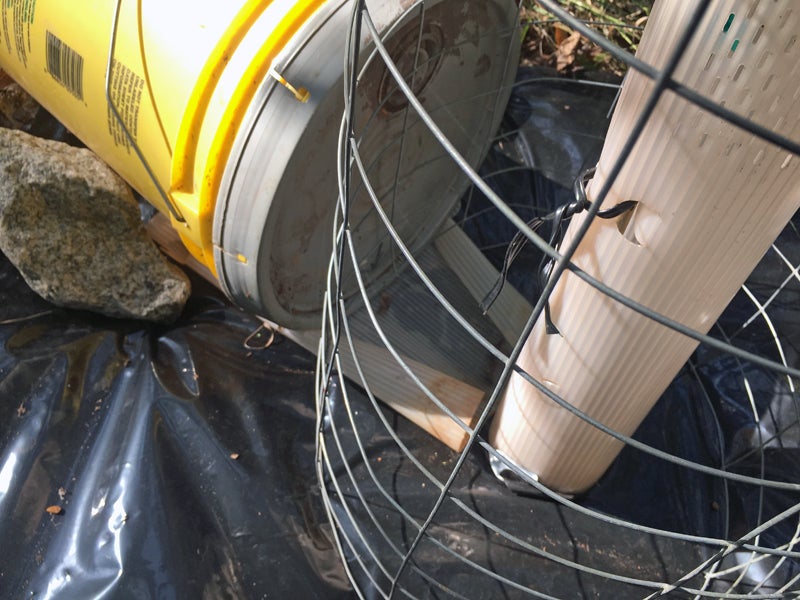
To compensate for the dry conditions we’d been having up there, I rigged up a couple of five-gallon buckets to slowly water the trees. Instead of poking holes in my buckets, I bored one tiny hole in the lid of each bucket. This allows a slow trickle of water to flow from the bucket.
(Photo © Russ Chastain)
I used part of a grow tube from one of the dead trees to create a flume of sorts, to direct the trickle of water from the bucket to the base of the tree. The rock will act as a chock to keep my bucket in place.
(Photo © Russ Chastain)
The plastic “flume” is held in place by the wire and by the weight of the bucket. The bucket doesn’t roll out of place because it’s chocked between two rocks.
(Photo © Russ Chastain)
I left this poor little plant better protected than I’d originally done. This is a learning experience, and I guess I didn’t fully realize how vulnerable these little whippy trees really are.
(Photo © Russ Chastain)
On tree 2, which is the only healthy survivor but which barely grew at all this year, I created the same sort of cage and watering system. I removed the mesh bird netting from the top of the grow tube when I installed the cage, because the tree is finally growing taller than the grow tube.
(Photo © Russ Chastain)
When I return to the property, I will be bringing another pair of trees along… this time I’ll be planting two larger Dunstan Chestnuts from Chestnut Hill Outdoors. These are in one-gallon pots and are already taller than I am, so they’ve got a good head start. I plan to plant them on my next visit to the property, and protect them with cages similar to these.
Thanks for sharing this “food plot tree” experience with me.
