Deer Stand Improvement: Add Comfort and Concealment to Everyday Tree Stands
Russ Chastain 09.16.20

Things have been more or less busy for me the past few years, and I hadn’t put any serious work into deer stands for a while — but that changed this summer. A few weeks ago I made a couple mock scrapes and moved a ladder stand to a new spot, and on a recent trip a lot of sweat went into building and erecting a tripod stand and improving it, as well as improving some other stands.
Concealment and comfort go a long way in making any hunting position effective. It’s well worth the effort to give yourself some cover — both from your prey’s sensitive eyesight and from the elements.
(Photo © Russ Chastain)
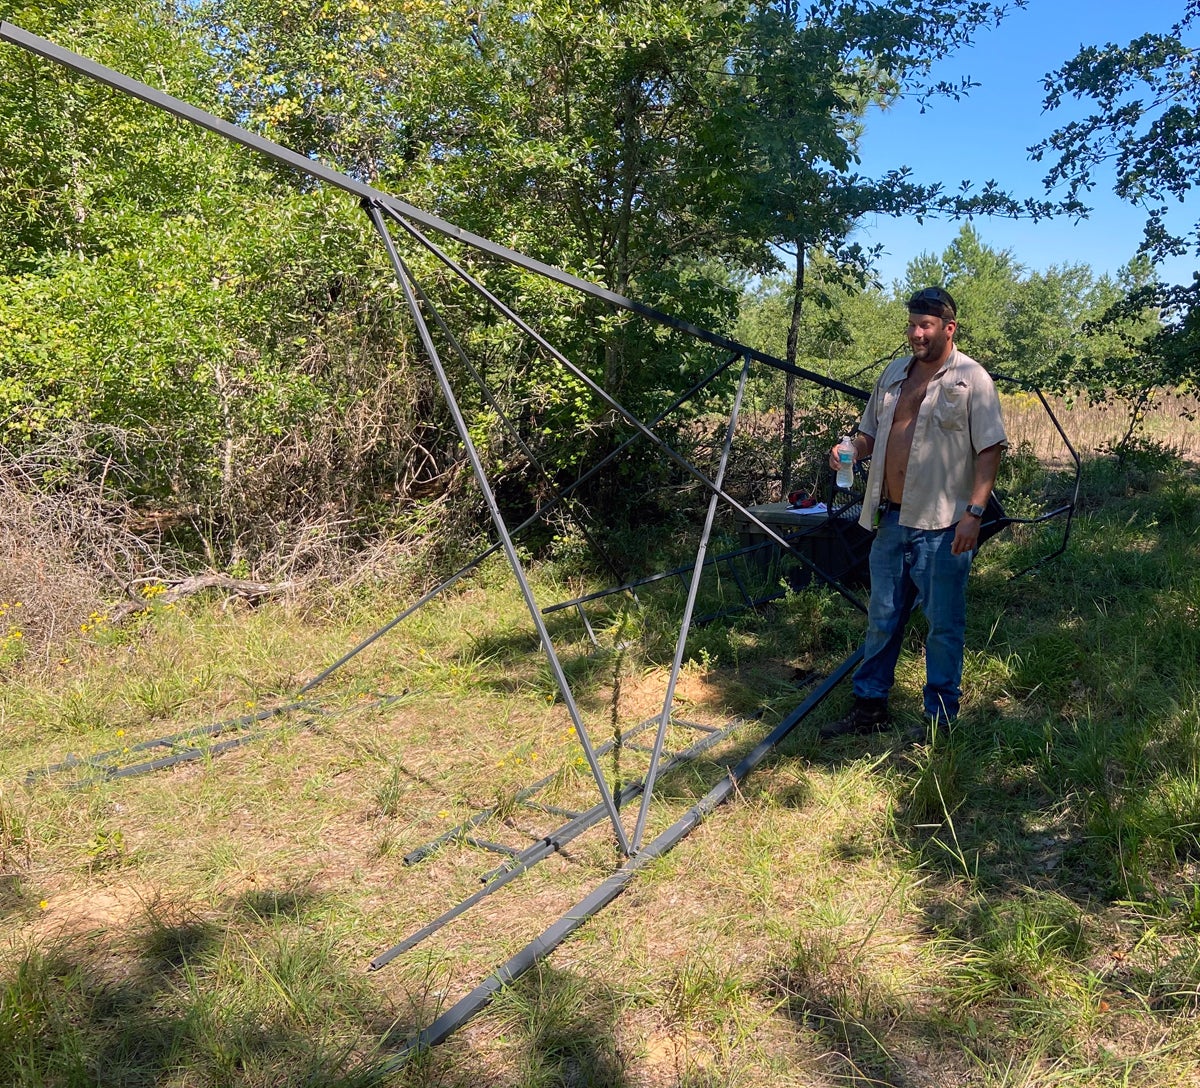
We started by assembling the brand-new tripod stand, which was donated to the club by my nephew Ox. He wanted to show his appreciation for being allowed to hunt the property as a guest, and over the past few years he’d really come to love one of our food plots. So we got to work and a couple hours later, the tripod was standing.
(Photo © Russ Chastain)
After moving it to just the right place, we went about the task of leveling it up and anchoring it to the ground.
(Photo © Russ Chastain)
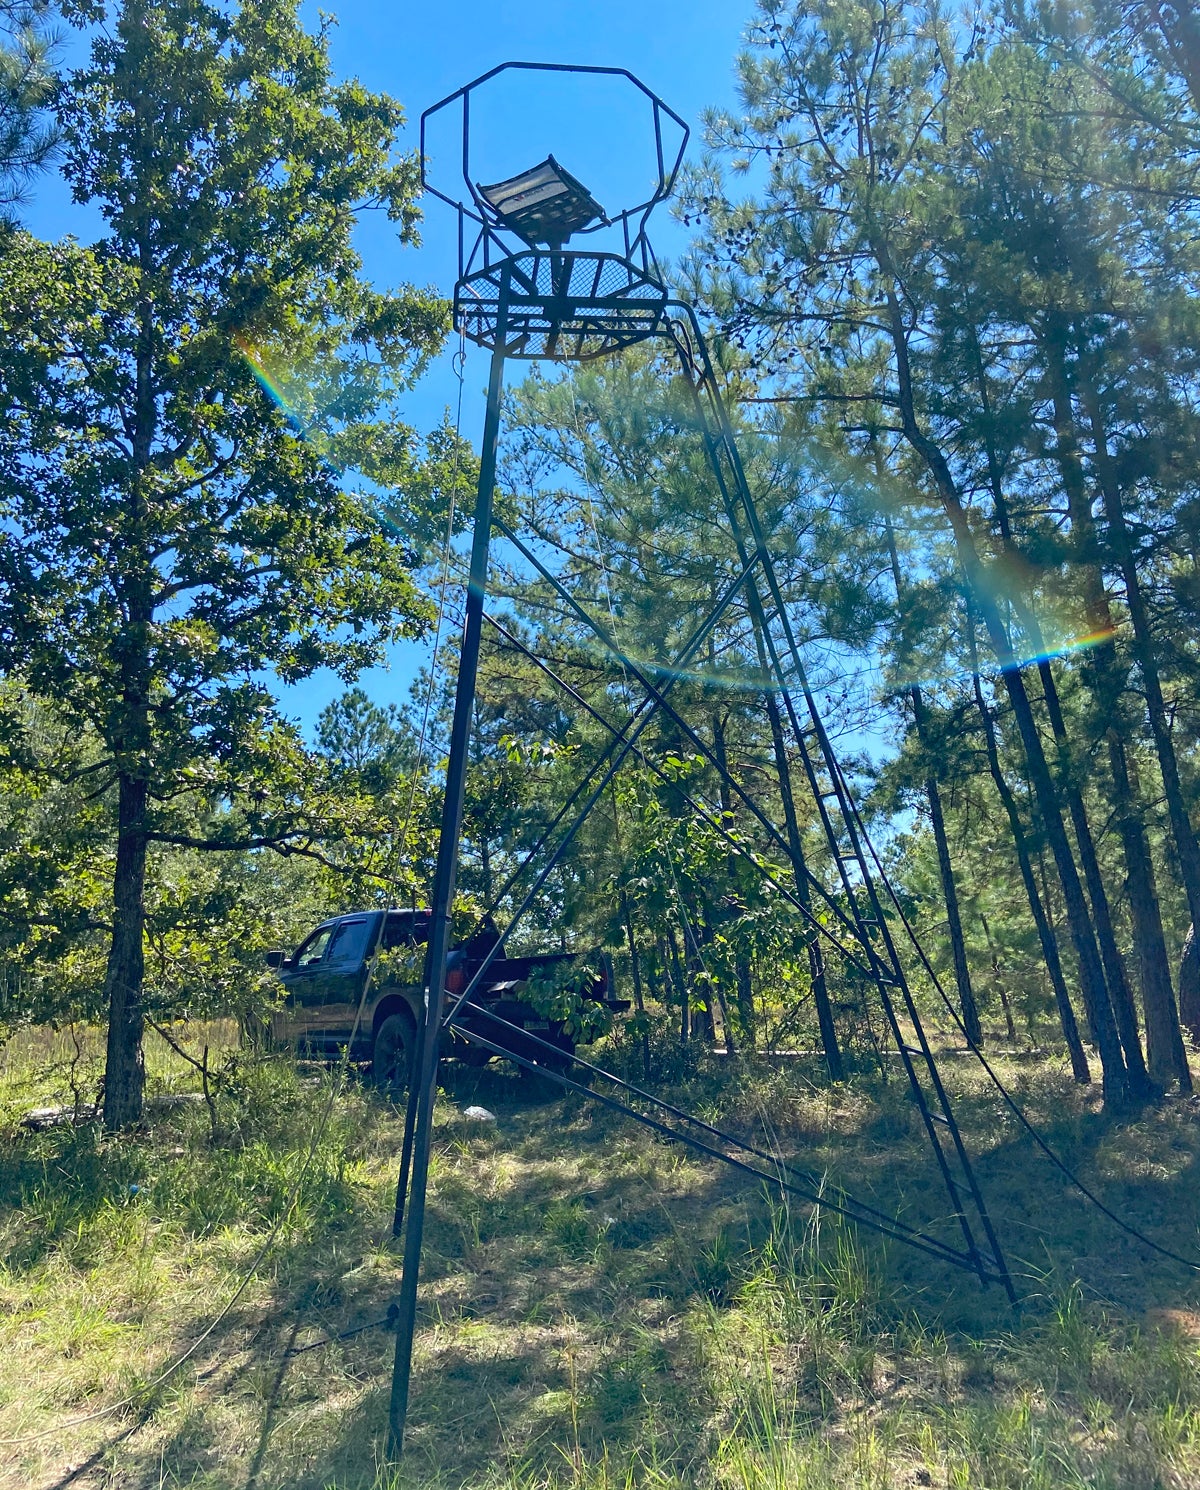
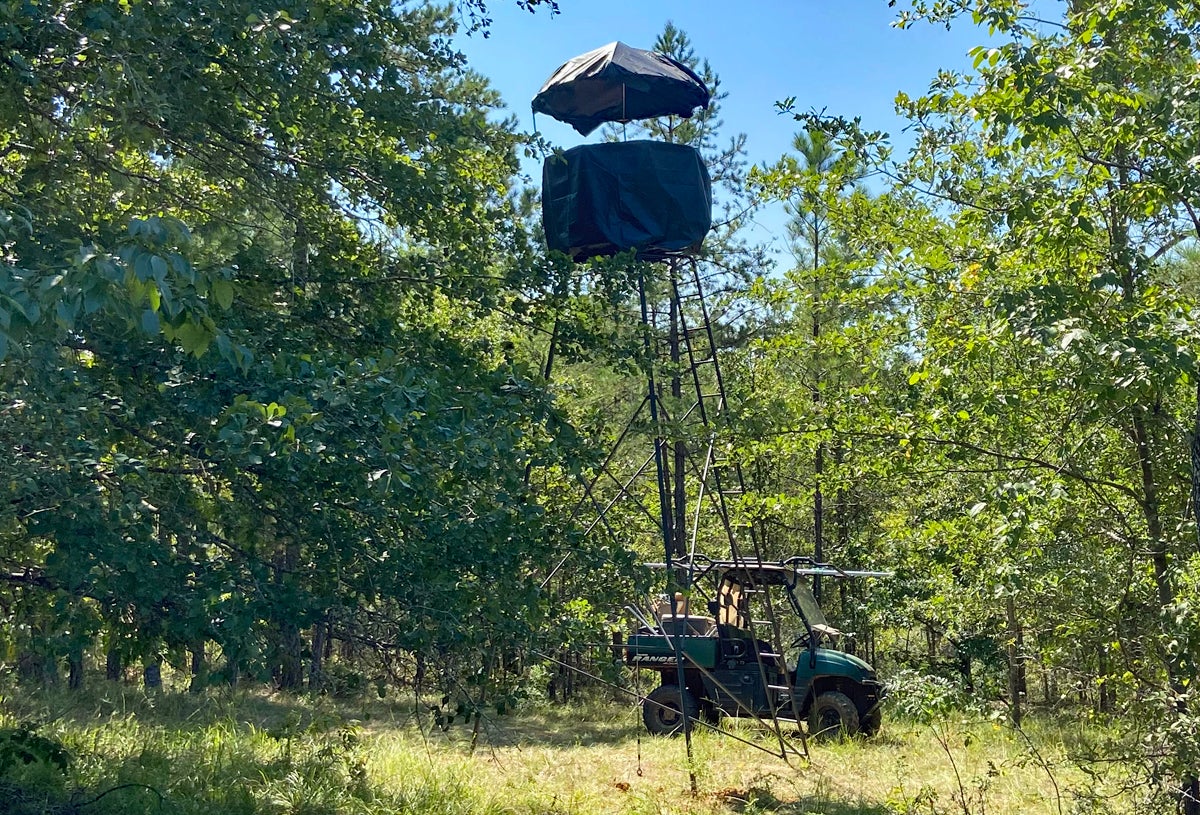
We were done for that day — but as you can tell, anyone perched in that stand would be easily spotted by game. So when everyone else had to go back home, I stayed behind to work on the stands.
Improving the Tripod
I started by working out how to make a roof — for protection from the sun as much as rain. Not only does it get plumb hot around here, the shining sun makes you stand out — and we can’t have that. To that end I’d brought along a bundle of 1/2″ EMT steel conduit and a bender, plus some other tools and an active imagination, which would come in handy.
(Photo © Russ Chastain)
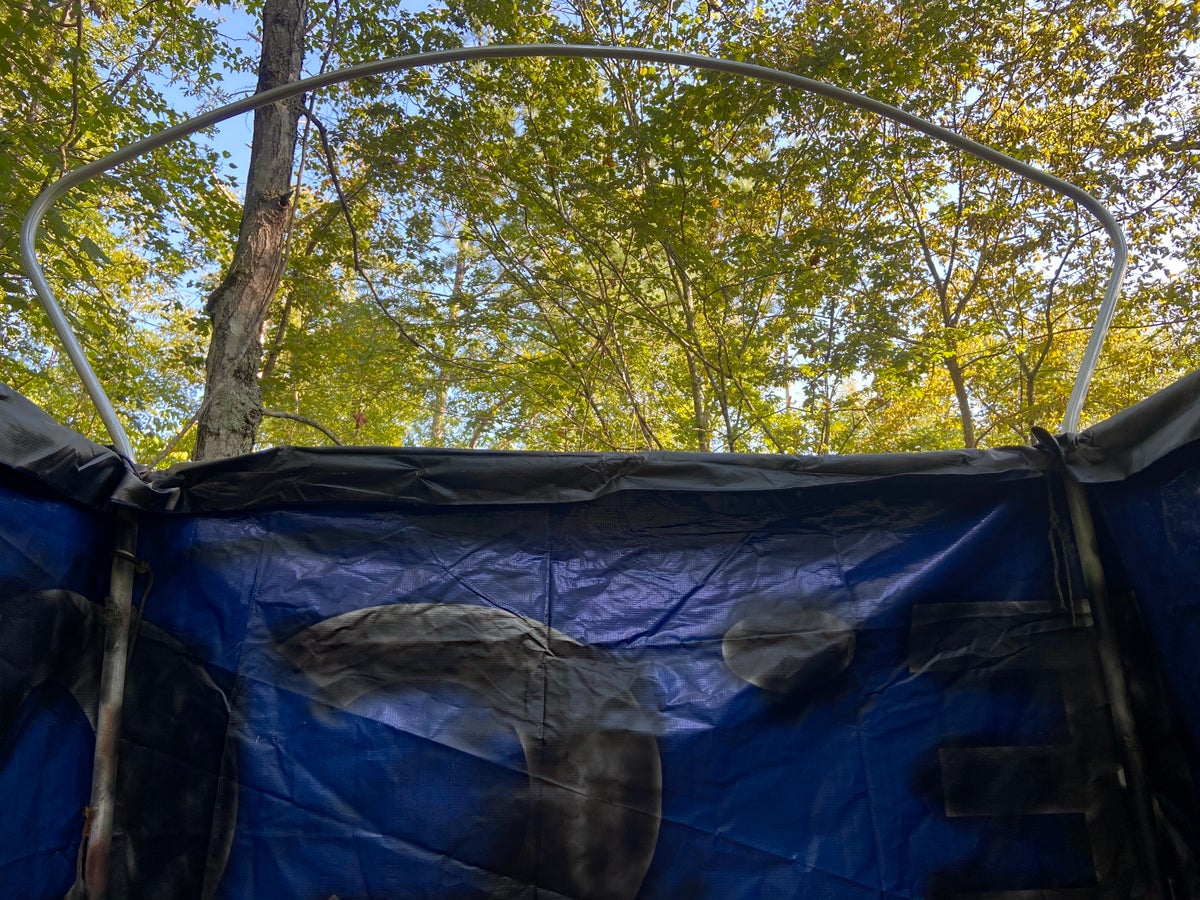
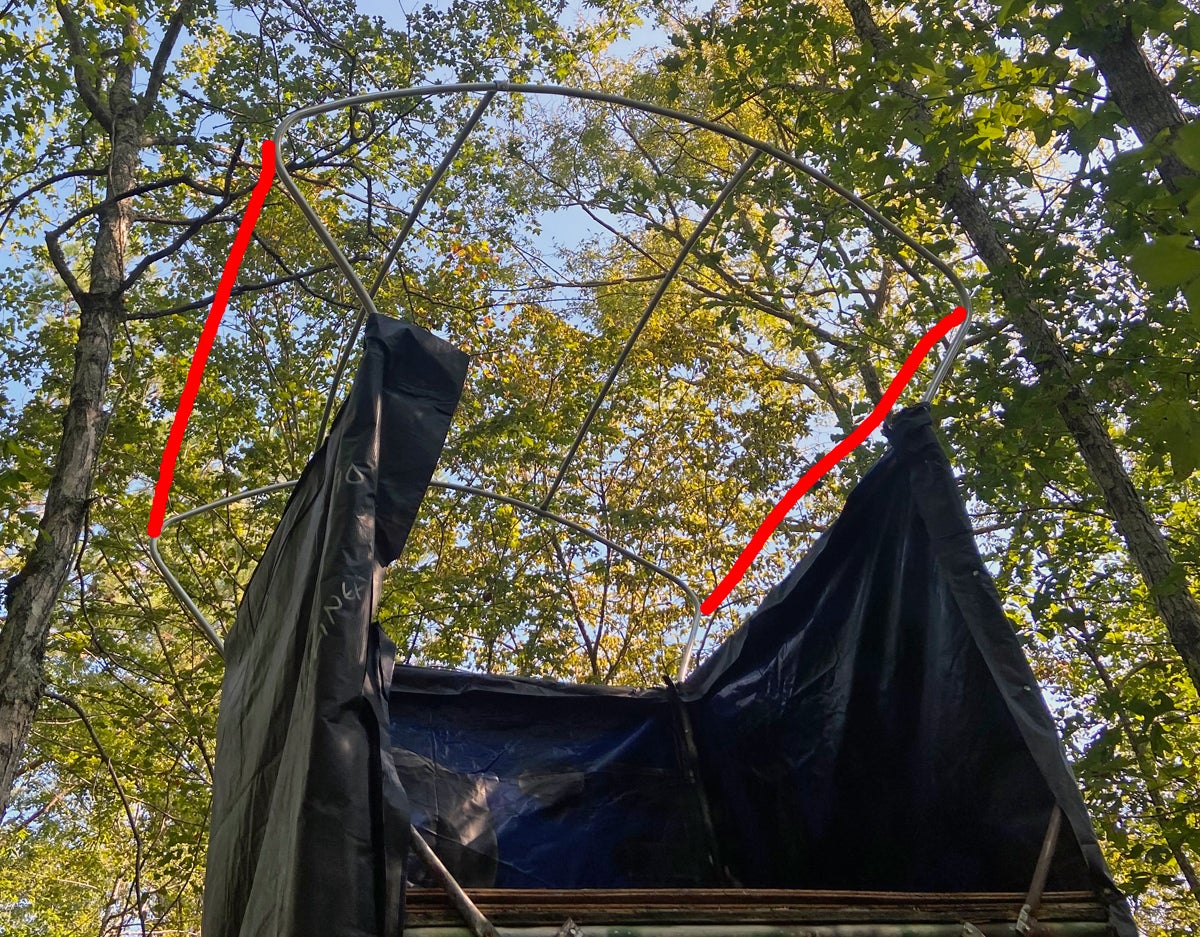
I started just building a ring for the roof perimeter, and used up a full 10-foot “stick” of EMT before I’d made it all the way around the circle. I completed that hoop with a second stick, then bent the remainder of that stick down (up in the picture) to act as a leg. After some more cogitating, I decided to simply make a pair of arches to dome the roof and add 2 more legs to support the roof. Each arch & leg is one 10-foot stick of EMT.
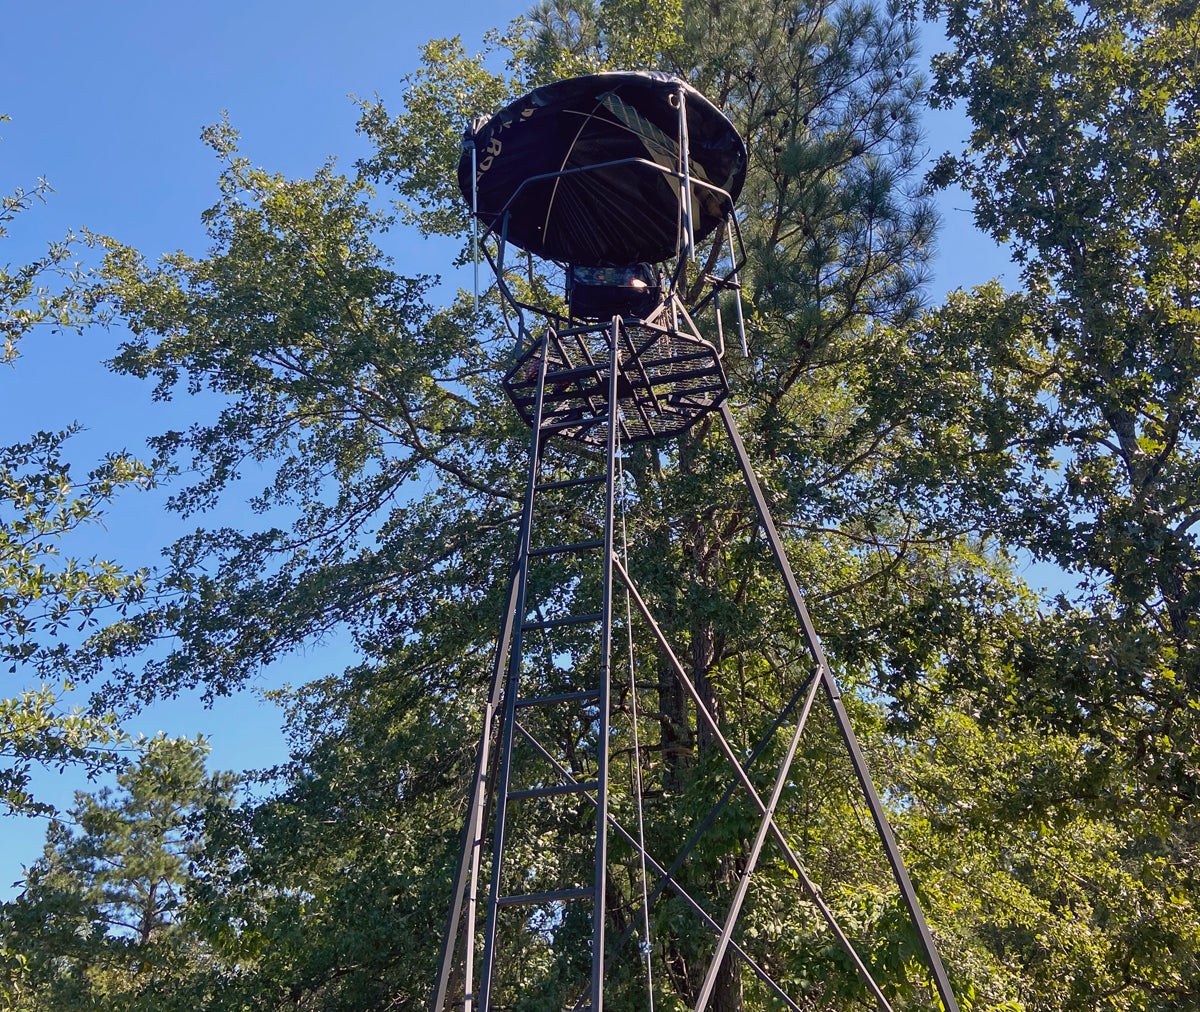
(Photo © Russ Chastain)
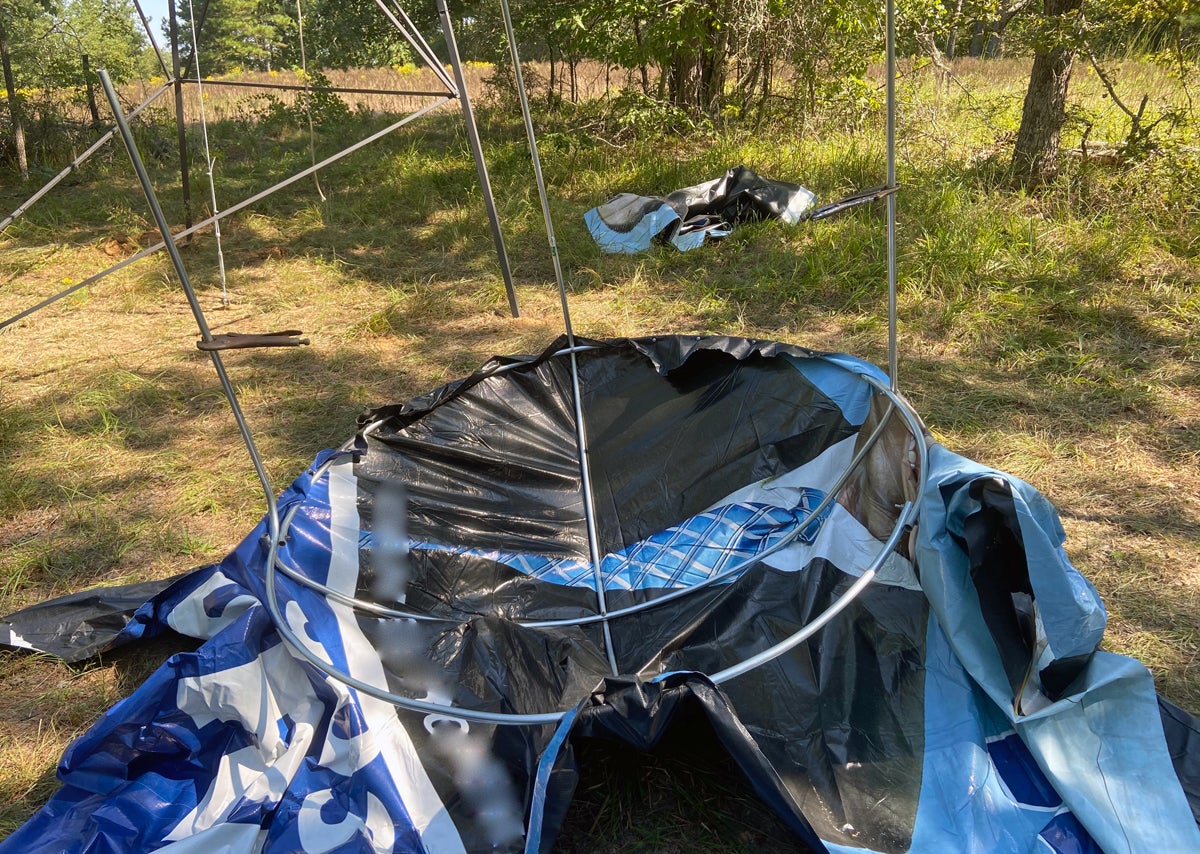
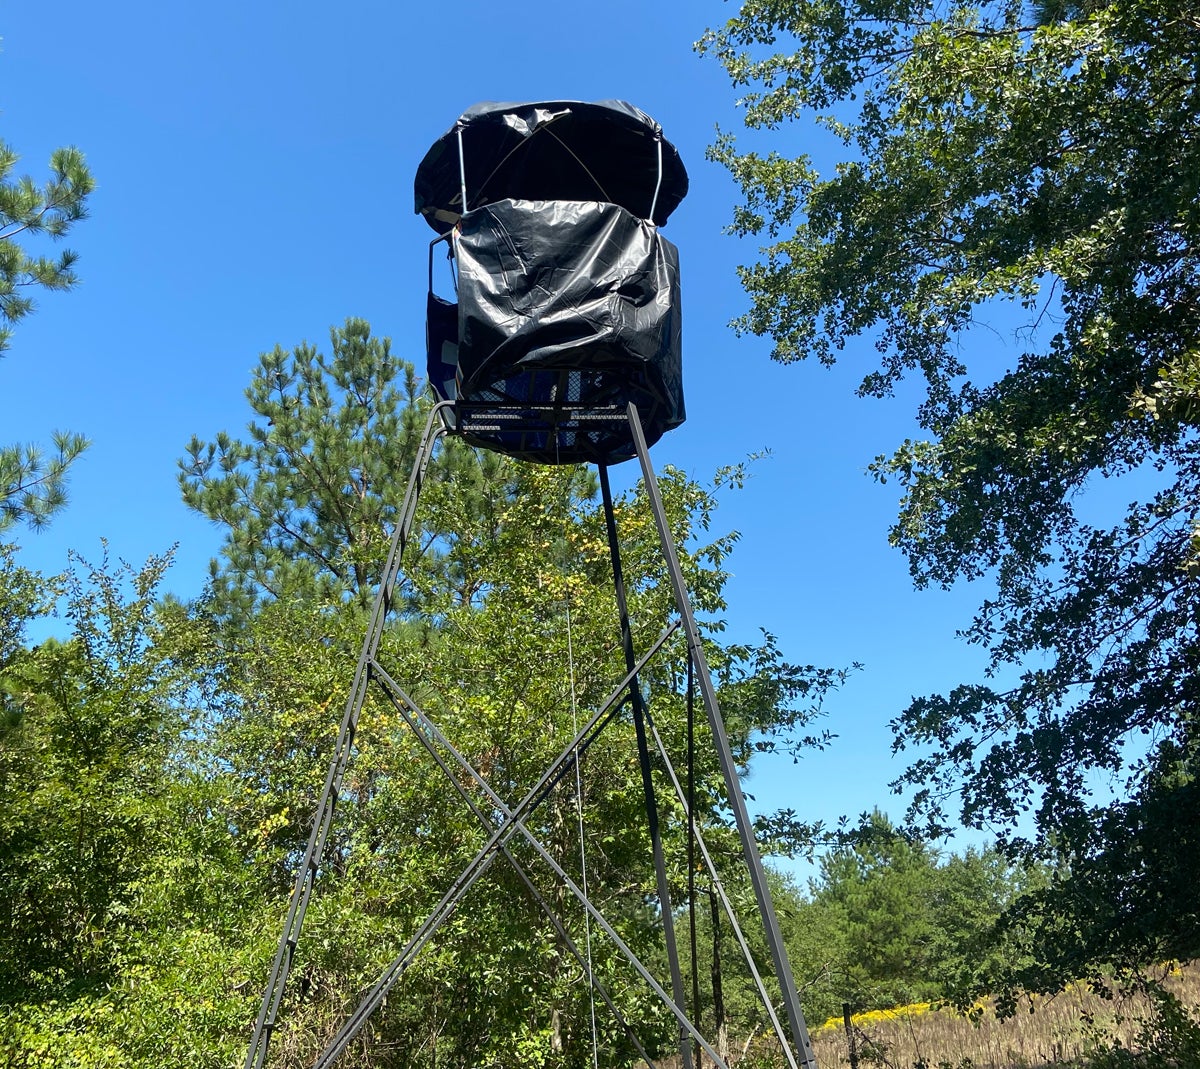
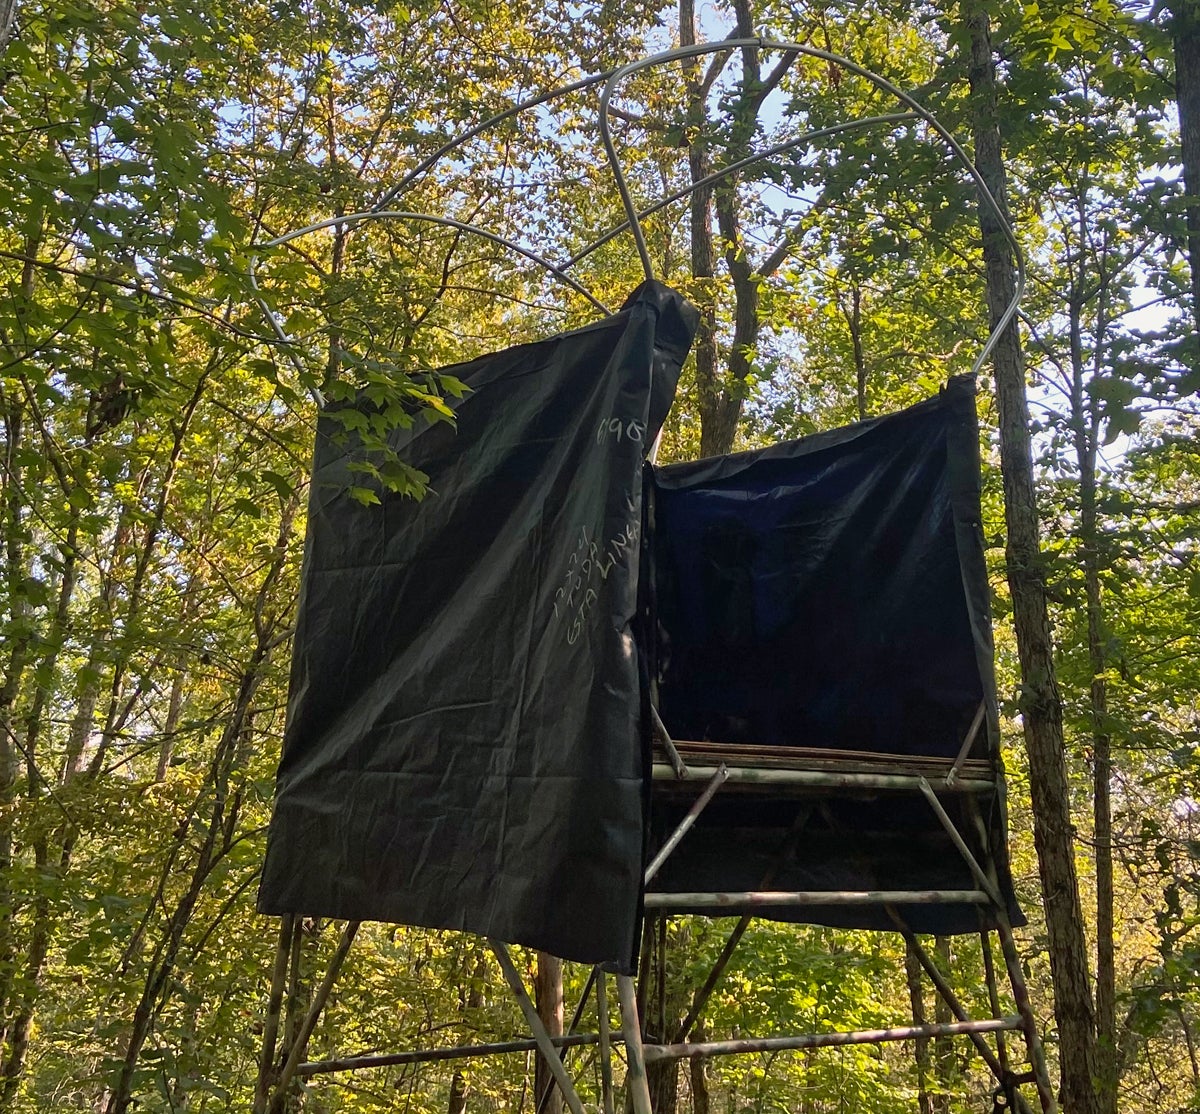
I had ordered a couple billboard vinyls on a whim, and decided to try them out as “skirts” for deer stands. The notion of using them as roofing came later, and is an experiment. I needed something light and durable, and this stuff is light enough. Time will tell how tough it is.
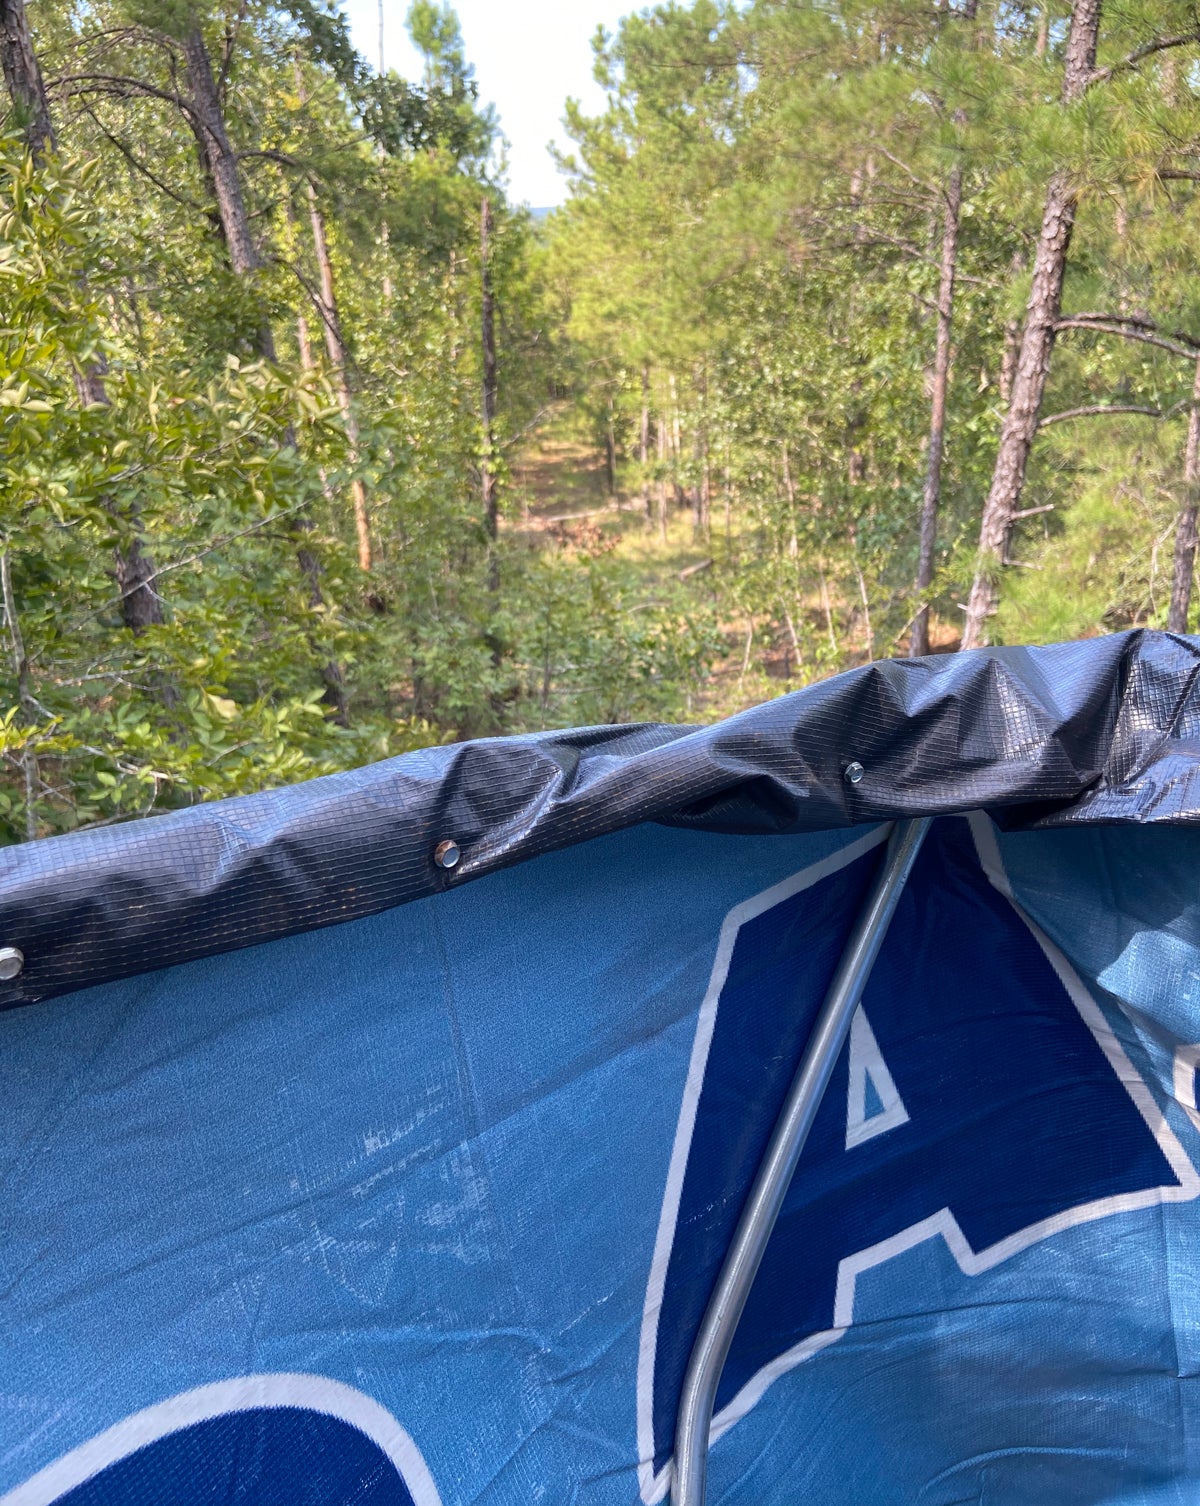
After testing the fit of the new roof, I bolted it to the existing upright supports for the shooting rail. This required a bit of bending “to fit” and some more nuts & bolts. I was glad I’d brought my cordless impact driver along on this trip to tighten all the bolts on this stand and my additions to it.
(Photo © Russ Chastain)
For the skirt, I simply cut a rectangle of the billboard material — it’s printed on one side and black on the other — and screwed its top edge to the rail. Then I added some screws around the bottom of the skirt to prevent it from flapping in the breeze.
(Photo © Russ Chastain)
I finished this project with a couple cans of $0.96 flat black spray paint from Walmart, to get rid of light spots inside the billboard material. This makes it less likely to reveal a hunter’s presence, and feels better than sitting inside an ad for ambulance-chasing lawyers.
Now this stand is truly worthy of its name: The Ox Hide.
Skirting a Ladder Stand
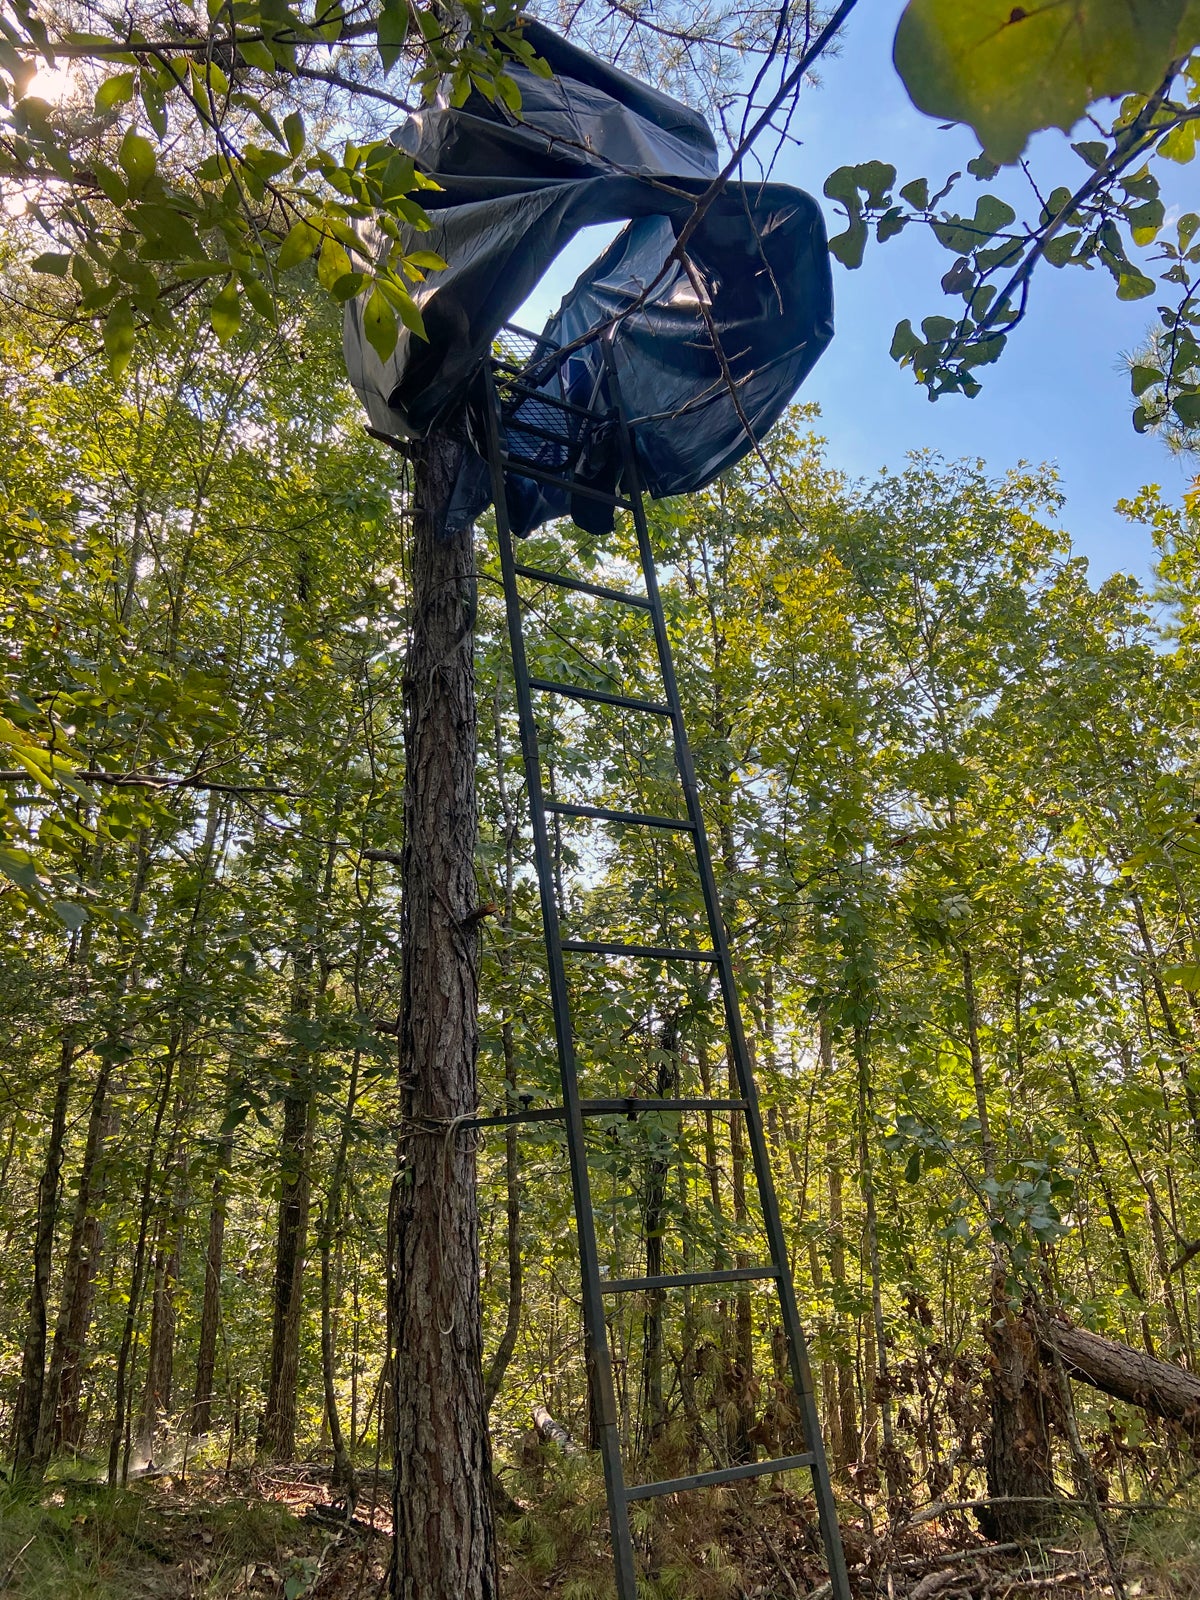
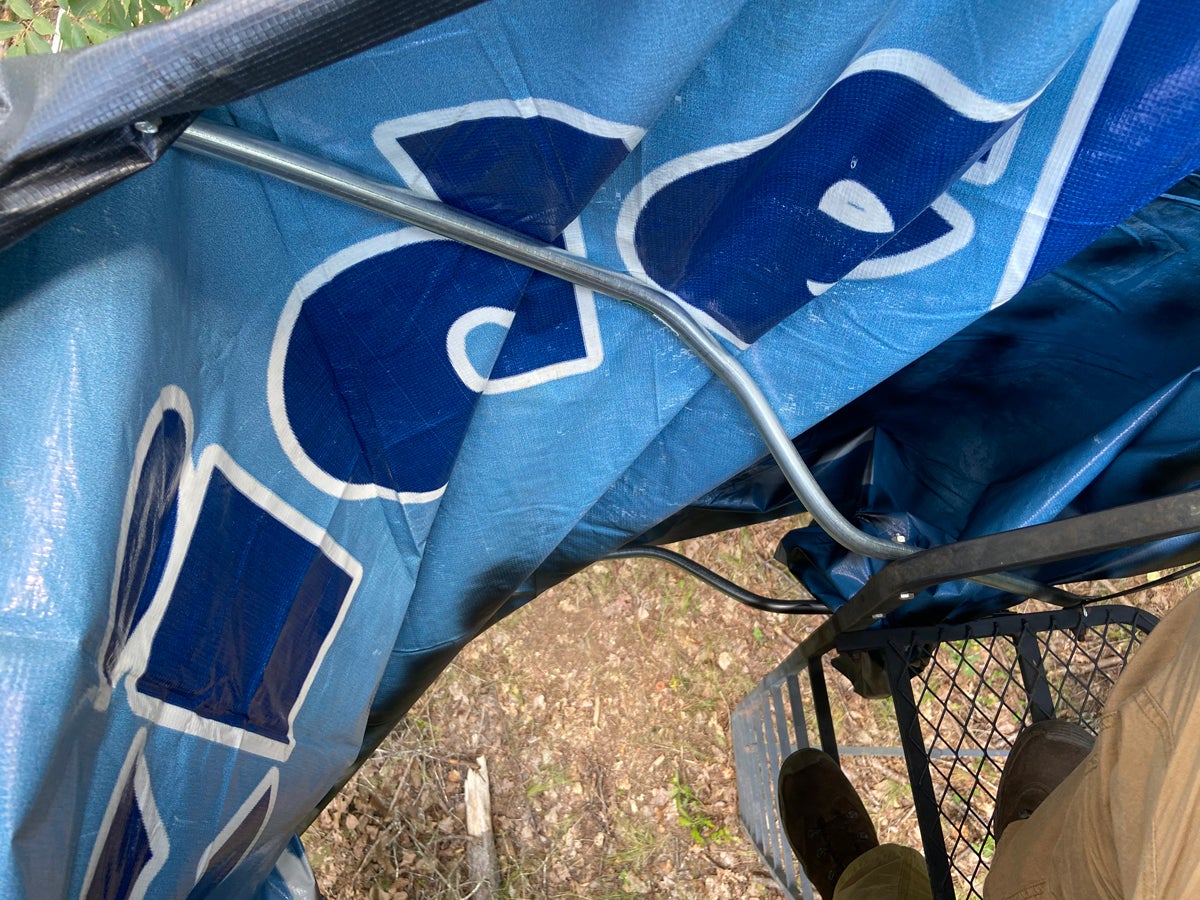
After lunch I attacked the ladder I’d set up a few weeks earlier. I didn’t mess with a roof, but I wanted to mimic what some other folks had done by creating a covering around the stand to hide the hunter, with the bonus of a light rail to act as a shooting rest. This one was a real brain-bender, figuring out the best way to do what I needed to do with the hardware and material I had. I was learning that ten 10-foot sticks of EMT don’t do as far as one might expect.
(Photo © Russ Chastain)
When I was done I had a reasonably decent shooting rest and excellent cover to hide my movements from critters.
(Photo © Russ Chastain)
This stand overlooks one of those mock scrapes I made with a hanging vine a few weeks ago. And no, it would appear that no deer have used it at all.
(Photo © Russ Chastain)
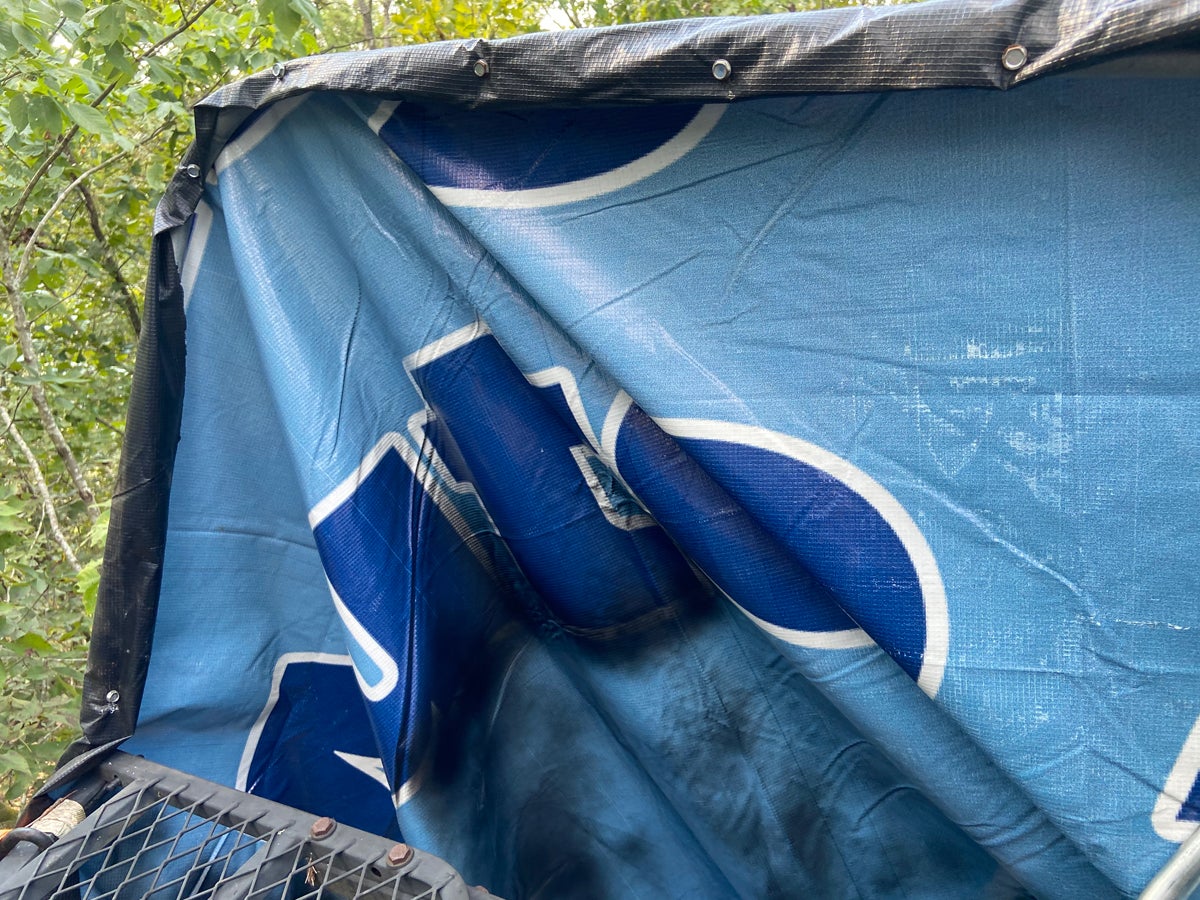
The rail is not particularly sturdy, but it should do the job.
(Photo © Russ Chastain)
I just want to see and not be seen. I later hosed down the blue & white inside with more cheap flat black spray paint.
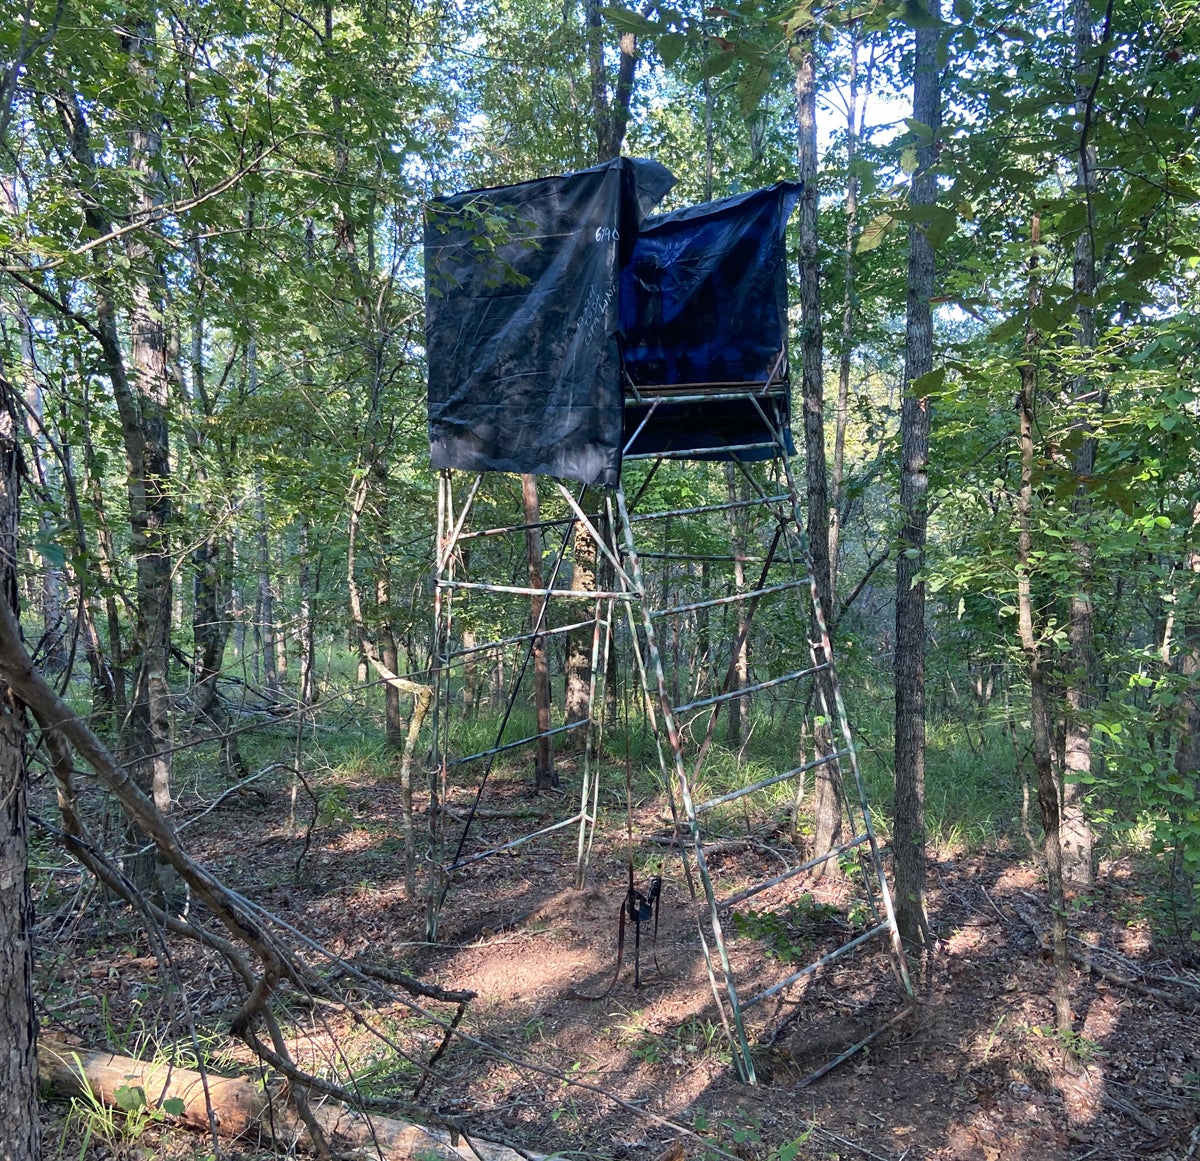
Homemade Tower Stand
(Photo © Russ Chastain)
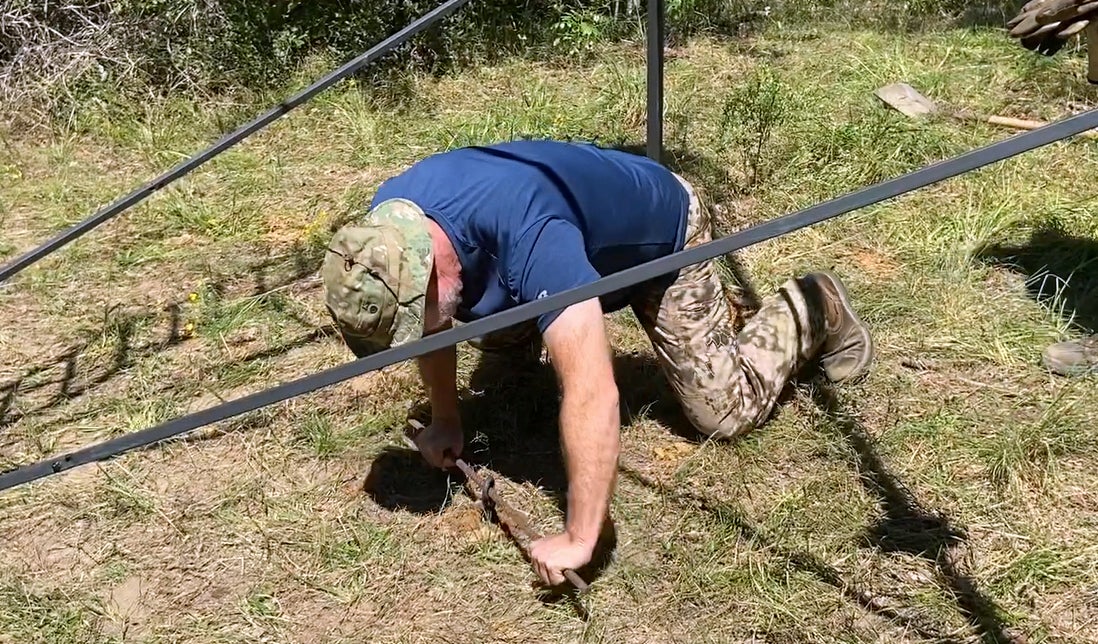
My next project was an old abandoned homemade tower stand which I’d relocated. After the other two conduit-bending projects, my brain was fried and I couldn’t decide how to do a roof, so I decided not to do one that day. Instead I simply added a brace and a skirt, and anchored it to the ground with a screw-in anchor and a pair of ratchet straps.
I had some ideas that night, and decided to forge ahead with inventing a roof for it.
(Photo © Russ Chastain)
The rail on this stand had been made of larger conduit, and my 1/2″ stuff fit right inside of it. I conjured up this arch using one full stick of conduit, which allows the roof to overhang the sides of the stand. It’s then slipped into the rail, secured by self-drilling screws, and gently bent away from the stand, to provide overhang to the front.
(Photo © Russ Chastain)
I made an identical arch for the back side of the stand, and ribs to connect them. After taking the photo below, I added a couple more ribs to support the outer edge of the roof.
(Photo © Russ Chastain)
I then cut a hunk of billboard vinyl, draped it over my roof frame, and screwed it off with much cussing (the screws kept slipping and falling to the ground).

(Photo © Russ Chastain)
The end result is a nice stand which should be comfortable in sun and rain while providing me with cover so the critters won’t see me before I see them — hopefully.
The Cost
This project was not costly. I didn’t use all of both of the billboard vinyls; I still have most of one left. The pair of them cost me about $84 shipped and was by far the largest expense. I’d be interested in hearing ideas for alternative materials to use in that role, in case this stuff doesn’t hold up in the long run.
A bundle of ten 10-foot lengths of 1/2″ EMT was about $30, and the cheapest flat black rattle-can spray paint you can buy can be had for about a buck a can. I believe I used a half-dozen cans.
Well, now you’ve seen some of my recent stand improvement projects. I hope this gave you some ideas about how you can make some good stands better.
Happy hunting!
