Fixing a Browning Over/Under Shotgun Firing Pin Problem
Russ Chastain 10.21.20

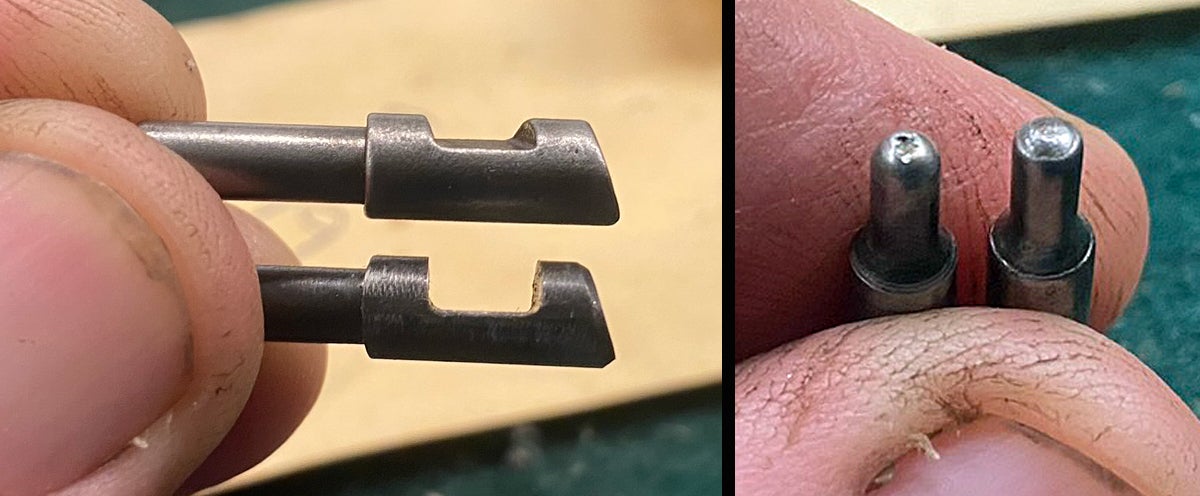
New and old firing pin for the bottom barrel of a 1930s Browning Superposed shotgun.
(Photo © Russ Chastain)
A while back, I posted about an annual dove hunt at my hunting club, and noted that my old Browning Superposed over/under shotgun had given me some trouble. The problem was light primer strikes in the bottom barrel, so I suspected I had some firing pin work to do; I’d had to build a new firing pin for the top barrel five years earlier. Did I need another new firing pin? It was time to find out.
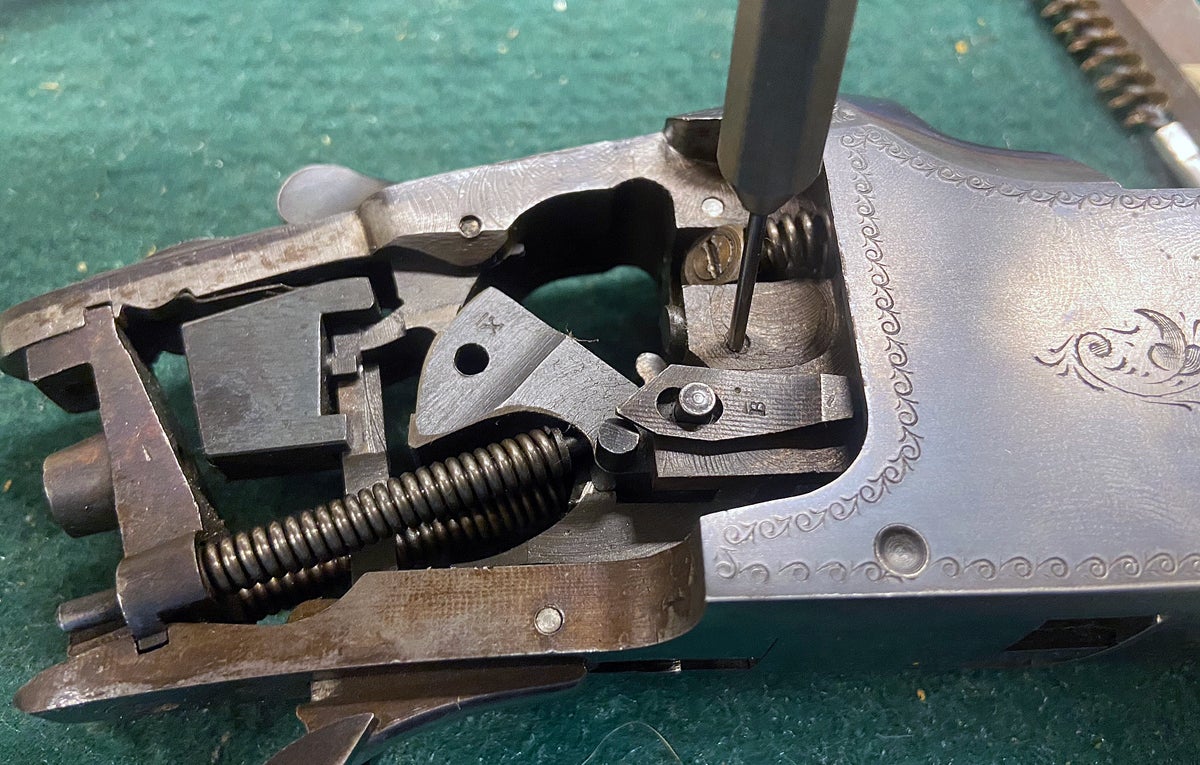
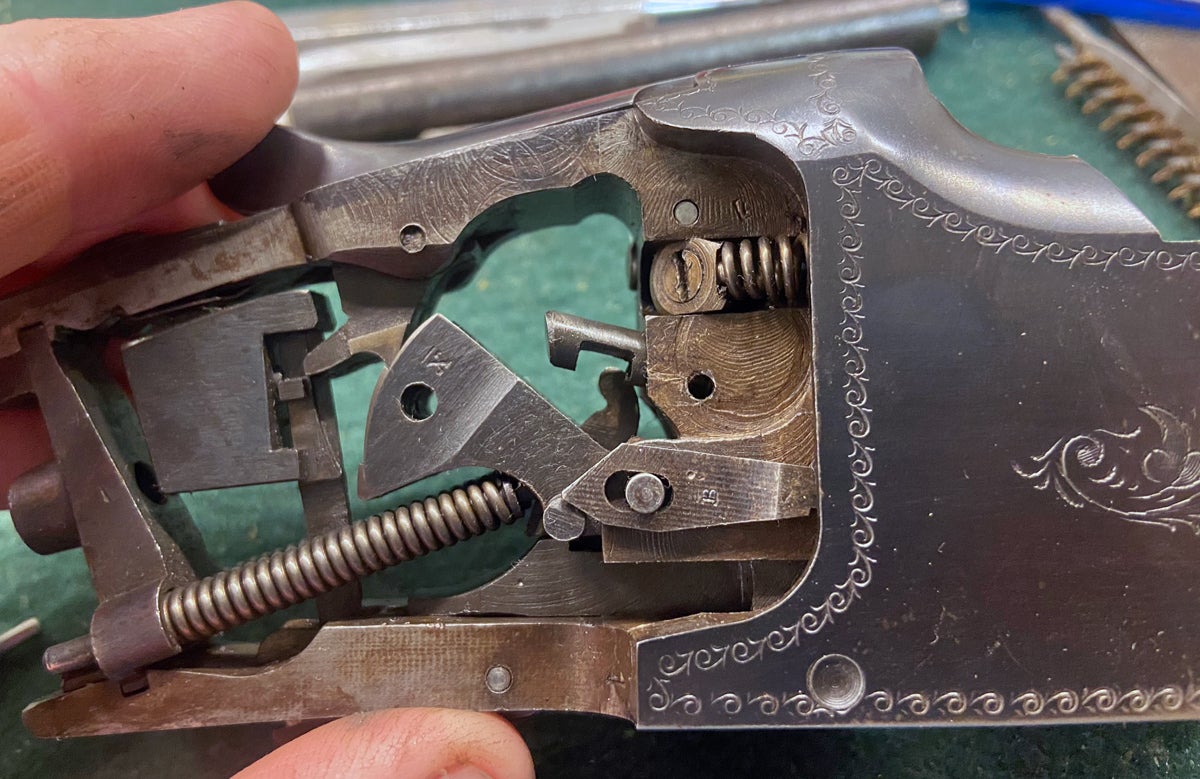
Back home, I dug through my old stuff and found the new bottom firing pin my father had procured for the shotgun sometime in the distant past. I figured it might be time to change them out, so I set about removing the old firing pin. To do that, I needed to drive a retaining pin through the frame, to allow the firing pin to come out.
(Photo © Russ Chastain)
Once the retaining pin was out, the firing pin could be removed. The photo shows it partially removed so you can see the slot which the retaining pin engages to keep the firing pin in the frame.
(Photo © Russ Chastain)
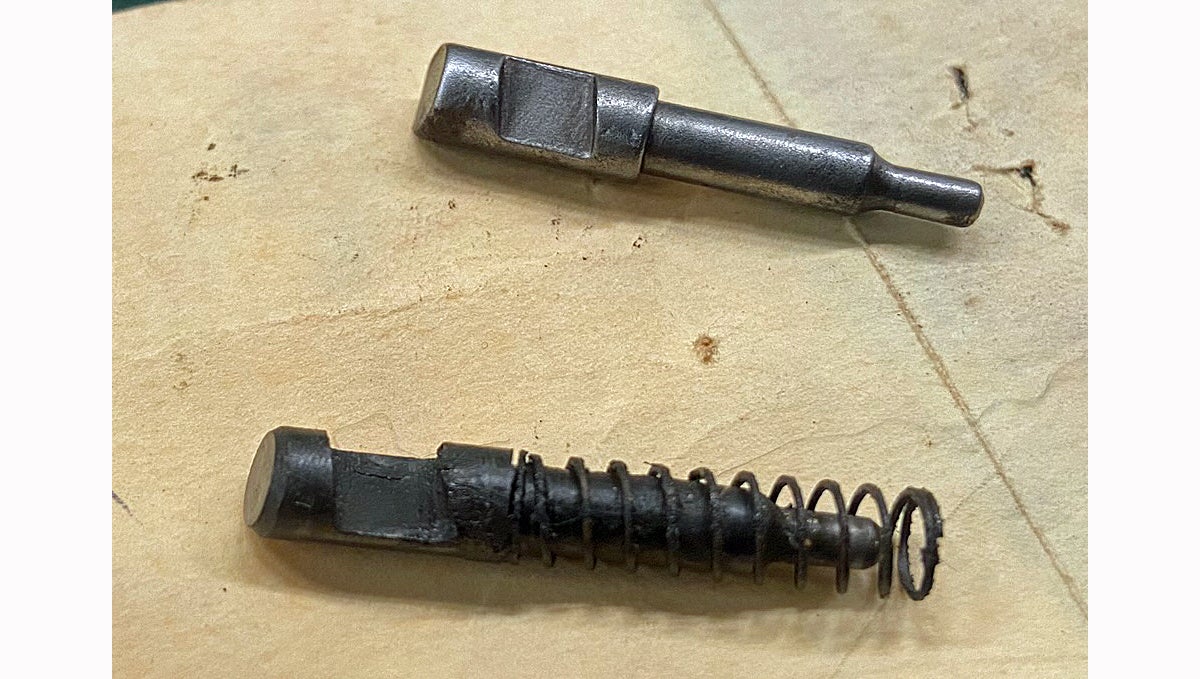
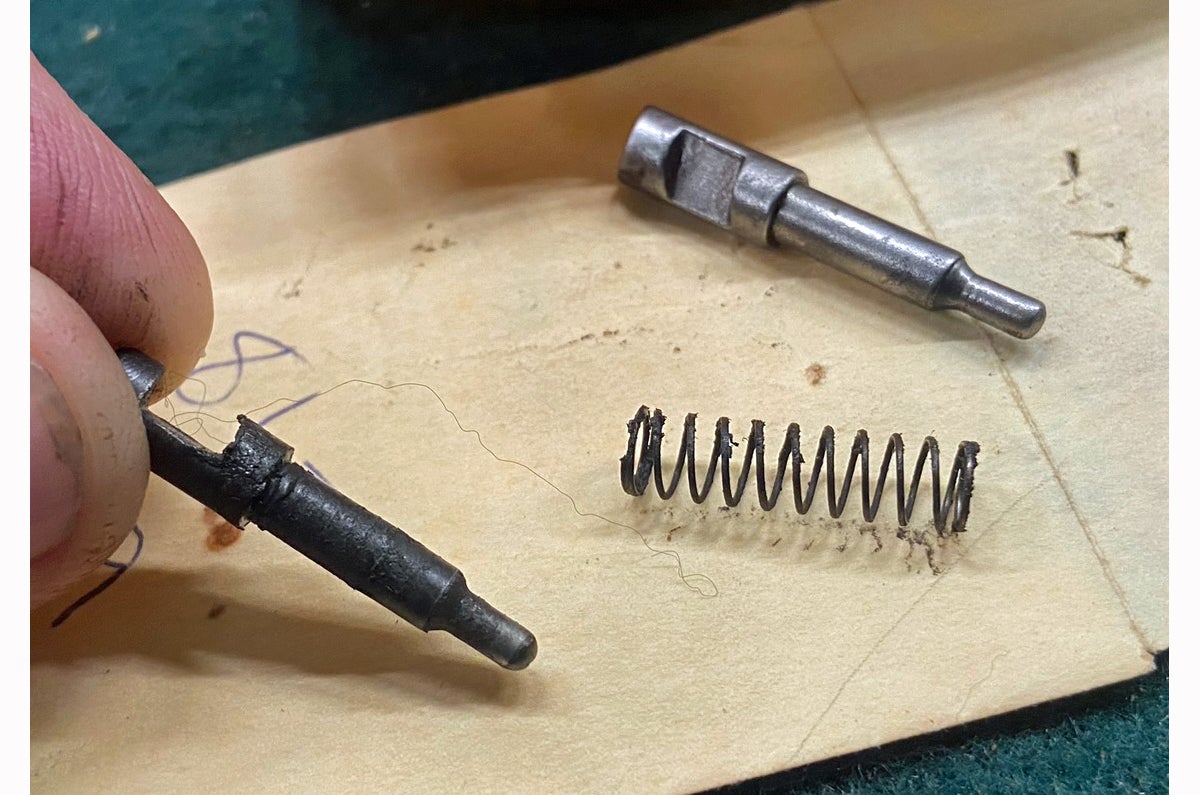
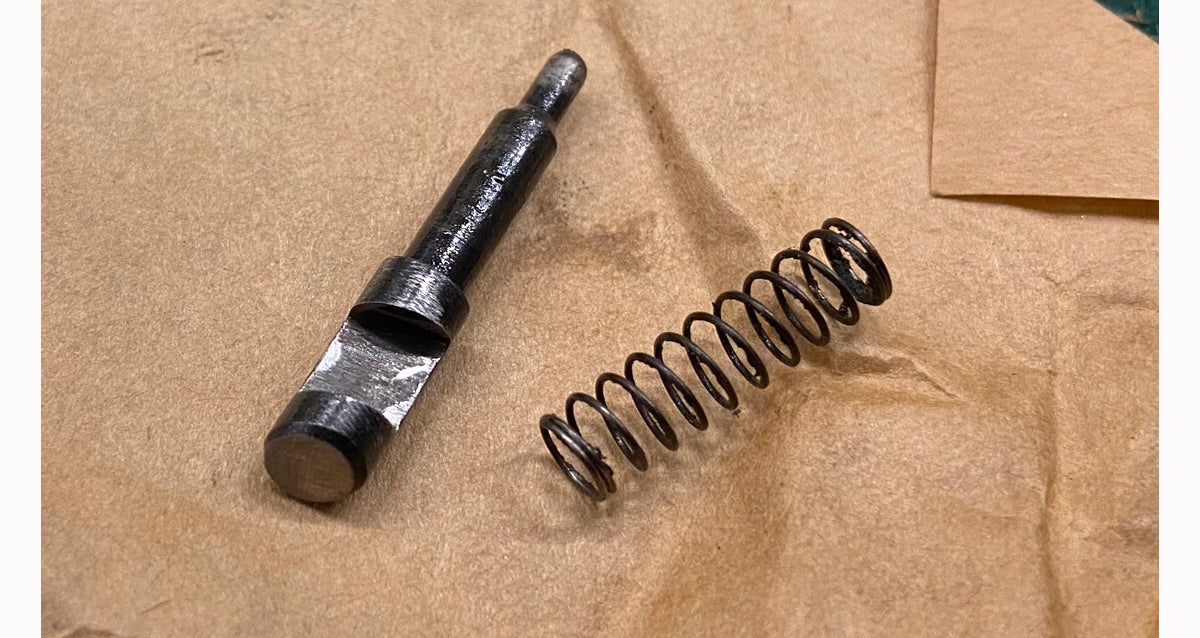
I shouldn’t have been surprised to see how nasty the firing pin and spring were after who-knows-how-many decades in the gun, but I was. It was really gunked up.
(Photo © Russ Chastain)
The more I looked, the better the old firing pin looked… aside from the filth, of course. Maybe that was the entire problem — that old gunk was just restricting the firing pin’s travel through its hole in the frame.
(Photo © Russ Chastain)
I had noticed a slight divot in the end of the old firing pin, but the more I looked, the more I liked its shape better than the new one, which could of course be fixed. But the notch for the retaining pin is much more shallow in the new firing pin, which leads me to believe it was made for a different model Browning. And at any rate, that notch would have to be deepened before it would fit this shotgun. I would save myself a lot of work if I could re-use the old firing pin.
(Photo © Russ Chastain)
It was time to clean the hole in the frame where the firing pin and spring live. Some old mil-spec solvent will do the job.

(Photo © Russ Chastain)
I remembered I had some Gun-tips from Swab-its, which are foam swabs meant for gun cleaning. In some cases, they are reusable, but the best part in this case was they won’t leave lint down in a hole as a cotton swab may do. I didn’t want anything in that hole to impede my firing pin.
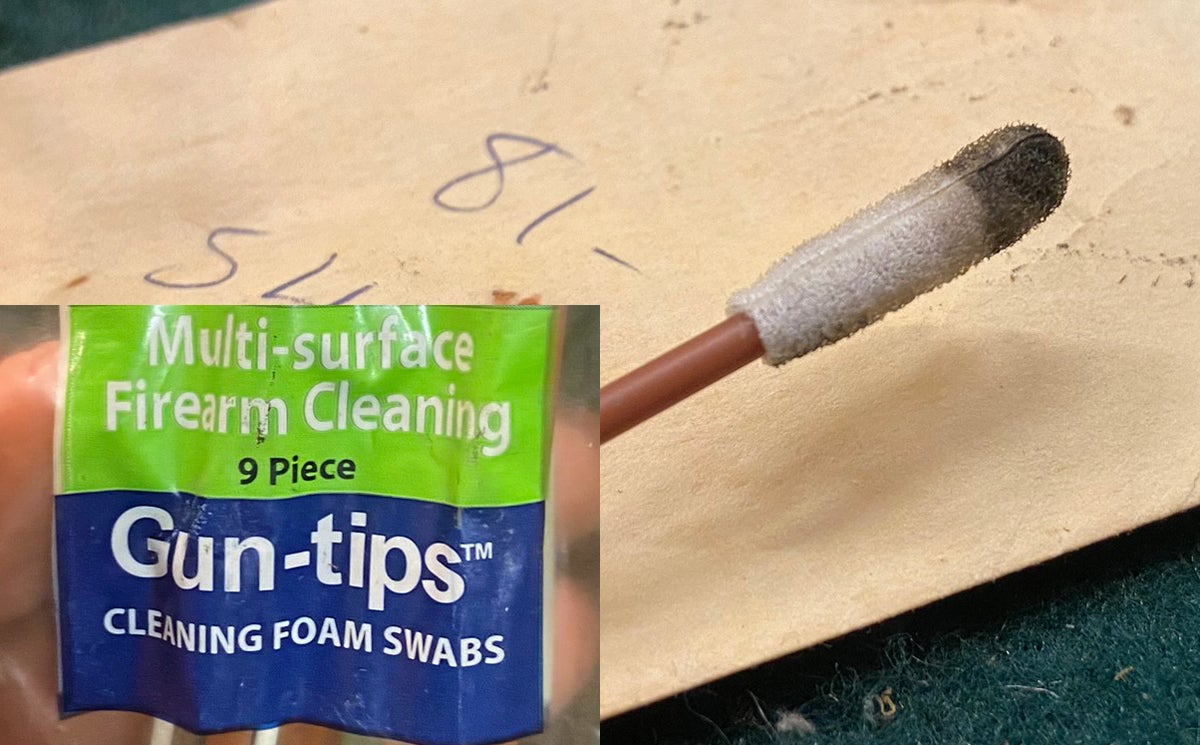
(Photo © Russ Chastain)
With the hole, firing pin, and spring all cleaned and lightly lubed, it was time to reassemble the scattergun. Simply slip the spring over the firing pin and slide both into the hole; compress the spring until the firing pin’s notch aligns with the hole for the retaining pin, and drive the retaining pin through the frame.
(Photo © Russ Chastain)
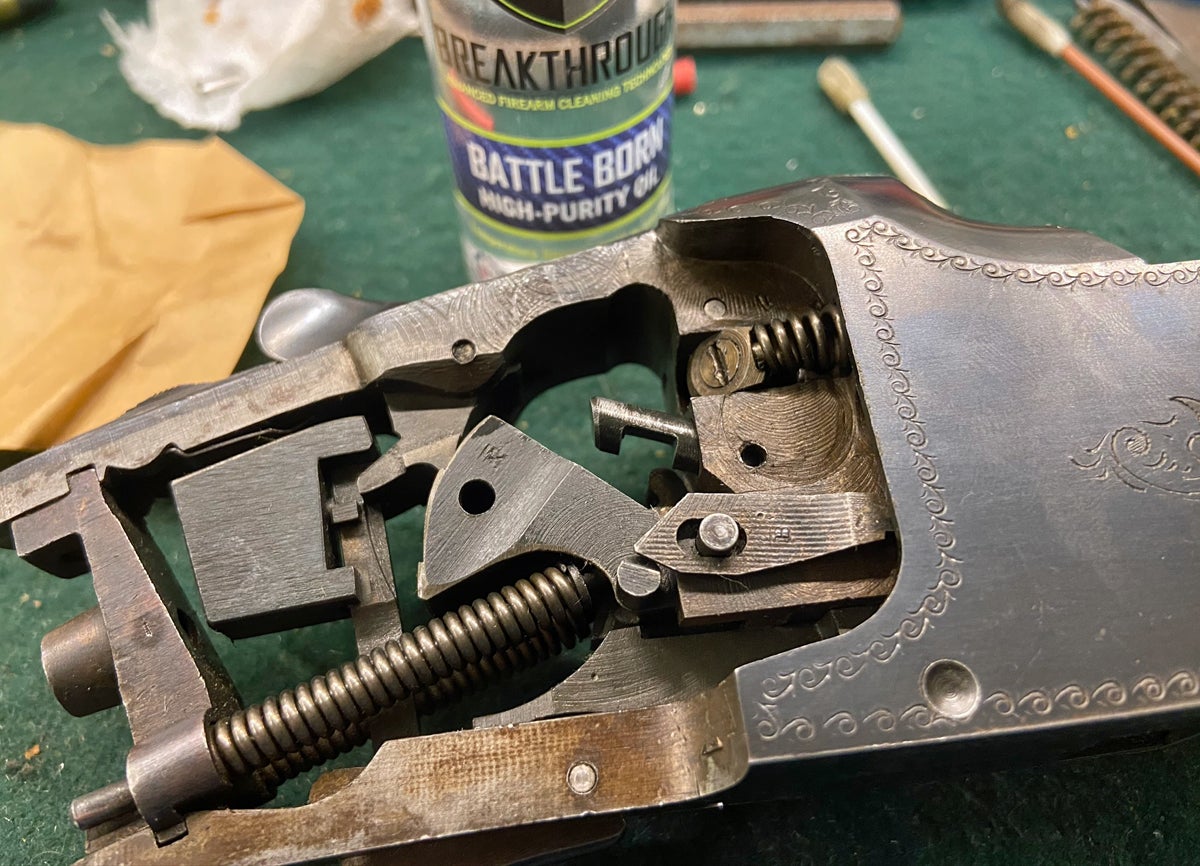
I used Breakthrough Battle Born high-purity oil because I do not want any residue on that firing pin.
(Photo © Russ Chastain)
Off to the range for a test; I had an old partial box of paper-hull shotgun shells whose case heads were beginning to corrode. One by one I fired every shell in that box without fail through the bottom barrel of the old shotgun — a total of 19 shells with nary a hiccup. Success!
So remember, next time your firearm acts up, even in a pretty serious way, it just might need some serious cleaning.
