AllOutdoor Review: Franklin Armory BFSIII AR-C1 Binary Trigger Install
Sam.S 08.06.21

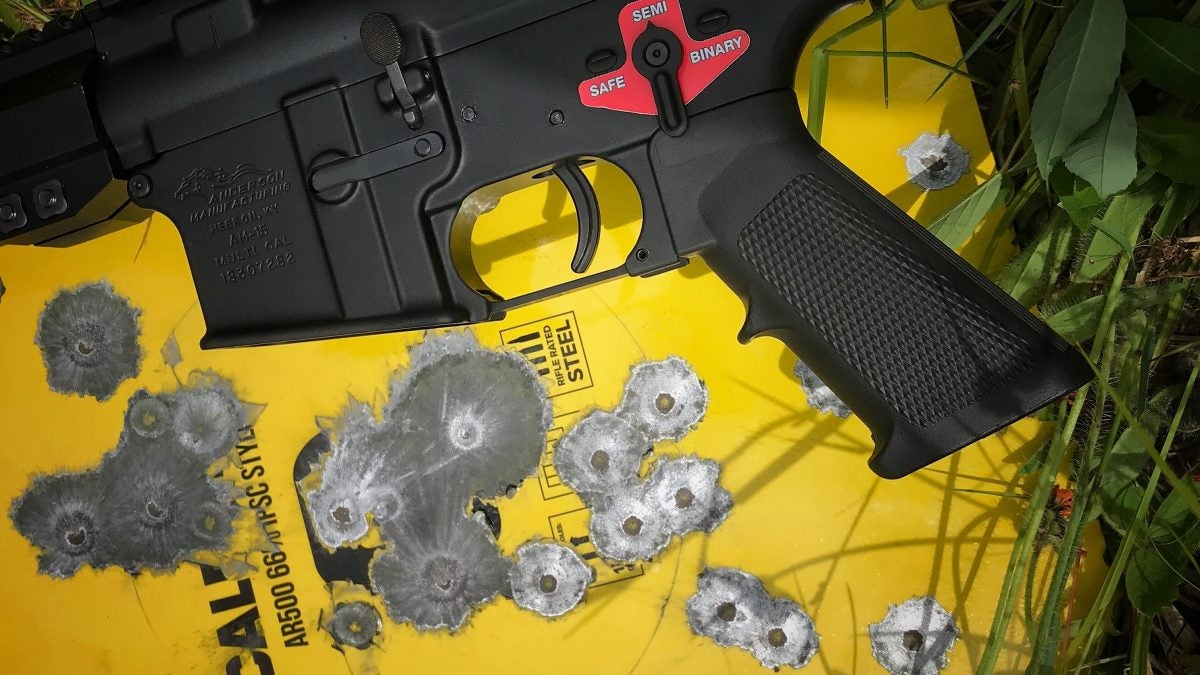
Recently I had the chance to review and work with the Franklin Armory BFSIII AR-C1 Binary Trigger. I got to do a bunch of range time and even take a little walk through the woods which will go live in another article. Before I could do any of that I had to install it in a few AR15 style rifles. I figured a good installation article would help some folks out there that are more visual learners. Let’s go to the bench!
AllOutdoor Review: Franklin Armory BFSIII AR-C1 Binary Trigger Install
1. First thing is first! Practice all the rules of gun safety. When disassembling and assembling a firearm you should always wear safety glasses due to multiple parts being under spring tension. Triple check that the firearm is unloaded. Check the chamber, magazine, and the area in between. I highly recommend reading through the included installation guide or watch an installation guide here. All set? Let us jump right into it!
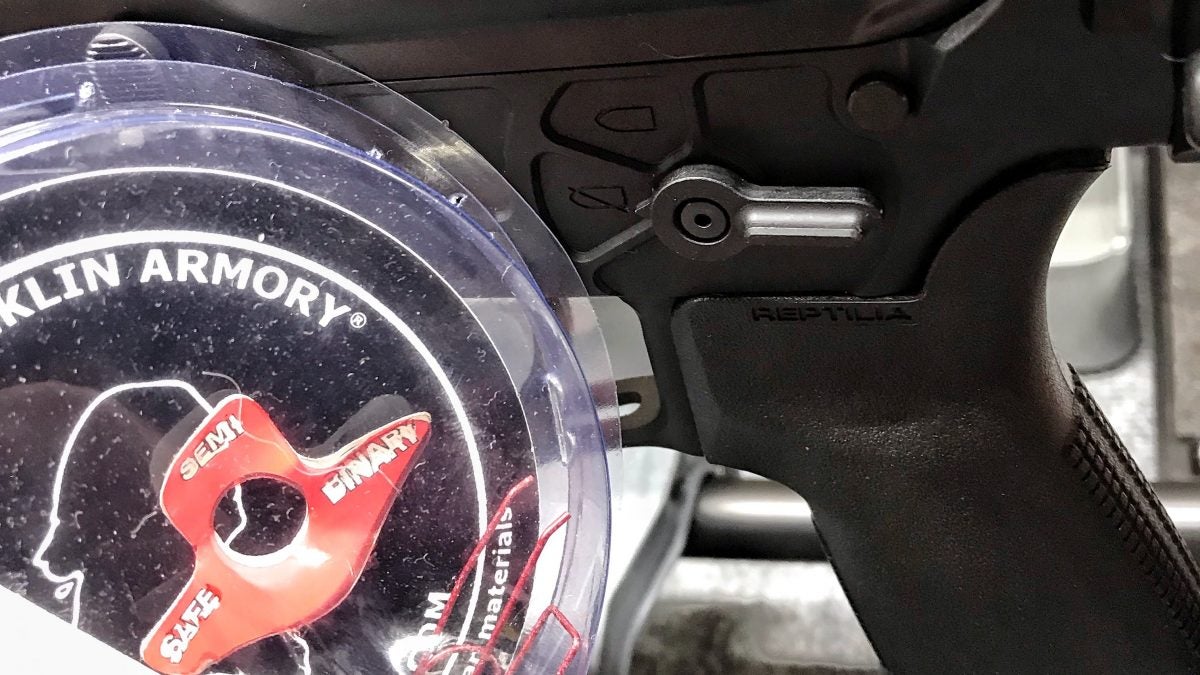
The BFSIII AR-C1 comes with the following: An Assembled Trigger/Disconnector/Slave Pin, Ambidextrous Safety Selector, Firing Mode Sticker, Slave Pin (and extra), Extra Disconnector Spring, Two Buffer Springs (One is Stronger), Manual, Franklin Armory Safe-Semi-Binary Red Sticker.
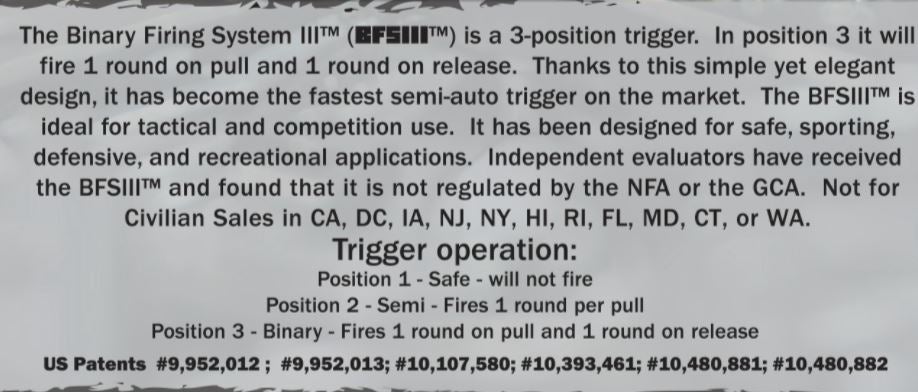
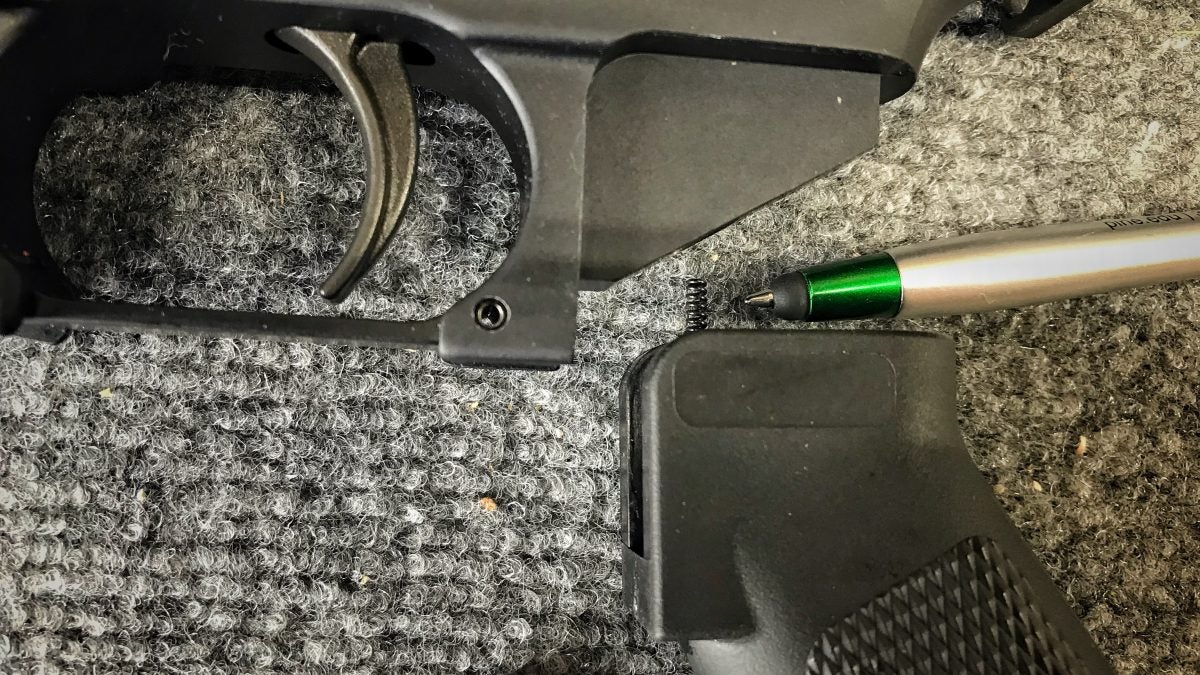
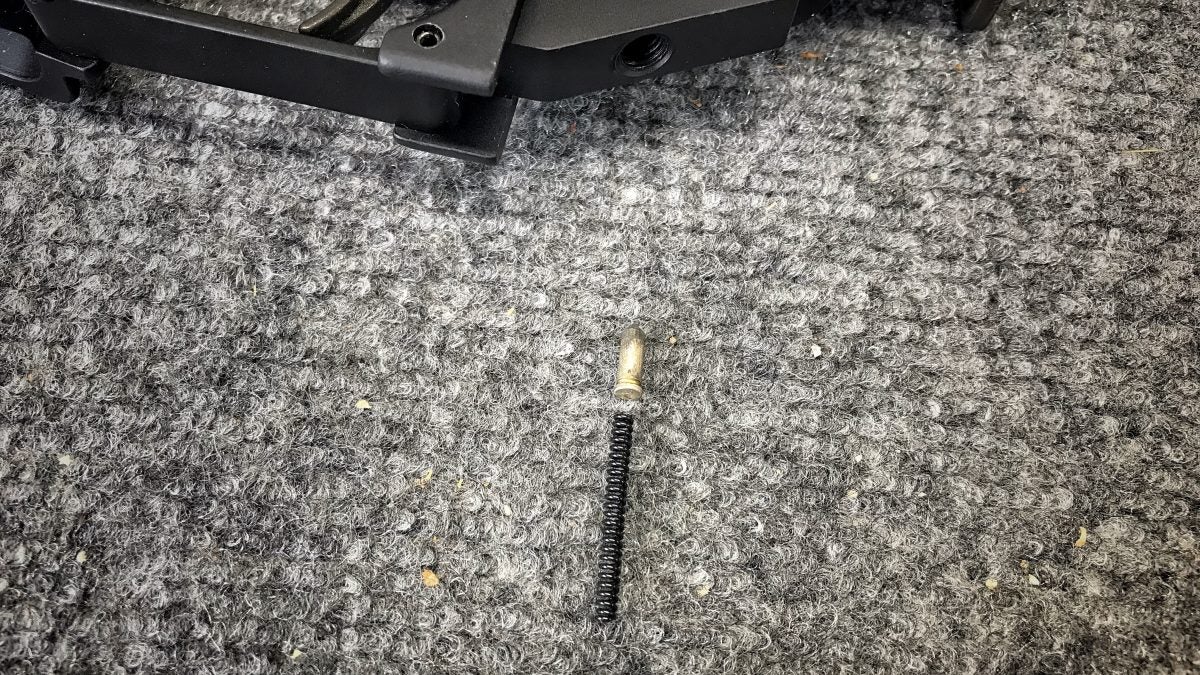
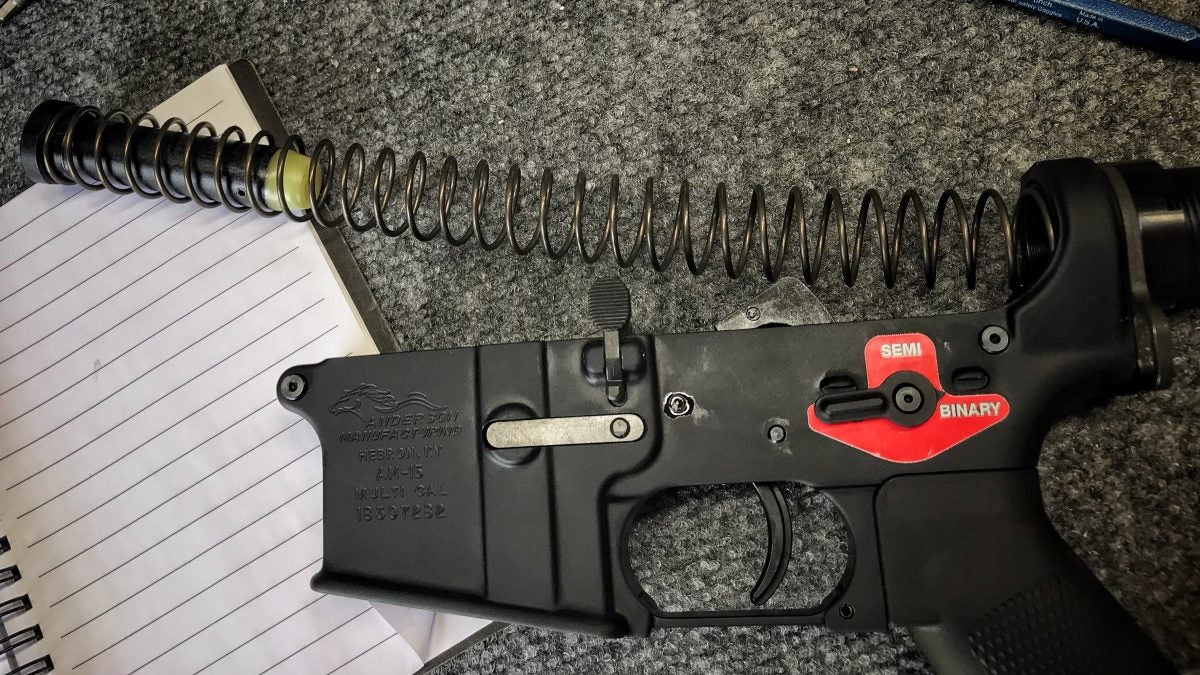
2. This part is optional. The BFSII AR-C1 includes two extra buffer springs. One is stronger than the other and this is due to potential cycling issues you may have with prolonged use on your factory buffer spring. Easy enough just depress (The buffer is under spring tension be aware!) the buffer retainer plunger and let the buffer and spring come out towards the lower receiver. Pull those out and change the buffer to a new spring and repeat the process in reverse to install.
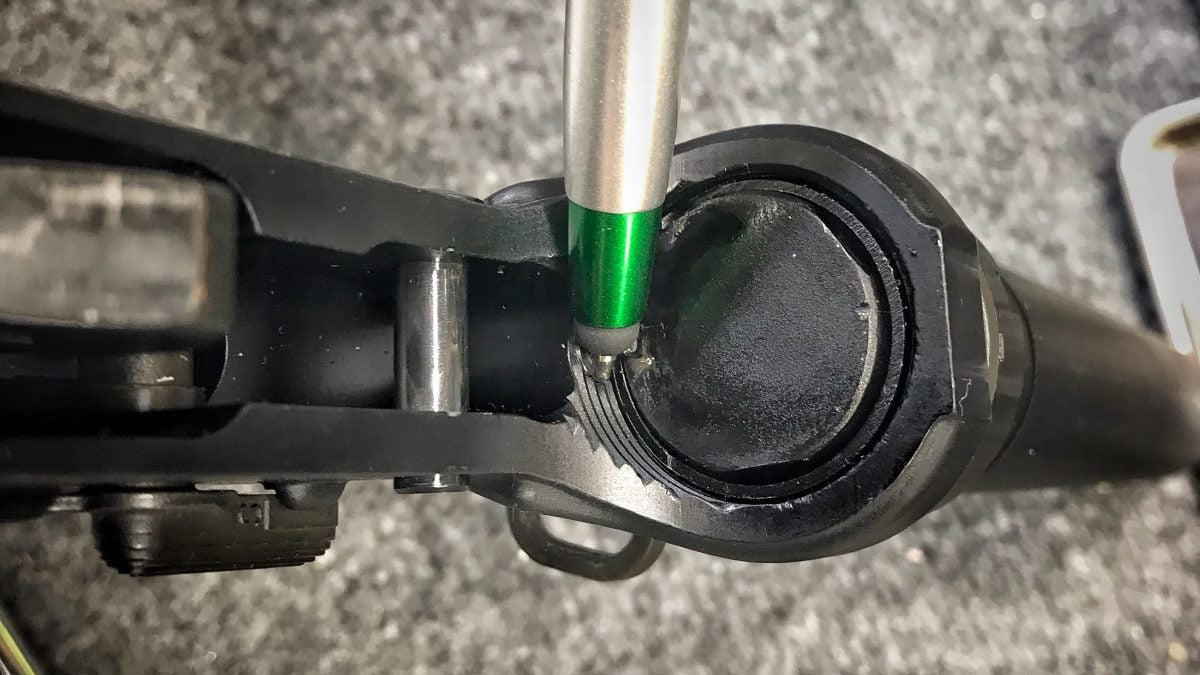
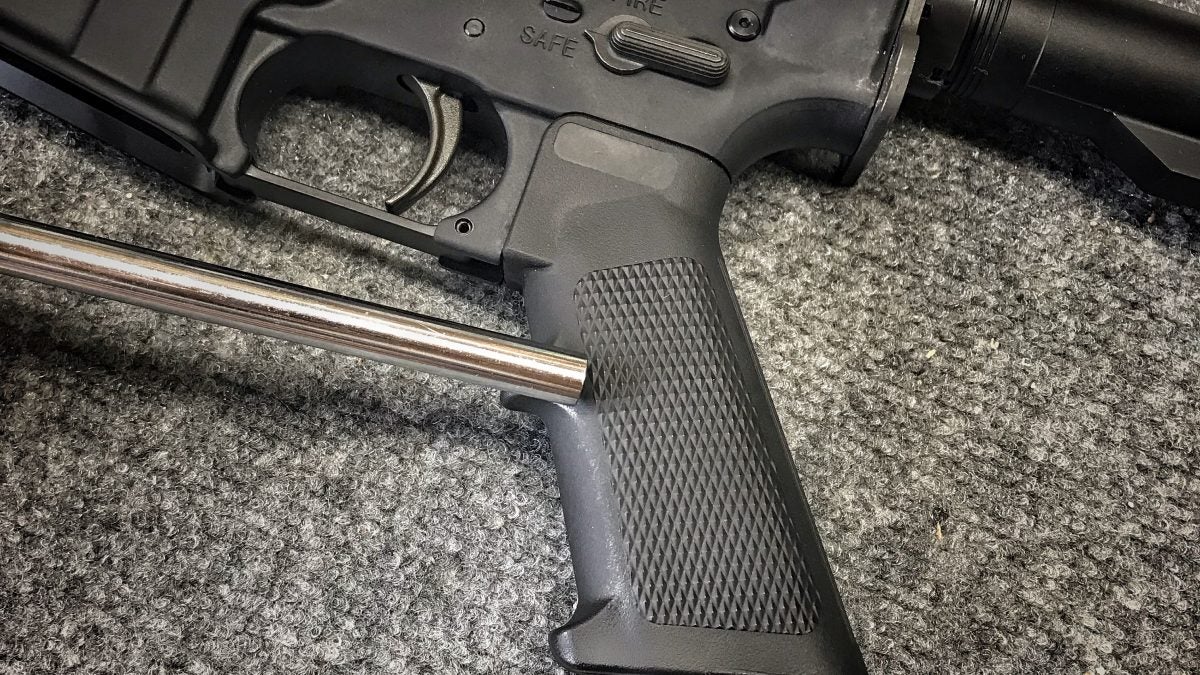
3. Assuming you already separated the upper from the lower, start by removing the pistol grip on the AR15. Use a 3/16 hex bit/Allen wrench to unscrew the screw hidden inside the pistol grip.
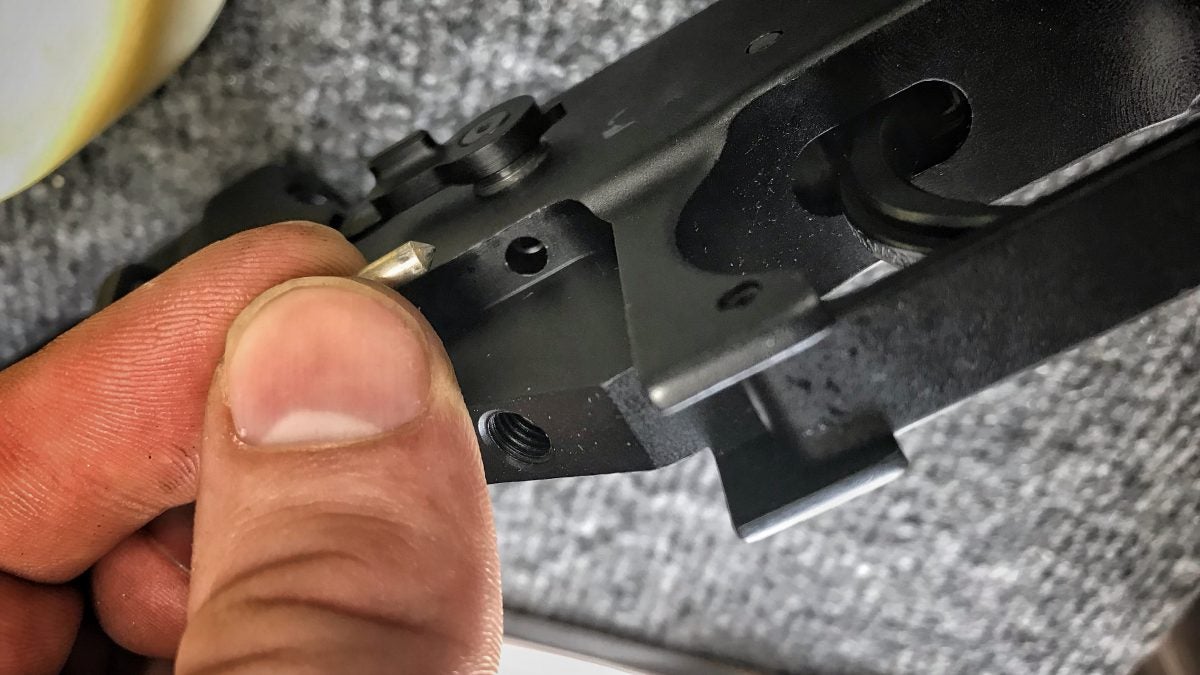
4. Pay attention to the spring and plunger that is being depressed by the grip. They can fall free from the lower.
I always make sure to take them out so I do not lose them.
5. Now that the spring and plunger depressed by the pistol grip have been removed you can take out the safety selector. It may take some twisting but the selector can be rotated until it is able to be pulled free.

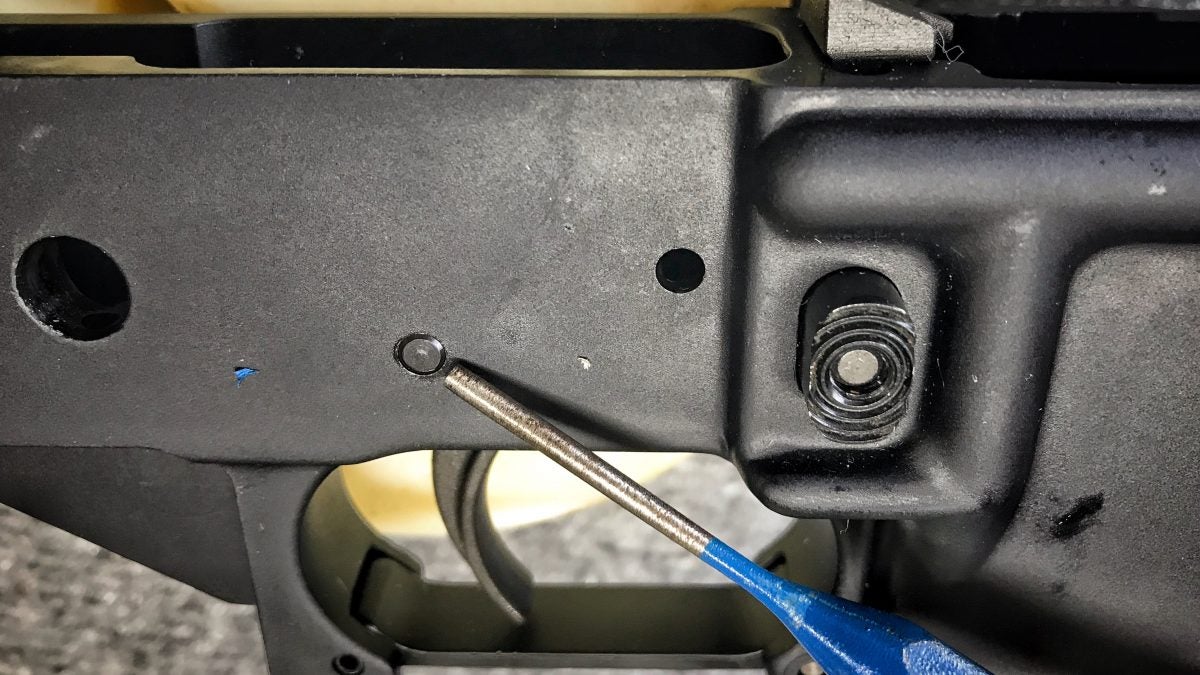
6. Now carefully allow the hammer to move forward by depressing the trigger.
7. With the hammer allowed forward you can now remove the pin holding it in place. The pin can be driven out either way but make sure to use a bench block or have this rigged carefully in a jig on a vise.
8. After removing your punch the hammer will start to dislodge itself. You can take it out just be careful of spring tension.

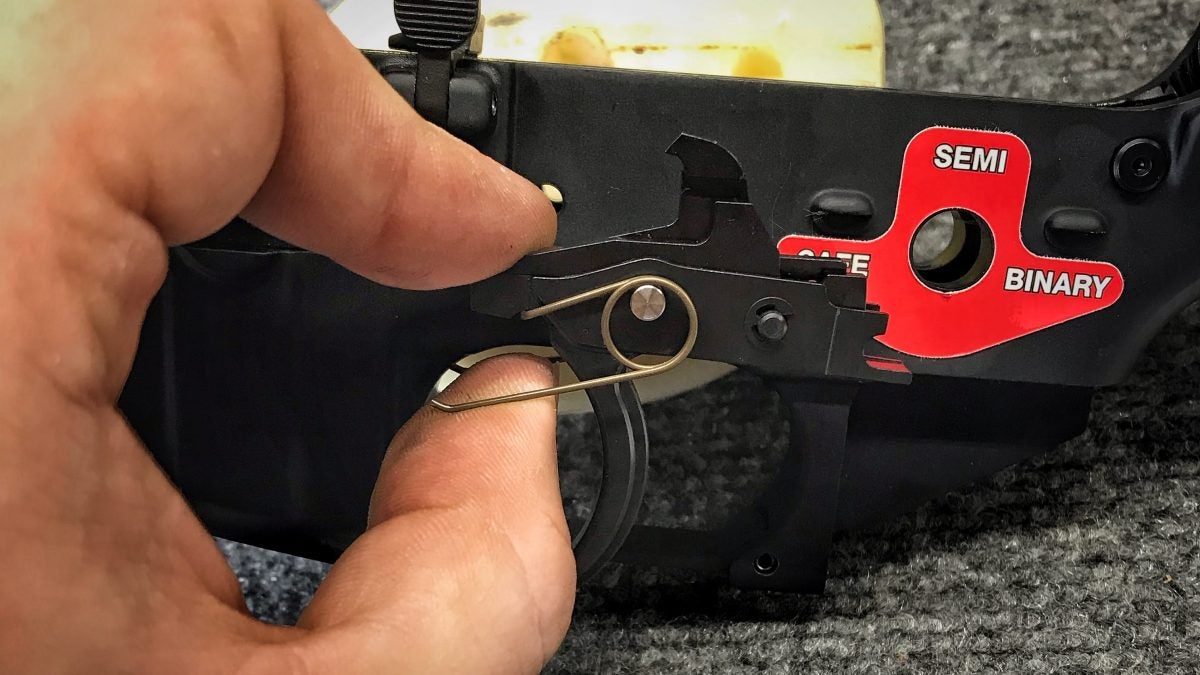
9. Now we can remove the trigger pin. Before doing this acknowledge that there is also a disconnector under spring tension as well as the trigger itself which is also under spring tension that will release when the pin is removed.
Cover the top of the receiver with a rag or your hand to catch whatever may jump out.
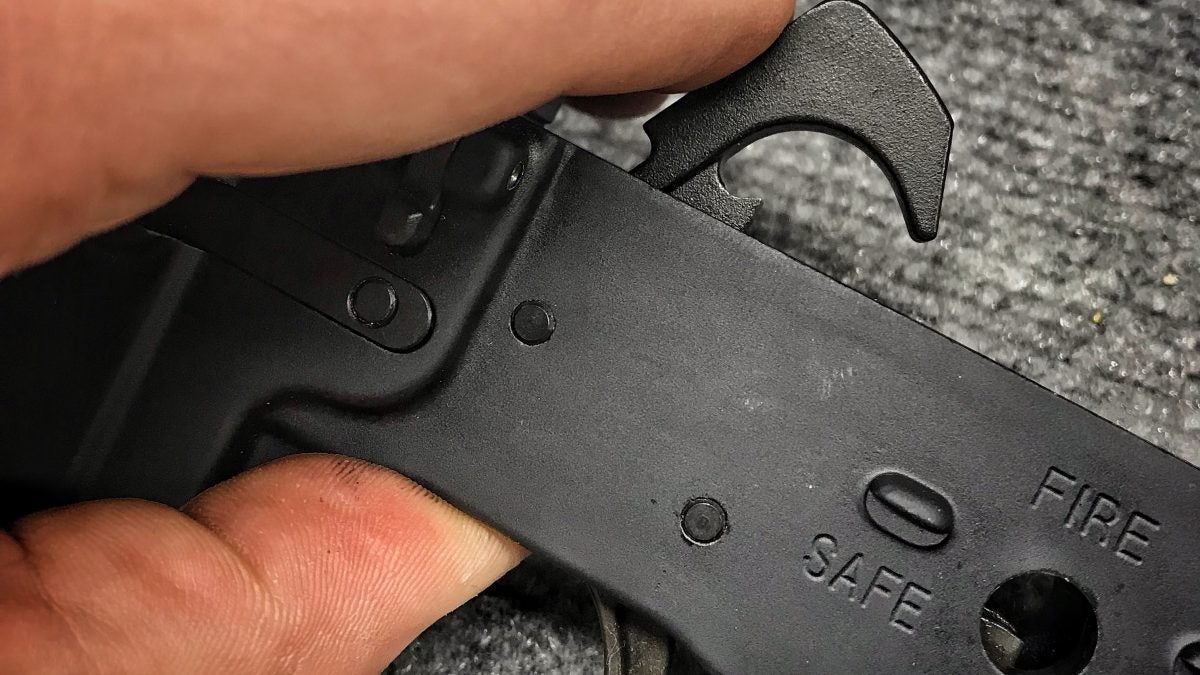
10. If you are applying the BFSIII AR-C1 sticker (it is recommended for safety reasons) prep the area by degreasing it. A small amount of acetone would do the job. Make sure to wipe off any spot that does not dry.
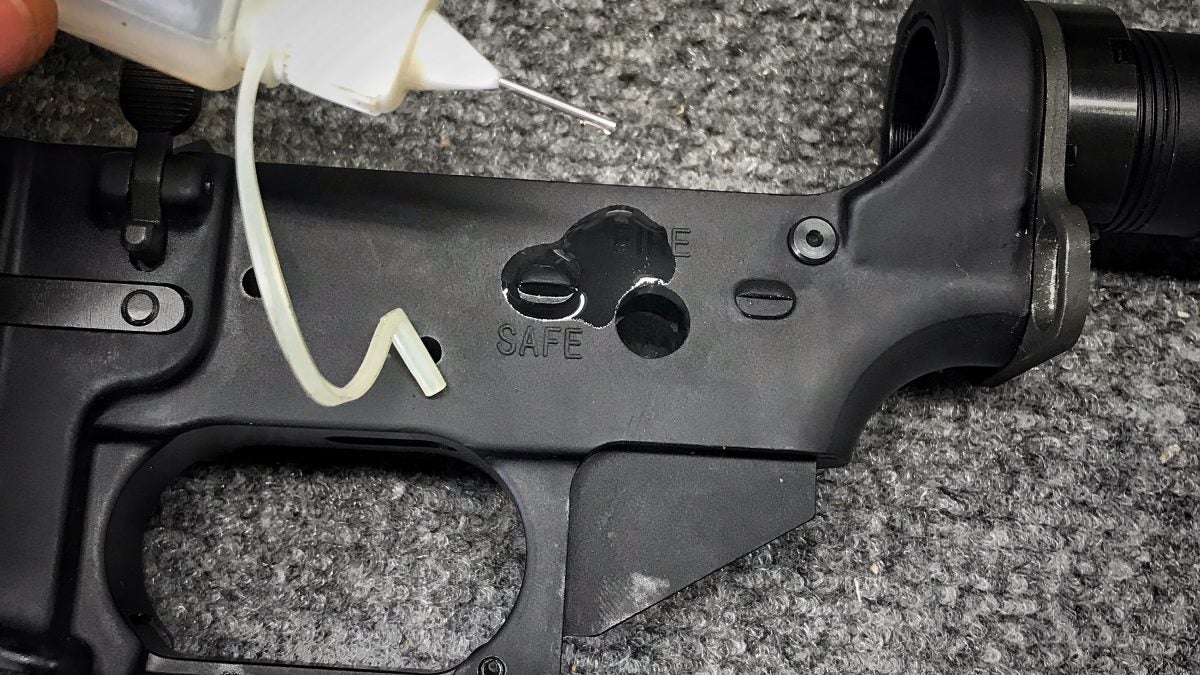
Note: Some lower receivers have aesthetic features that make it impossible or unlikely to apply the sticker. Such as this Springfield Armory Edge PDW.
11. Apply the sticker carefully. This may as well be a one-time try since the sticker will separate itself into two-layer is worked with aggressively.

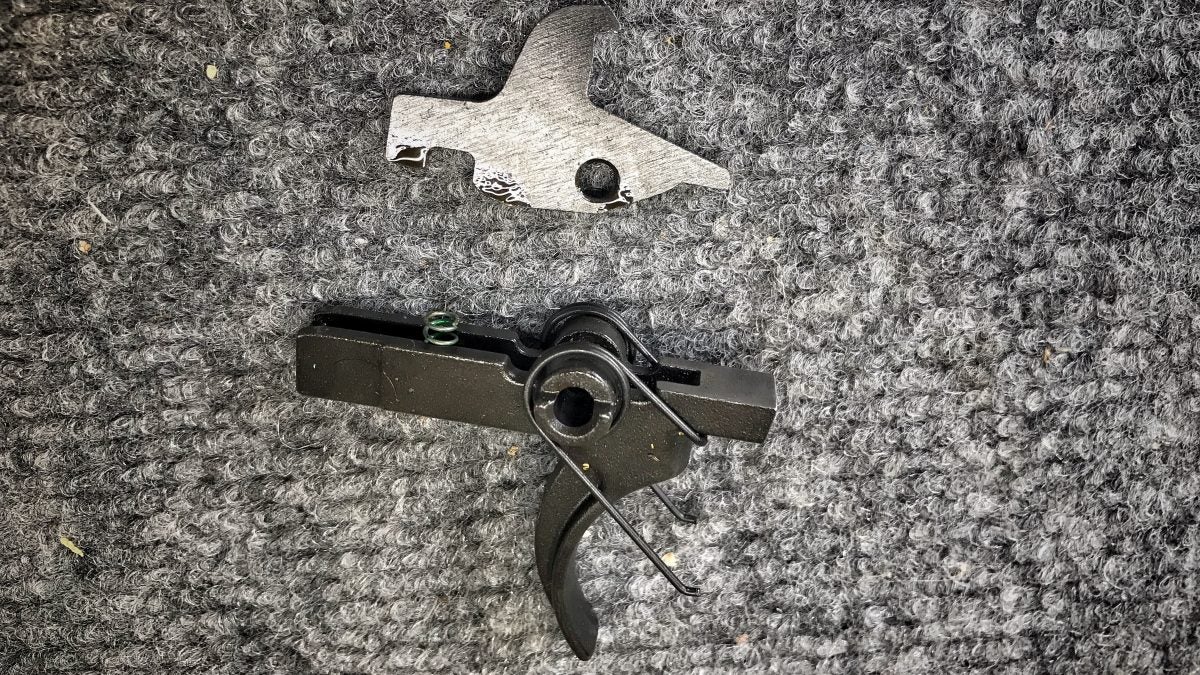
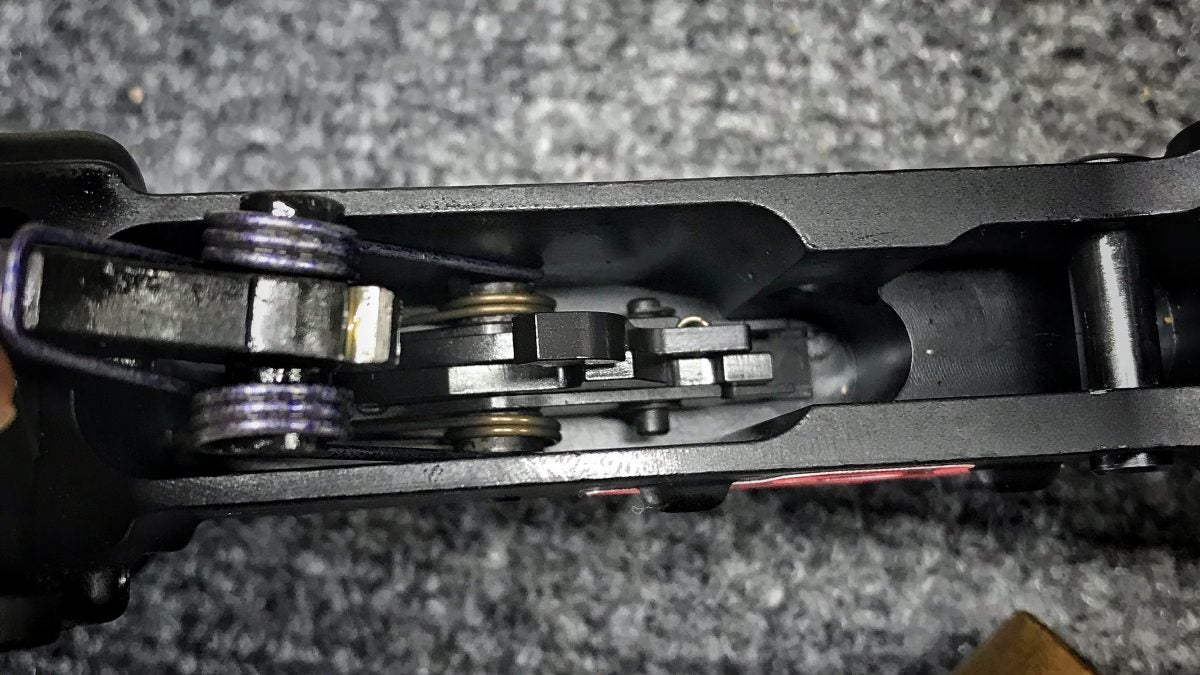
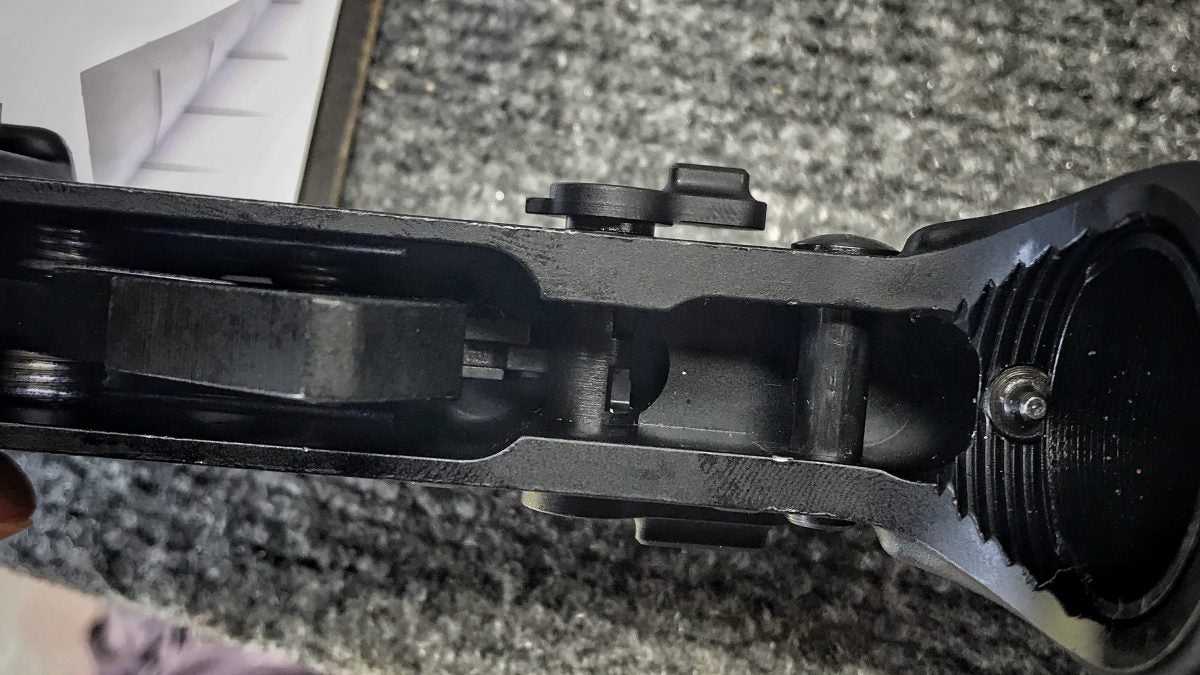
12. Now we can install the prebuilt trigger. Take care not to dislodge the slave pin inside the trigger assembly. Put the assembly into the lower in the configuration shown below. Make sure to have the spacers on the trigger assembly (more on that below).
Note: Here we can see the correct orientation of the trigger and hammer within the lower but more importantly we can see the spacers and their correct orientation. Normal one-piece triggers have them built-in. The manual says nothing of this which could really stump someone who is not used to this kind of thing. The spacers are for the hammer spring tails to rest on inside of the receiver.

13. Installing the trigger is very easy. Set the trigger down into the receiver with the spacers attached and line the slave pin up with the pinhole. Insert a trigger pin and hammer the pin through to replace the slave pin.

14. Now that the trigger is installed the hammer can be placed in. The springs should be placed so that they coincide with the cuts on the trigger spacers. The hammer will be under tension but needs to be pushed into the lower with one hand and the pin it is to be partnered with inserted.
15. From their cock the hammer by pulling it to the rear and it should lock in place.
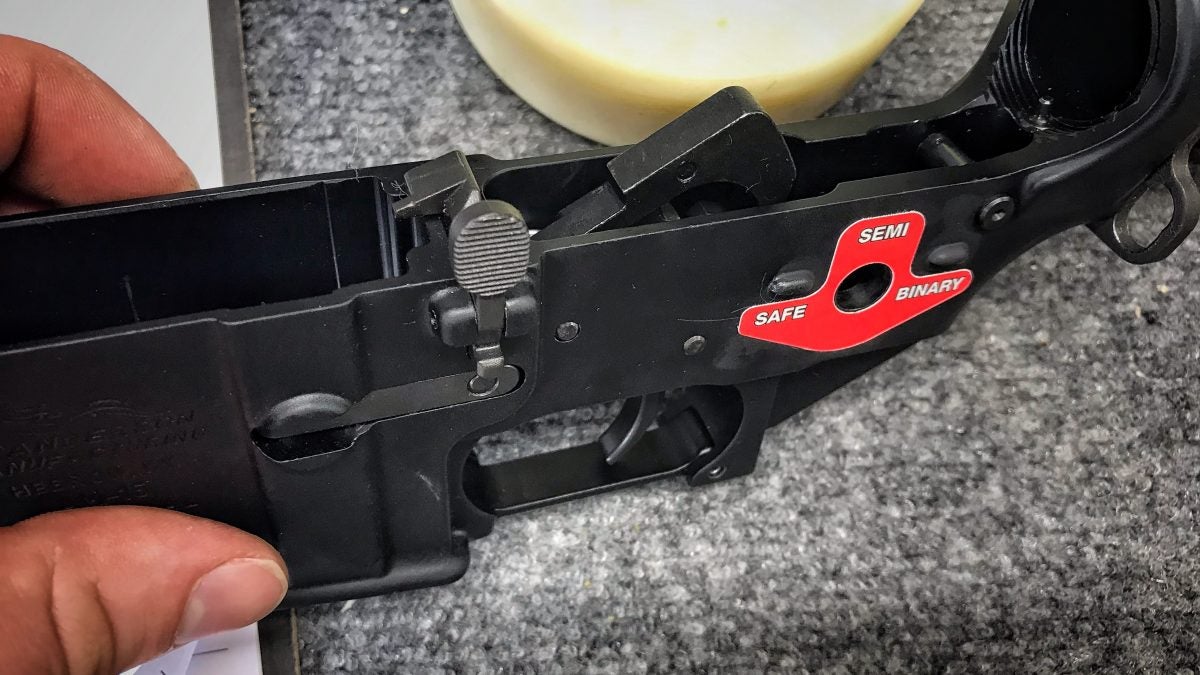
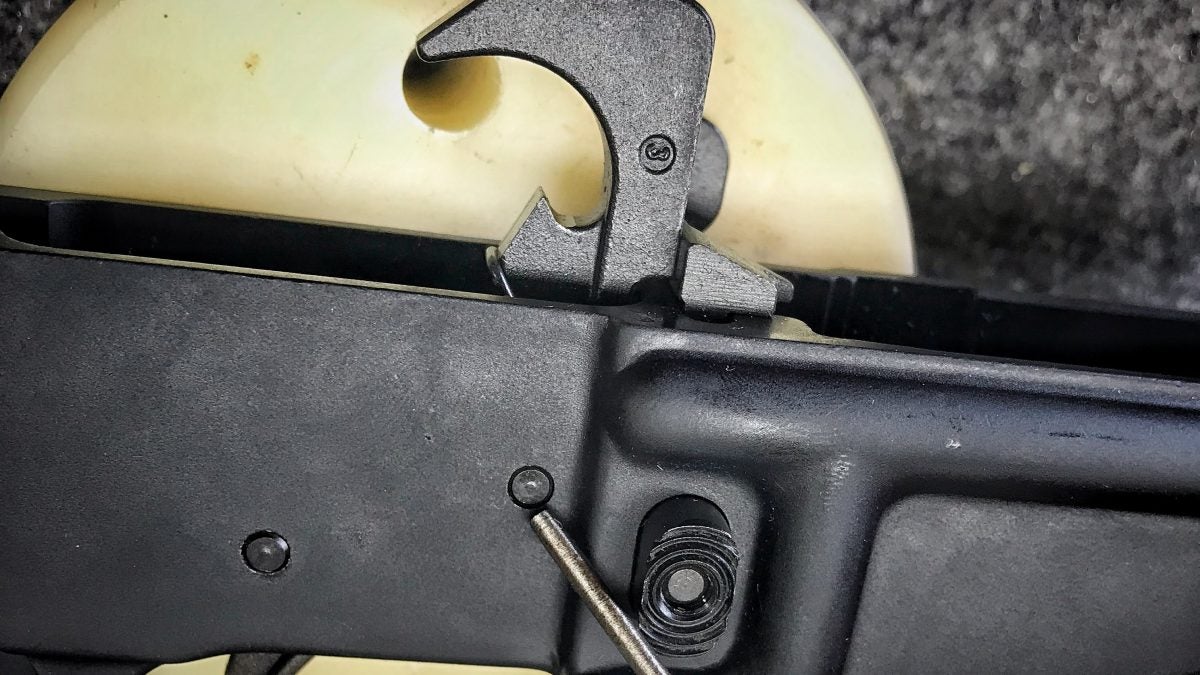
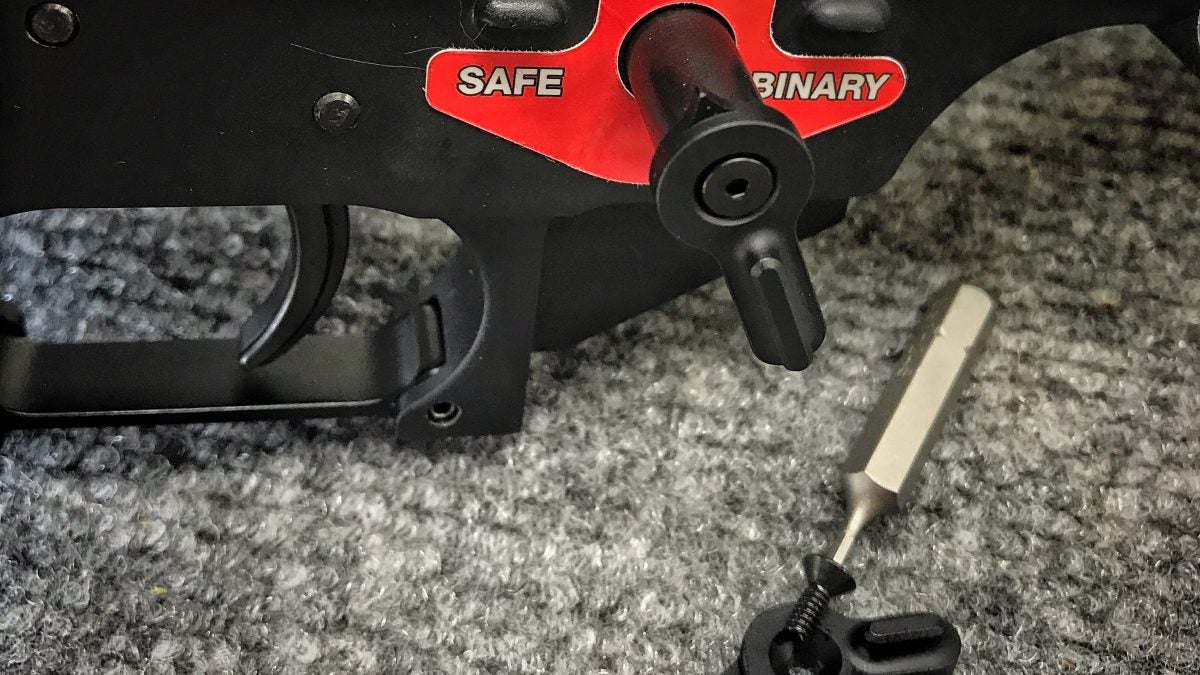
16. Now you can insert the selector. The selector may been to be rotated here and there to get it to punch all the way through. Screw in the other side of the selector once its all the way through.
Note: The space between the selector and the frame is normal and is most likely there to make up for larger space on different receivers.
17. Now reinstall the pistol grip components. I usually turn the lower upside-down and put the plunger in and the spring on top before squishing it down carefully with the pistol grip.
18. Once everything is back in place there is a long list of safety tests that should be done before taking your BFSIII AR-C1 to the range. The safety list is located in the manual or here in the install video. If for any reason you need to contact Franklin Armory’s customer service for technical questions their phone number is 775-783-4313 (Monday through Friday 9:00am – 4:00pm PT).
In closing, thank you to anyone who tuned in and followed along! Make sure to check out Franklin Armory and their products. I hope this was helpful and educational. Please always remember to practice proper gun safety and to be mindful of parts so that you do not lose any. Safe and happy installation!