Rebuilding a “Very Nice” Shimano Stradic FK Reel – Part 2
Eugene L. 05.24.22

So, we’re back! It took 4 days, but I got my new set of bearings and anti-reverse for the Stradic rebuild. Half Hitch Tackle of Panama City Beach had all the parts I needed for this project. Now having all the required replacement parts and all the old usable parts cleaned and degreased. We are ready to start putting the reel back together.
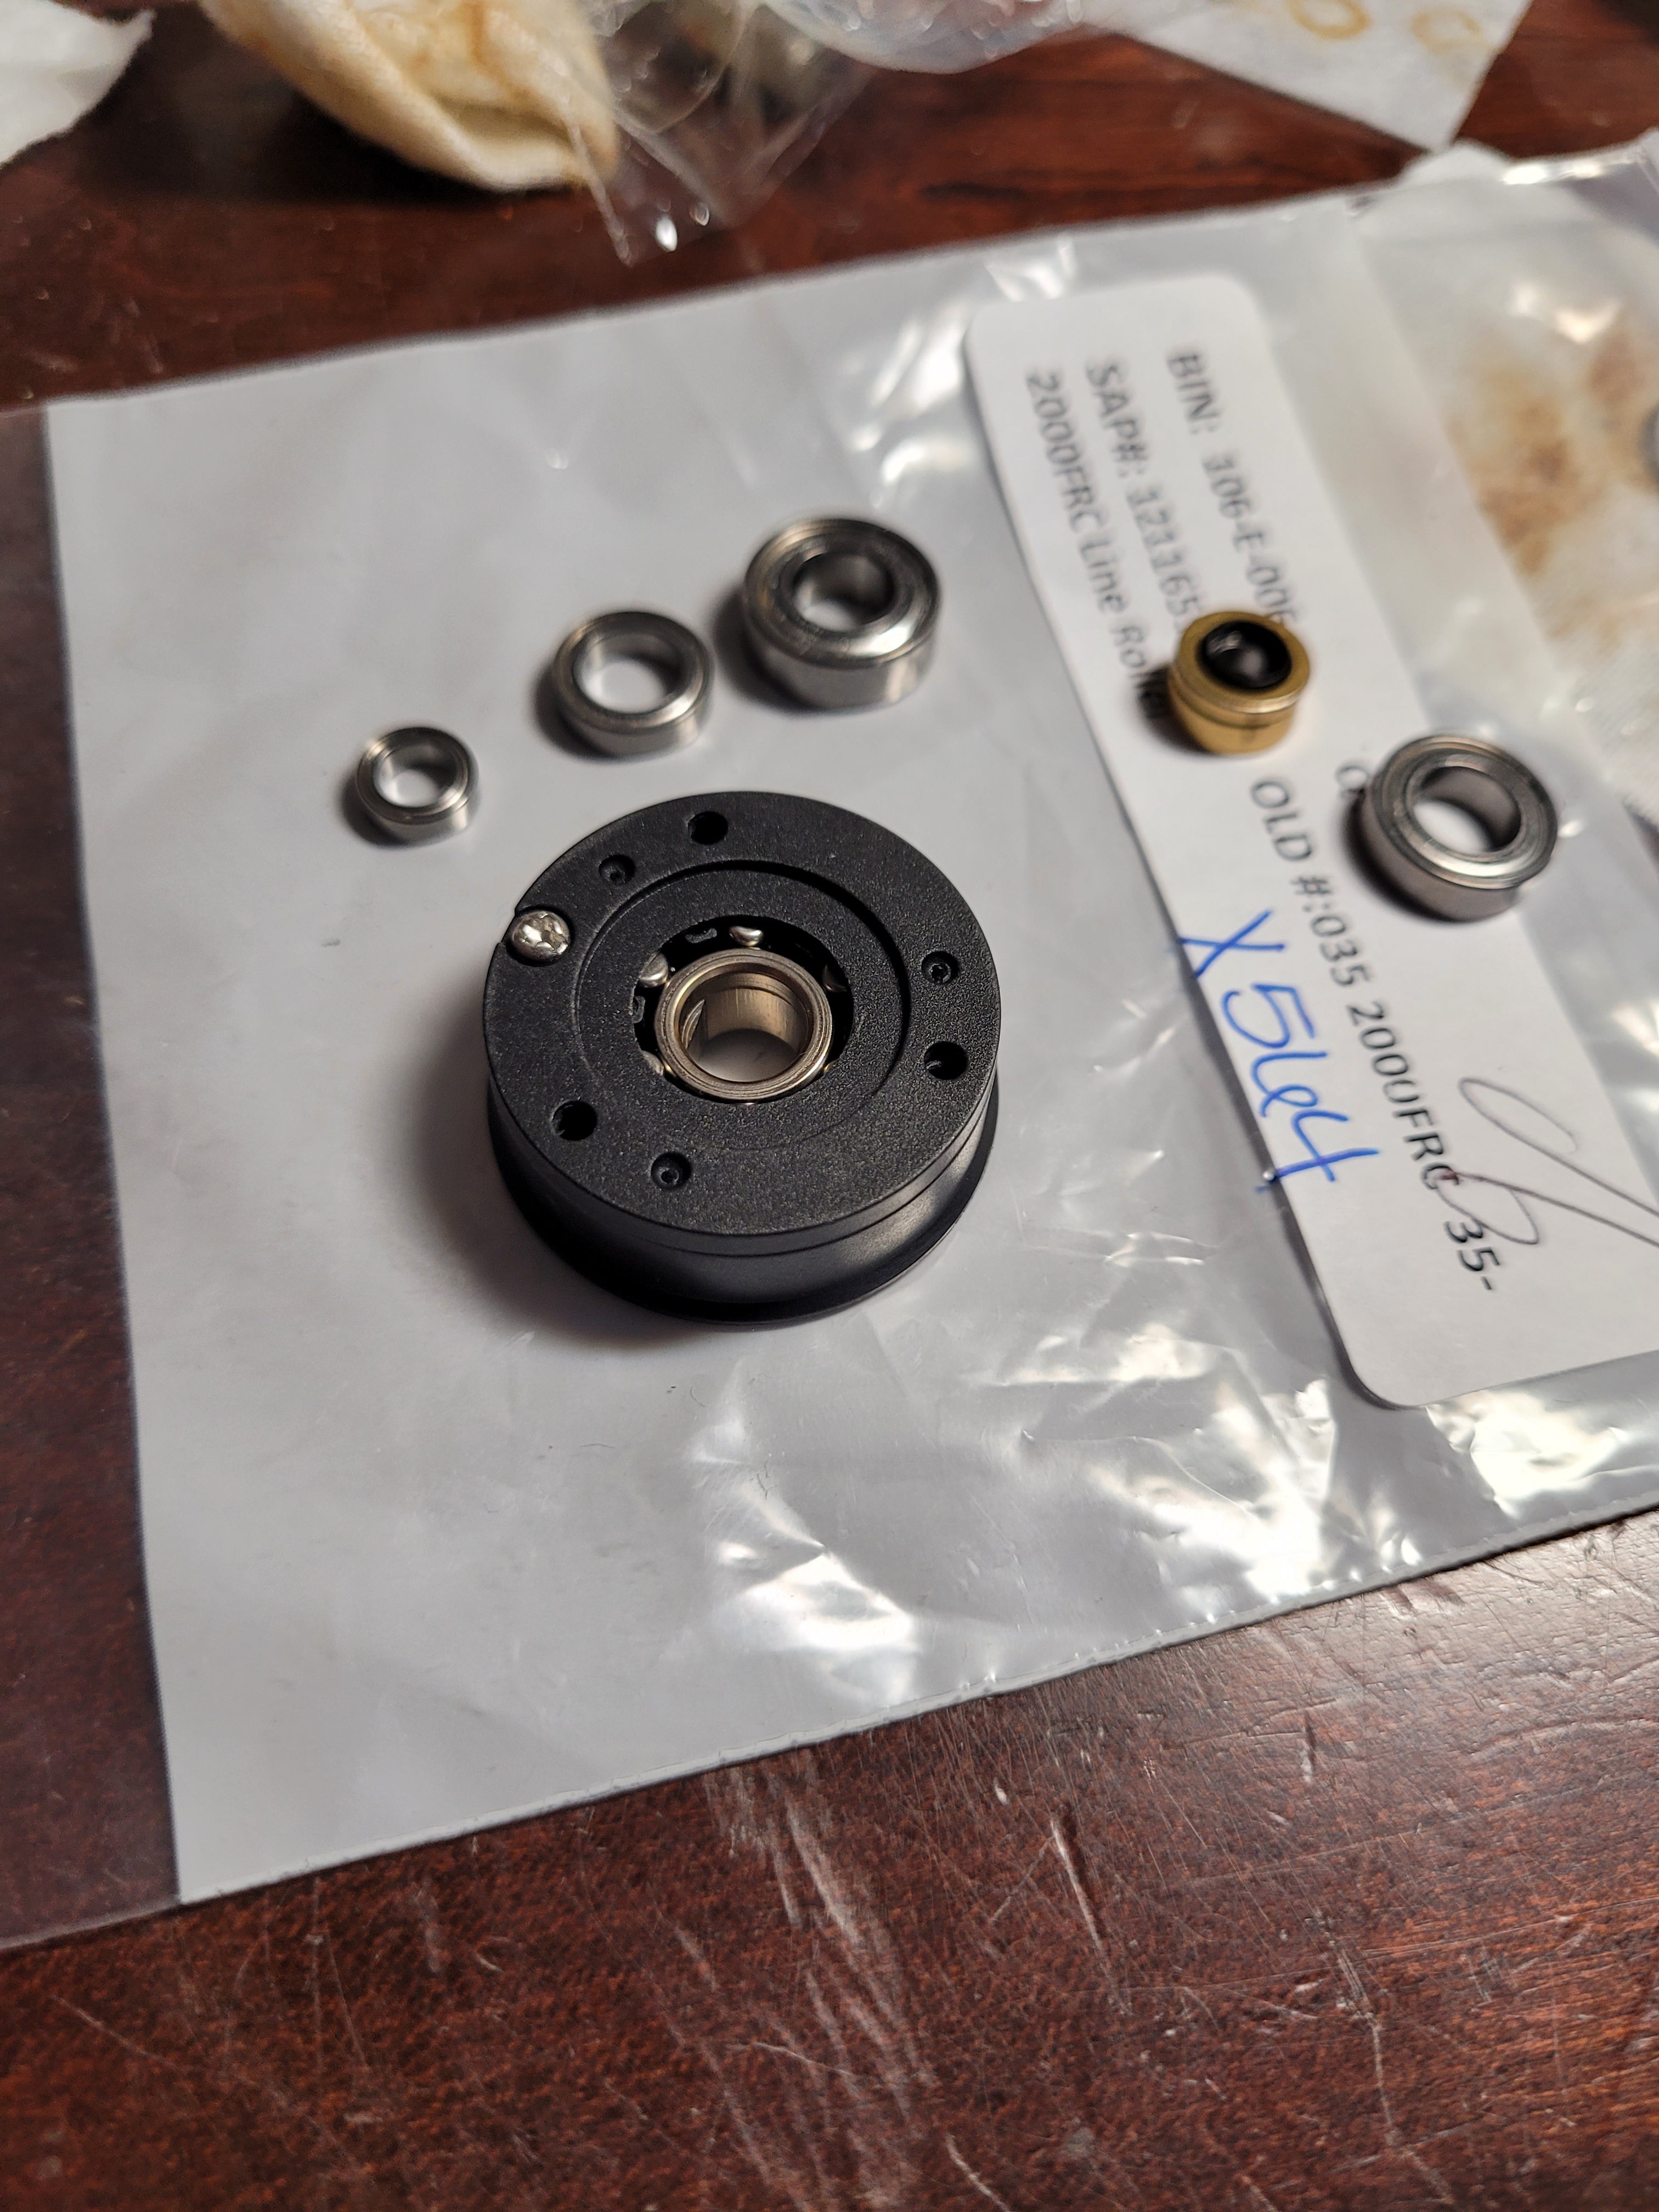
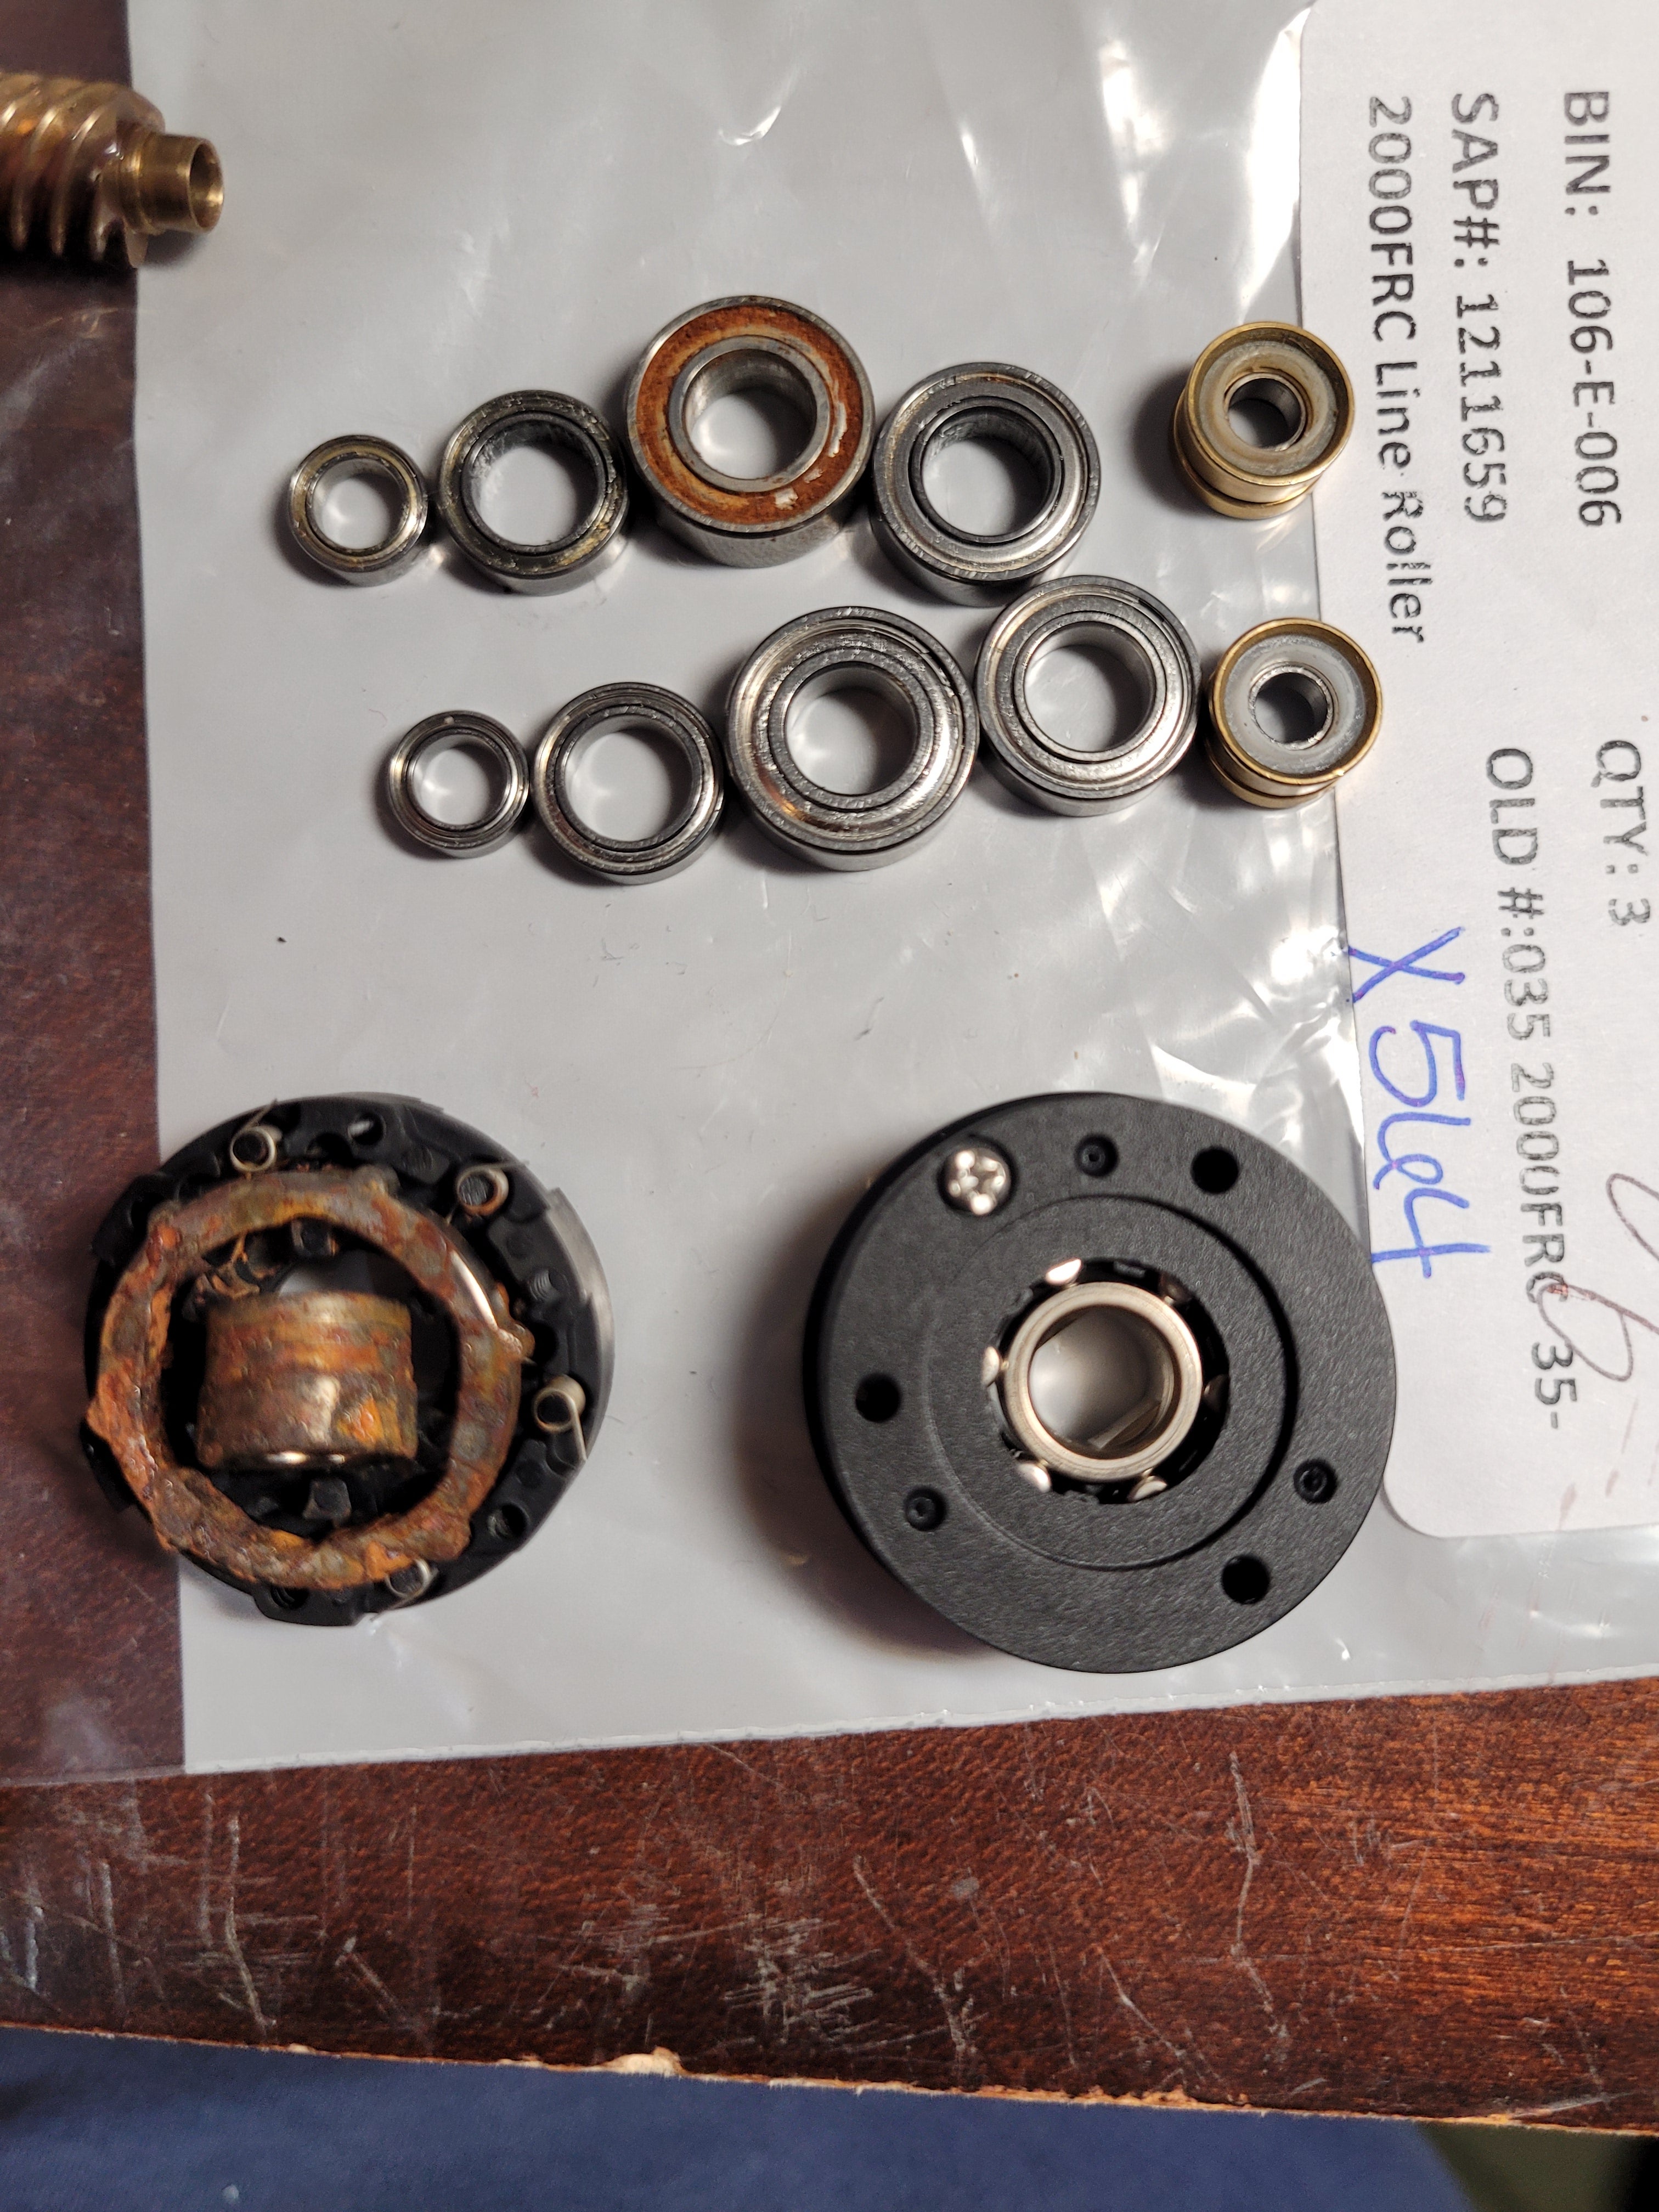
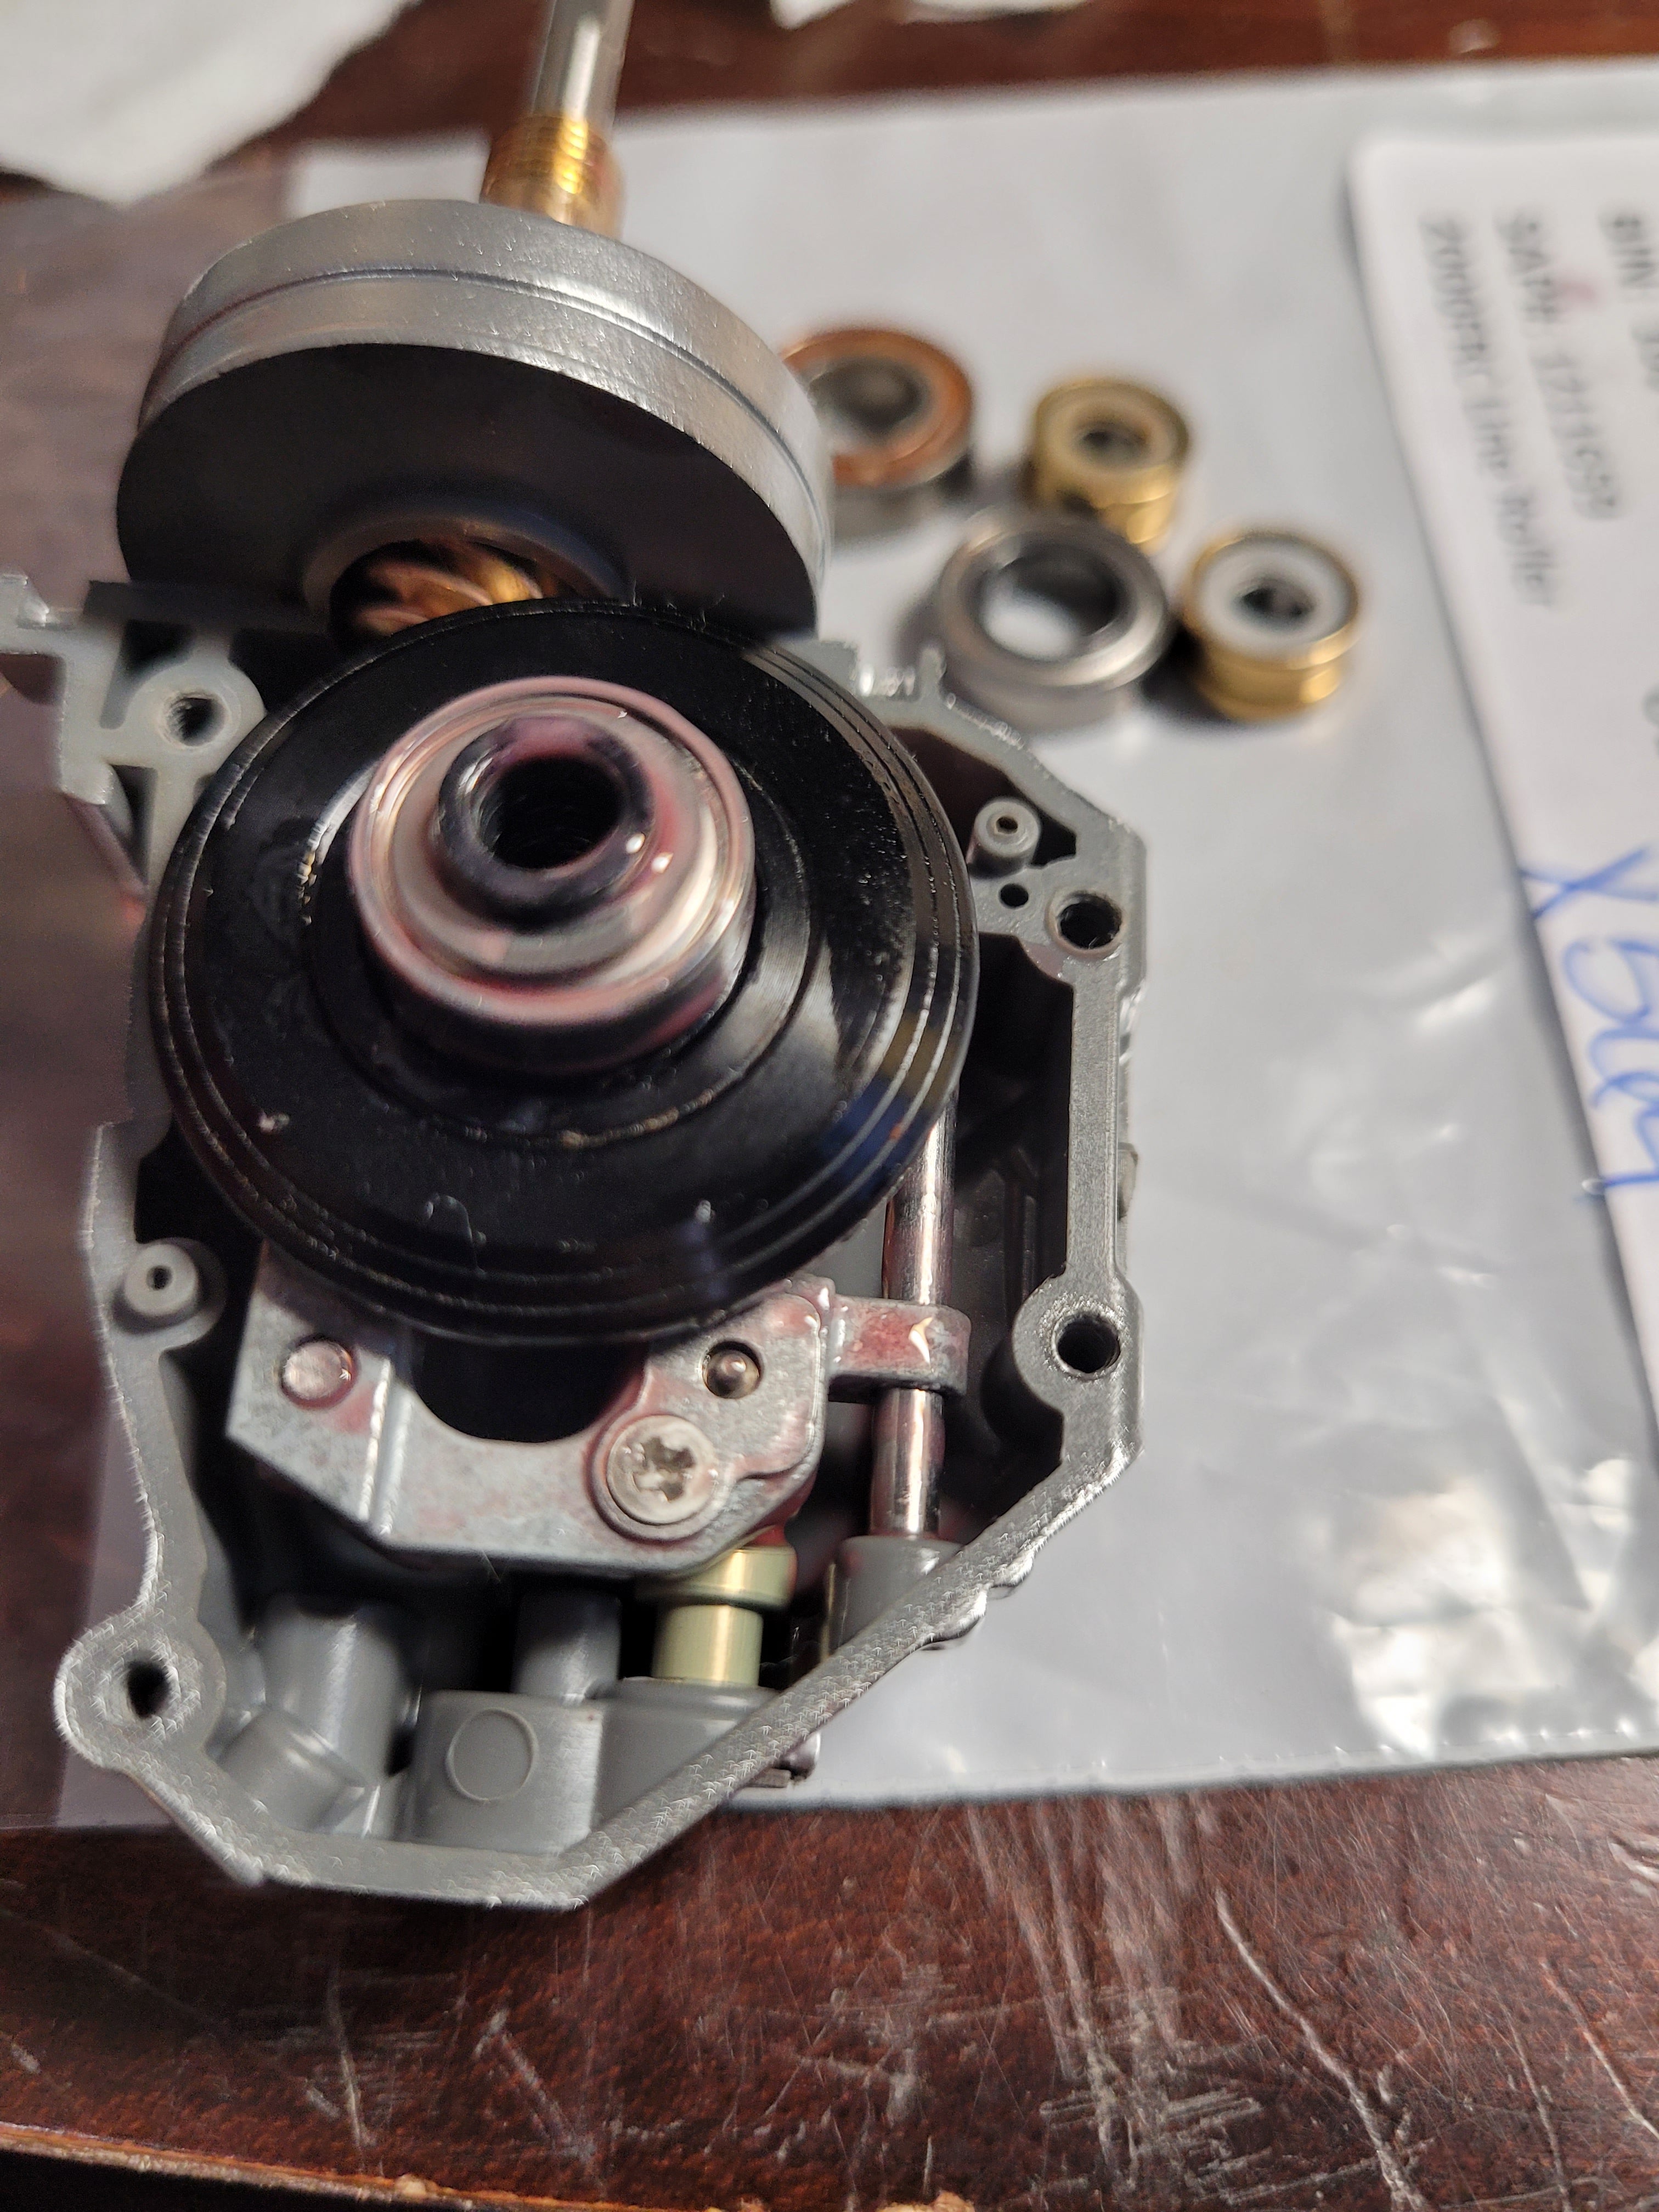
Here’s a direct side-by-side of the old bearings and old anti-reverse next to the new bearings and new anti-reverse. You can see the flat spots on the clutch of the old anti-reverse, these were binding up when you’d try to crank. With the old bearings, only the top pinion bearing is showing very blatant signs of rust on it. The other 4 bearings had discoloration on their side panels, and if you spun them while holding them you could feel the grit as they turned. I really recommend if you’re going through the effort of a rebuild just go with a new set of bearings. They are not very expensive and can make a world of difference.
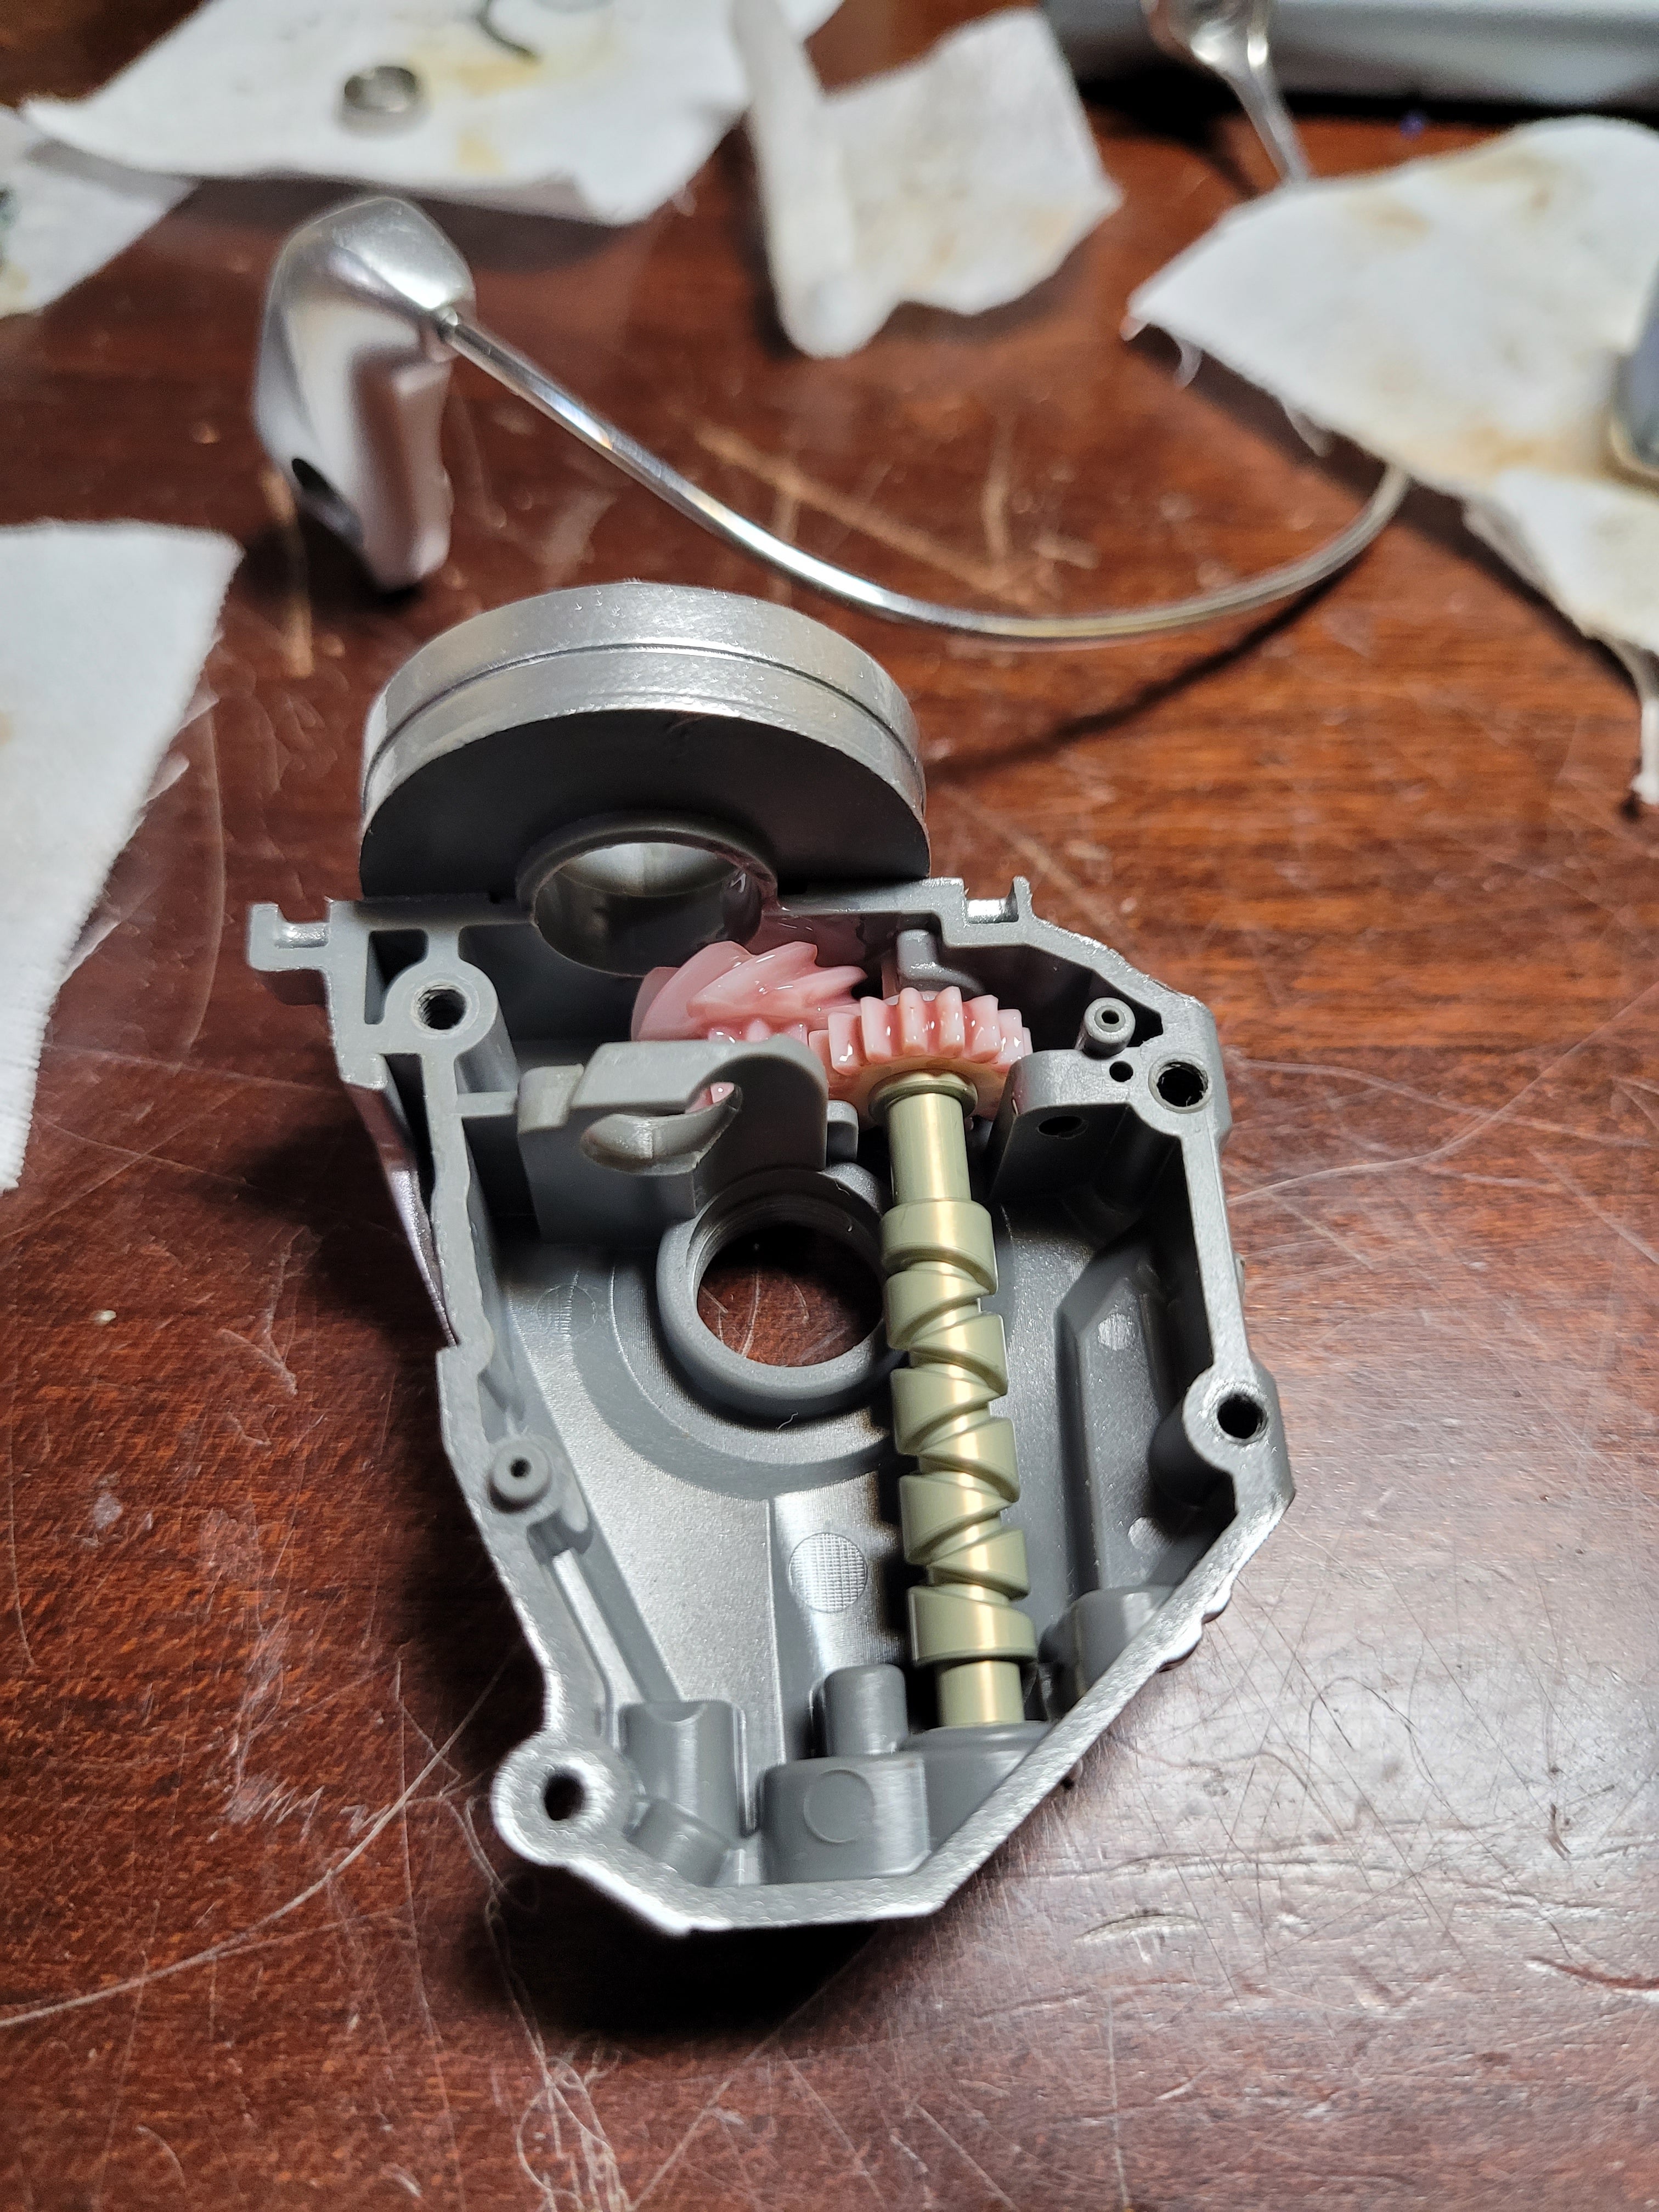
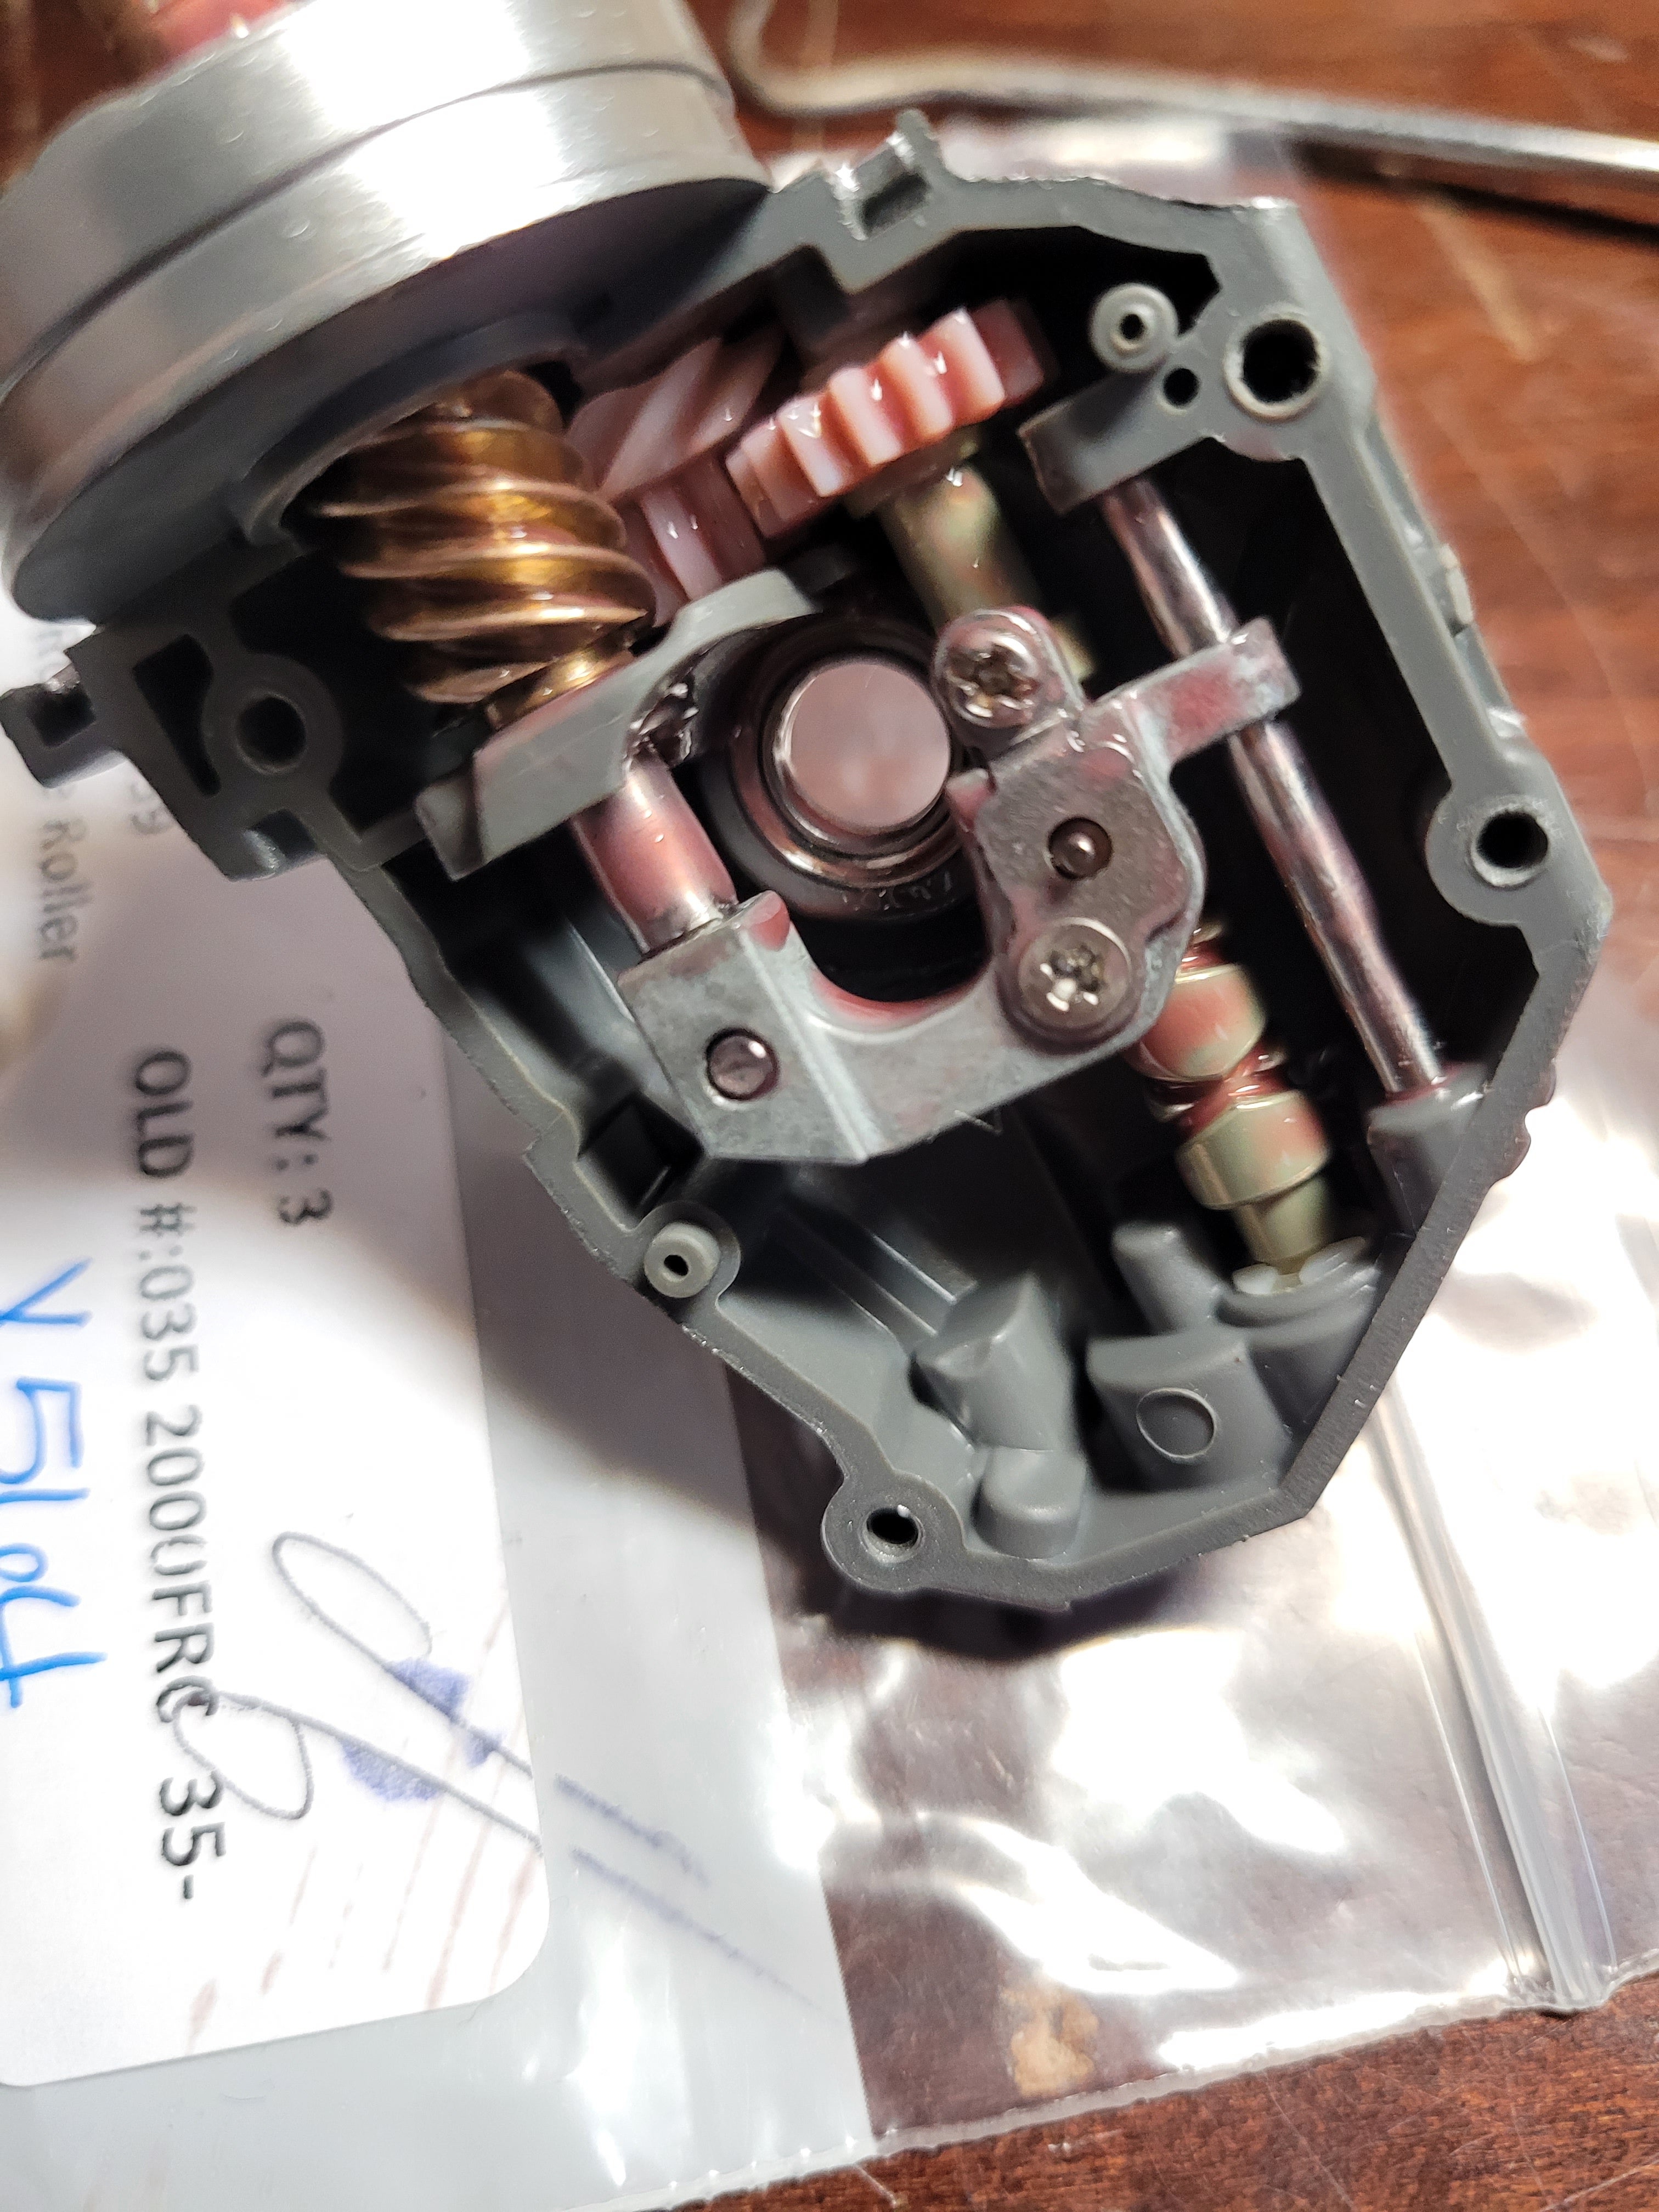
Reassembling the reel, making sure to lubricate the gears and inside of the reel as well. I like taking a small cheap flux brush from the hardware store and use it to apply grease to the gears or anything that slides. I also recommend coating the inside of the reels with a light layer of grease. This helps reduce moisture intrusion and moisture contact with the internals of the fishing reel. It is also very helpful to have schematics of the reel either pulled up on your phone, computer, or have a physical copy available.

When you put the top pinion bearing in place for any reel, apply grease to where the bearing is going in. As well as added grease to the top of the bearing around the pinion gear. This layer of grease will help with repelling water away from the inside of the reel. Doesn’t keep the reel waterproof, but it will help.
The main gear with a bearing placed on both sides is the final internal piece to be put in place before closing the body of the reel. Now, it’s time to put the bail trip in place, up the two halves together, and put the screws in. Once that’s all closed up and you have the reel bumper plate back in place at the bottom of the reel. It’s time to move on to reattaching the rotor.
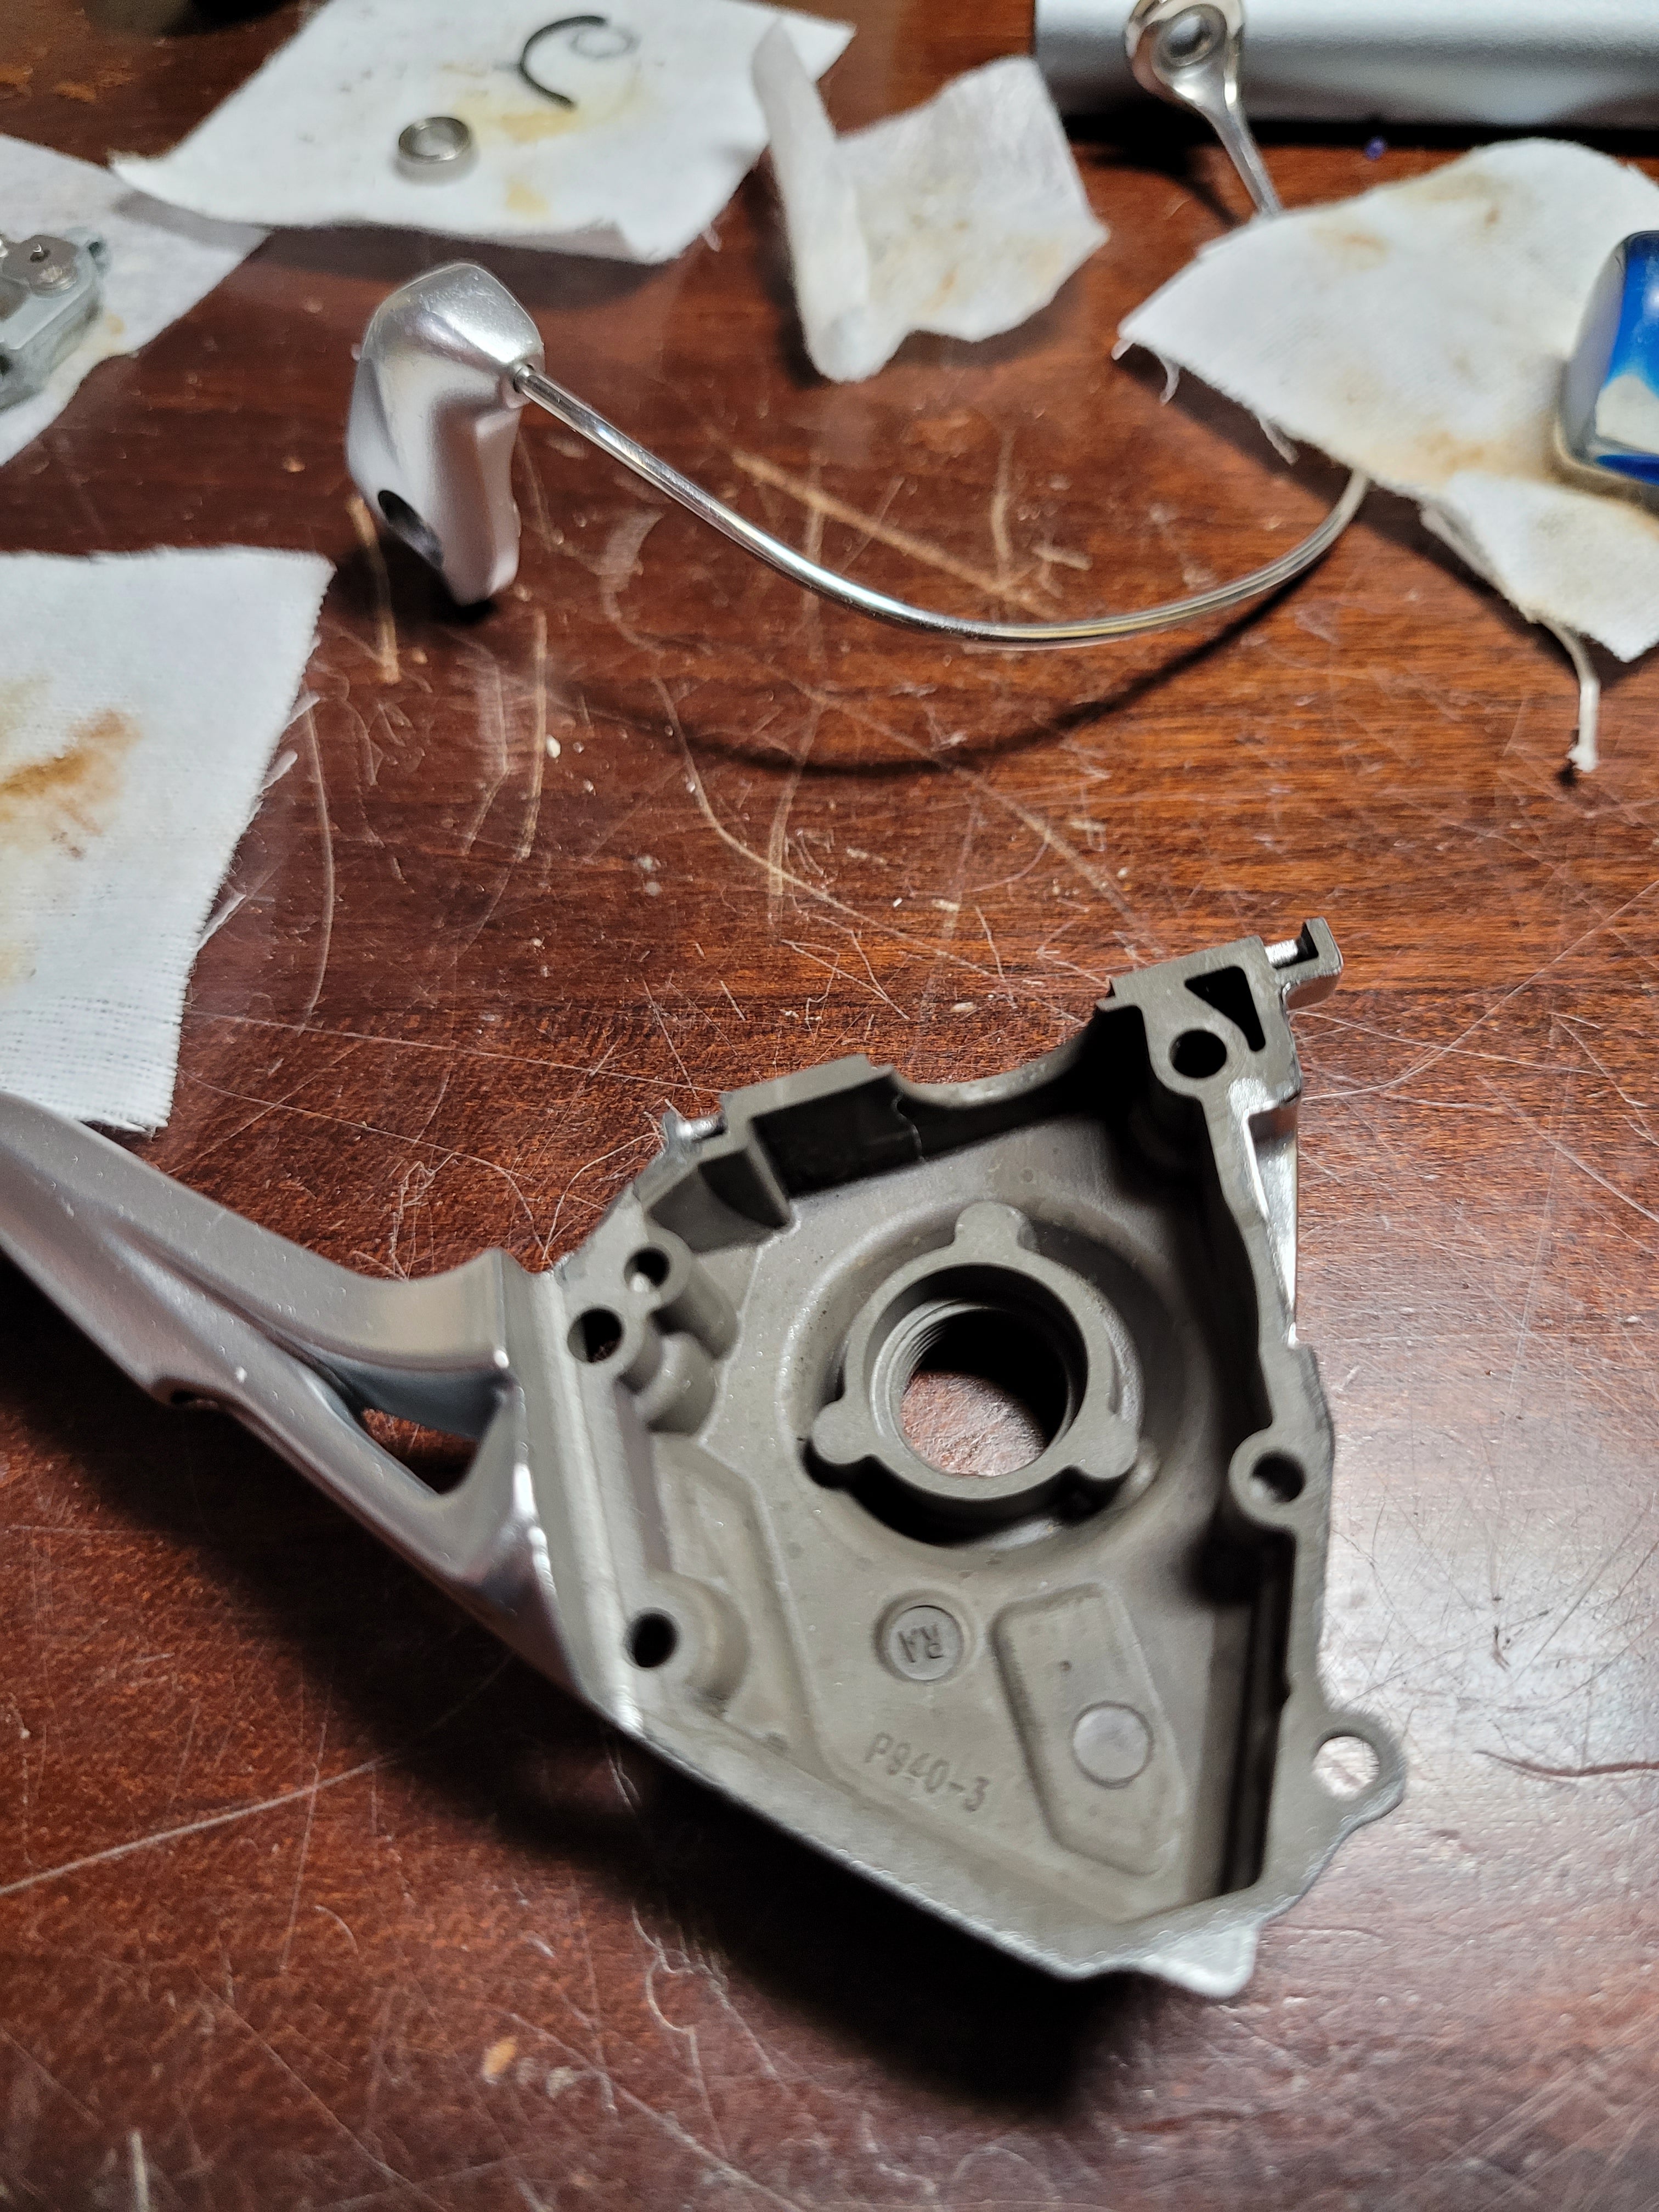
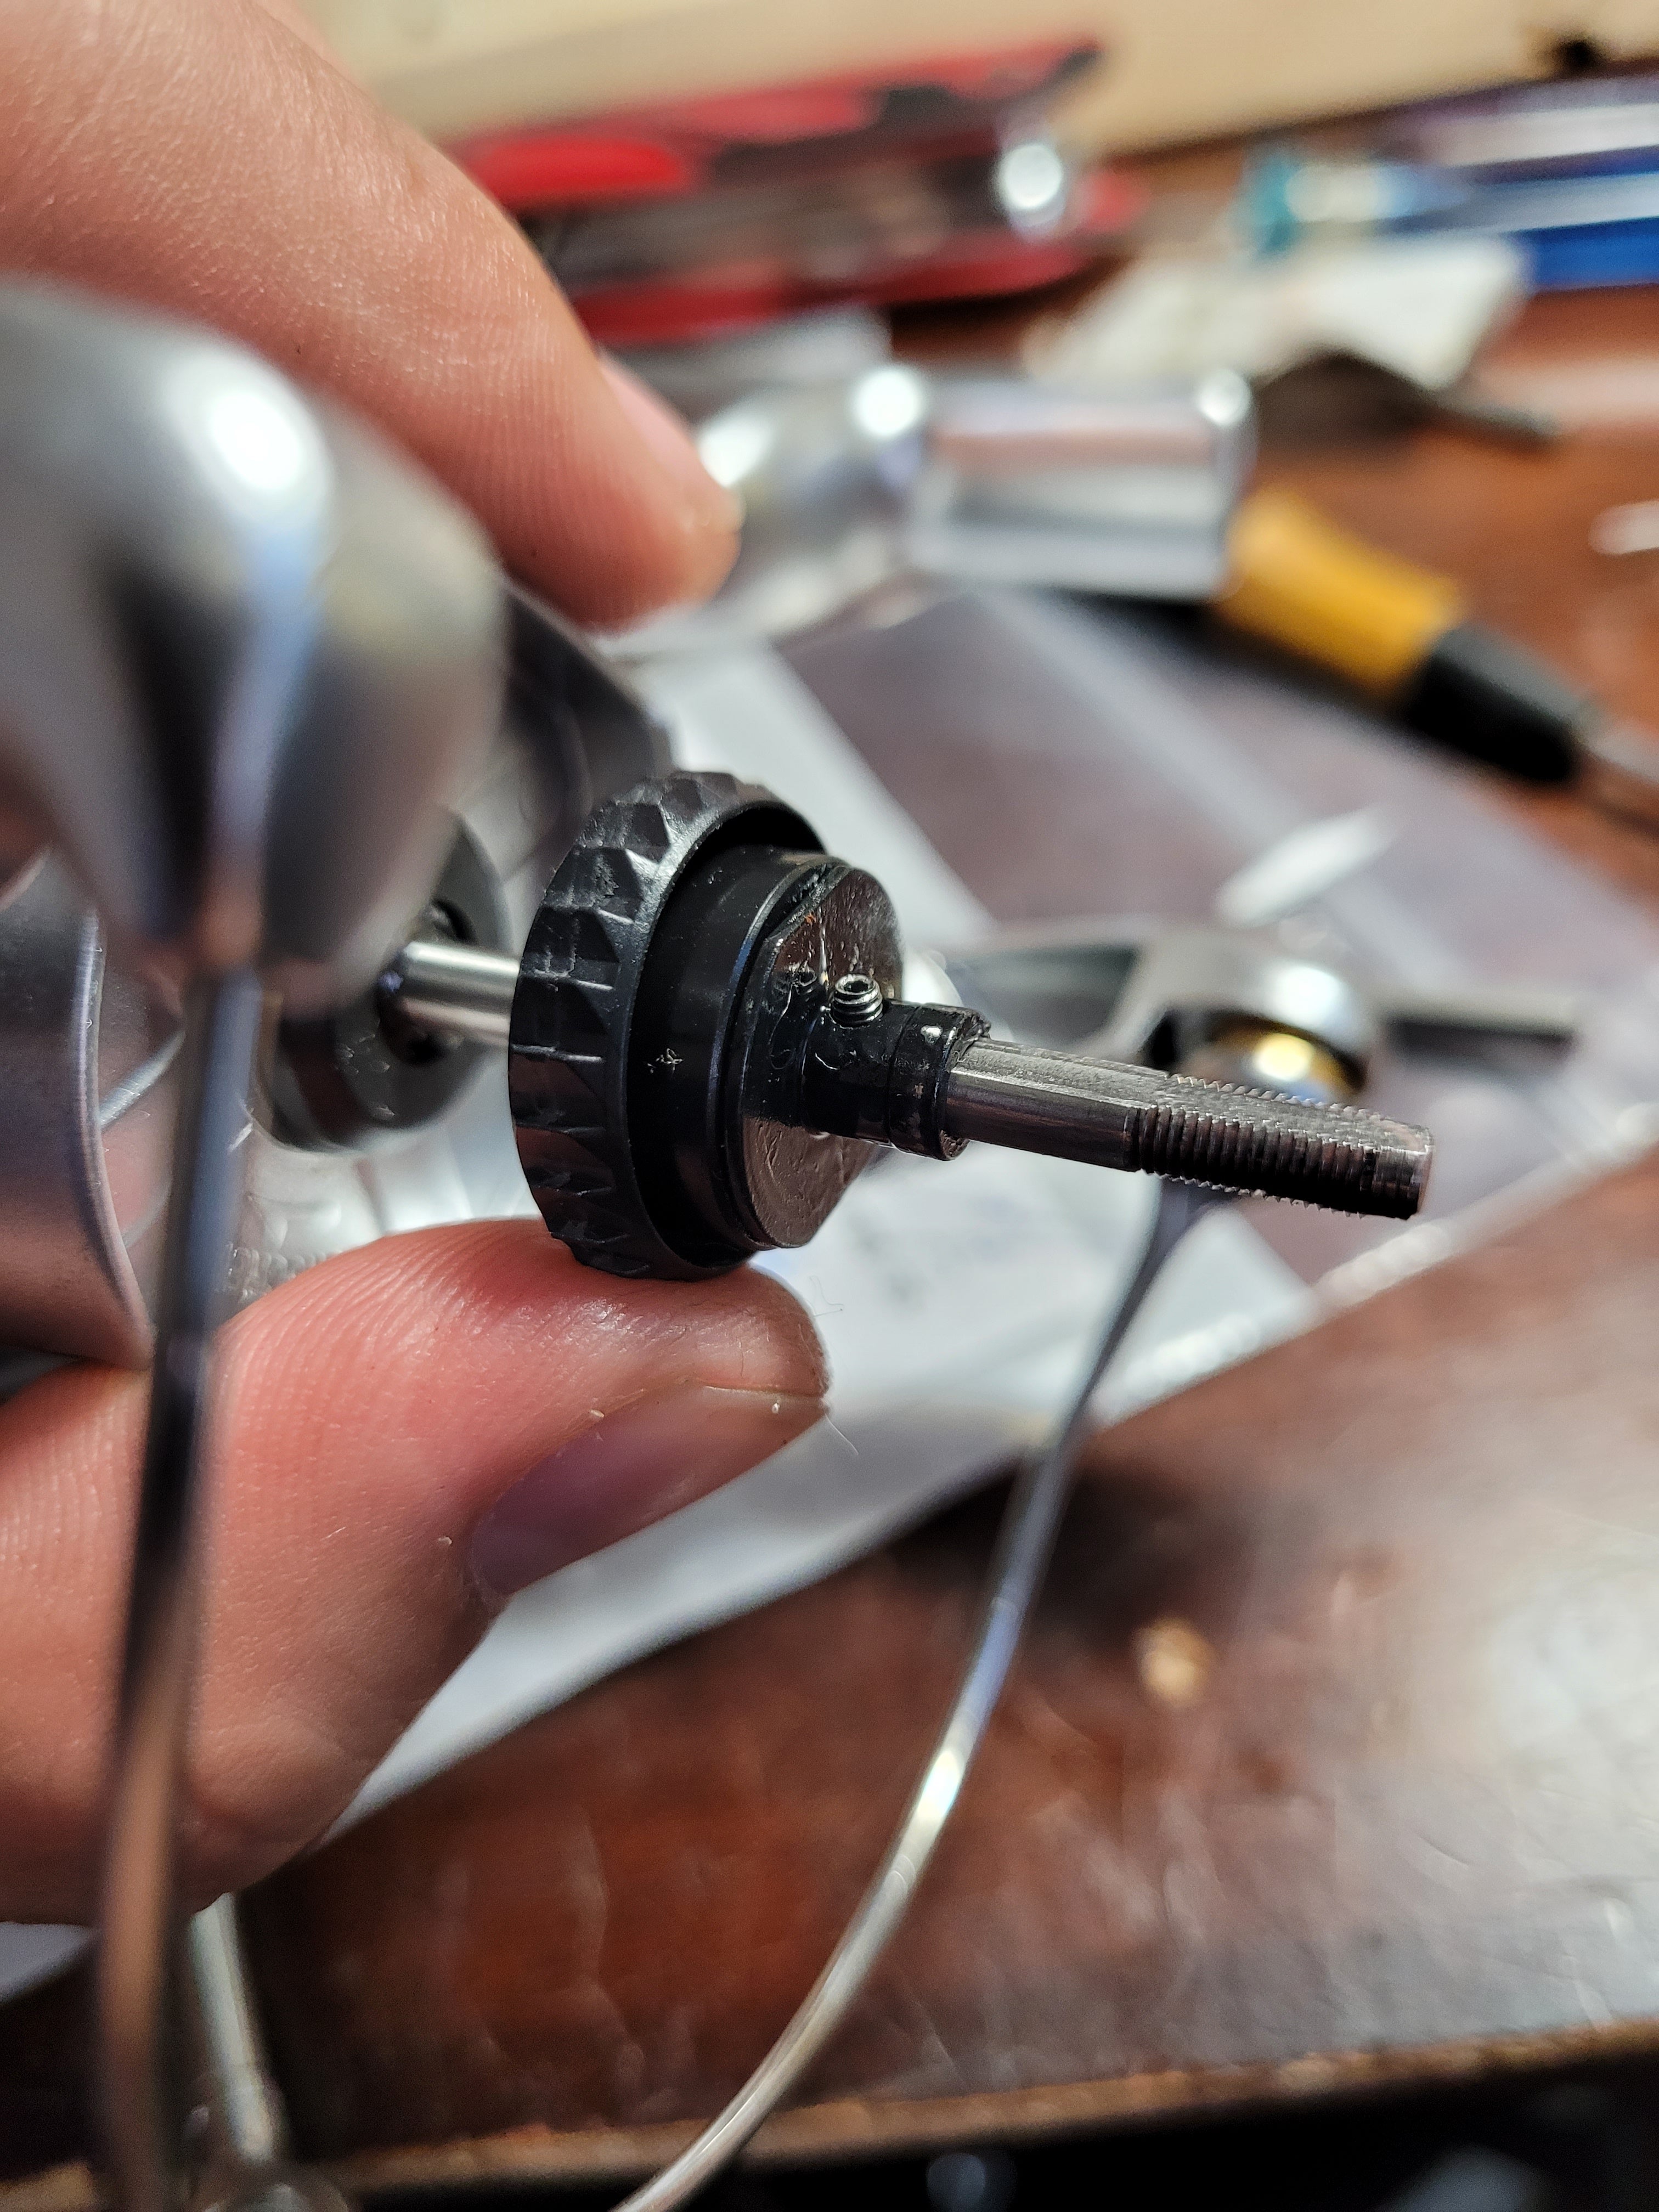
The first step is to add the gasket at the neck of the body, this will help keep water out of the body and pinion bearings. This must be in place before you attach the anti-reverse unit. The anti-reverse should be preassembled and will be attached with 3 screws to the body. There is a clutch sleeve in the center of the anti-reverse, you have to keep clean of oil and grease. If not, the anti-reverse won’t work properly, and will slip.
Now that the anti-reverse is in place, seat the rotor in place onto the body of the reel. There will be a reverse threaded nut that has to be tightened hand-tight. Then, a rubber gasket along with a plastic shield that is to go over the nut. These parts all work together to keep water out of the reel, but you have to remember that even with all these measures, this reel is not waterproof. All these measures are to keep spray out, not keep water out if you dunk the reel completely.
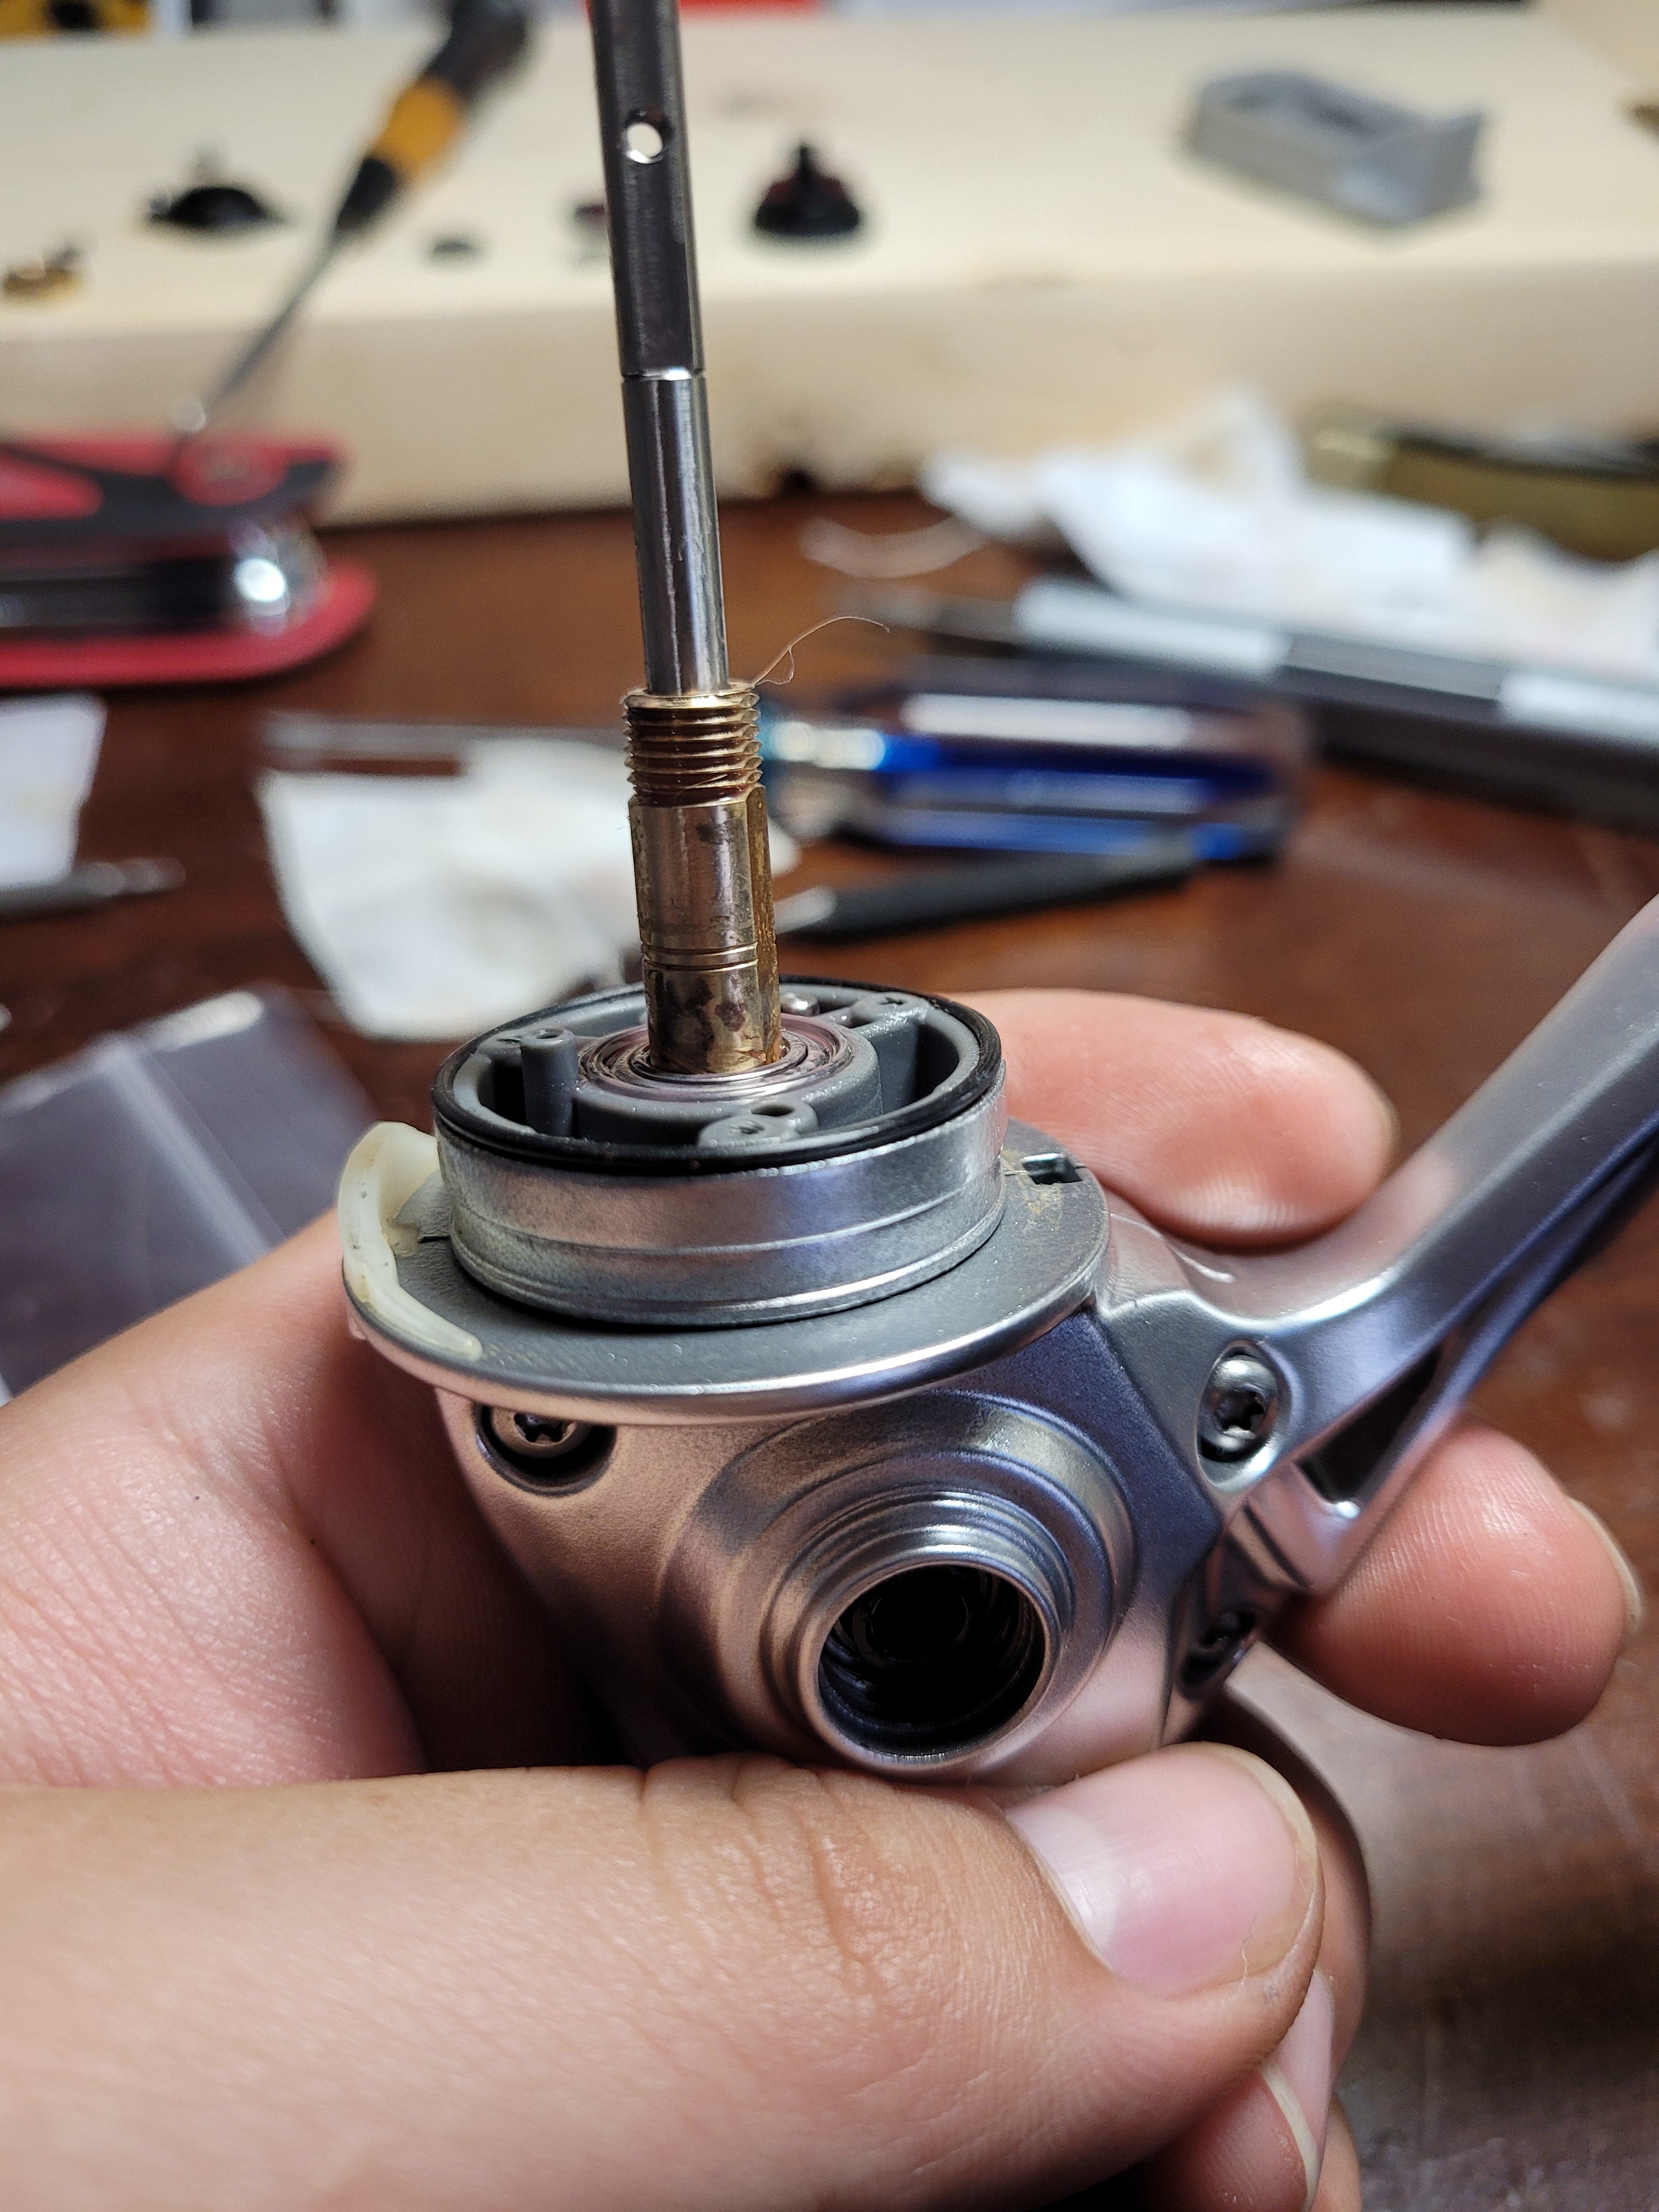
The last step for assembly is to put the spool support and shims into place. The spool support has a tiny blind hex screw that must be put in place to lock the support in. Once that’s locked into place, and all the shims are added back onto the stack, the reel is essentially ready to use. Just pop the spool back on, set your drag, and then attach your reel handle. Now this “Very Nice” Reel is actually very nice.
The total cost for this reel to be tuned up back to factory spec mechanically had a cost of $126 dollars. There was $90 for the reel and then $36 for a whole new set of bearings and anti-reverse. There is one thing that this reel is missing though compared to a new Shimano Stradic though. I didn’t add a new ferrofluid seal to this reel. In the FK models, I feel the seal really didn’t add anything. So, it wasn’t worth the money to buy more ferrofluid from Shimano, not to say that’s the case for all the other models with magnetic seal systems.
So, to have a good working Stradic FK4000 almost $100 less than what they cost new before tax and shipping is not bad, but there is the time spent that you should consider, too, before doing a project like this. I probably spent at least four hours working on this, but I enjoy this kind of project. So, that time spent was fun for me, but that’s not the case for everyone. Also, I already own all these screw bits, picks, and ultrasonic cleaners. If you don’t you will have to spend some money on at least the driver bits. So, do put that in mind before you start a project. You don’t want to spend more money on a reel than just buying a brand new one.
Total Cost: $126 (Reel – Partial Refund + Parts) + 4.5 Hours Time Spent
Now that the base work is done, there is one last optional thing left to do. There are a couple of upgrades to the base model that I want to have done, but I’ll save that for next time.
