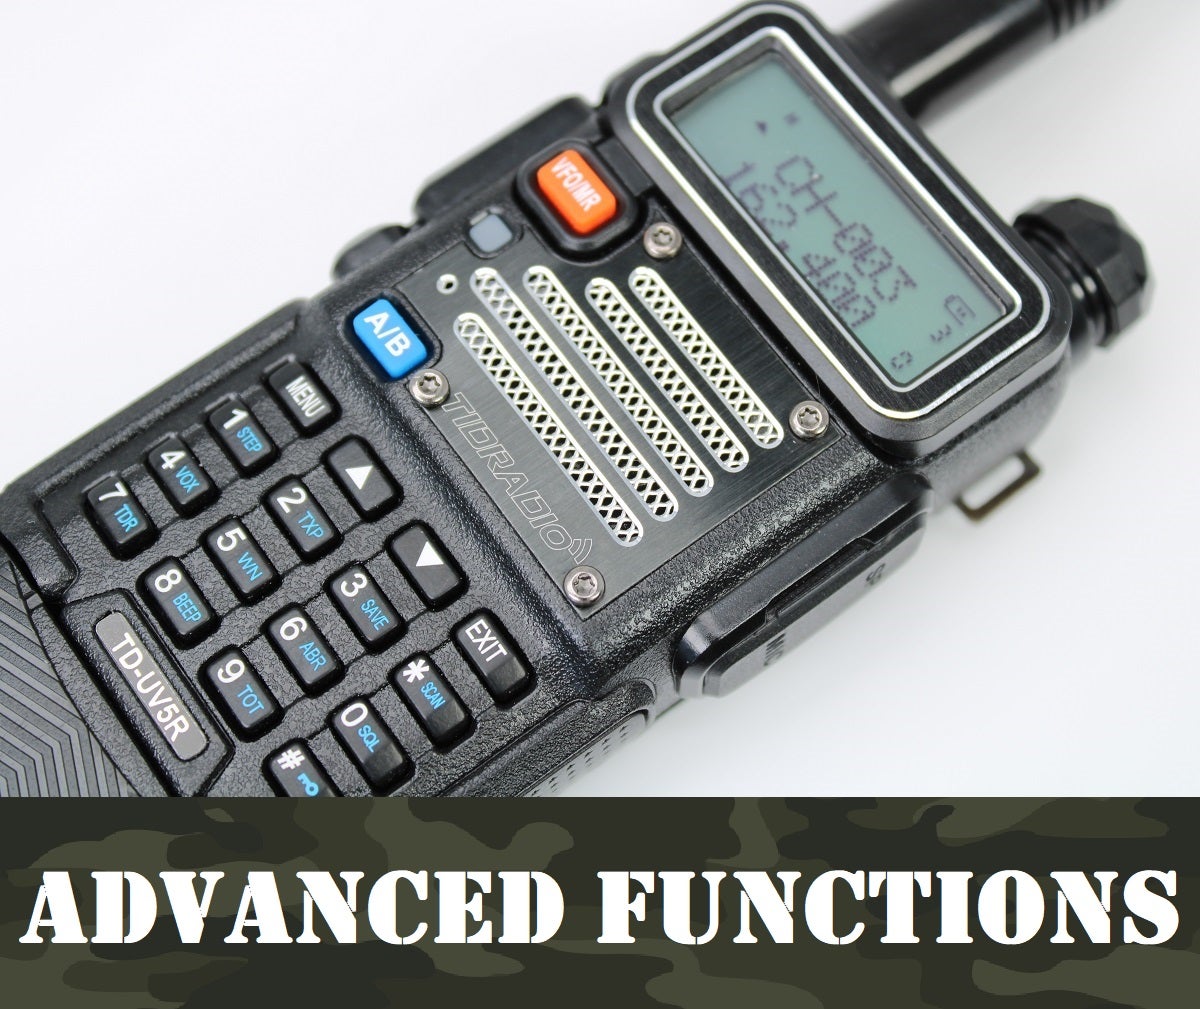
The Ham Radio Guide: UV-5R Advanced Programming
Travis Olander 12.23.22

In our last guide, we covered how to find and save basic frequencies. These allow you to transmit on, and monitor, useful channels in the VHF and UHF bands. But to access repeaters, or to talk on certain channels, you need to know how to program your radio with squelch tones (private line, or “PL”), shift direction, and offsets. If none of those phrases make any sense, just keep reading our UV-5R Advanced Programming guide.
New To Ham Radio? Read Our Other Guides
- Part 1: Intro to Ham Radio and FAQs
- Part 2: Basic Radio Setup With a UV-5R
- Part 3: Navigating the UV-5R Menu
- Part 4: Basic Radio Programming (Frequencies and Channels)
- Part 5: Advanced Programming (you’re here!)
CTCSS / DCS (Private Line Communications)
Private Line allows multiple users to interact with each other on a single frequency, without interrupting others. First responders and disaster operations frequency employ PL to ensure reliable, orderly communication between many personnel.
Normally, having multiple operators broadcasting on a single frequency would result in blocked signals and interruptions. CTCS (Continuous Tone-Coded Squelch) and DCS (Digital-Coded Squelch) are sub-audible tones that must be programmed into all radios sharing one frequency. These tones act like phone numbers on a single cellular network, or IP addresses on a Local Area Network. They separate and filter traffic between radios that share (or don’t share) the same tones.
- CTCSS has 50 tones measured in hertz (67.0 Hz)
- DCS has 105 tones measured alphanumerically (D023N)
All CTCS and DCS tones are saved in the UV-5R. To use a repeater, you must know its tone.
How to Program a CTCSS / DCS Frequency
Follow these steps to add a CTCS or DCS tone to a frequency that requires it, and save it to a channel:
- Press VFO/MR. Put the radio in Channel Mode.
- Ensure you’re on Channel A by pressing A/B.
- Type in the frequency you want to save.
- Press MENU.
- Use Options 10 and 12 to set a transmitting (“T-“) and receiving (“R-“) DCS tone.
- Use Options 11 and 13 to set a transmitting (“T-“) and receiving (“R-“) CTCS tone.
- Select the appropriate Hertz (CTCS) or Alphanumeric code (DCS) for the frequency.
- Press MENU to CONFIRM and SAVE the selected tones.
- Use Option 27 (MEM-CH) to SAVE the toned frequency as a channel.
The frequency you saved will display with “DCS” or “CT” to the left of the channel number.
How to Program a Repeater
Simplex communication (radio-to-radio talk) can transmit a few miles, at best. Using a repeater is a guaranteed way to get help in a “SHTF” or disaster scenario. Repeaters help your transmission reach multiple operators at a time, even if they’re dozens or hundreds of miles away. To monitor a repeater, you only need its frequency. But to transmit through one, you must know some information about it:
- Output / Transmit Frequency
- Input / Receive Frequency
- Offset (Measured in MHz)
- T-CTCS or T-DCS
Offset is calculated by subtracting the input and output frequencies. Like we covered in our last guide, Radio Reference provides repeater information for most stations ($30/year subscription required). Some repeaters use different tone systems that are not CTCS or DCS. They cannot be programmed into the UV-5R. Some repeaters use no tones.
To program a repeater:
- Press VFO/MR. Put the radio in Frequency Mode.
- Ensure you’re on Channel A (top line) by pressing A/B.
- Type in the INPUT/RECEIVE frequency you want to save.
- Press MENU to SAVE/CONFIRM.
- Use Options 12 or 13 to set the transmitting (“T-“) (“T-“) DCS or CTCS tone.
- Use option 25 to set Shift Direction (SFT-D).
IMPORTANT! If the repeater’s INPUT/RECEIVE frequency is greater than the OUTPUT/TRANSMIT frequency, then SFT-D should be set to POSITIVE (+). If the INPUT/RECEIVE frequency is less than the OUTPUT/TRANSMIT frequency, set SFT-D to NEGATIVE (-). New users get this step wrong. Communication with the repeater won’t work if Shift Direction is set incorrectly.
- Use Option 26 to set the repeater’s Offset. Again, subtract the OUTPUT and INPUT frequencies.
- Use Option 27 and CONFIRM and SAVE your repeater to a channel.
Now, in Channel mode, you can select the repeater channel and transmit on the repeater in question.
You’re Done!
You’ve reached the end of our multi-part guide to Ham Radio. All the functions and steps we’ve covered will allow you to program, save, scan, monitor, and communicate across the most popular frequencies used by other amateur radio operators nationally, and globally. With your radio programmed, it is now a valuable, potentially life-saving companion that you can (and should) carry with you any time you hit the wilderness.
If you found various parts of this 5-part series valuable let us know in the Comments below! Also, if there is a different popular brand of Ham radio you prefer to use share that with other as well. We always want to know what you use out in the field along with the knowledge that we try to share with you.