DIY Project – 8 Simple Steps to Building your Own Hunting Blind
Martin Banks 08.10.23

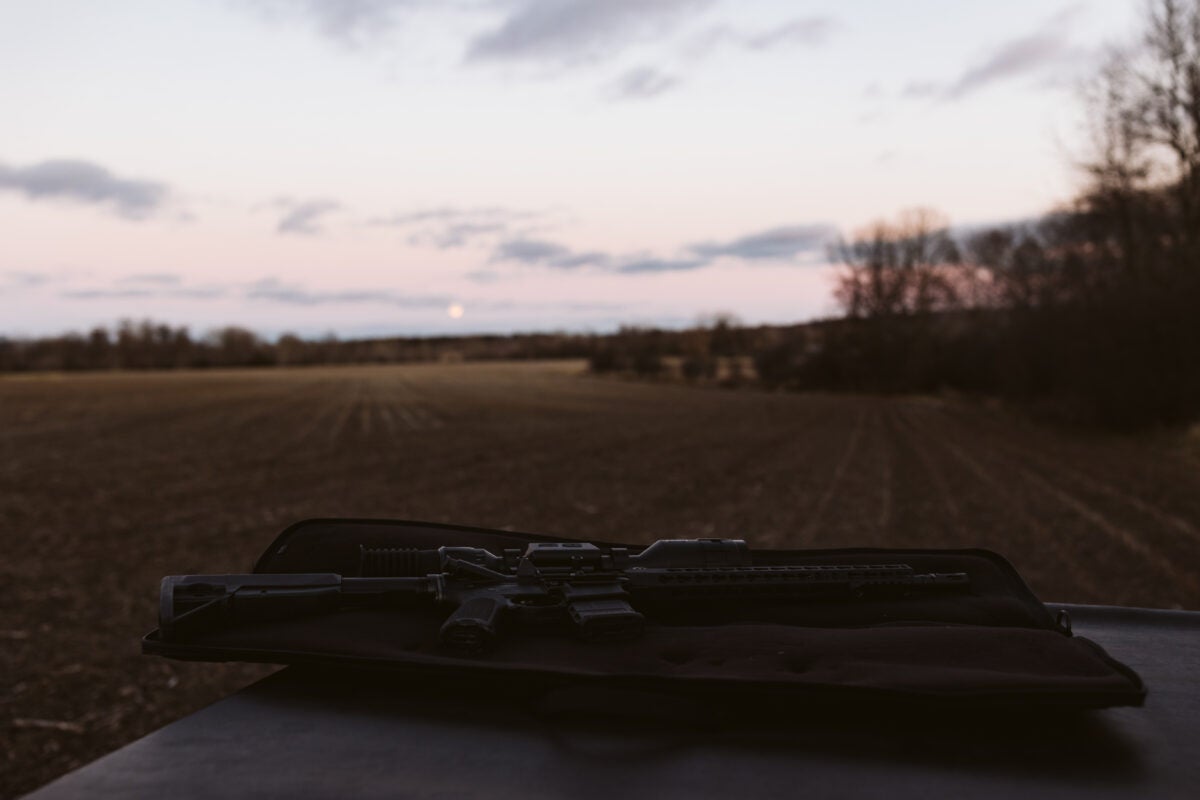
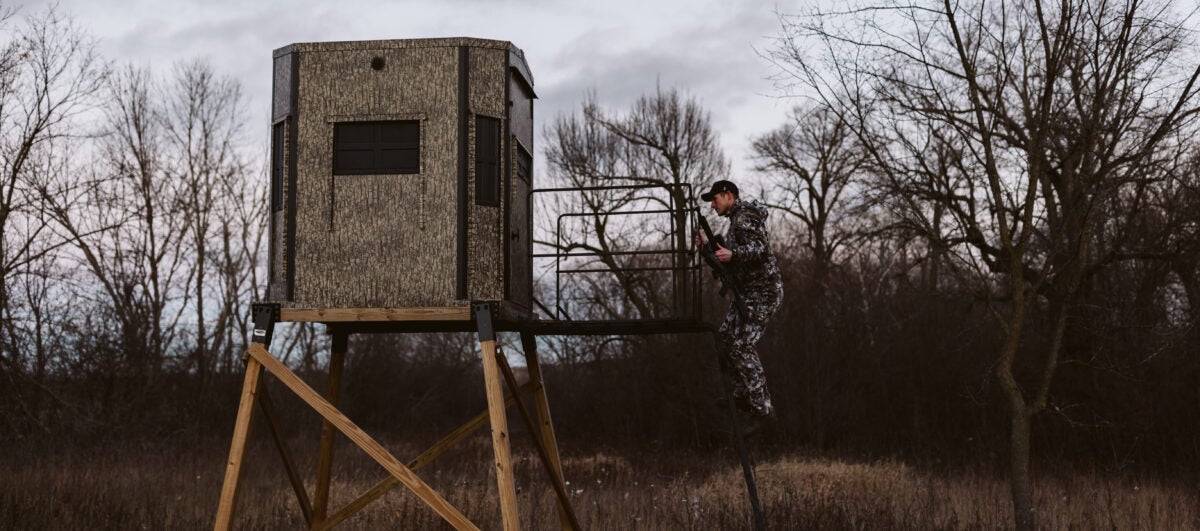
Hunting blinds serve two basic purposes: shelter and concealment. Both are crucial if you want to spend all day glassing the same landscape for your prey. Although many mesh options are available, the sturdiest and safest are built from scratch. We will walk you throguh some of the do’s and don’ts of crafting a hunting blind of your own from scratch. Here’s how to construct your own hunting blind in 8 simple steps.
Tools, Materials and Equipment
The first 3 steps deal with the prep work. You must gather the necessary tools, building materials, and equipment. This project will be a straightforward 5’x5′ wooden hunting blind. So, you don’t need anything extravagant. You probably already have these things in your garage:
- Hammer
- Screwdriver
- Cordless drill
- Tape measure
- Miter saw
- Sander
- Framing square
- Chalk
- Carpenter’s pencil
- Level
- Safety glasses and gloves
Next, you have to get the lumber. The costs of wood products have been extremely volatile since COVID-19, increasing by up to 14% in 2023 due to supply shortages. This project aims to utilize as little wood as possible to stay within your budget. A wooden stand is a great eco-friendly hunting resource that won’t harm the environment. Some are made of metal or plastic, but wood is the best material. Here are the cuts of lumber and plywood you’ll need in inches:
- Floor frame: Two pieces of 2x4x60 lumber, five pieces of 2x4x57 lumber
- Floor and roof: Two pieces of 3/4x48x60 plywood, one piece of 3/4x12x60 plywood
- Front wall: Four pieces of 2x2x81 lumber, two pieces of 2x2x60 lumber, two pieces of 2x2x50 lumber, two pieces of 2x2x37 lumber, two pieces of 2x2x29 lumber
- Back wall: Five pieces of 2x2x65¼ lumber, two pieces of 2x2x60 lumber, two pieces of 2x2x18¼ lumber, one piece of 2x2x30¼ lumber, one piece of 2x2x13¼ lumber
- Two side walls: Six pieces of 2x4x57 lumber, two pieces of 2x4x65¼ lumber, two pieces of 2x4x37 lumber, four pieces of 2x4x32½, two pieces of 2x4x13¼ lumber
Order uncut boards and make the cuts at home. You will need 22 pieces of 8-foot 2×2 lumber, four cuts of 2×4 10-foot lumber and one piece of 3/4″ 4×8-foot plywood. You will also need these screws:
- 2½” screws
- 3½” screws
- 1⅝” screws
- Stand brackets
- Wood filler
- Wood glue
- Roofing staples
The roof will also consist of roofing felt and asphalt shingles. Leak-proofing your hunting blind is crucial if you want to hunt in all weather conditions and stay sheltered from the elements. Next, you must rent a rough terrain forklift and excavator to move the materials and prepare the site. Renting for DIY projects like this can be more cost-effective than buying and usually provides a better equipment selection. Remember to discuss safety procedures with the operators and read the rental agreement before signing the contract.
Construction Steps
If you have building experience, this project should only take the better part of a weekend. Just keep your worksite organized and complete each part of the blind in the five following steps:
1. Floor
Cut the lumber to the specified length and smooth the rough edges with sandpaper. These pieces will serve as the joists that support the main floorboard. Drill holes through the longer joists, then connect them to the smaller ones with 2½ inch screws. Use wood glue to keep the frame together. Next, screw the 3x48x60 plywood sheets to the frame with the 1⅝ inch screws. Ensure the edges are flush by drilling pilot holes before applying the screws. Insert a screw every 8 inches and leave no gaps between the sheets.
2. Walls
Follow a similar process to build the walls. Cut the lumber to the specified lengths to create the inner frame, then connect them with the 2½ inch screws and put the plywood sheets over them. You will cut the windows and door frame into the plywood sheets. The windows should be at least 12 inches tall and 36 inches wide so you have plenty of room to see outside and shoot your weapon. The door should be at least 24 inches wide and 48 inches tall. Draw the measurements with the carpenter’s pencil before making any cuts. Now you’re ready to attach them to the floor. Have a friend temporarily secure the walls to the floor with braces. Double-check that each is level before moving to the next side. Drill pilot holes through the bottom of the frame and insert 3½ inch screws about every 8 inches. There should be no gaps.
3. Roof
The roof is the most challenging part of the project. Fit the 2×2 rafters to the top of the structure and ensure they’re evenly spaced. Drill pilot holes and attach the boards to the top of the walls with 2 ½ inch screws. Cut a patch of roofing material to the appropriate size and staple it to the plywood sheet. Nail the asphalt shingles over the layer of roofing material. Use nails instead of staples for this step.
4. Door
The door is the last part. You can easily make a door from scrap plywood by cutting it in the proper dimensions. No hinges, locks or doorknobs are necessary for a rudimentary hunting blind. You just need something to cover the entrance so animals don’t get inside while you’re away. Plywood can also withstand the elements because it’s highly resistant to warping and cracking.
5. Final Touches
Add some final optional touches, such as staining or painting the exterior to improve its weather resistance. Make the interior more comfortable by adding a table, chair and sleeping area.
Enjoy Your DIY Hunting Blind
You shouldn’t expect your hunting blind to be a cozy and welcoming place. It’s a simple shelter with four plywood walls and a roof. That’s all you need to conceal yourself from animals, stay protected from harsh weather and hopefully nab that buck.