Home on the Range #052: Northstar Forge Knife Forging Process – Part I
Adam Scepaniak 09.15.23

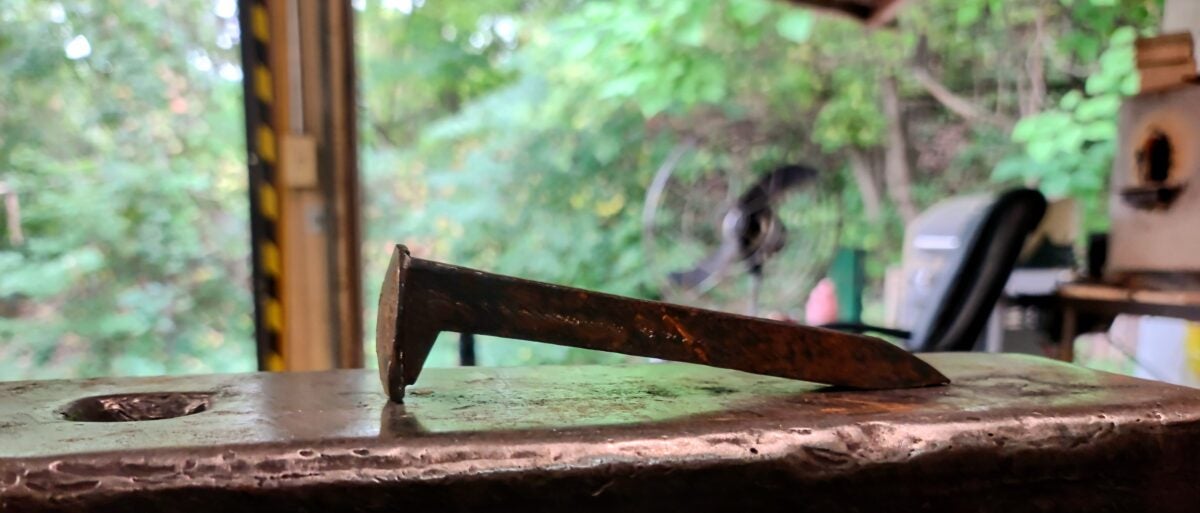
Last week on “Home on the Range” we discussed attending a Railroad Spike Knife Forging Class through Northstar Forge in Minnesota. It was a unique experience that I highly recommend if anyone is in my neck of the woods near Minnesota. Jason Kraus – the owner, founder, ABS (American Bladesmith Society) Journeyman, and “Forged in Fire” plus “Master of Arms” competitor – along with his wife, Kristen – photographer, website administrator, and everything behind-the-scenes manager – run an organized blacksmith shop that was informative and fun to visit. We previously mentioned highlights from our Railroad Spike Knife Forging process, but this week we want to get into a bit of a deep-dive in what will be a two-part series. Today, we will start off with grabbing a rusty, forgotten railroad spike, and work through the process of giving it a new life and looking reminiscent of what will become an actual blade. Let’s dive in!
“Home on the Range” Series Coverage on AllOutdoor
- Home on the Range #051: Railroad Spike Knife Forging at Northstar Forge
- Home on the Range #050: Honey, Bees & Beekeeping – How Sweet It Is!
- Home on the Range #049: Still Hunting – Ground Hunting Deer w/o a Blind
- Home on the Range #048 – Competition Shooting to Improve your Hunting
- Home on the Range #047: Ground Hunting Blinds – Hunt Deer at Eye Level
Welcome to our reoccurring series of “Home on the Range.” Here, we would like to share all of our experiences for those who may be homesteading, living off the land, hunting, farming, ranching, and truly investing in nature and the great outdoors. The ability to provide for yourself and your family can be tremendously rewarding and simultaneously difficult at times. So, in “Home on the Range” we want to share our different exploits so you can learn and hopefully we can receive your feedback along the way as well.
Let’s Get Twisted! – Northstar Forge Knife Forging Process
Jason spends a decent amount of time at the beginning of class outlining what will occur for the day. Smashing, whacking, flames, smoke – everything to make the pyro inside me happy – yet in a controlled and safe manner. Then, after any questions we might have immediately had, we jumped right in with him firing up his forge and selecting 2 railroad spikes to play with for the day (for my wife, Andrea, and I).
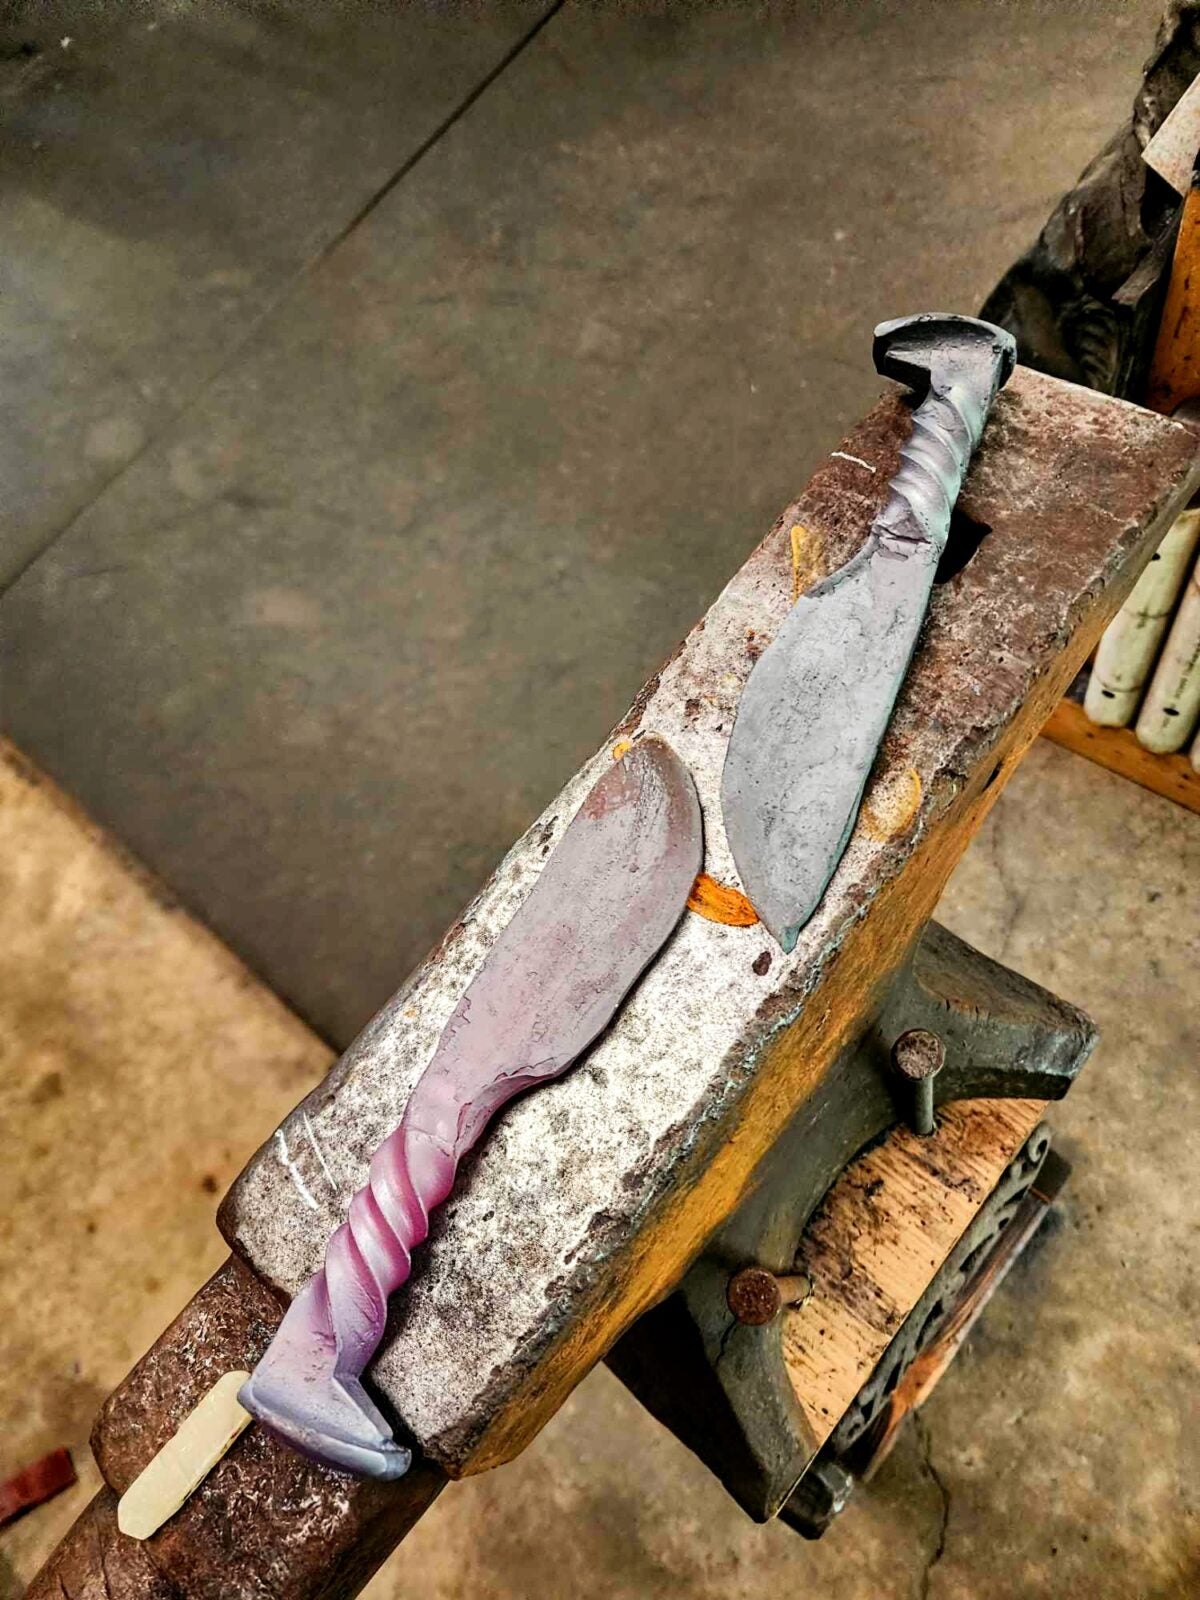
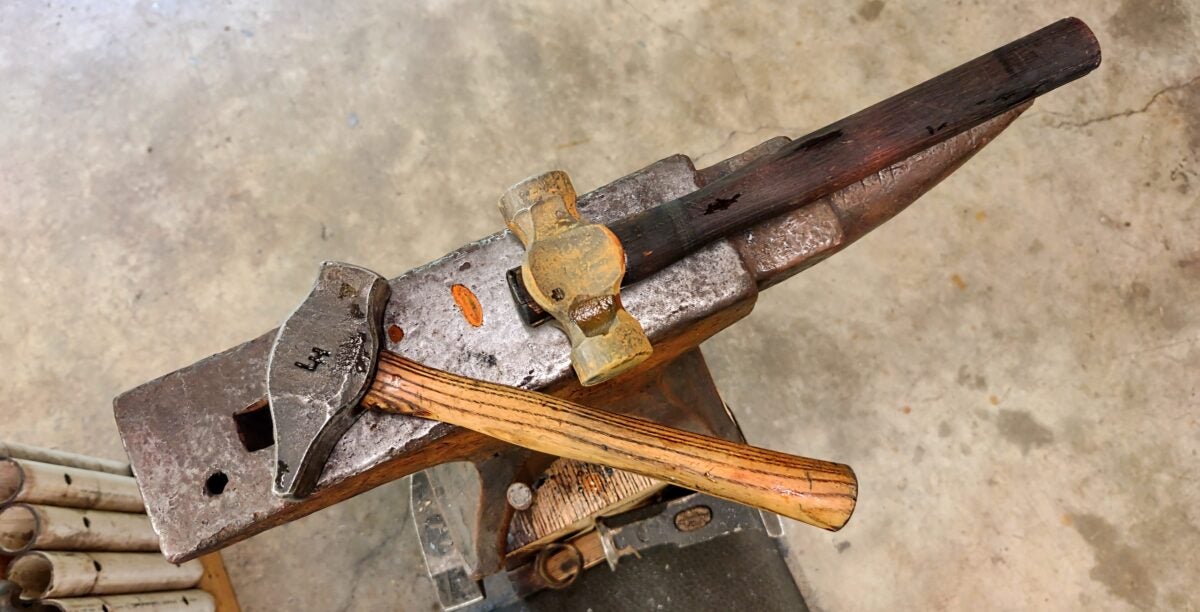
The first task that needed to be accomplished beyond choosing our spike is selecting what type of “grip” we would like. We aren’t talking G10, Micarta, or wood. Rather, we were going to twist knurling into the handle of our grip. One full twist or revolution of our railroad spike (what Andrea and I both decided on) would create 4 curls in our handle. I liked the way this felt in my hand – as did Andrea – from an example we handled. The more full twists/revolutions and the finer the grip would feel with more and more curls.
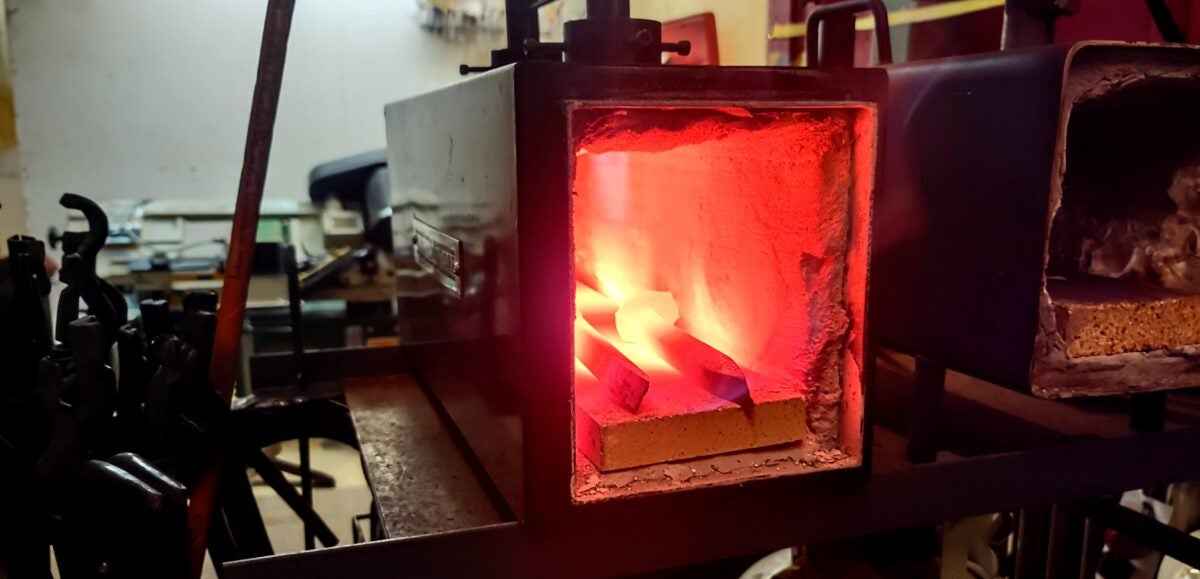
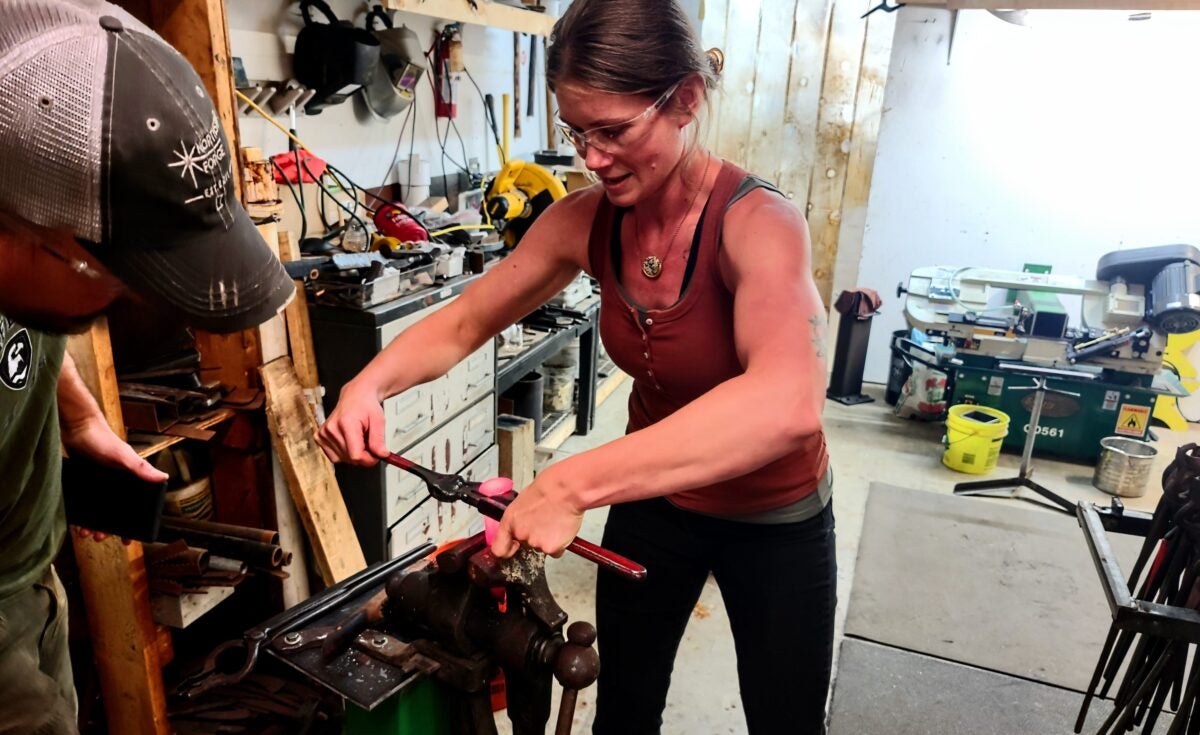
After getting our railroad spikes red hot, we removed them from the forge and quickly got them in a vice to literally twist them by hand. Twisting these spikes one full revolution was no joke! Yet, it was a lot of fun to lean into it, grunt a bit, and know that we physically twisted the grip into our future knives.
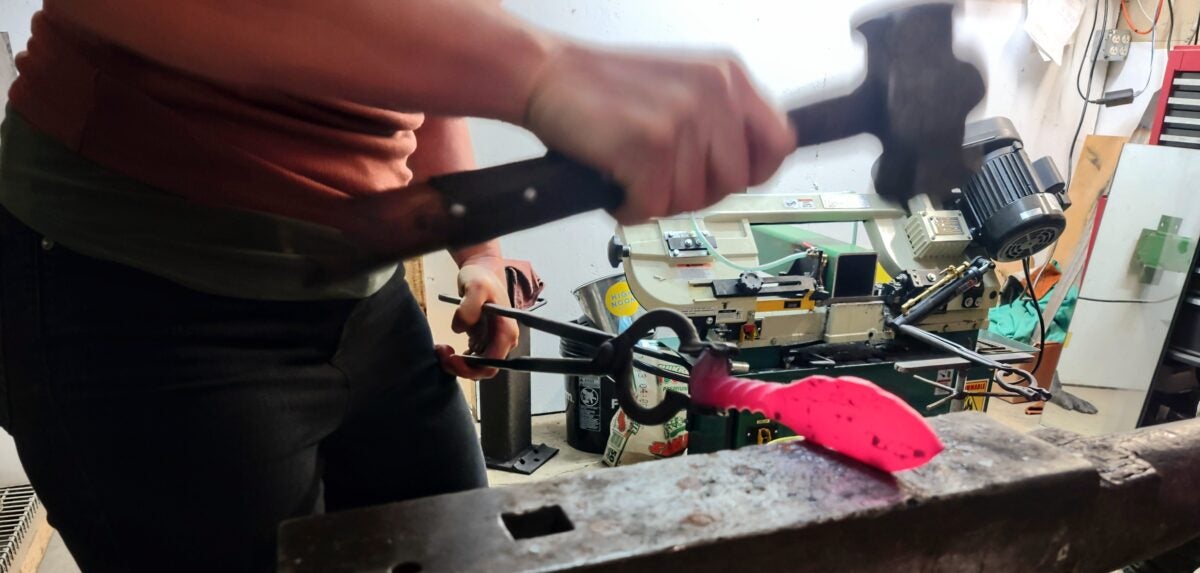
Choose your Weapon! (Err, Hammer) – Northstar Forge Knife Forging Process
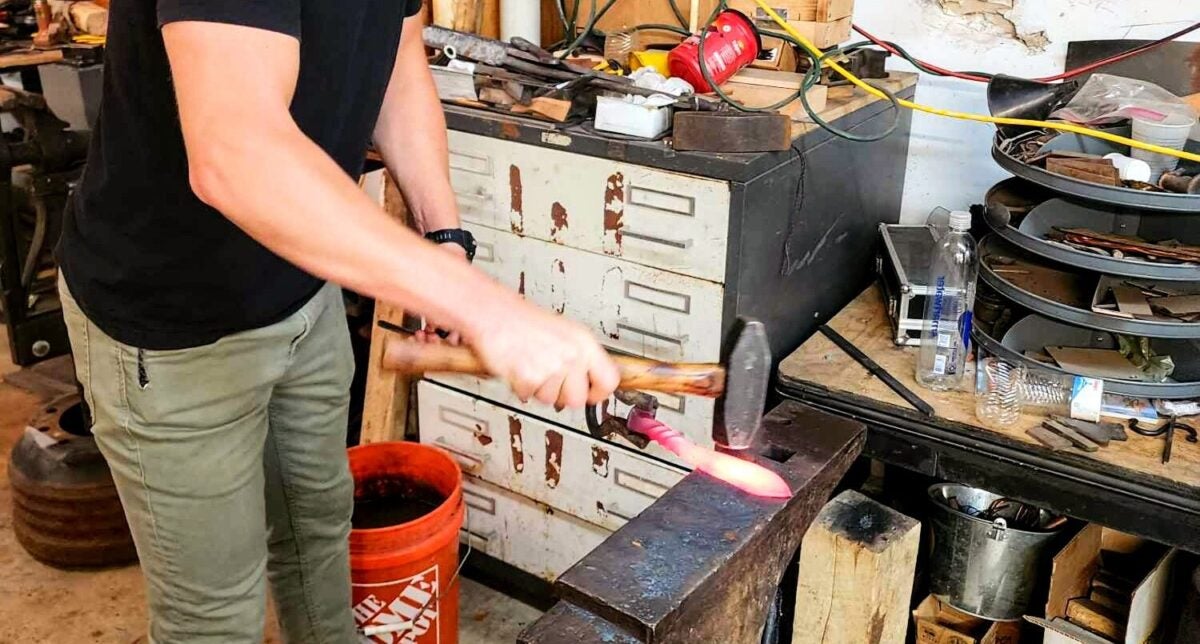
Next on the journey of our railroad spike knives was taking our “spike” end and forming it into an appropriate thickness to contour and shape a blade. This would initially be accomplished by hand with hammers. So, we channeled our inner Thor and picked a hammer within Jason’s shop that we could wield well. Jason told us “you want the hammer to do the work for you.” If your biceps are exhausted 10 minutes in, you’re trying too hard. Descriptively, it is difficult to reiterate the technique Jason shared with us, but it worked for Andrea and I.
Forging is laborious work, but neither of us tired out while working on our knives because of Jason’s tips. Speaking of tips, before we began hammering out our spike into the crude shape of a blade, we needed to narrow our tip. That way when we began hammering and “flowing” metal material to the end of the spike, it would “flow” well (not have a weird compressed or flowed end).
Smash like the Hulk – Northstar Forge Knife Forging Process
Now, for the fun part! We repeatedly heated our railroad spikes up in the forge until they were red hot, smashed them with our chosen hammer to draw out (flow) a better point to them, and repeated the process maybe a dozen times. If you’re looking for cardio, this is it. Furthermore, it was a lot of fun. Jason supervised us with instructional pointers along the way, but he essentially let us loose.
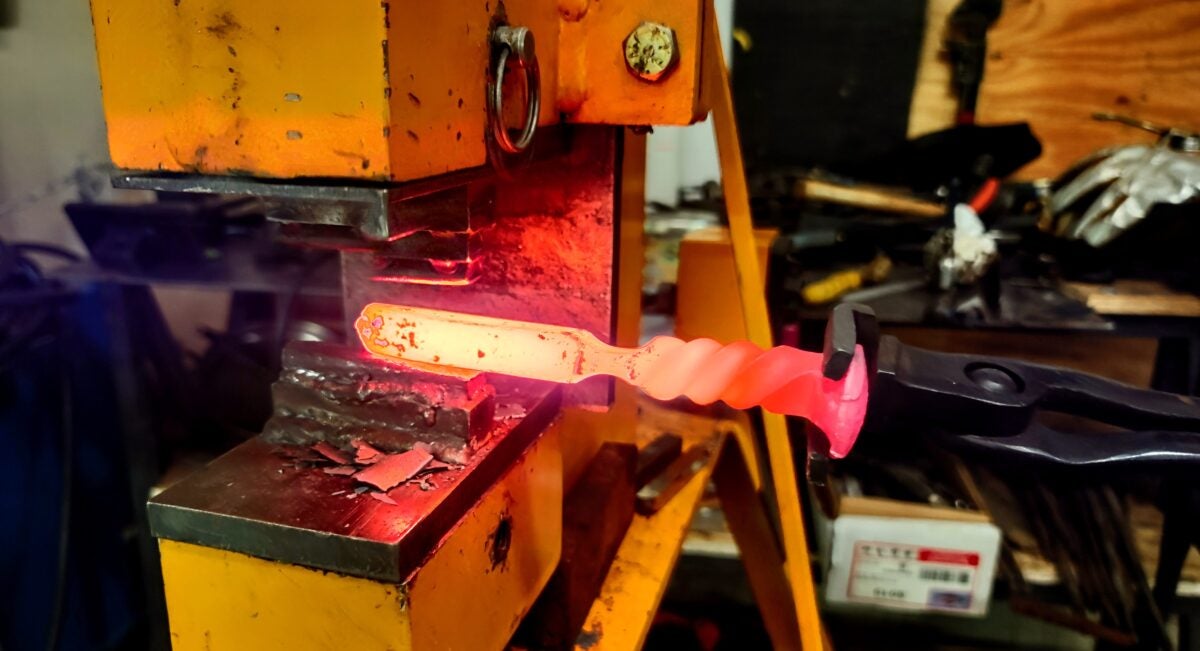
Refine your Spike – Northstar Forge Knife Forging Process
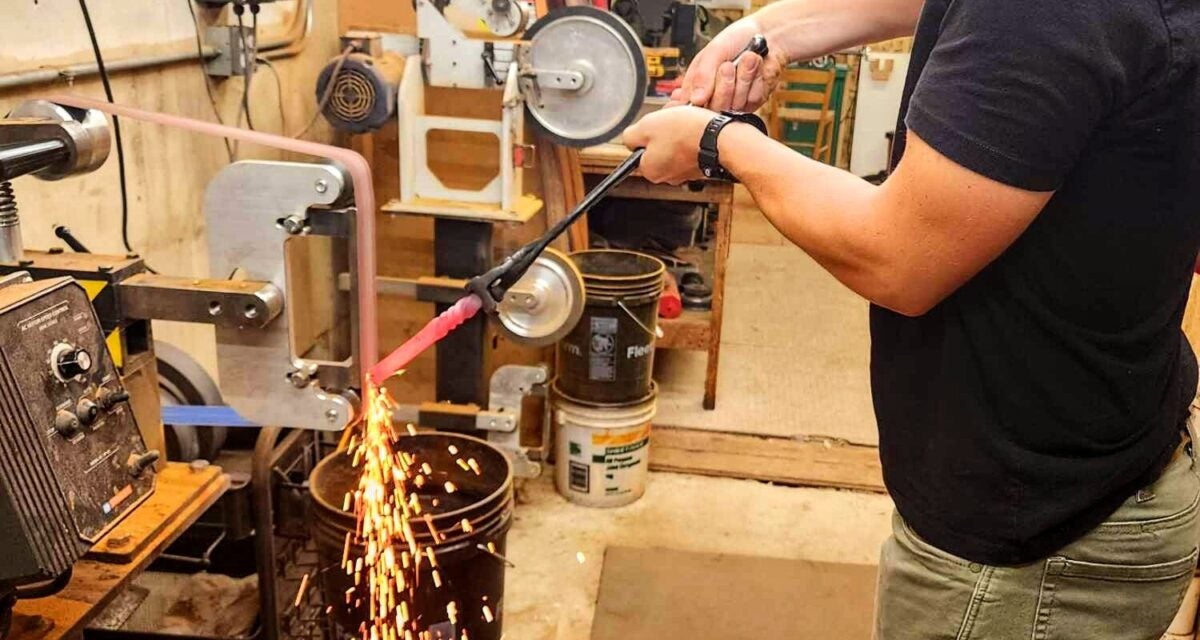
Once we established a crude, molten-hot pancake at the end of our railroad spike – I believe forbidden popsicle is the technical term – we got to jump up to the electric/hydraulic press to expedite our forging process. It was equally fun to work with Jason’s electric/hydraulic press because you could squish your hot spike nearly like butter. There is the danger of ruining your knife by flattening it too much though. Jason cautioned us that we needed enough material available to grind, profile, and shape our blades later in the day. So, while this was a completely hands-on class (Jason wants all of his students to participate in 100% of the knife making process if they’re comfortable doing so), he closely watched us to ensure we left enough material for the afternoon knife making session.
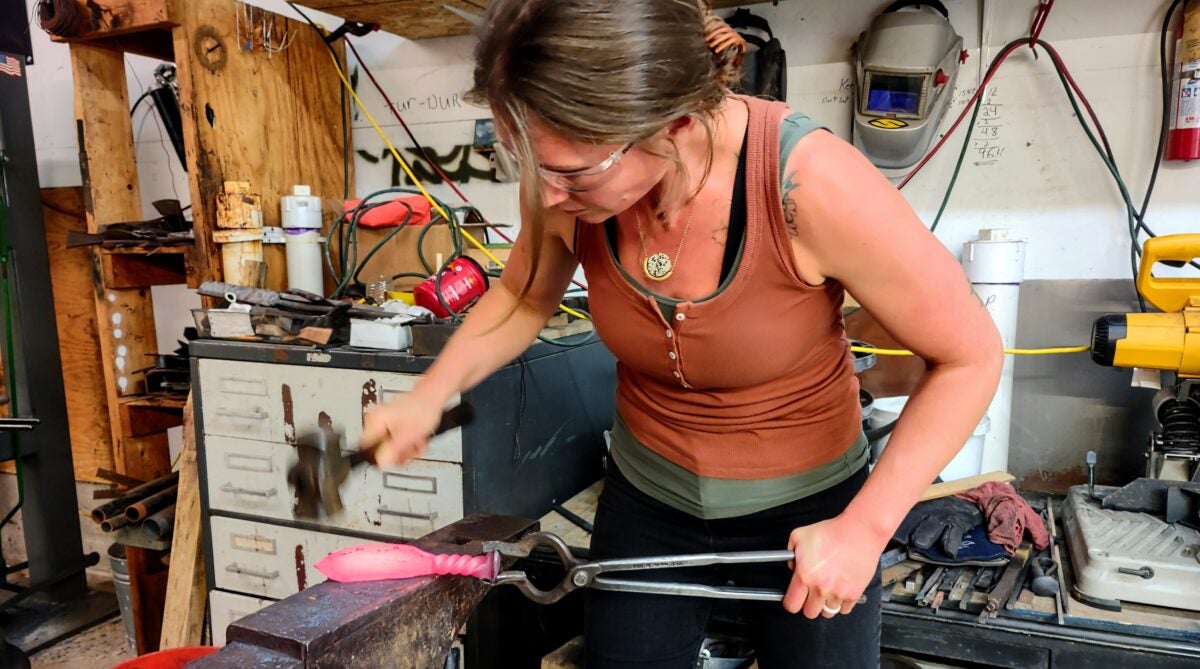
At this point, it was nearly lunch time and we were about halfway through the knifemaking process. We had the rudimentary beginnings of a wicked railroad spike knife. What we had was plain, simple, and crude, but all of the sophisticated refinements would occur in the afternoon. Most of the hard work was done with our grips twisted, points formed, and the forbidden popsicle had been appropriately shaped. After only a few hours of work, I was already feeling proud of myself; moreover, incredibly proud of my wife, Andrea. She was crushing her spike, twisting molten metal, and kicking butt!
For this week on “Home on the Range,” we will end and leave you here. We took a railroad spike and already created the dimensions of a knife. Albeit, incredibly dull right now in its current state, their fine edge and curb appeal will come later. I mentioned in last week’s “Home on the Range” that seeing the TV show “Forged in Fire” is what got me excited about forging. It even drove my father and I to make a shadetree forge at home. It even eventually led to my wife and I attending this class with Northstar Forge. Have you ever tried a knife forging process like this before? Would you be willing to give it a try? As always, let us know all of your thoughts in the Comments below! We always appreciate your feedback.