Do-It-Yourself Project (DIY) – Camo Painting a Rifle Stock
Eugene L. 10.30.23
 – Camo Painting a Rifle Stock")
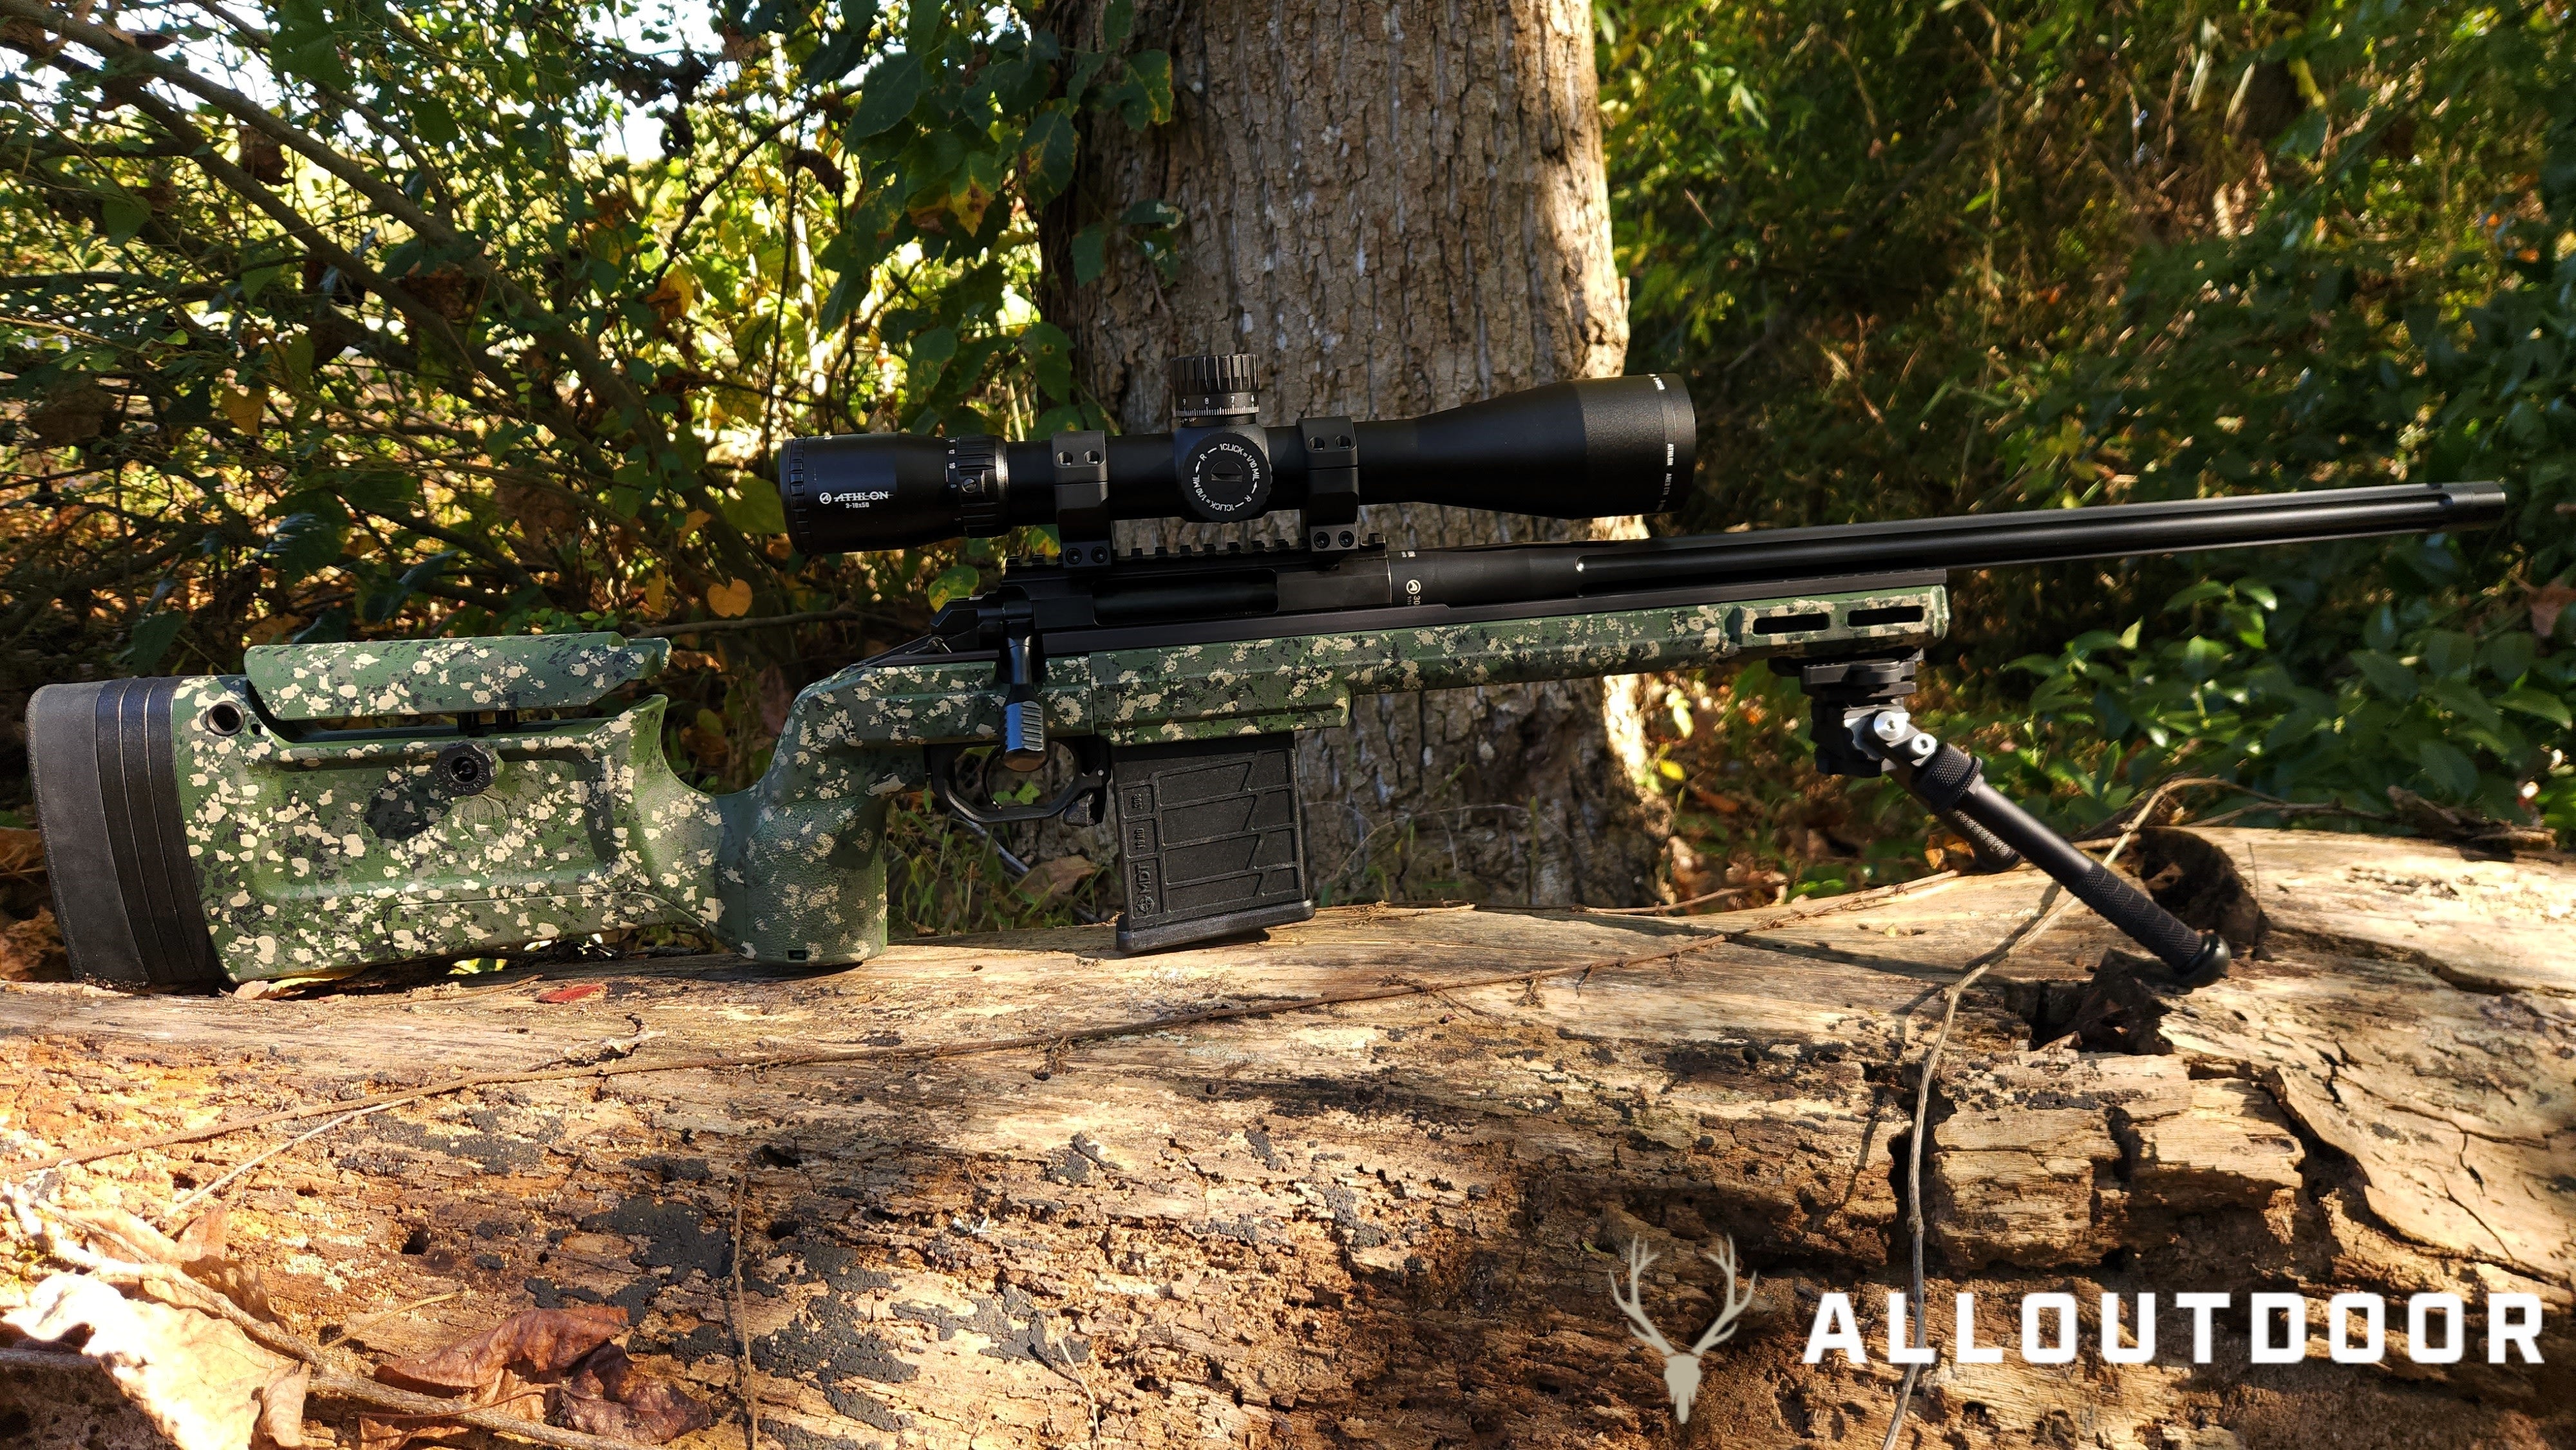
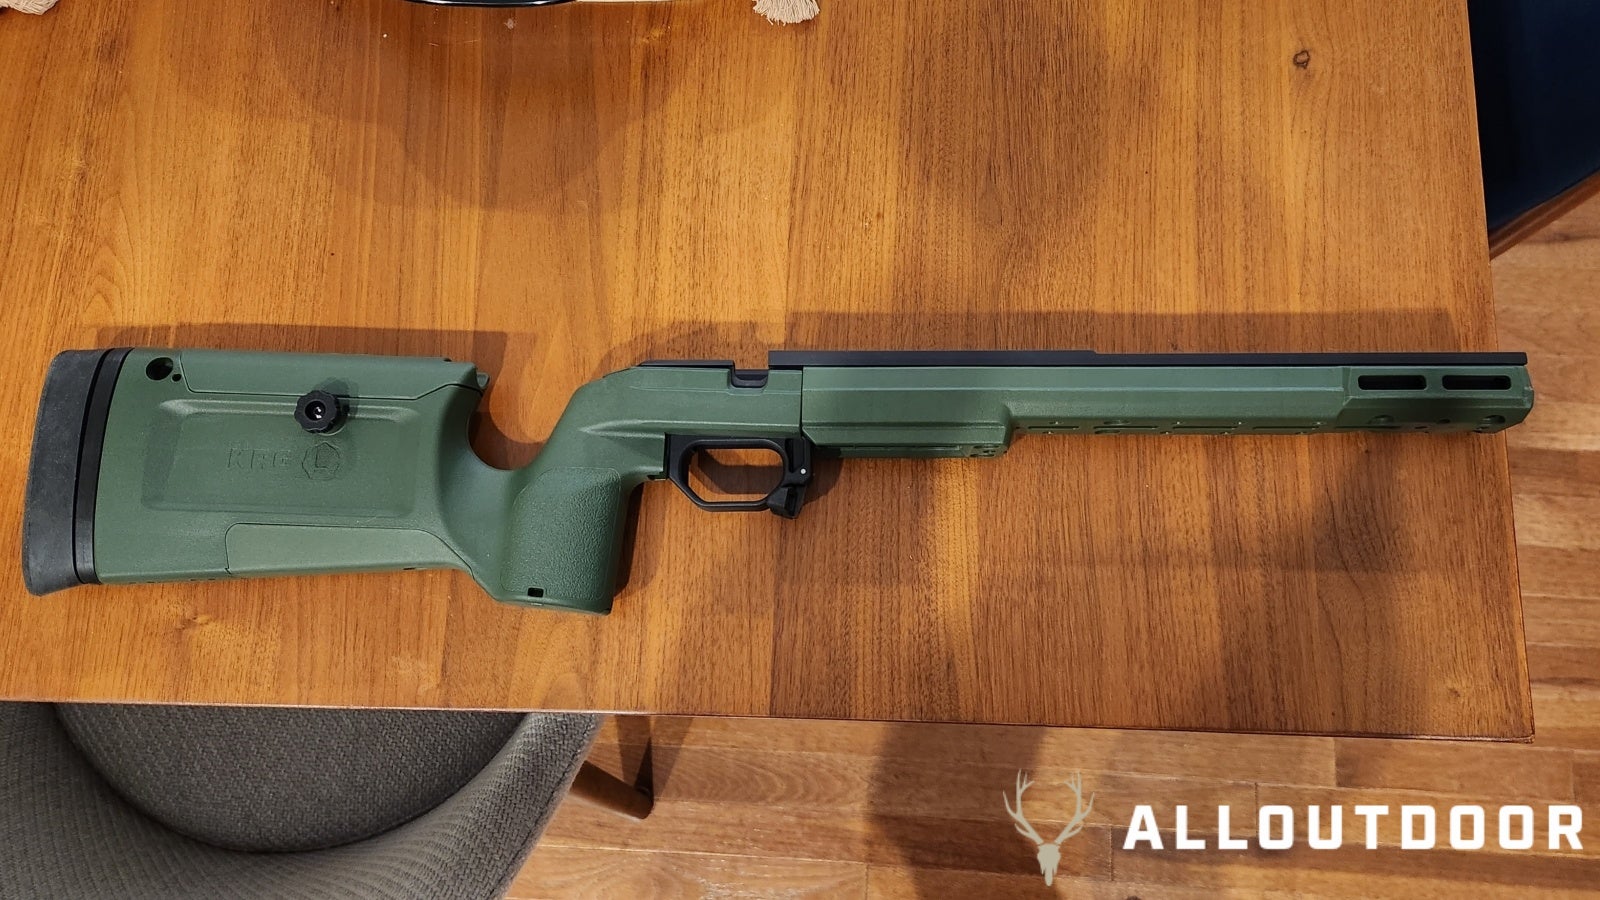
I recently bought a new Aero Precision Solus with a KRG Bravo Chassis to be my new deer gun for the fall along with being my go-to rifle for longer ranges that my “Mallet Gun” can’t really reach out to. But while I like the Sako green of the rifle stock I wanted to give it a little more character with a touch of camo pattern. So I’m going to show you how I did it for pretty cheap. All you will need to do this is some Rustoleum camouflage paints in whatever colors you like, isopropyl alcohol, painter’s tape, and some natural sea sponge pieces. Super easy project to do that is almost impossible to mess up.

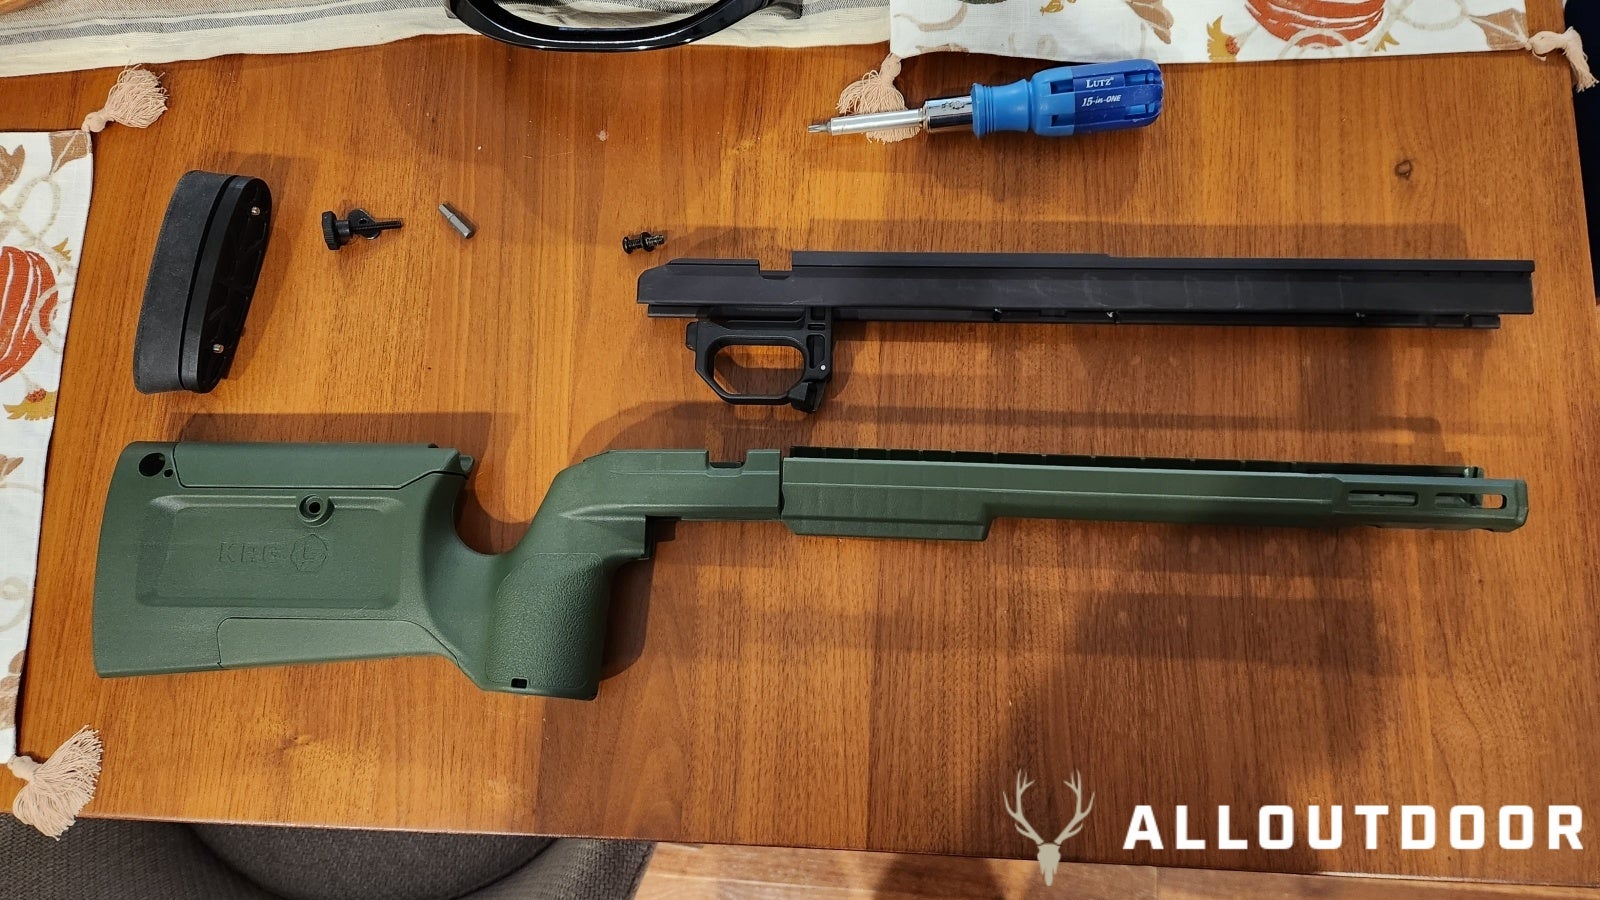
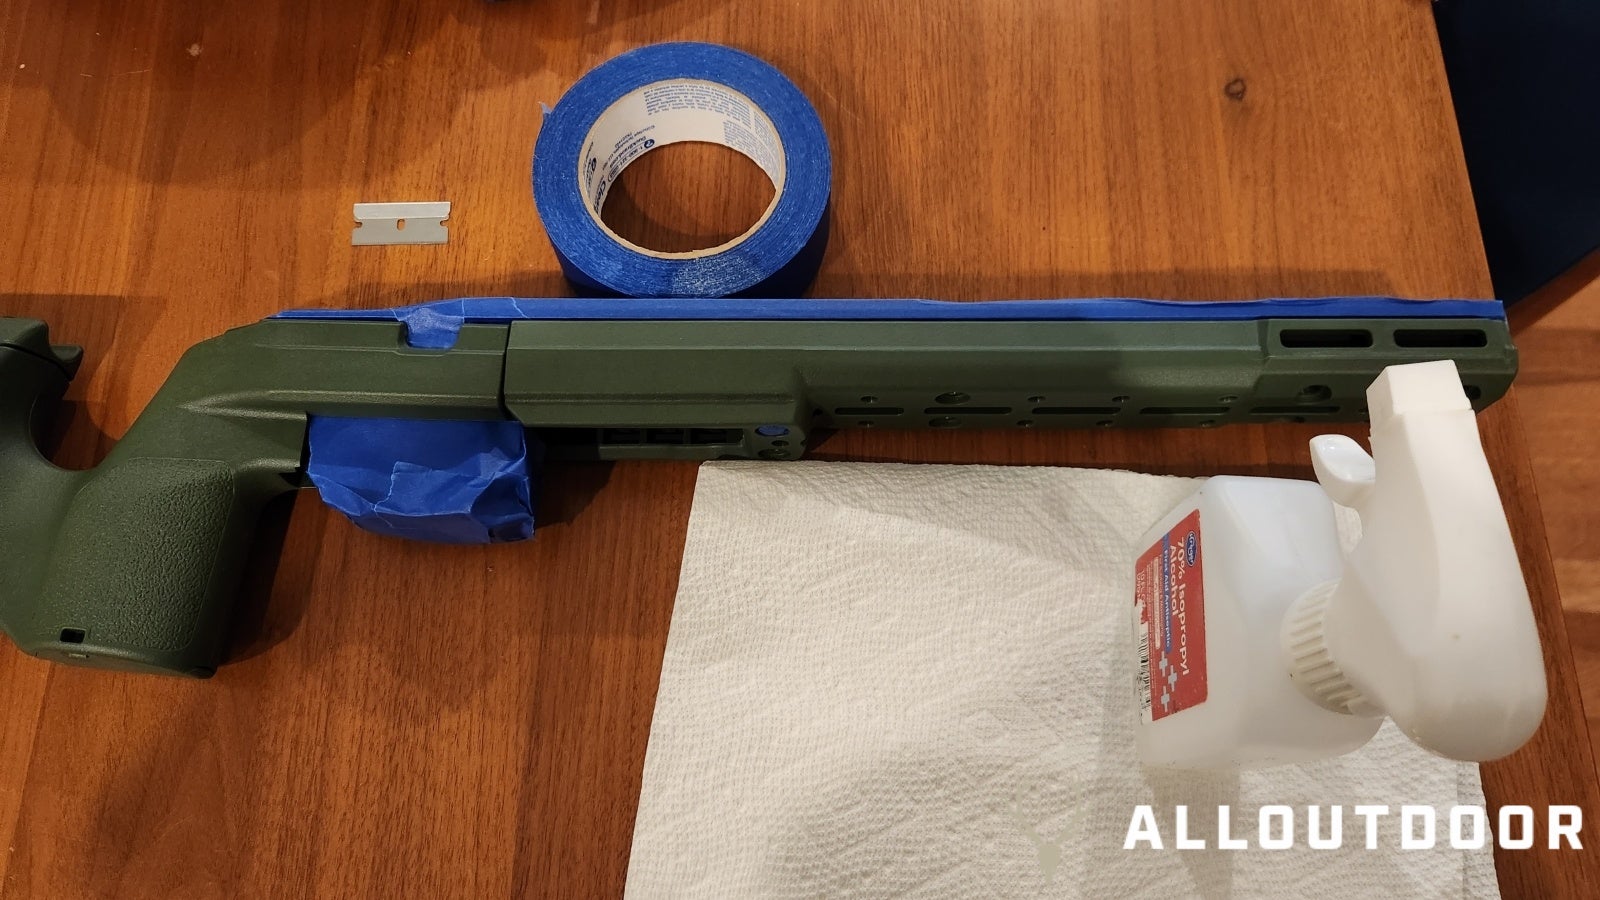
First things first is to remove action from the rifle stock, and then start stripping down all the components off the stock. I chose to only paint the green plastic parts of the rifle stock but you can paint the whole thing if you want. You can even paint the action too, I just didn’t want to go those routes. One thing you should not paint though is the rubber recoil pad, it will shed paint with age and just look bad. Once you have everything you want removed give the rifle stock a good scrub down with some isopropyl alcohol to help degrease the surface for better paint adhesion.
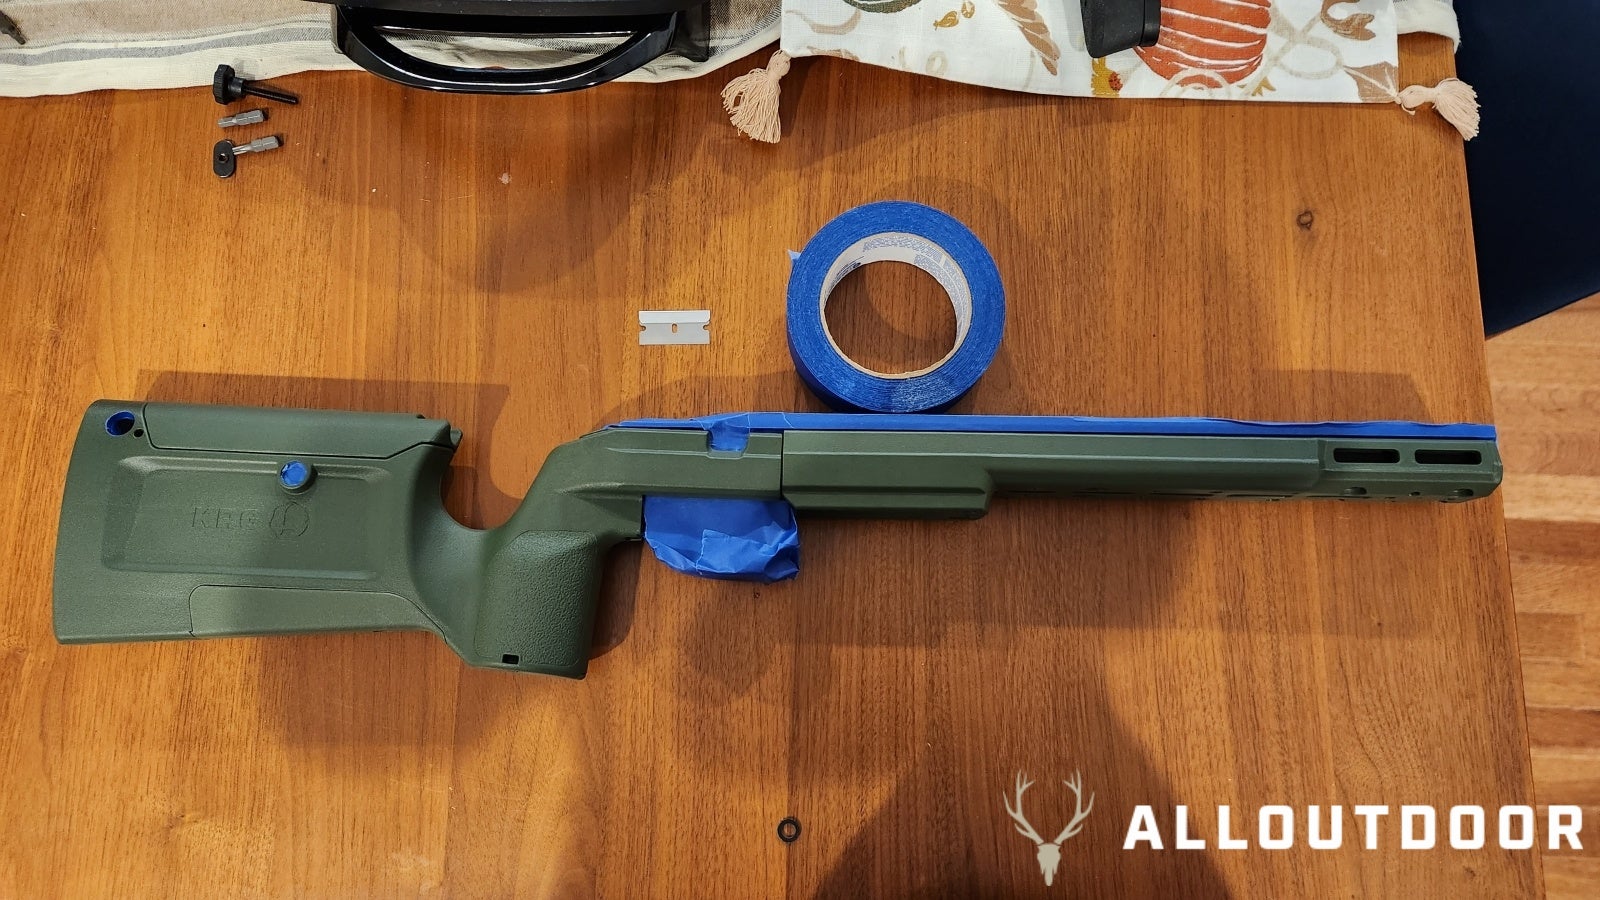
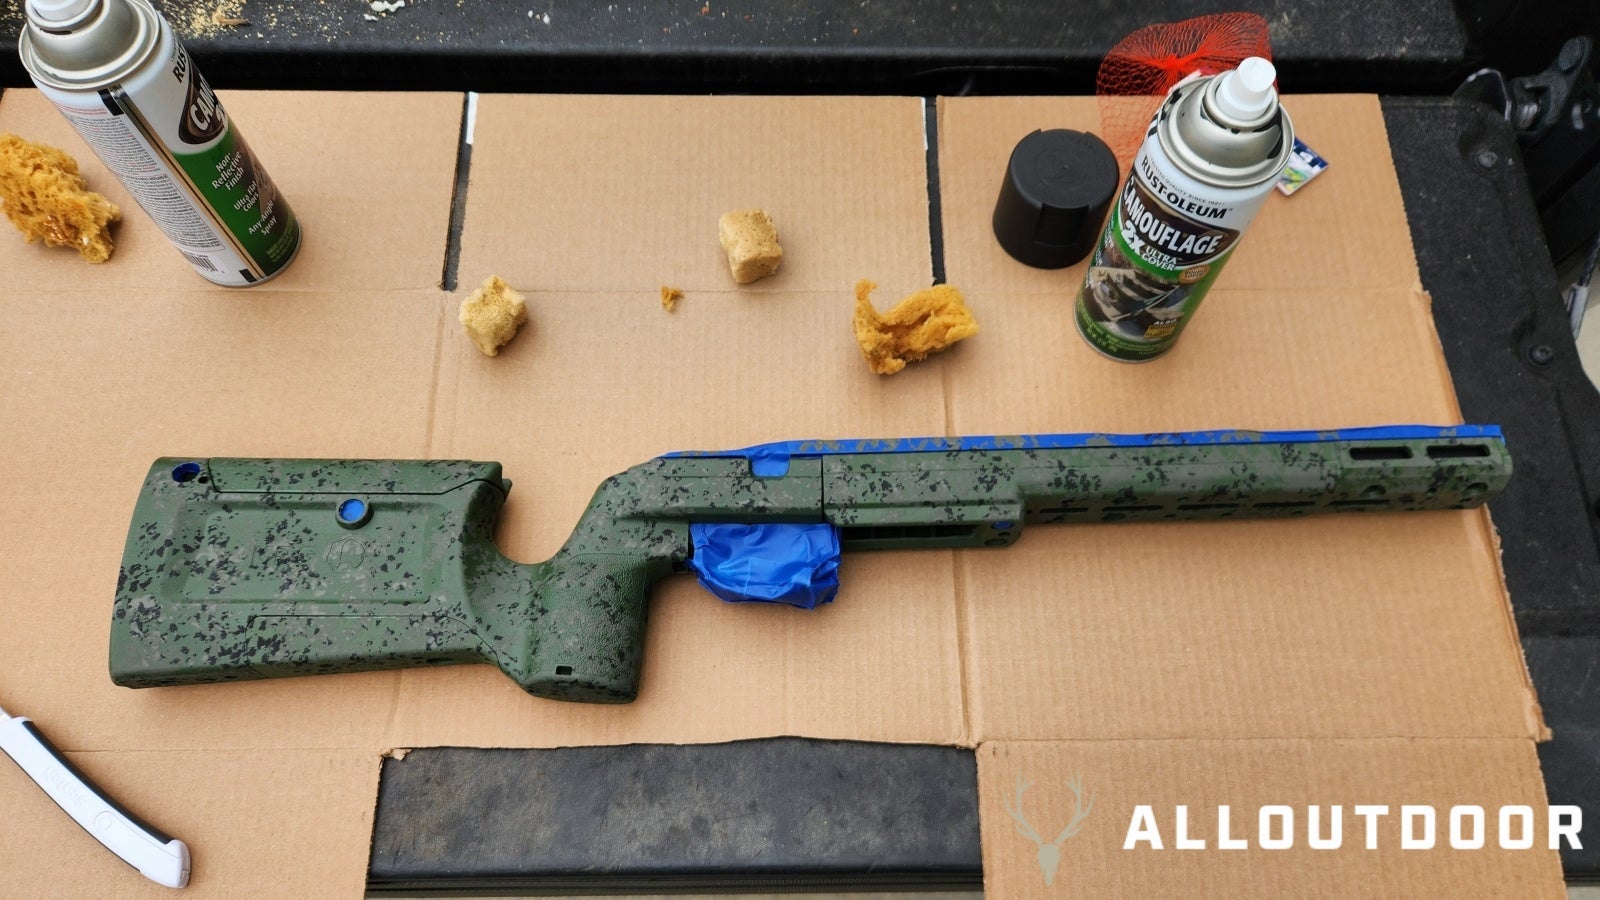
Now it’s time to tape everything off that we don’t want any paint in. This is any of the screw holes and QD cup spots. You don’t want paint in these areas as it can cause parts to bind up due to paint build-up. Once I got everything I didnt want to paint on taped off, I reinstalled the aluminum frame for the rifle stock to hold it together as one piece for painting. I also gave it one more cleaning with the isopropyl alcohol. After this point, I only wore clean nitrile gloves to handle the rifle stock. Proper surface prep is one of the most important factors for paint adhesion. If you aren’t showing the original color through the camo pattern I recommend buffing the whole stock with an abrasive brillo pad before degreasing it with the alcohol. That way the base layer you chose will stick on the best.
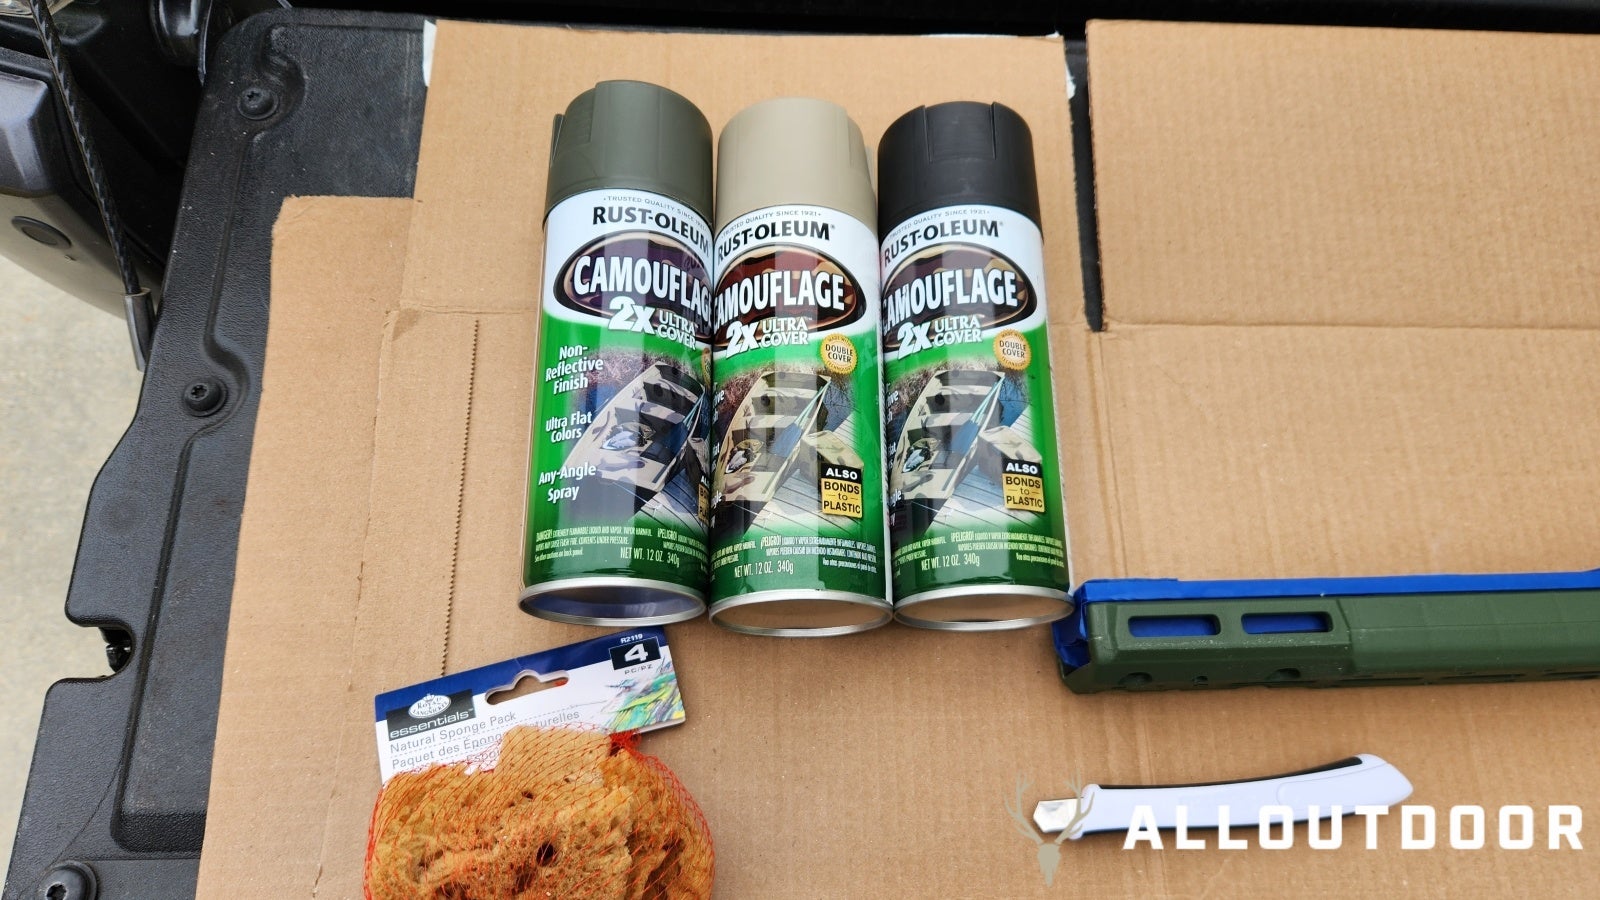
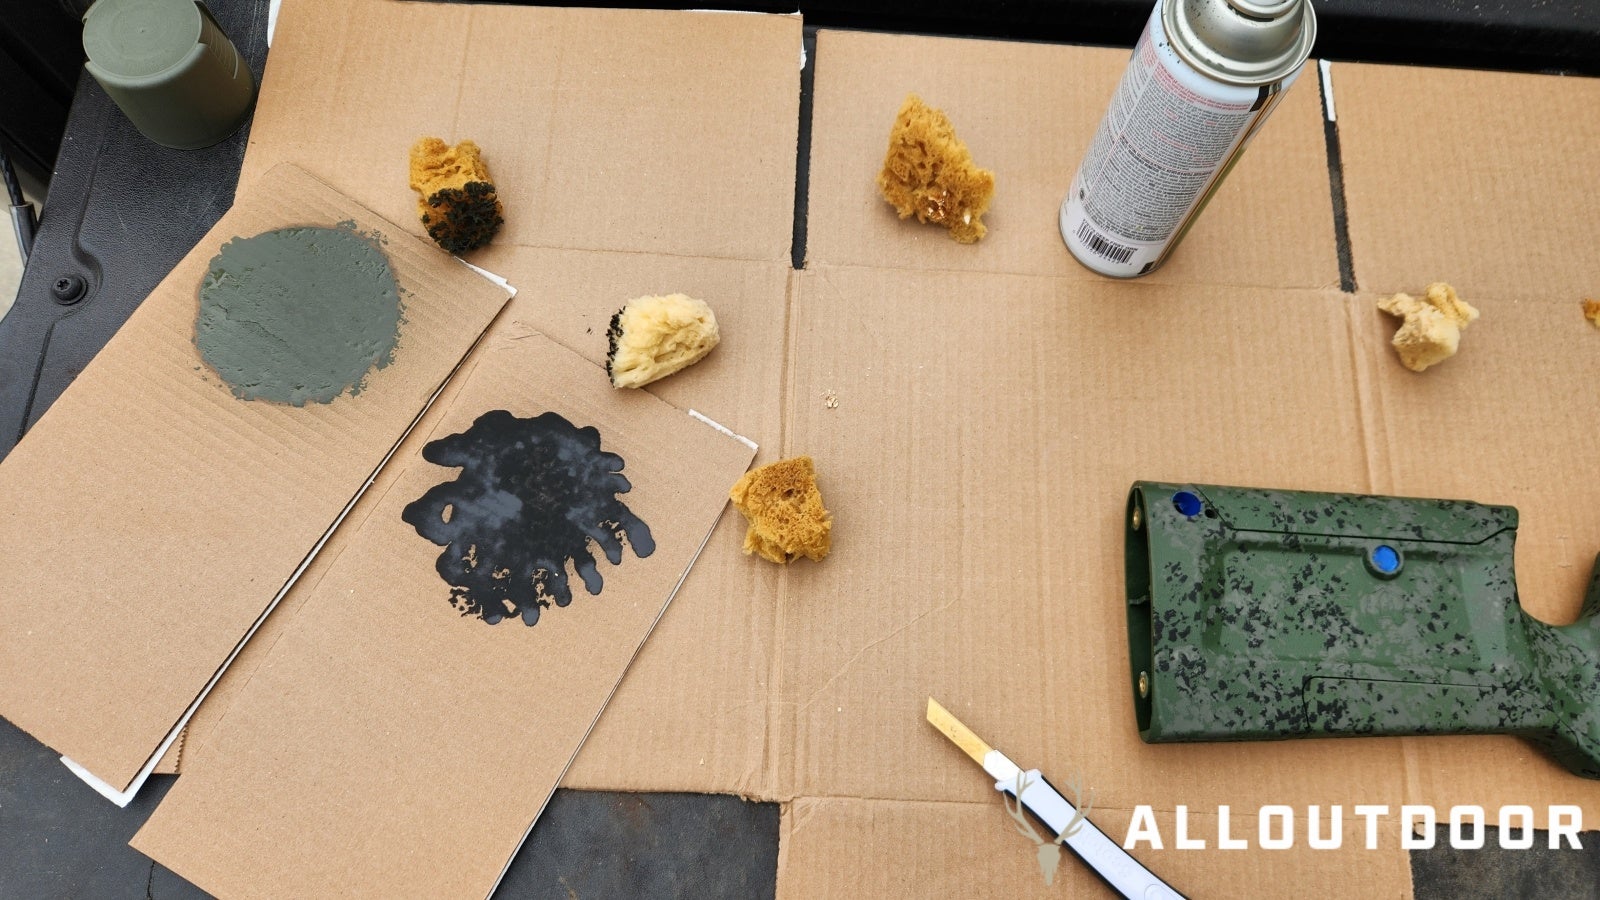
I chose these three colors because I felt they looked the best for the area. It’s all up to personal preference on colors though, do what you like and think works best for your area. I recommend the Rust-Oleum brand I’ve used the Krylon Kamo before and had issues of it not adhering properly and coming off easily. For the sponges, you want to use natural sea sponge pieces this gives you varied textures for a better look. Walmart has a little baggy of them for around $5 in their arts and craft section.
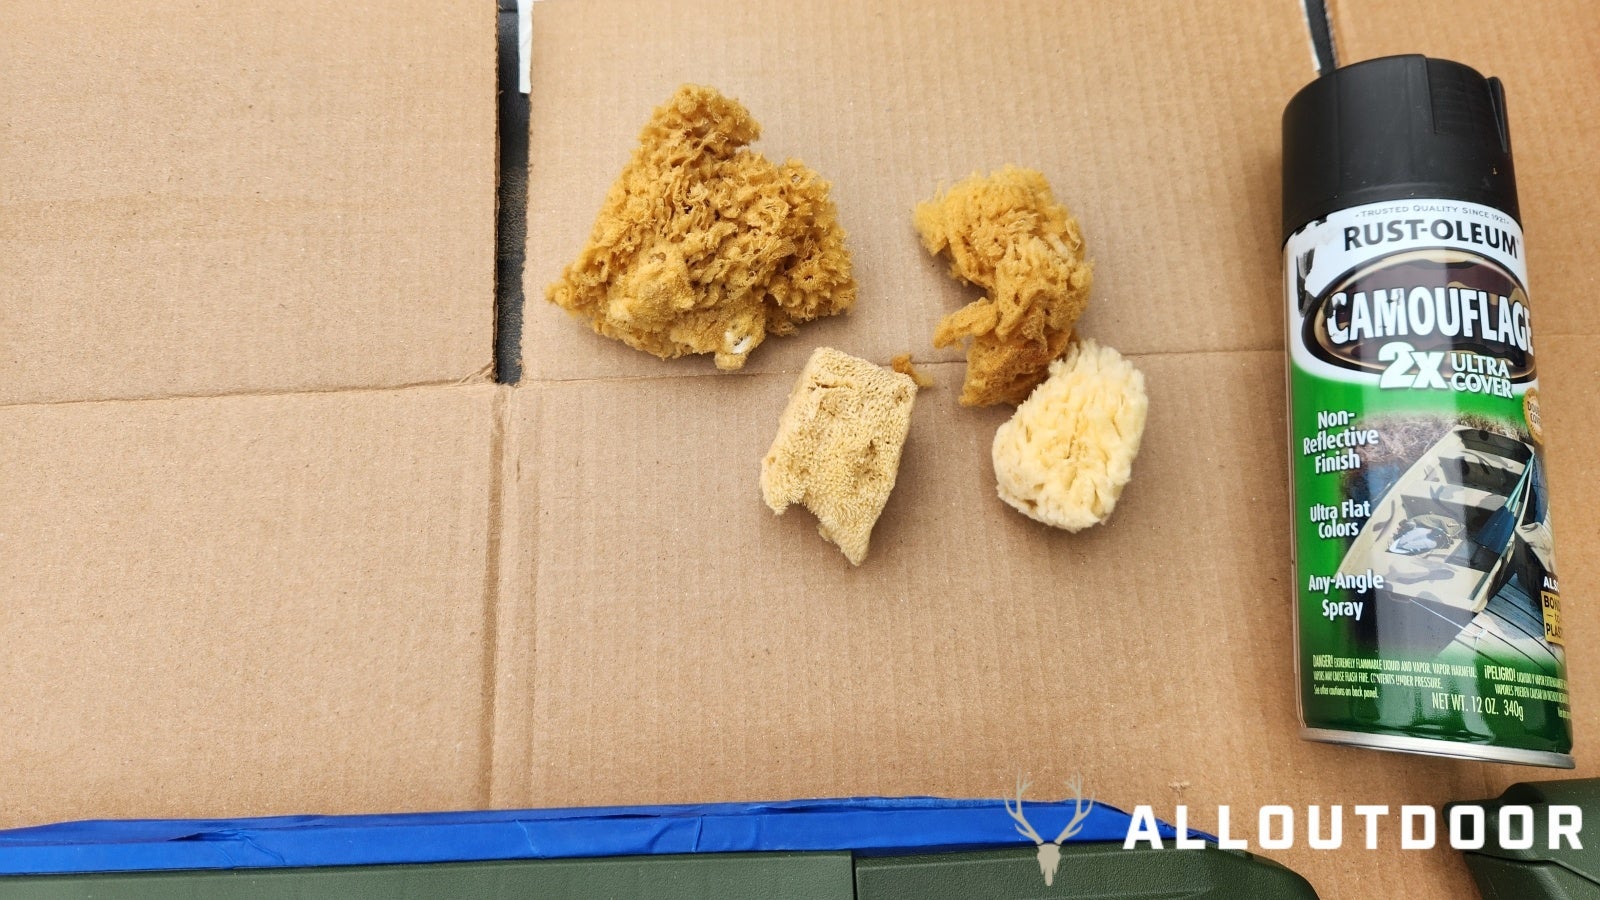
I started painting from the darkest paint color to the lightest. So the first color down was flat black. Get a piece of cardboard or paper plate and spray a good puddle of paint onto it. From there dip the sponge piece you like into the paint and start painting the rifle stock. Try to dab the sponge onto the stock straight up and down, with no wiping or smearing. But honesty there’s no right or wrong way to do this here. Go with what feels right to you, if you don’t like it you can always hide it under other layers, just treat them as happy little accidents.
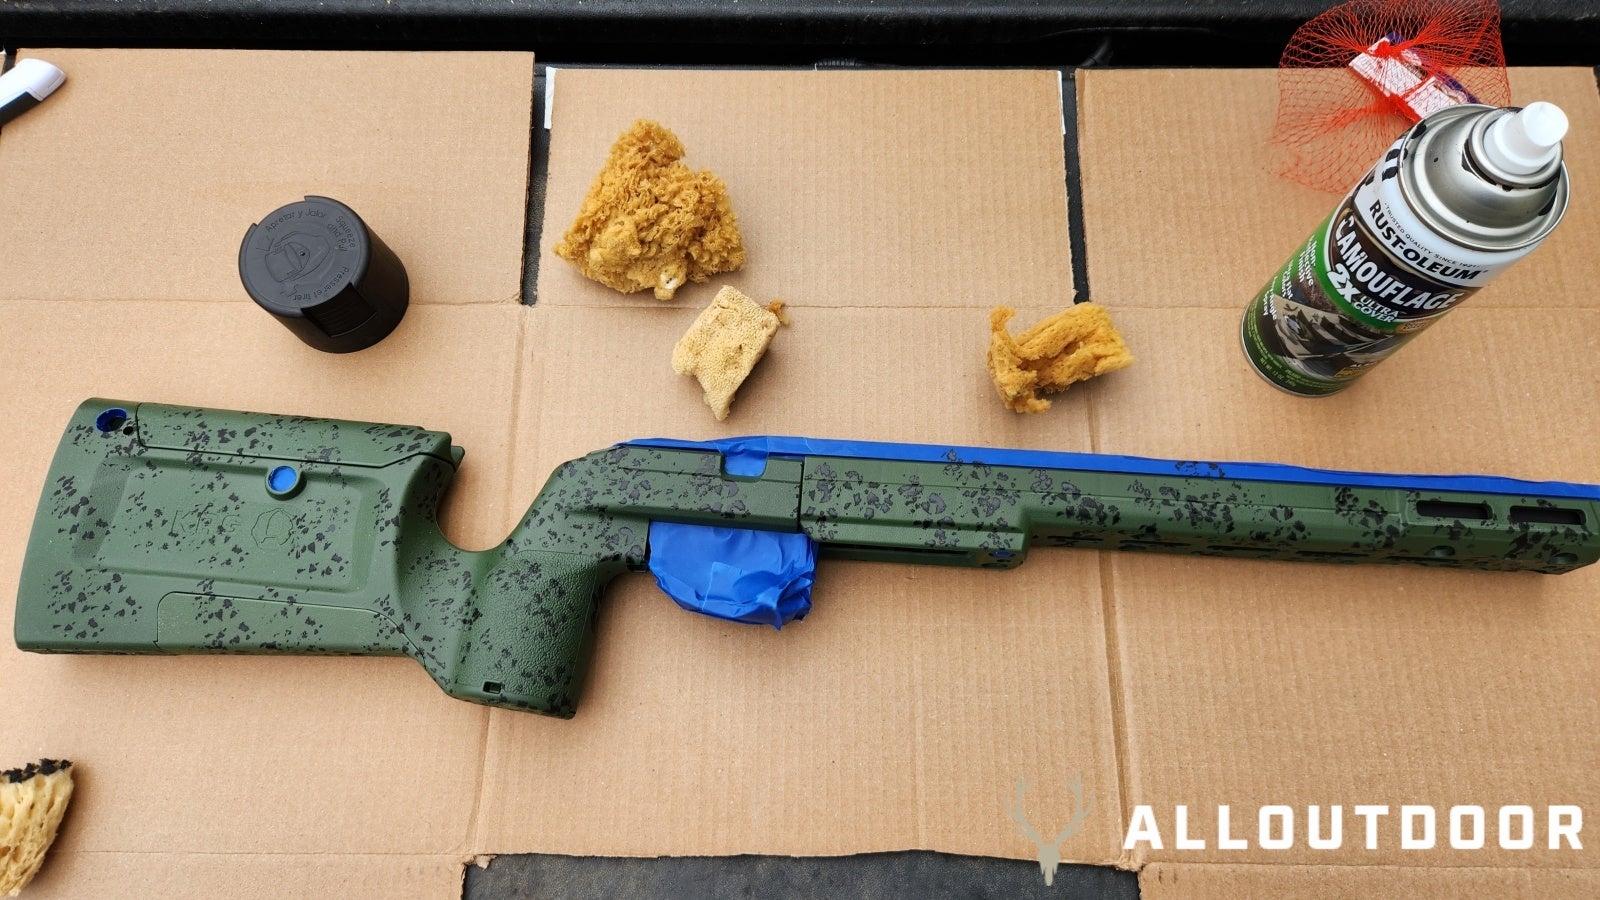
Then once you get your first color down in a pattern you like, let the solvent in the spray paint flash off. You can speed this up with a hair dryer, but don’t go too crazy with it. You just want the first layer dry to the touch. Pick a new piece of sponge with preferably a different-looking surface and start the process over again. Again just go with the flow, if you feel you covered too much of the first layer just add some more after you finish the second layer. After this repeat the steps again and add your next color, or stop it’s all up to you. But once you’re happy with how it looks it’s time to let the paint dry and cure.
You want to hang the rifle stock up somewhere it won’t be bothered while the paint fully dries and cures. So I recommend this little setup. Involving a ladder, a carabiner, a buttpad screw, and a bit of wire. Make the hanger by just wrapping the wire around the carabiner on one end and the screw on the other. Then just stick the screw into the buttpad screw hole and hang it all up on a ladder. That way no parts of the rifle stock are touching anything. If you want to at this point you can hit the stock again with a hair dryer this time till it’s warmed up to kind of heat cure the paint. You can then either apply a matter clear coat or just leave the surface raw so the pattern will wear over time. It’s up to you.
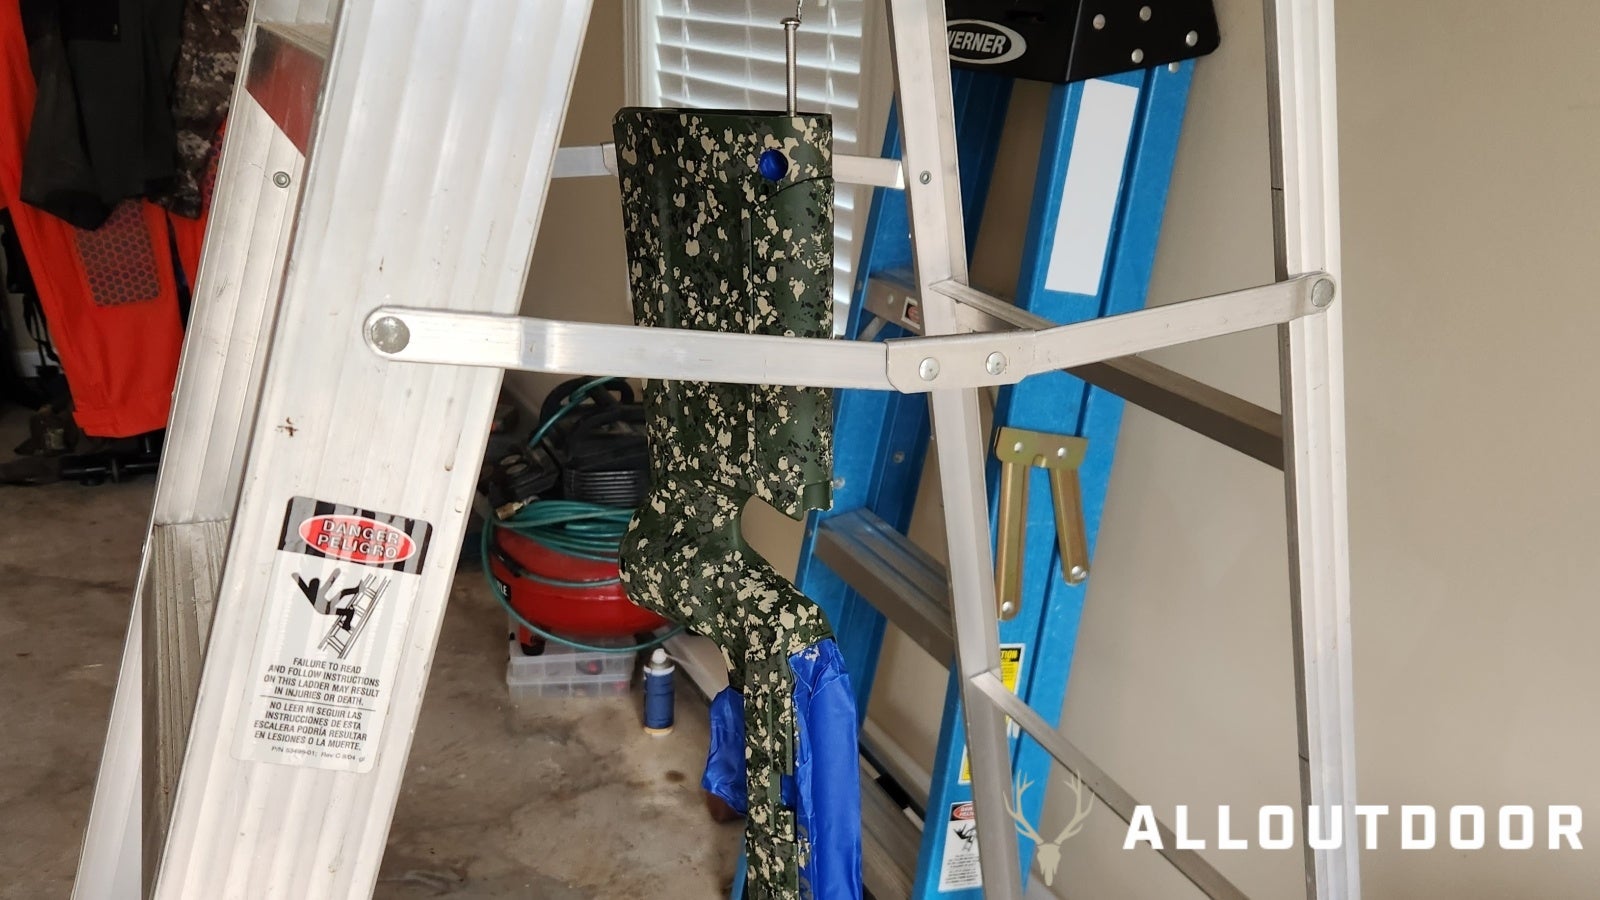
Either way you choose let the stock sit untouched for at least 4 hours. After that, you can handle it, remove the tape, and reinstall the action and accessories. Just don’t be rough with it still for the next day or two while the paint still gases off. Once you don’t smell the paint fumes anymore it’s ready for anything you want to do with it.