How to Sharpen a Knife, Part II
Tony Sculimbrene 11.26.13
)
In the first part of this article, I revealed the secret to stropping, not sharpening. It sounds funny, but it’s true. Stropping can keep a razor’s edge on your knife for a very long time. Eventually, however, you can’t strop anymore because the micro-edge is gone. When that happens, it’s time to bust out the actual sharpening tools. This article will cover actual sharpening and give you a survey of some of the tools out there. We’ll end with a few tips and tricks.
Sharpening
The key to sharpening a knife is consistency. You want to use even strokes at the exact same angle over and over again. If you aren’t consistent, then each stroke is less effective and the end result won’t meet expectations. Regardless of what tools you use, if you keep a consistent angle you can get a razor edge. This is because with each pass you are taking off a minuscule amount of material from the blade. The more consistent an angle you use, the easier it is to bring that edge to a point. Think of it like the tip of a crayon. If you bounce around using different angles, the edge of the knife, like the tip of a crayon, gets a bunch of different facets on it, and eventually those facets make the material round off. However if you can keep a consistent angle, the edge of the knife can get very pointy indeed, and that is, after all, the point.
Once you have the consistent angle thing down, and really that is 98% of sharpening, you next have to figure out how to proceed through the grits using the sharpening substrate. The lower the grit, the coarser the substrate and the more steel it hogs away. If you need to reprofile an edge, like switching from a 40 degree angle on the cutting bevel to a 30 degree angle, you need to start with the lowest grit possible, especially if you are sharpening a harder steel. If you start with 120 grit and hope to reprofile something like ZDP-189, then you’ll be at your stones for days. Keep this in mind: harder steel, lower starting grit.
Most of the time you can start at the lowest grit and give the edge a few passes (the same number on both sides). Once that’s done you will notice that the edge seems stickier than before, but not quite sharp. This is because you have ground away the micro-edge and you are starting to form a new one. This new micro-edge is very jagged and it is usually called a “utility edge.” Once you have this, there are few things to check before jumping to the next grit. First, look at the edge in a raking light and you should see a pattern of scratches that appear similar and are going in the same direction. Second, you should be able to feel a burr on the edge. Once you have a uniform scratch pattern and a burr has appeared on both sides, its time to switch grits.
Proceed through all of the grit levels this way until you reach about 600-1000 grit. For most tasks that’s sharp enough. If you want a polished edge, then you might need to go up to something like 8000 grit. Again, a polished edge will do well in non-fibrous materials with uniform consistency. With stuff like rope or meat, the 1000 grit edge is plenty sharp. Over a 1000 grit and you get stuff like this:
Sharpening Tools
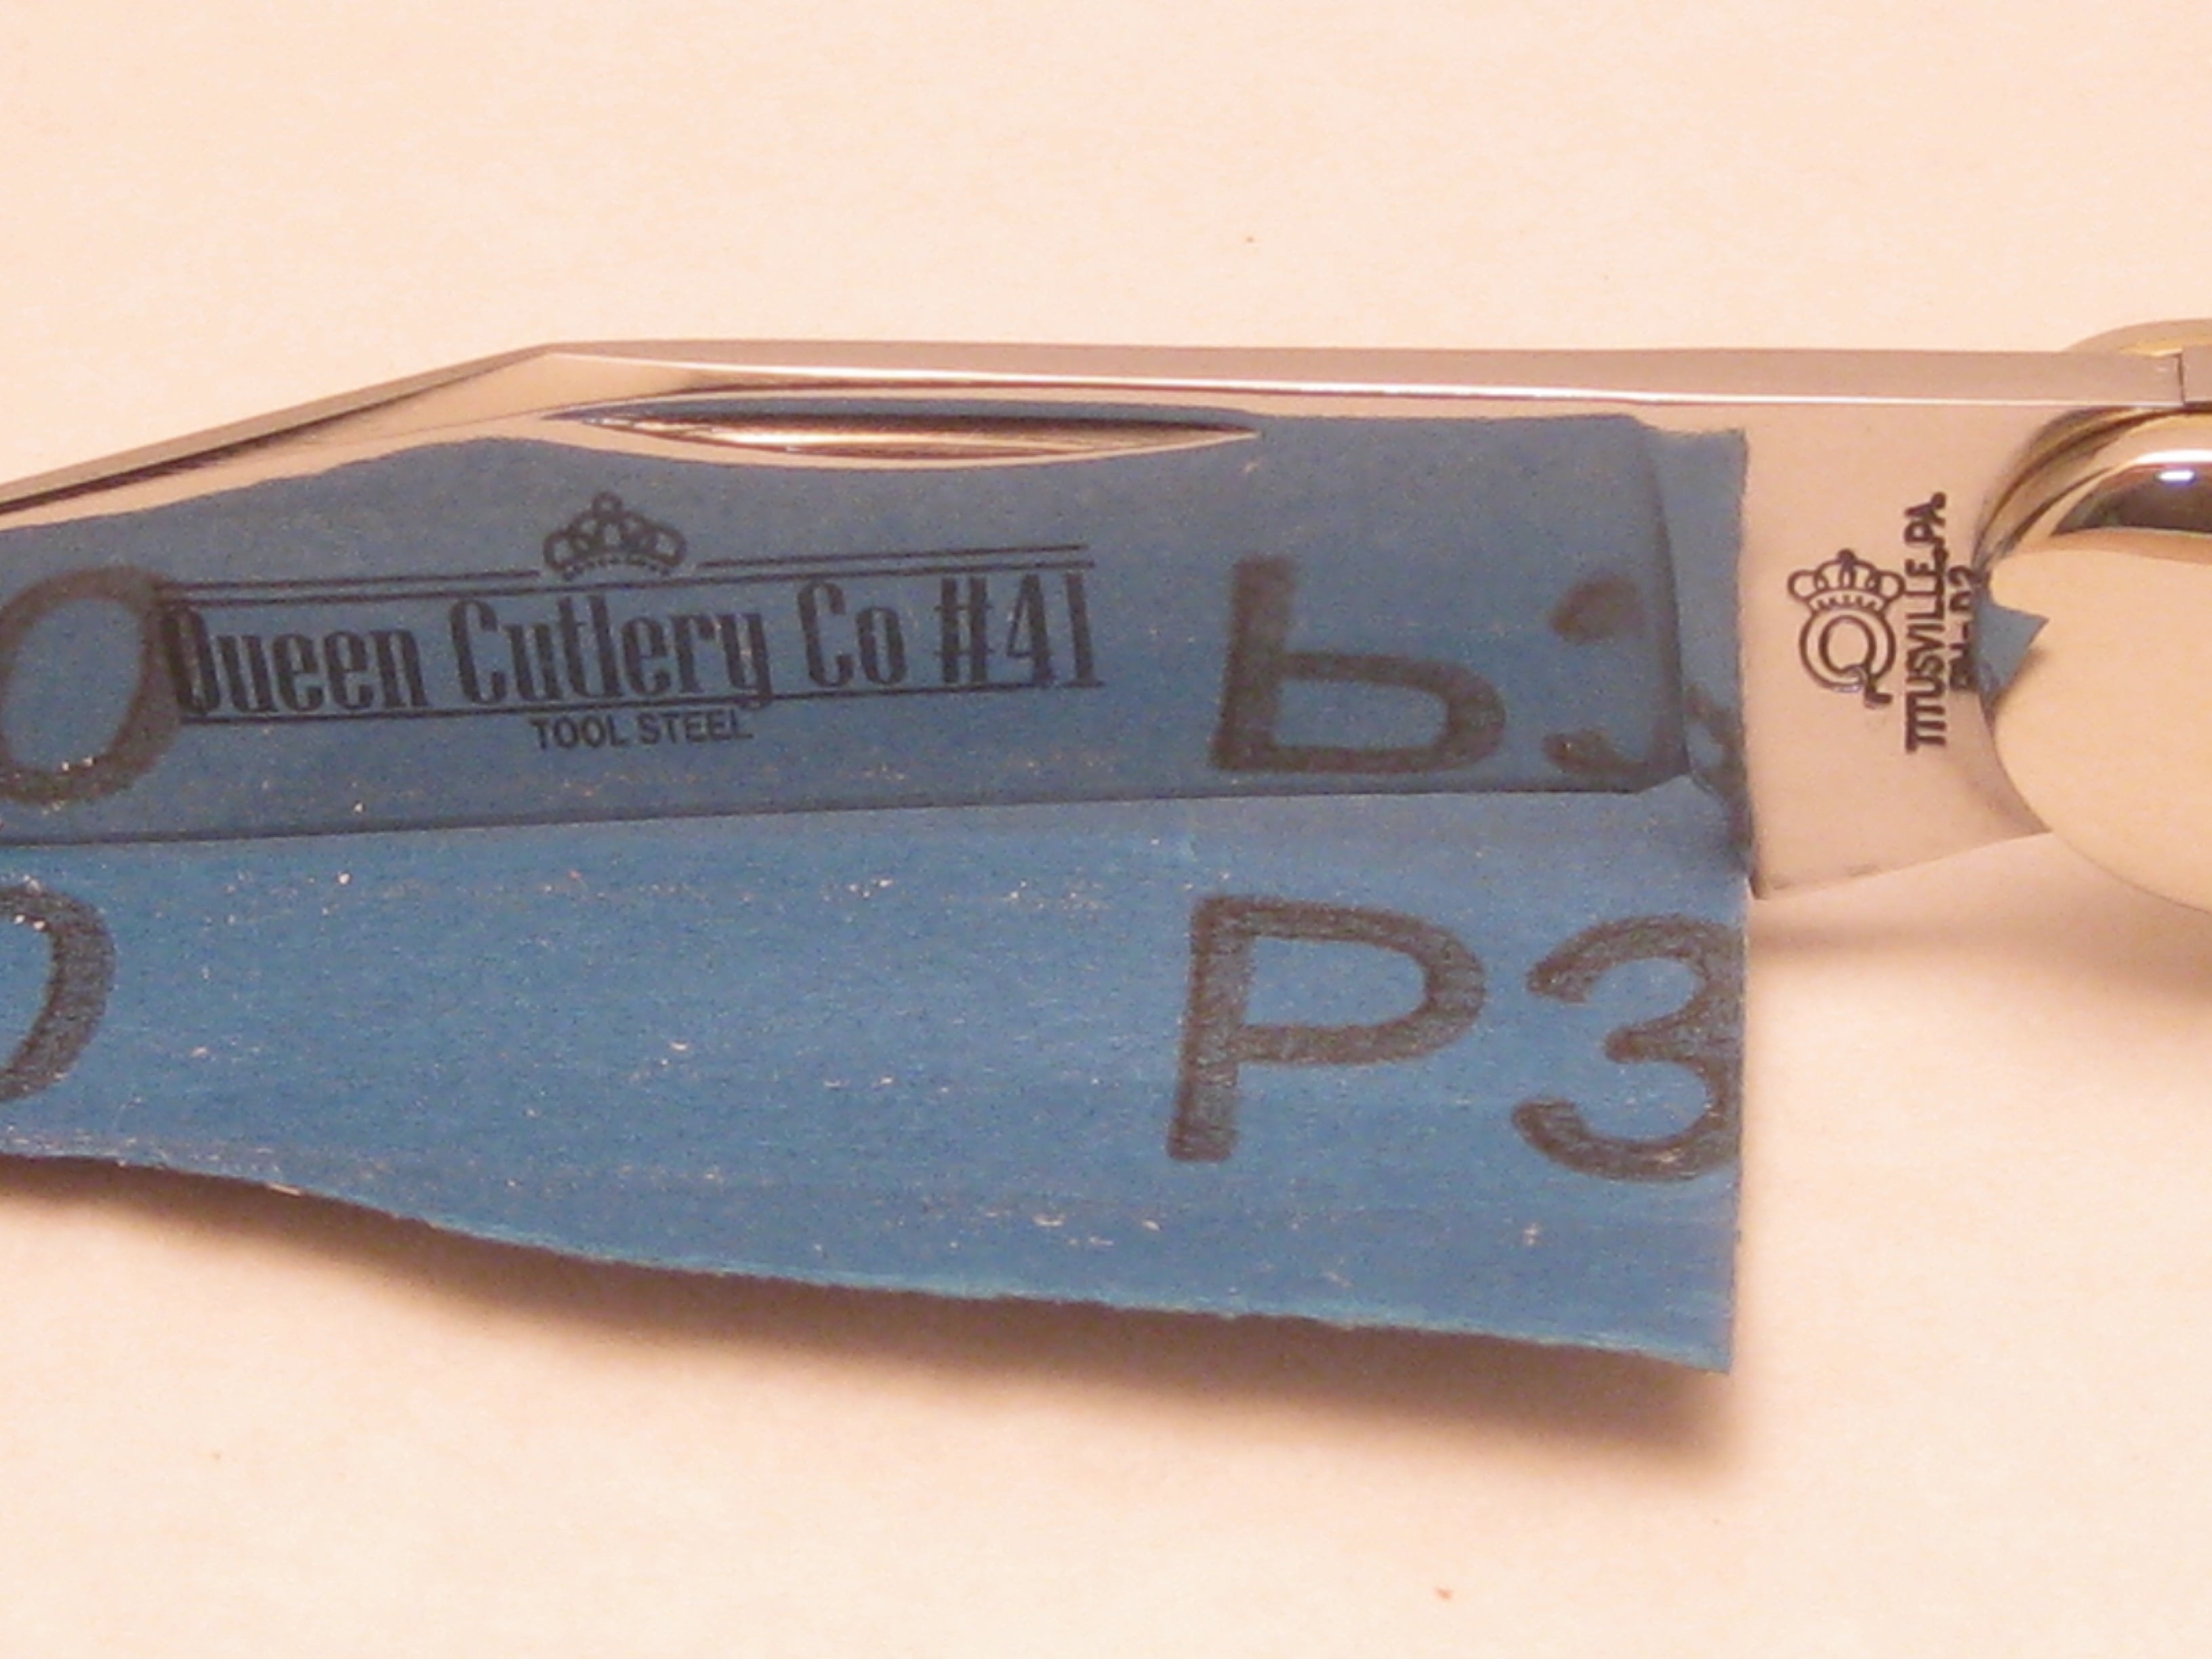
In addition to the cheap strop mentioned before, there are a few sharpening tools to consider. First, be mindful that if you are steady of hand, a stone is the best method of sharpening. It will provide you years of a sharpening surface. In fact, it could last you your entire life. Additionally, stones, especially natural stones, are available in grits that most systems do not have. You have a wider range of grits going from around 60 grit all the way up to 150,000 grit. (Note that different kinds of stones use different grit systems so that a 1000 grit on a Japanese stone might not be the same as 1000 grit on an artificial system.) The highest grit in artificial stones is around 30,000 grit. Some stones require honing fluid like oil. Others require water. In addition to the skill required to use a stone, many high quality stones are expensive, providing a single grit for about $100.
The Spyderco Sharpmaker is a very easy to use and effective rod-based sharpening system. Like other rod systems, it uses artificial stones shaped into sticks about 8-10 inches long. In the Spyderco system, the rods are triangles. In other systems they are round. I prefer the Spyderco system because the triangles allow you to hog out a lot of material by using the corner of the rod.
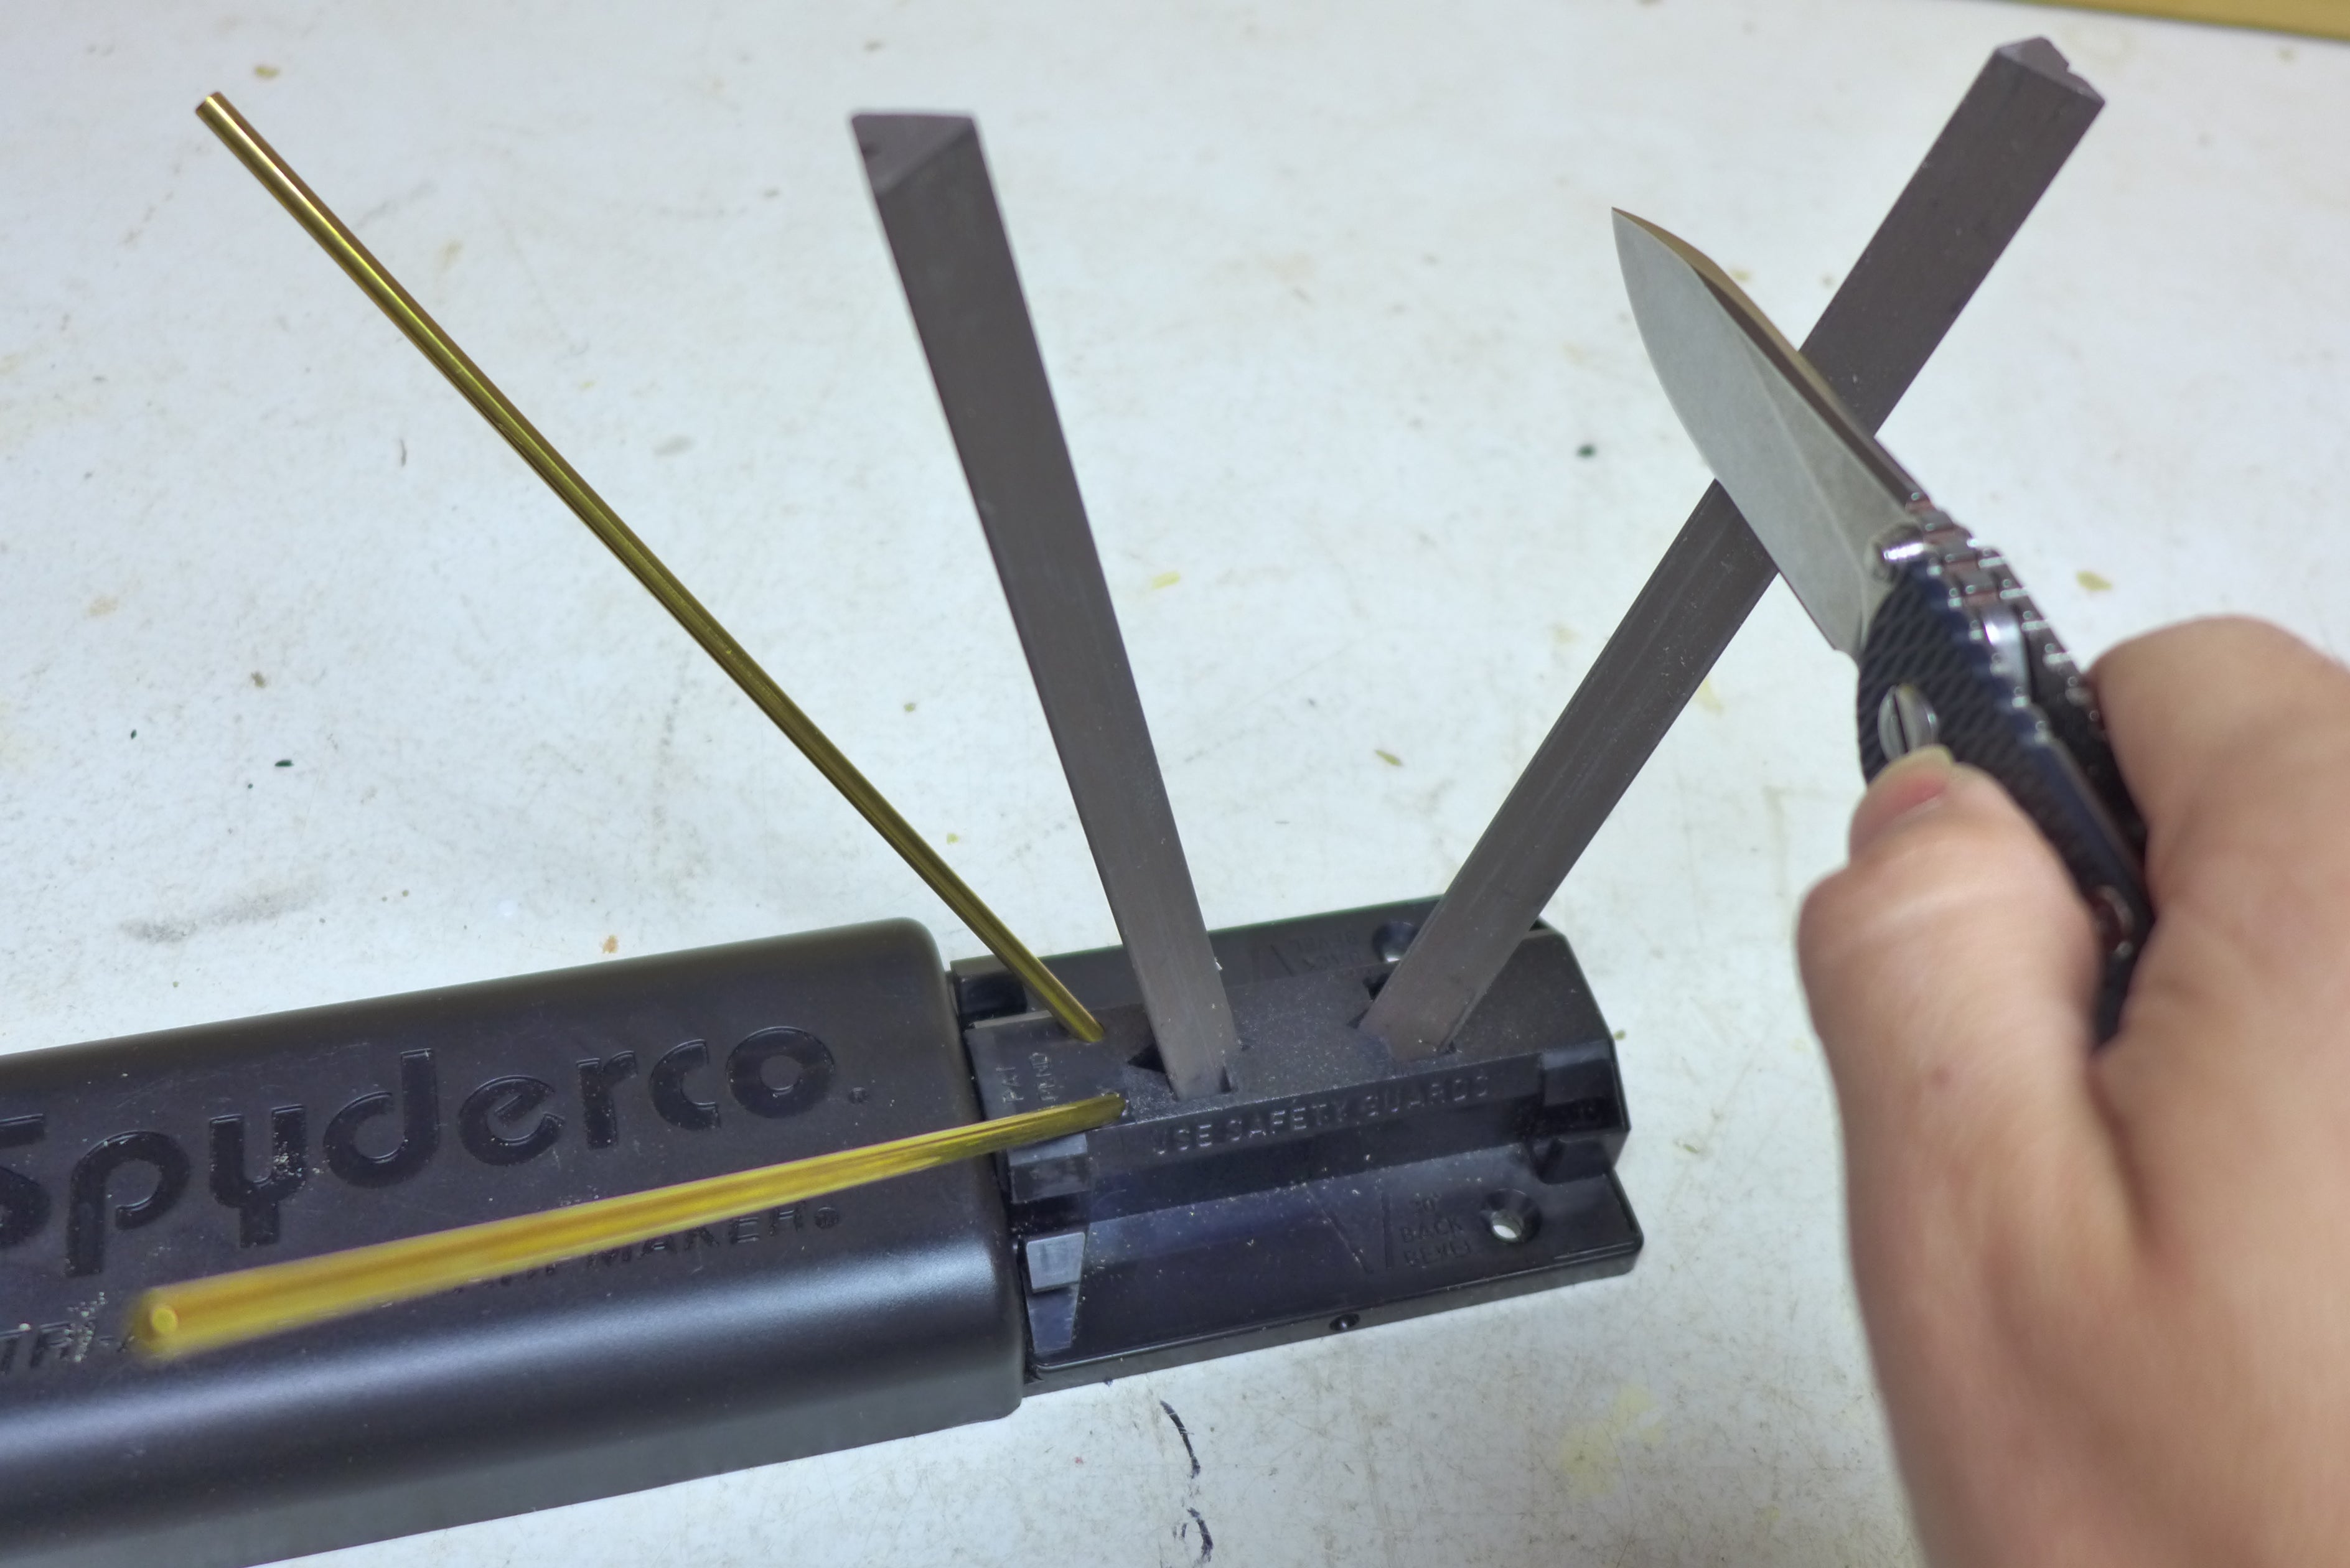
They also work well for sharpening recurve blades, something stones do not do very well. Also, with care, you can sharpen serrations on a rod system and the Sharpmaker; again, because of the triangular rods, this works very well. I personally own and use a Sharpmaker, and it has done very well by me. I wish it was easier to reprofile knives with, but for regular EDC use it is fine.
Another option is the consistent angle sharpener. Lansky makes a widely used and well-liked system that is very affordable. Higher end options include the Edge Pro and the Wicked Edge. Both work similarly to the Lansky system but have more bracing and more precise angles. They both happen to be about eight times the cost of the Lansky as well.
Part of me says that the more consistent the angle the better, so I should opt for the Edge Pro or Wicked Edge, but I think it is probably worth it to try the Lansky first. If you max out what the Lansky can do, then you’re the kind of user that would benefit from one of the more complex and expensive systems.
Worksharp has a mini belt system that looks nice, but I have not had a chance to use it. I am worried also that it might not handle the choil/ricasso area of a knife well, given how it works. One thing to avoid are the electric and pull sharpeners offered at kitchen stores. They work at putting an edge on your knife, but they hog out a lot of material to do so, much more than the sharpeners listed above. The electric ones are particularly aggressive.
Tips and Tricks
Scary sharp: Consistent angles are important, and getting a flat surface helps you do that. As you use a stone you wear part of it away, making small valleys. You can flatten the stone again, but one way to insure a dead flat surface without the hassle of maintaining stones is to use sandpaper glued on a glass substrate. Glass is very flat and will help with a consistent angle. This works well on knives without much curve, such as a wharncliffe blade.
The technique is widely used in woodworking (my other hobby) to get very flat and straight edges on stuff like chisels. There is a lot of technique involved though, so if you can’t use a stone, the unforgiving nature of the Scary Sharp set up makes sharpening even more difficult. Here is a video demonstration. (He’s sharpening a chisel, but you get the idea. Marvel at his awesome set up.)
Mouse pad trick: My favorite grind, the one that seems to last the longest, is a convex edge. Because of their curved nature, they are very difficult to do at home without a belt grinder. One way to get that same grind is to use a mouse pad instead of glass from the scary sharp method. The give of the mouse pad will allow the knife to press the sandpaper down and curve around the blade. This results in a very good convex edge. Here is a video demonstration.
No tools method: If you think you need all of the fancy tools mentioned above, forget it. If you have a steady hand and a lot of time you can sharpen tools on everyday objects. Need to hog away a lot of material? Try a cinder block. Want a little less aggressive surface? Brick it. Need to put a fine edge on that knife? How about the bottom of a coffee cup. Don’t believe me? Check it out: this video proves you can do it. You can even use the leather belt or cardboard strop mentioned in the first part of this article.
Conclusion
Sharpening is essential to owning knives. Stropping is the real key to obtaining and keeping a good edge. Once you do that you will always have a sharp knife. In the event you need to actually sharpen, keep in mind the type of steel you are grinding and go through the grits methodically, checking for uniform scratch marks and a burr. A consistent angle is key.
There are a lot of tools and aids out there, but if you have the time and patience stones will give you the best and most flexible system. I like the Sharpmaker and the Lanksy system too. Try one of them out before you just jump into the deep end with an Edge Pro or Wicked Edge.
