The Ham Radio Guide: UV-5R Basic Ham Radio Setup
Travis Olander 12.20.22

If you’re like most survival-minded folks, you’re ready to get into Ham radios. And, like thousands of newly-licensed technicians, you’ve undoubtedly bought the most popular handheld radio. It’s favored by outdoorsmen, hikers, and preppers: The Baofeng UV-5R. We’re going over setup and detailed programming with this radio. After using these guides, you’ll be able take this handheld radio with you on your next camp, hike, 4×4 excursion or hunt, and use it proficiently.
This Guide is Part 2 of 5:
- Part 1: Intro to Ham Radio and FAQs
- Part 2: Basic Radio (you’re here!)
- Part 3: Navigating the UV-5R Menu
- Part 4: Basic Radio Programming (Frequencies and Channels)
- Part 5: Advanced Programming (Repeaters and Tones)
NOTE: If you haven’t acquired your Technician License, DO NOT transmit on any frequencies, unless it is an emergency. Read part 1 of this series to learn how to acquire your license.
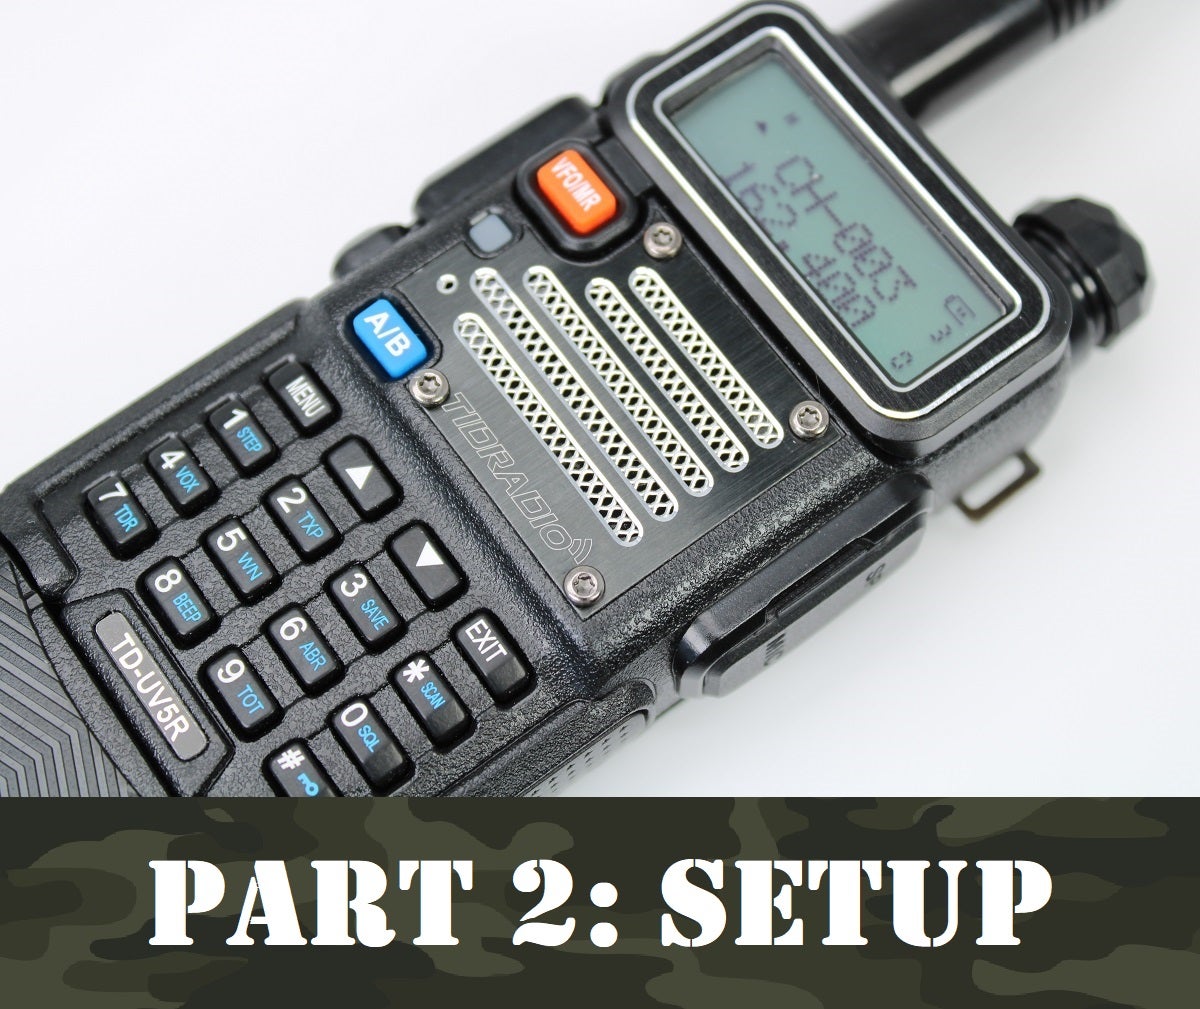
The Baofeng UV-5R
Like we said, this handheld unit is arguably the most popular handheld amateur radio. It’s a perfect companion for the outdoors. It has a long battery life, good power and range, and it can be programmed to transmit and receive on all UHF and VHF frequencies, including repeaters and emergency channels.
NOTE: These instructions apply to other Baofeng models, like the UV-5X, UV-5G, and BF-F8HP. Rebranded TIDRADIO units are compatible, too.
Basic Functions
Power ON/OFF. To power the radio, simply turn the volume knob. You’ll feel a click, followed by two beeps and a voice prompt stating whether the radio is on Frequency or Channel Mode.
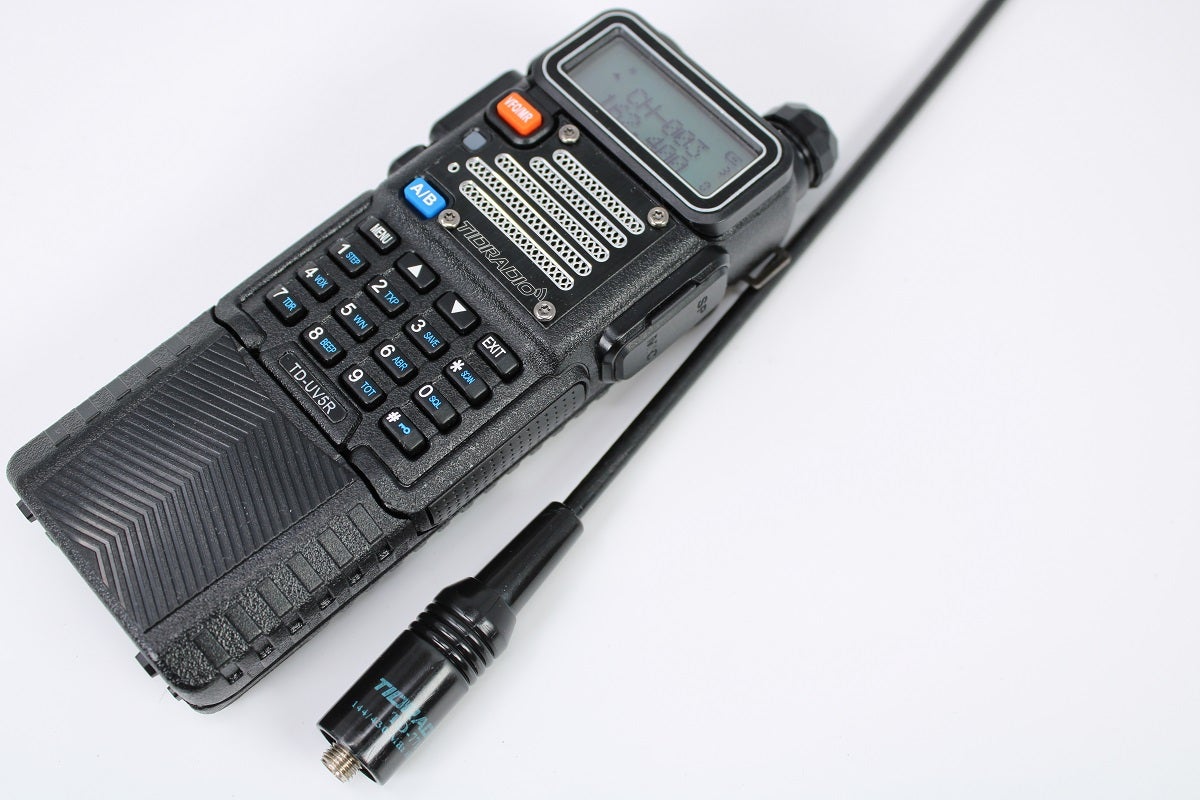
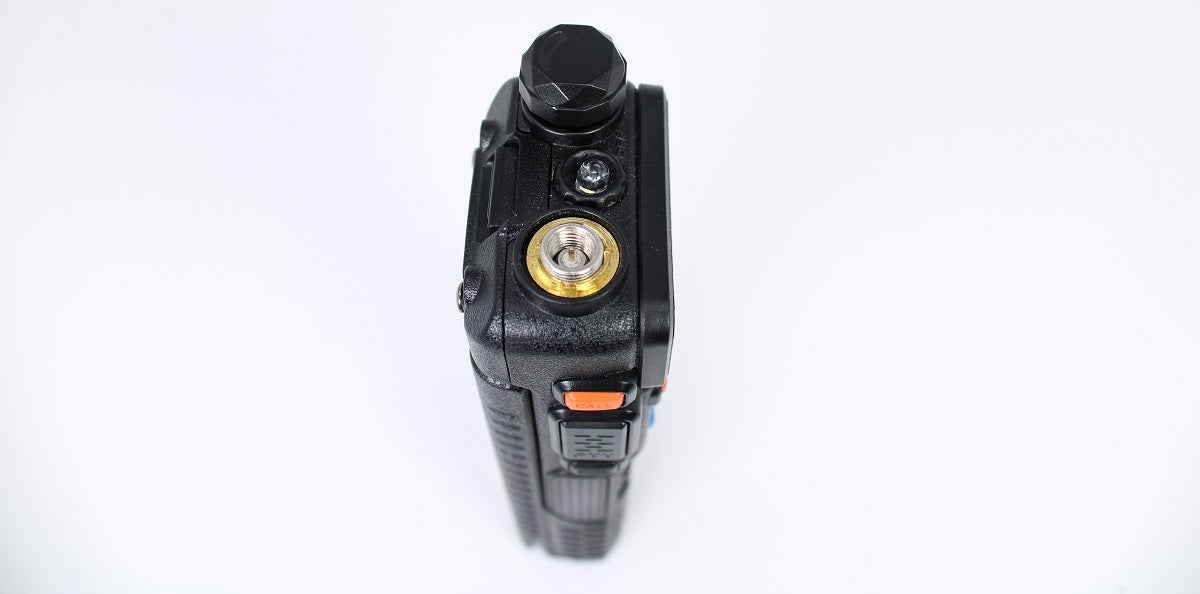
Antenna. The UV-5R uses a Male SMA connector. The stock “rubber duck” antenna works OK, but we recommend investing in the Nagoya NA-771 antenna. This 15.6″ whip greatly improves range.
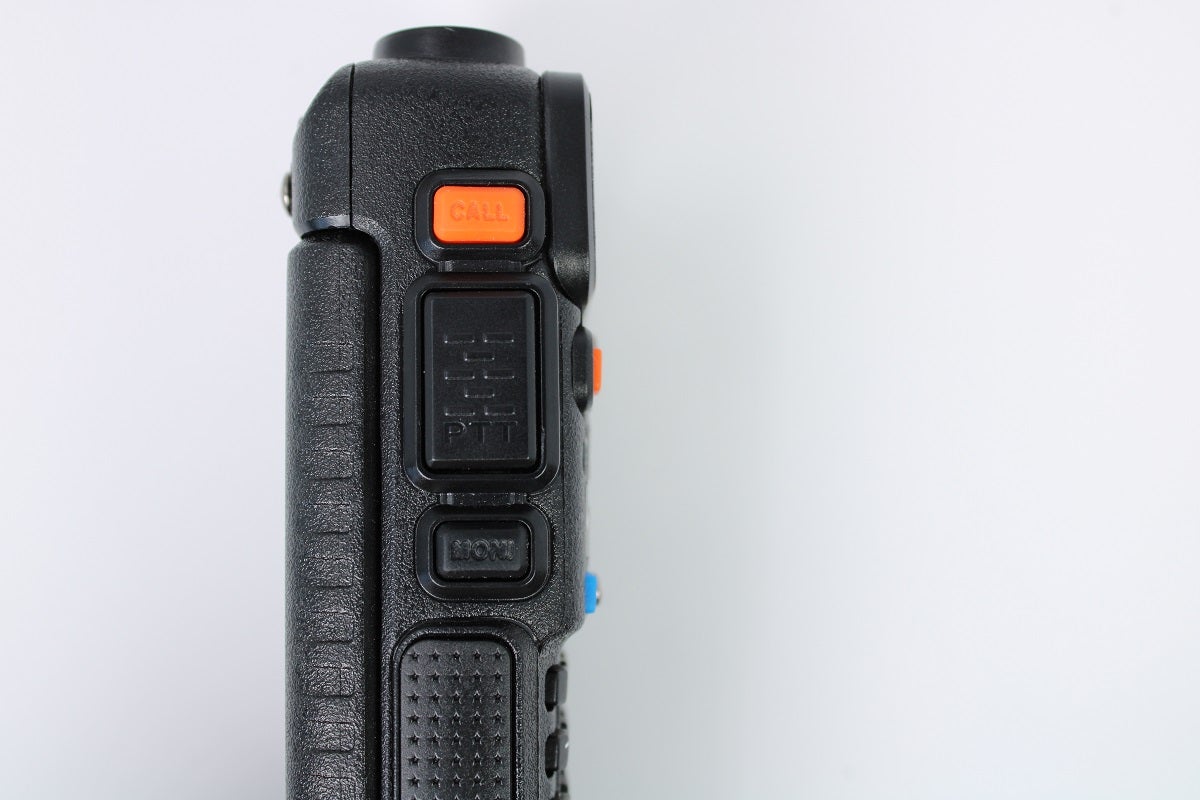
MONI. The small bulb next to the power/volume knob is an LED flashlight. You can turn it on, off, or set it to flash by pressing the MONI button below the PTT button. Holding the MONI button turns off the radio’s squelch, or noise filter. This allows you to listen to the selected frequency or channel without filtering. This is useful if the squelch is stopping weak, noisy, or broken signals.
Call. Pressing the Call button enables FM radio, allowing you to select all the typical stations you’d normally receive in your vehicle. Holding the Call button trips an audible alarm beep. We don’t recommend using the alarm.
PTT. The PTT button is push-to-talk. Press the button to transmit, and release it to listen and receive.
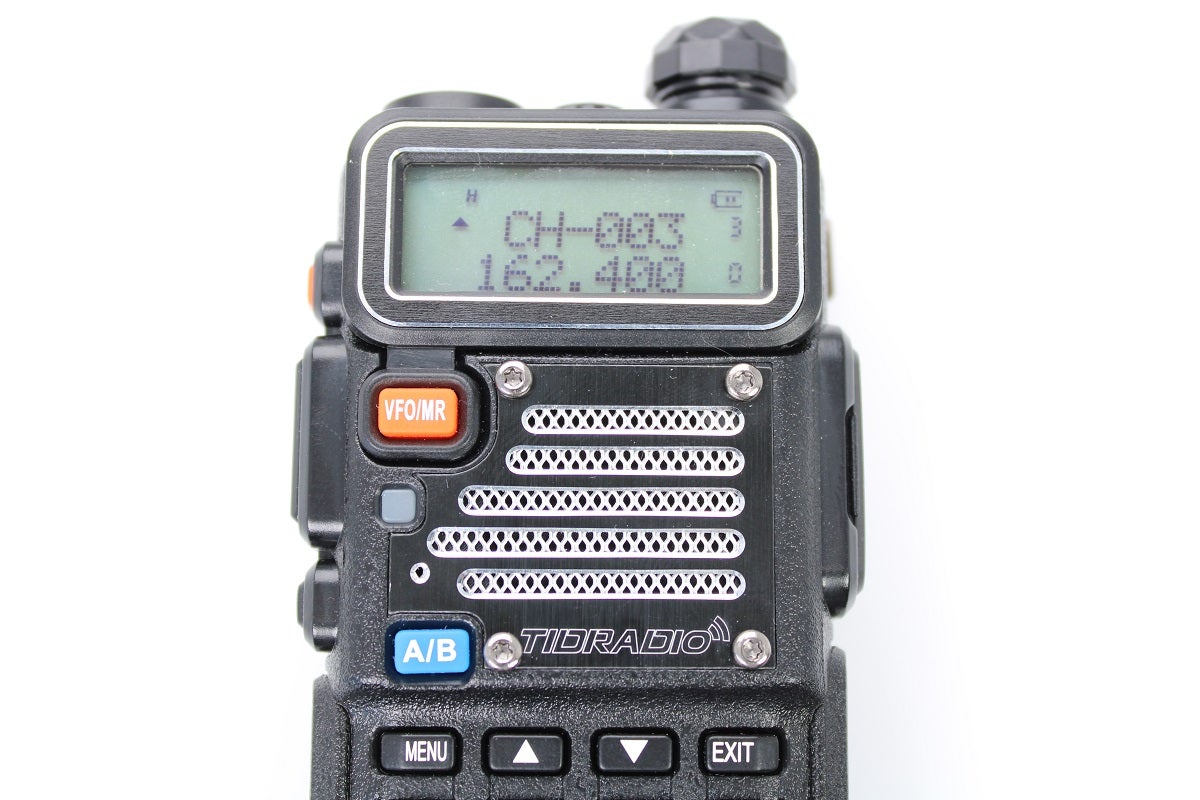
VFO/MR. Use this button to switch between Frequency Mode and Channel Mode. In Freq Mode (VFO, or “Variable Frequency Oscillator”), pressing the UP or DOWN arrows on the keypad, or entering digits, will allow you to select frequencies. In Channel Mode (MR, or “Memory”), pressing the arrows will switch between previously saved channels. You can program up to 128 channels. We’ll go over setting that up later.
A/B. The UV-5R can monitor and receive on two channels or frequencies at a time. When one receives a transmission, the radio will automatically switch to that channel or freq. This auto-switching can be turned off in the menu, which we’ll cover later. You can choose which line you wish to transmit on, or listen to, by pressing the A/B button.
BAND. The BAND button is not present on newer models. In VFO Mode, pressing this button switches between VHF and UHF modes. This button is, frankly, useless. Disregard it.
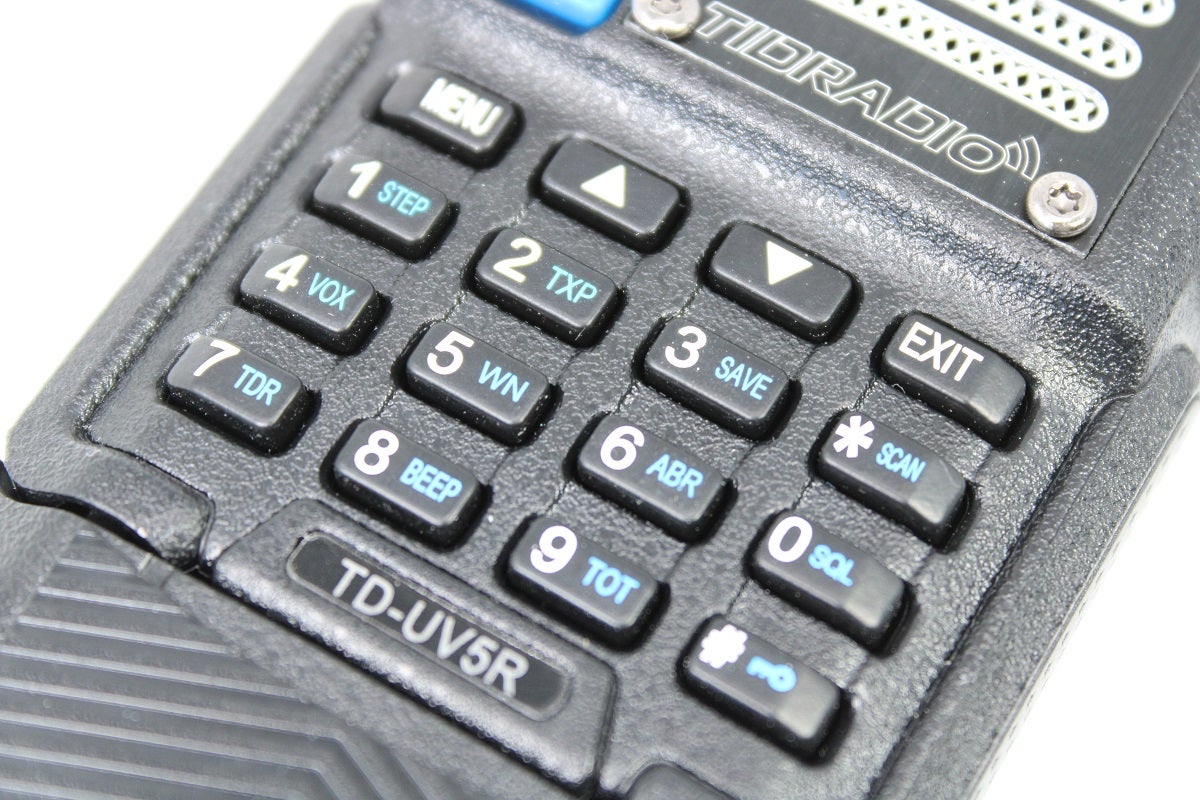
Keypad. The keypad is multi-purpose. It allows you to input channels and frequencies, and make changes to how the radio operates via the MENU button. The EXIT button returns to the main screen. Each button has a secondary function. Most are menu shortcuts. Blue text indicates what each secondary function does. For example, the # button also functions as a keypad lock to prevent accidental button presses.
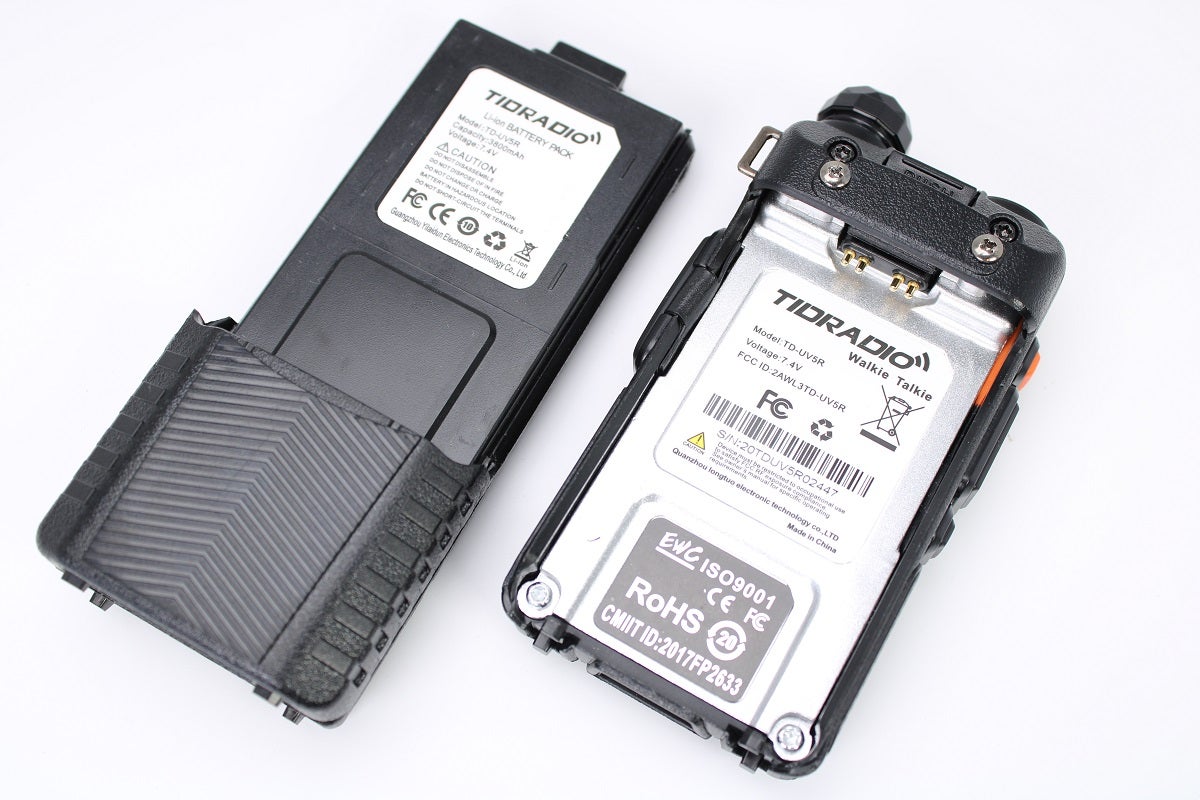
Battery. The battery clicks onto the back of the radio. The factory battery is relatively small at 1800 mAh. I upgraded my unit to a 3,800-mAh unit. On low power, the upgraded battery can provide days of continuous use.

Programming port. You might’ve seen folks referencing software called “CHIRP.” This requires a proprietary USB connector that plugs into this port. We’ll cover how to program the radio using a PC and CHIRP in a later guide. You can program nearly every function required to use the UV-5R with the keypad. That includes saving channels and repeaters.
Testing Your Radio Out of The Box
The UV-5R’s menu is extensive. Let’s go over basic use by testing our radio by listening in on a National Weather Service (NOAA) channel. The NOAA channels nationally broadcast weather information. To test this, we’re going to use the frequency 162.400.
Entering a Frequency in Your Radio
Let’s keep it simple and input a frequency without setting up a saved channel. Before doing this, know that it is illegal to broadcast on the frequency we’re about to tune into. This example is only for receiving and listening.
- First, power on the radio by rotating the volume knob.
- Place the radio in Frequency Mode by pressing the VFO/MR button.
- Press the A/B button to select the top line on the main screen.
- Using the keypad, enter the NOAA frequency by typing 162400.
- The frequency will save. There is no need to press any other buttons.
- With your antenna’s connected might immediately hear transmission. In this case, weather reports.
- If you don’t hear anything, that’s OK. You may be out of range. Being indoors will also reduce the signal.
That’s all there is to it. You’ve successfully used your amateur radio! There are many other useful frequencies, including six other NOAA frequencies you can tune into.
Saving Channels Is The Better Method
Instead of trying to remember and key in frequencies, you can save them on your radio as channels. Follow Part 3: Navigating the UV-5R Menu to continue.