
DIY Project – Pressing your Own Homemade Hard Apple Cider, Part 1
Patrik Orcutt 10.16.23

Pressing apple cider has been a long-standing tradition in my family ever since I was a kid. I could always remember those crisp fall Sunday mornings, gathering up all of the apples, and then putting them into the wooden press and making cider. Last year after moving back home from living in Europe for a number of years, I was very excited to get back into making more cider and this year I’ve decided to try my hand at making my own hard cider because I am 27 years old and what else is there to look forward to on the holidays besides drinking around your family?
DIY (Do It Yourself) Coverage on AllOutdoor
- DIY Project – 8 Simple Steps to Building your Own Hunting Blind
- DIY – Outfitting a Trailer to Create a Mobile Base Camp
- DIY: Ghost Shrimp-Yabbie Pump
- Home on the Range #051: Railroad Spike Knife Forging at Northstar Forge
This will be part one of a two-part series, so stay tuned for part two in about a month if you found part one interesting. Also, this is my first time making hard apple cider so this will probably be a learning process for both me and you the reader.
Where Hard Cider Comes From
Hard apple cider, a fermented beverage made from apples, has a rich history that dates back thousands of years. Its origins can be traced to ancient civilizations, including the Egyptians and Romans, who cultivated apple orchards and developed rudimentary cider-making techniques. In colonial America, hard cider was a staple of daily life, often safer to drink than water and a symbol of self-sufficiency. However, the temperance movement and the rise of beer and other alcoholic beverages led to a decline in cider’s popularity during the 19th and early 20th centuries. Fortunately, a resurgence of interest in craft and artisanal beverages in recent years has revitalized the hard cider industry, offering a diverse array of flavors and styles that celebrate this ancient and venerable tradition.
What You Will Need
- 1 Gallon of Fresh or Store bought Cider
- 1 Gallon Glass Carboy with Airlock: https://amzn.to/3GT632c
- Graduated Cylinder: https://amzn.to/3E9M7qe
- Hydrometer: https://amzn.to/3Eb2OkT
- Star San: https://amzn.to/3IYnyQJ
- Stainless Steel Funnel: https://amzn.to/3EarqKw
- Solid Bung: https://amzn.to/30J3zUM
- 3 – 4 weeks of time
Step-by-Step Process
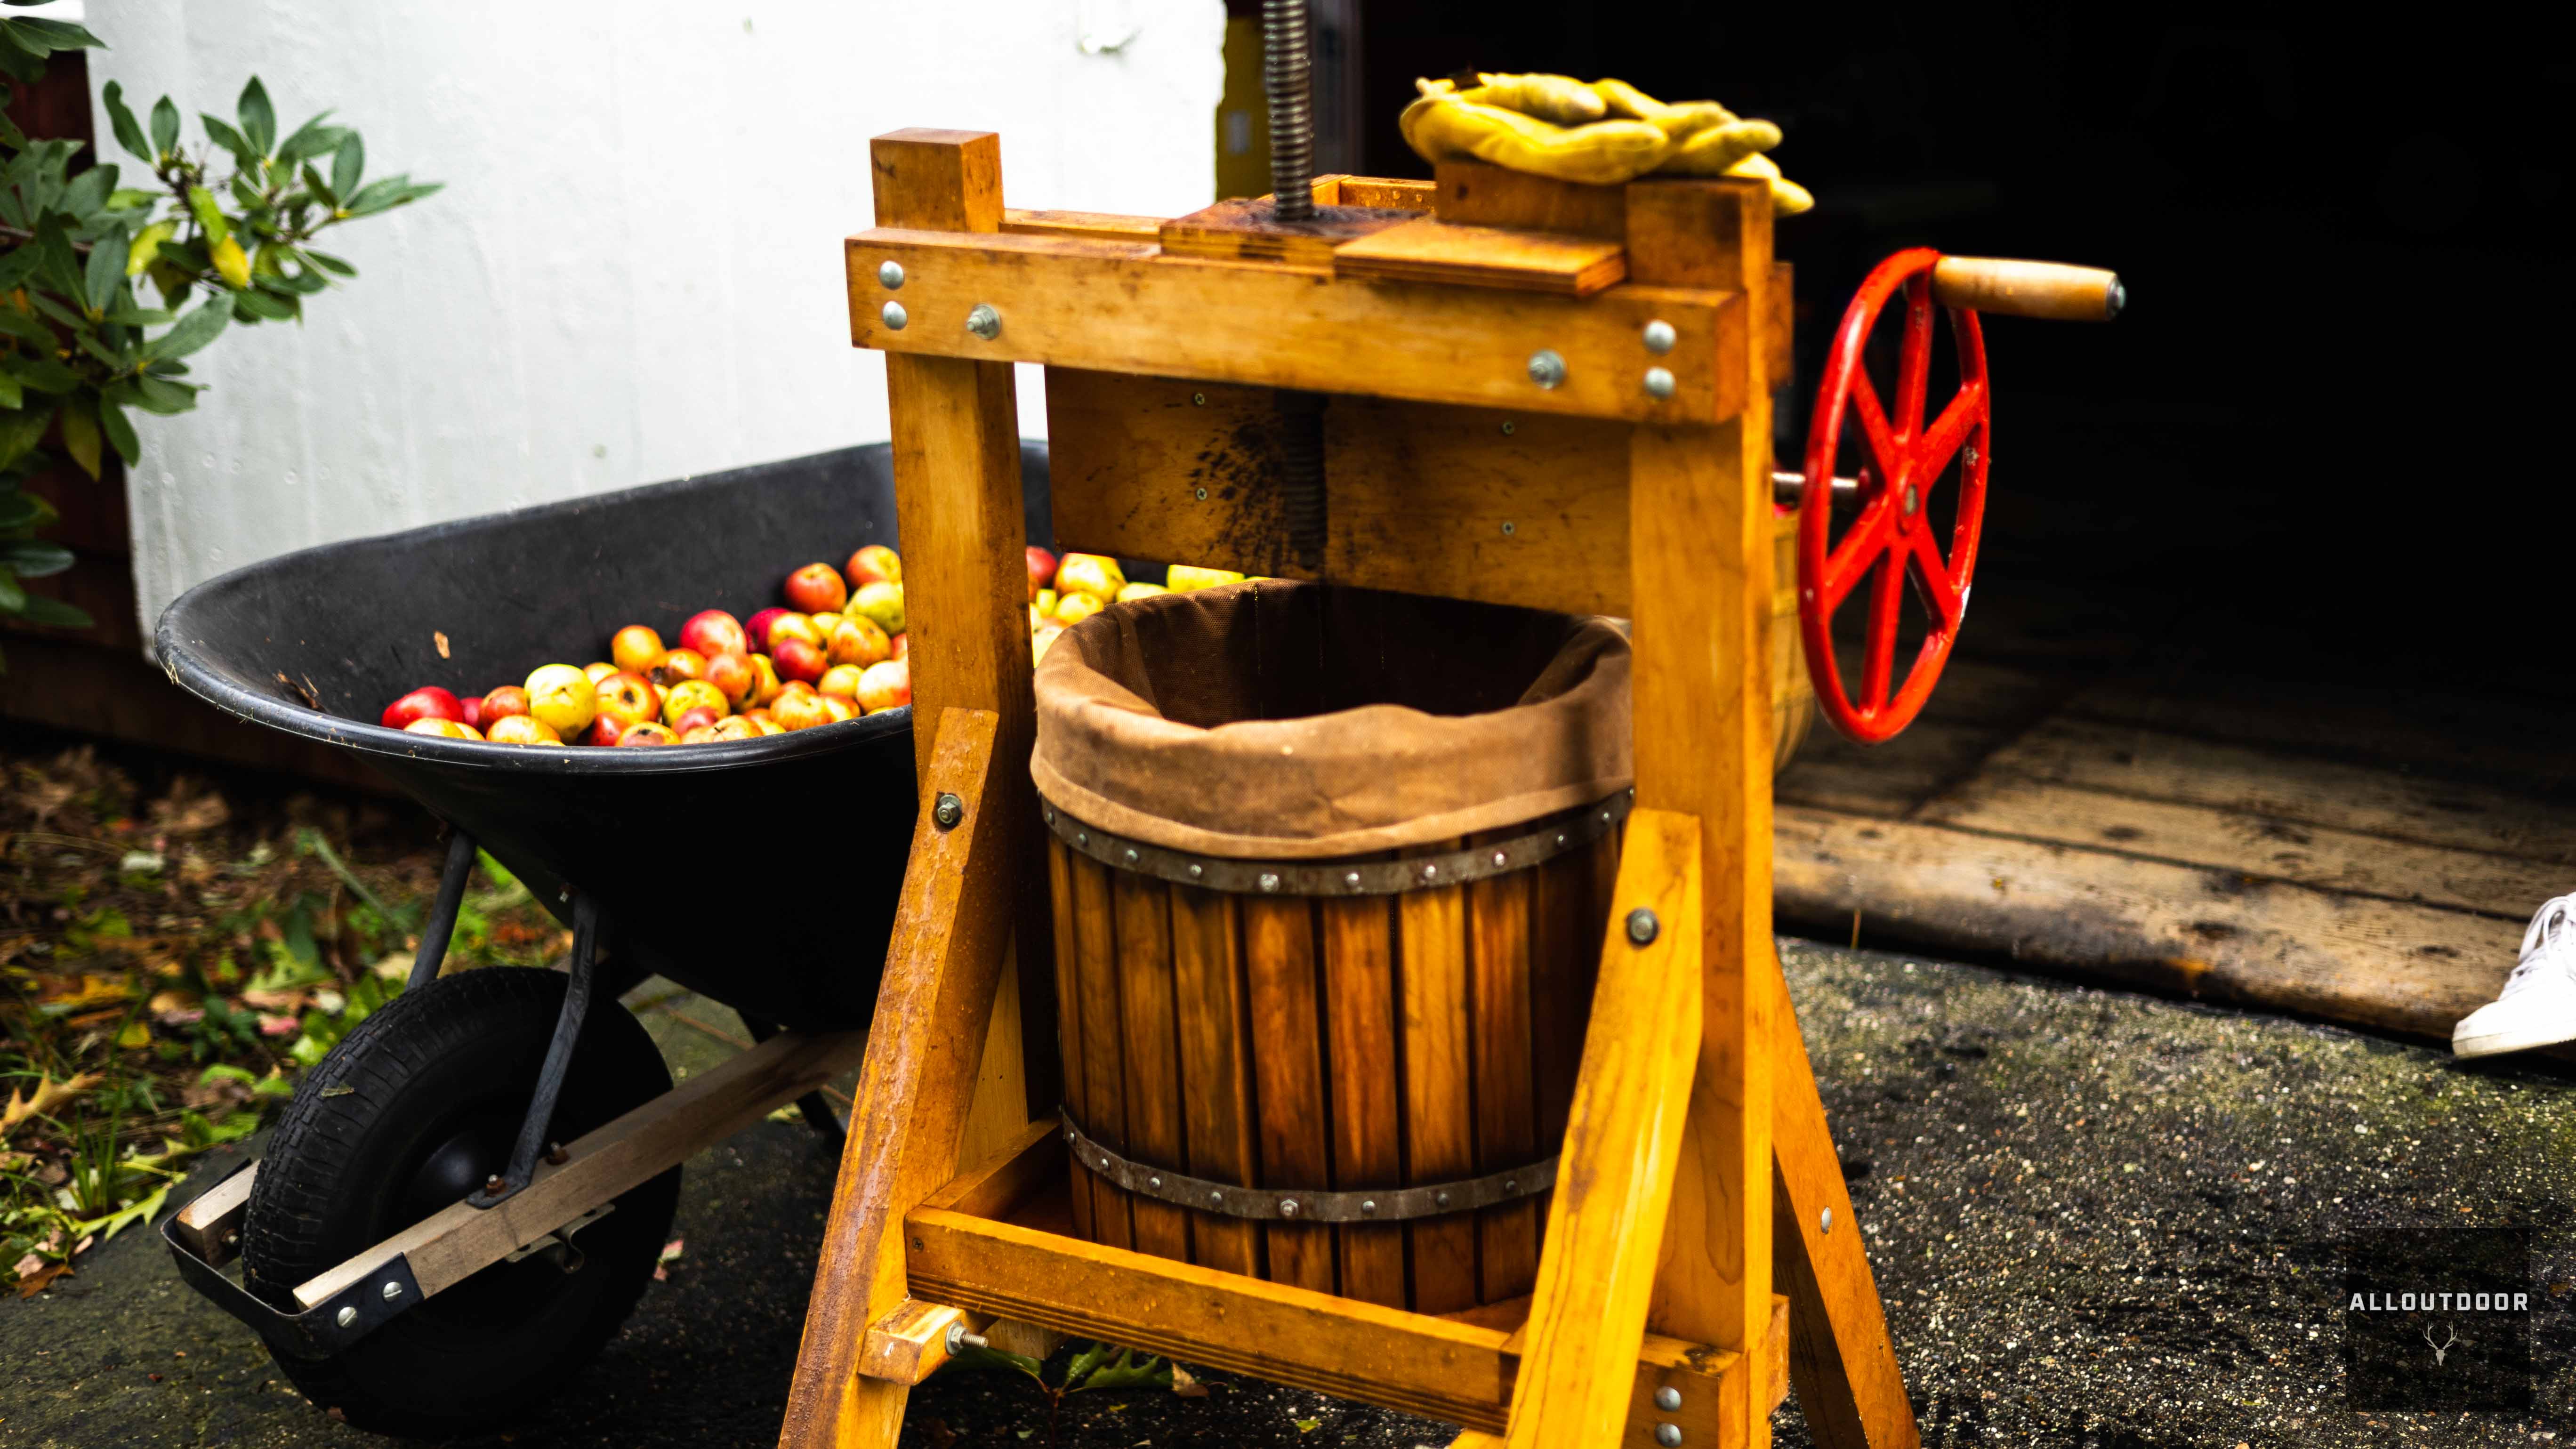
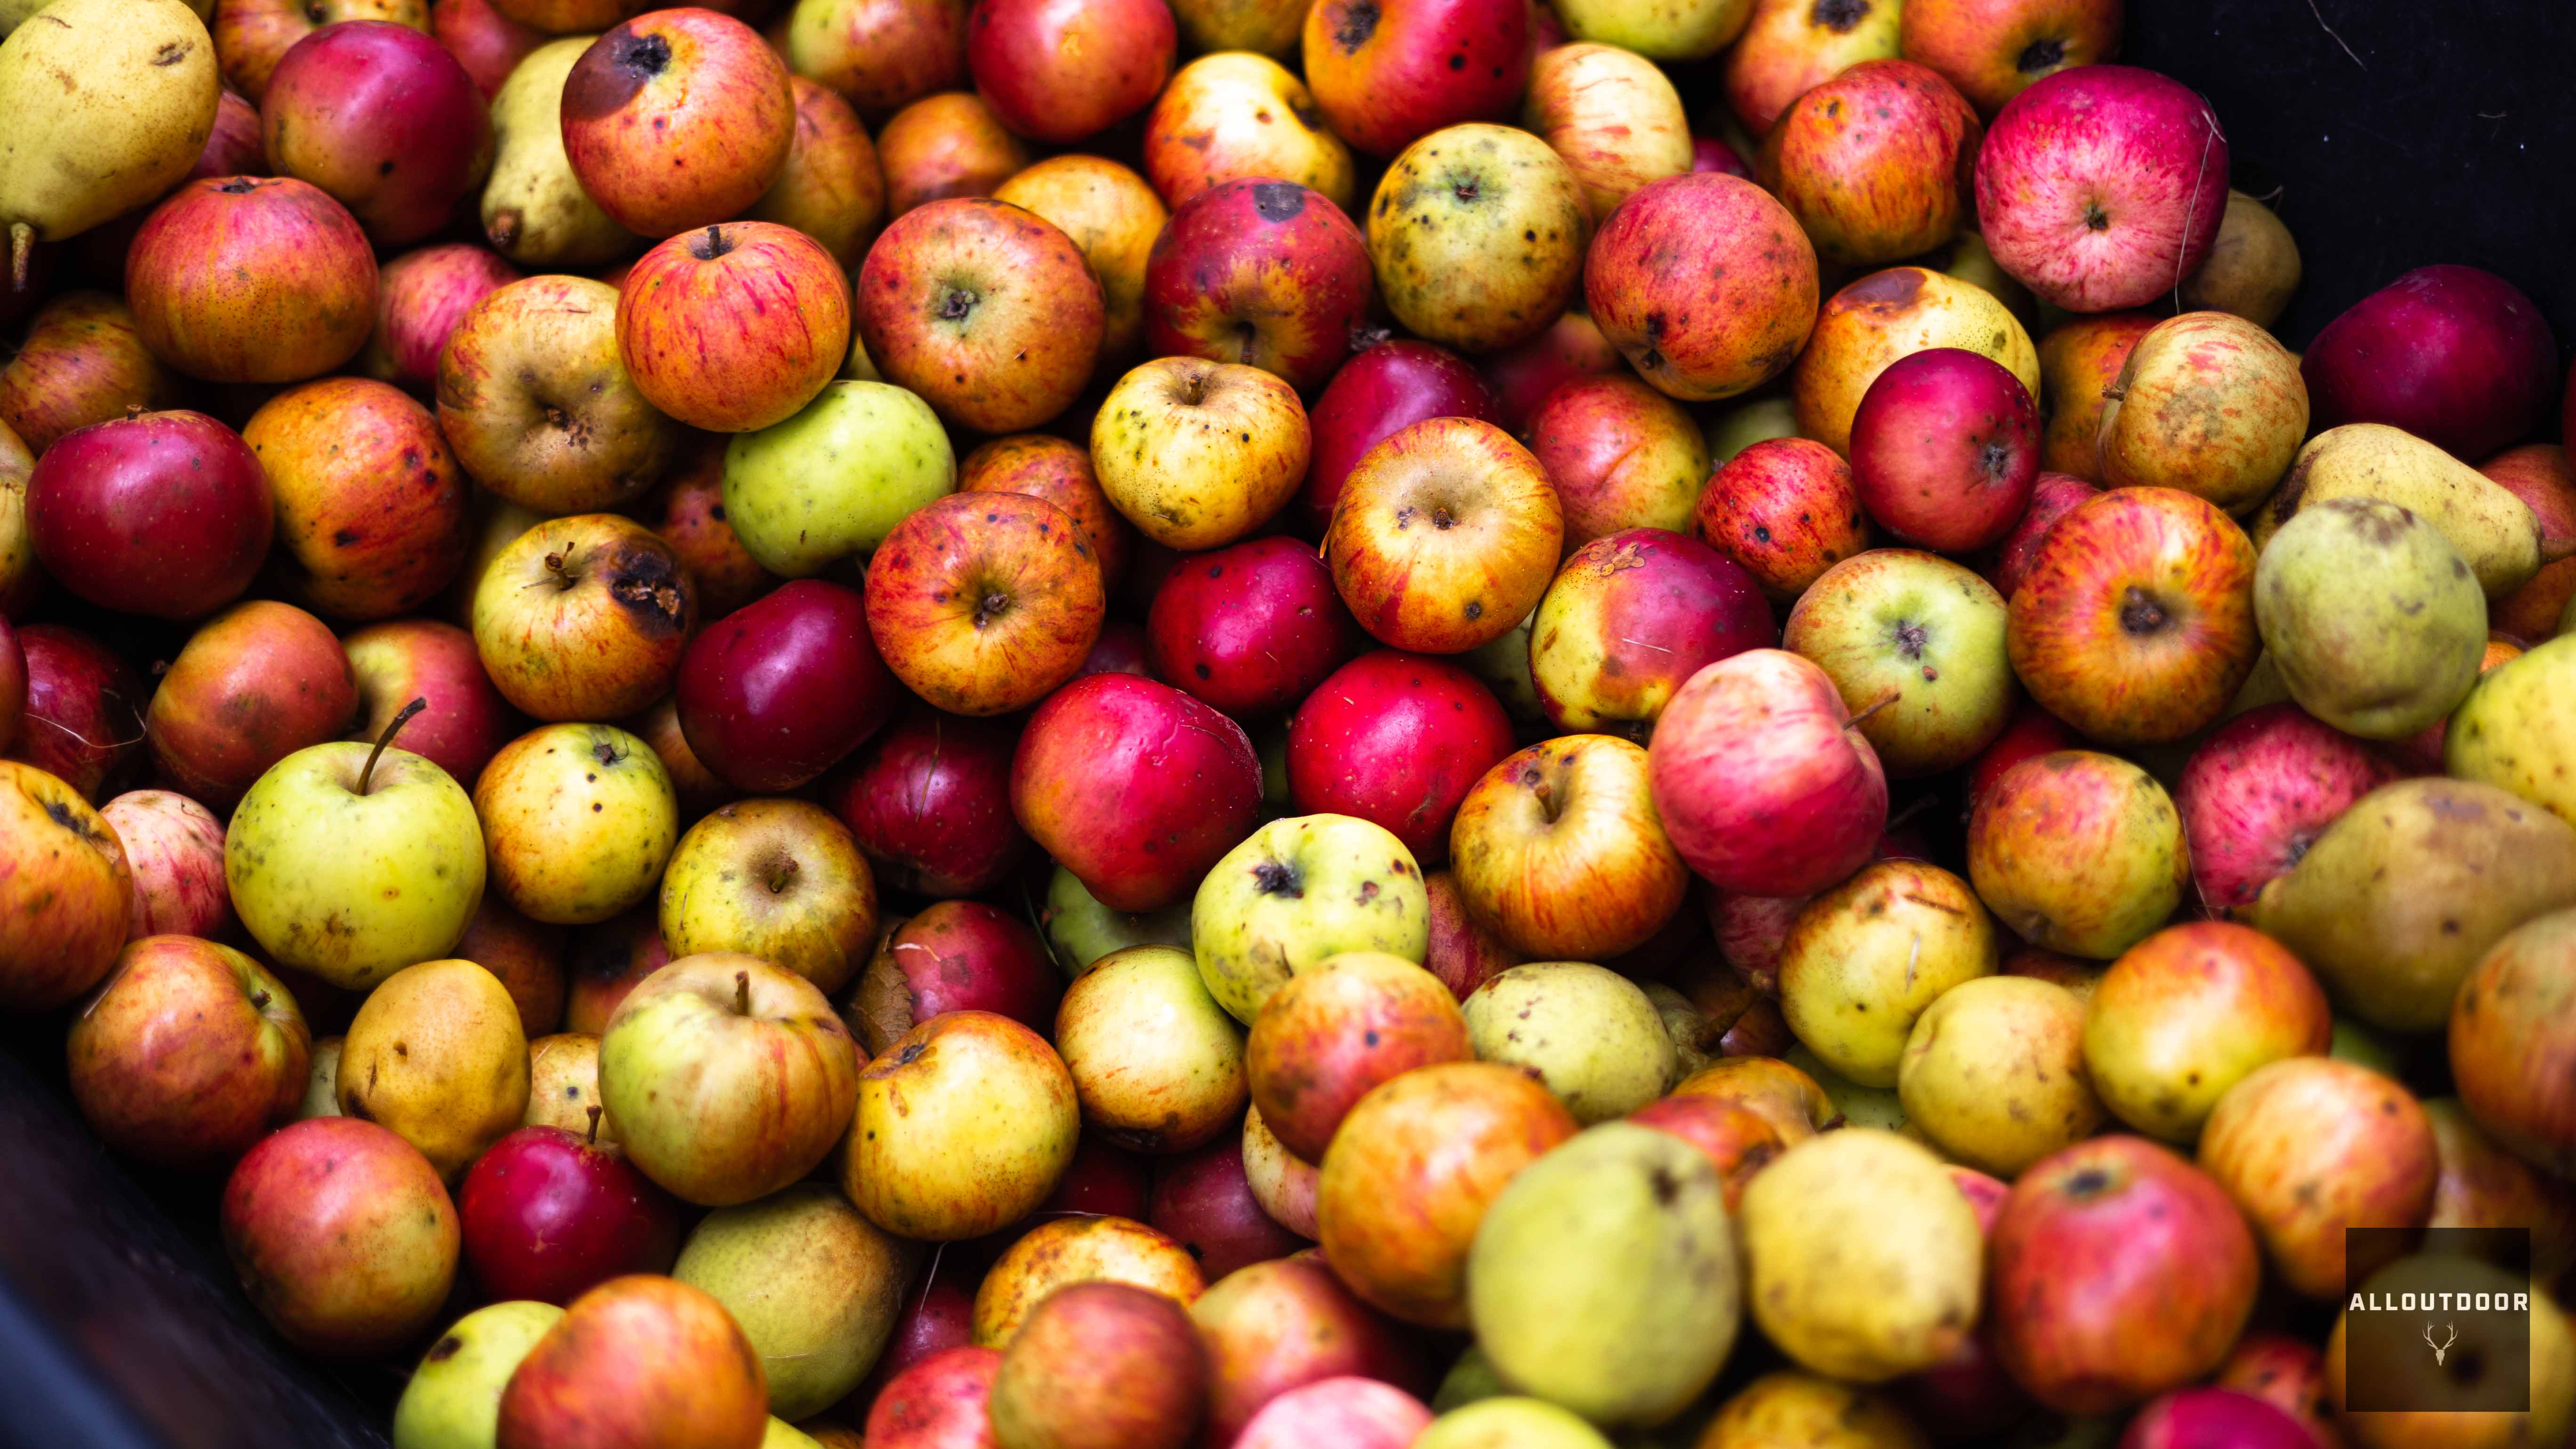
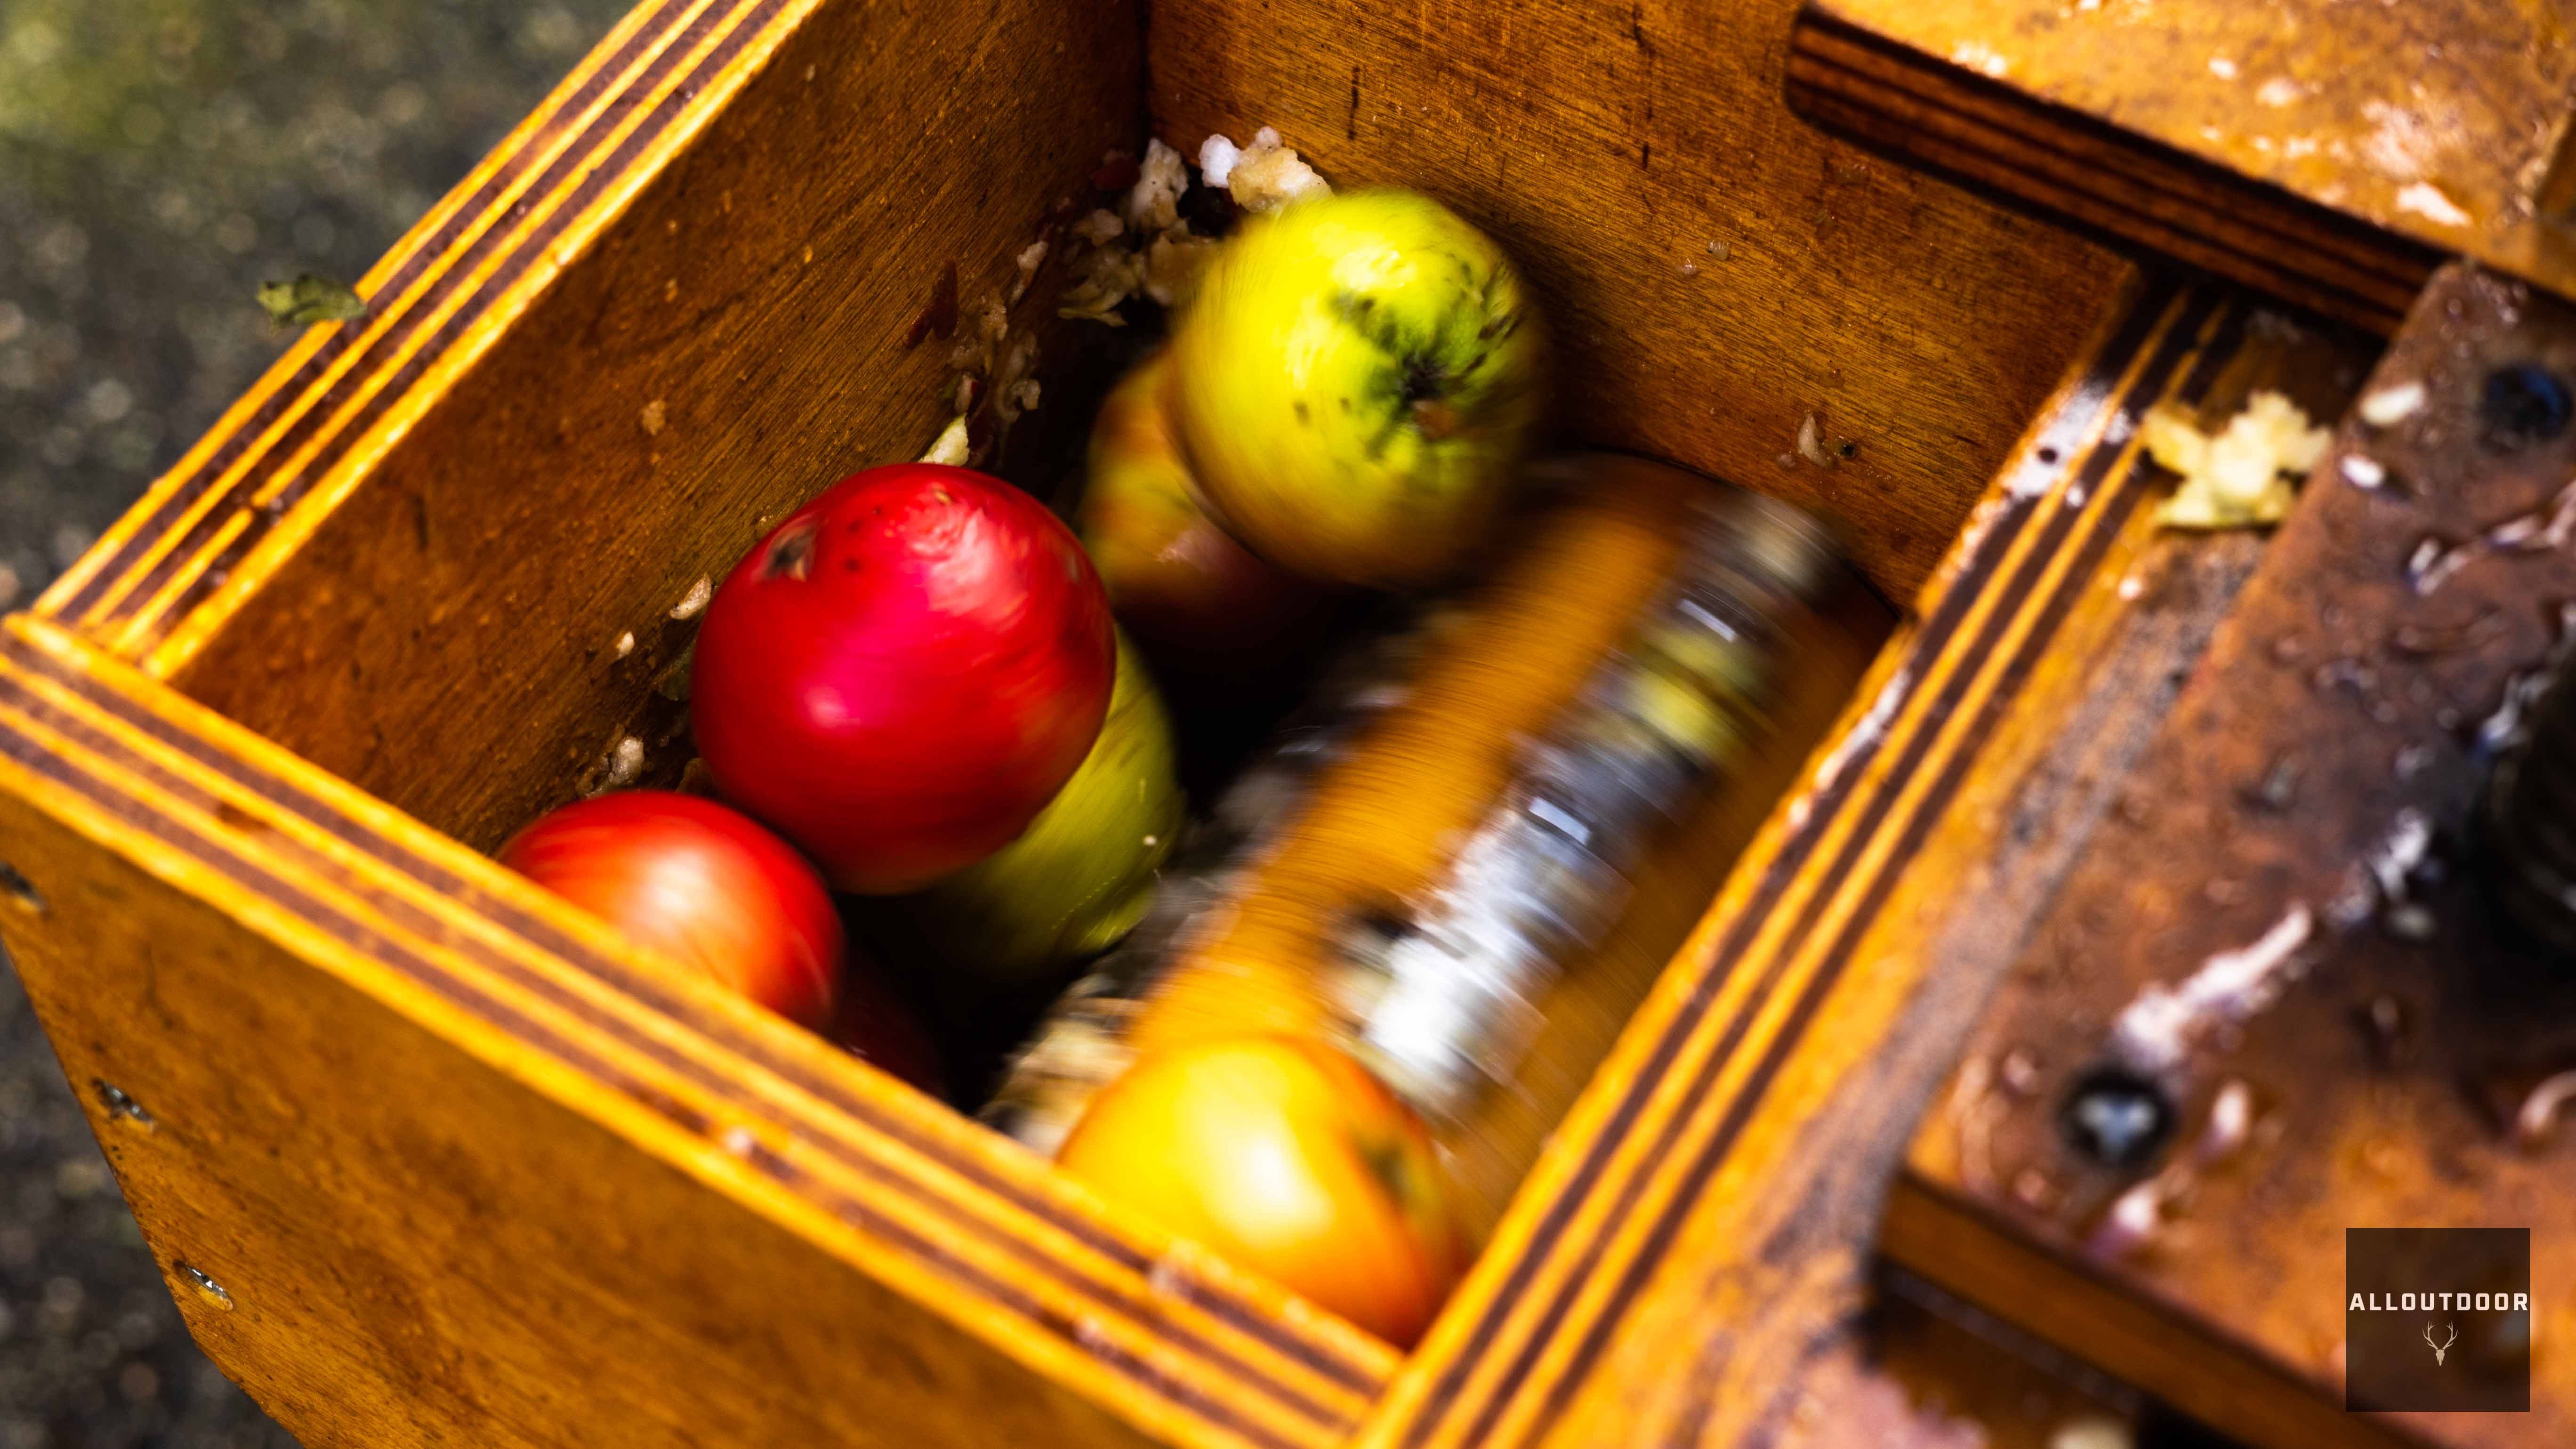
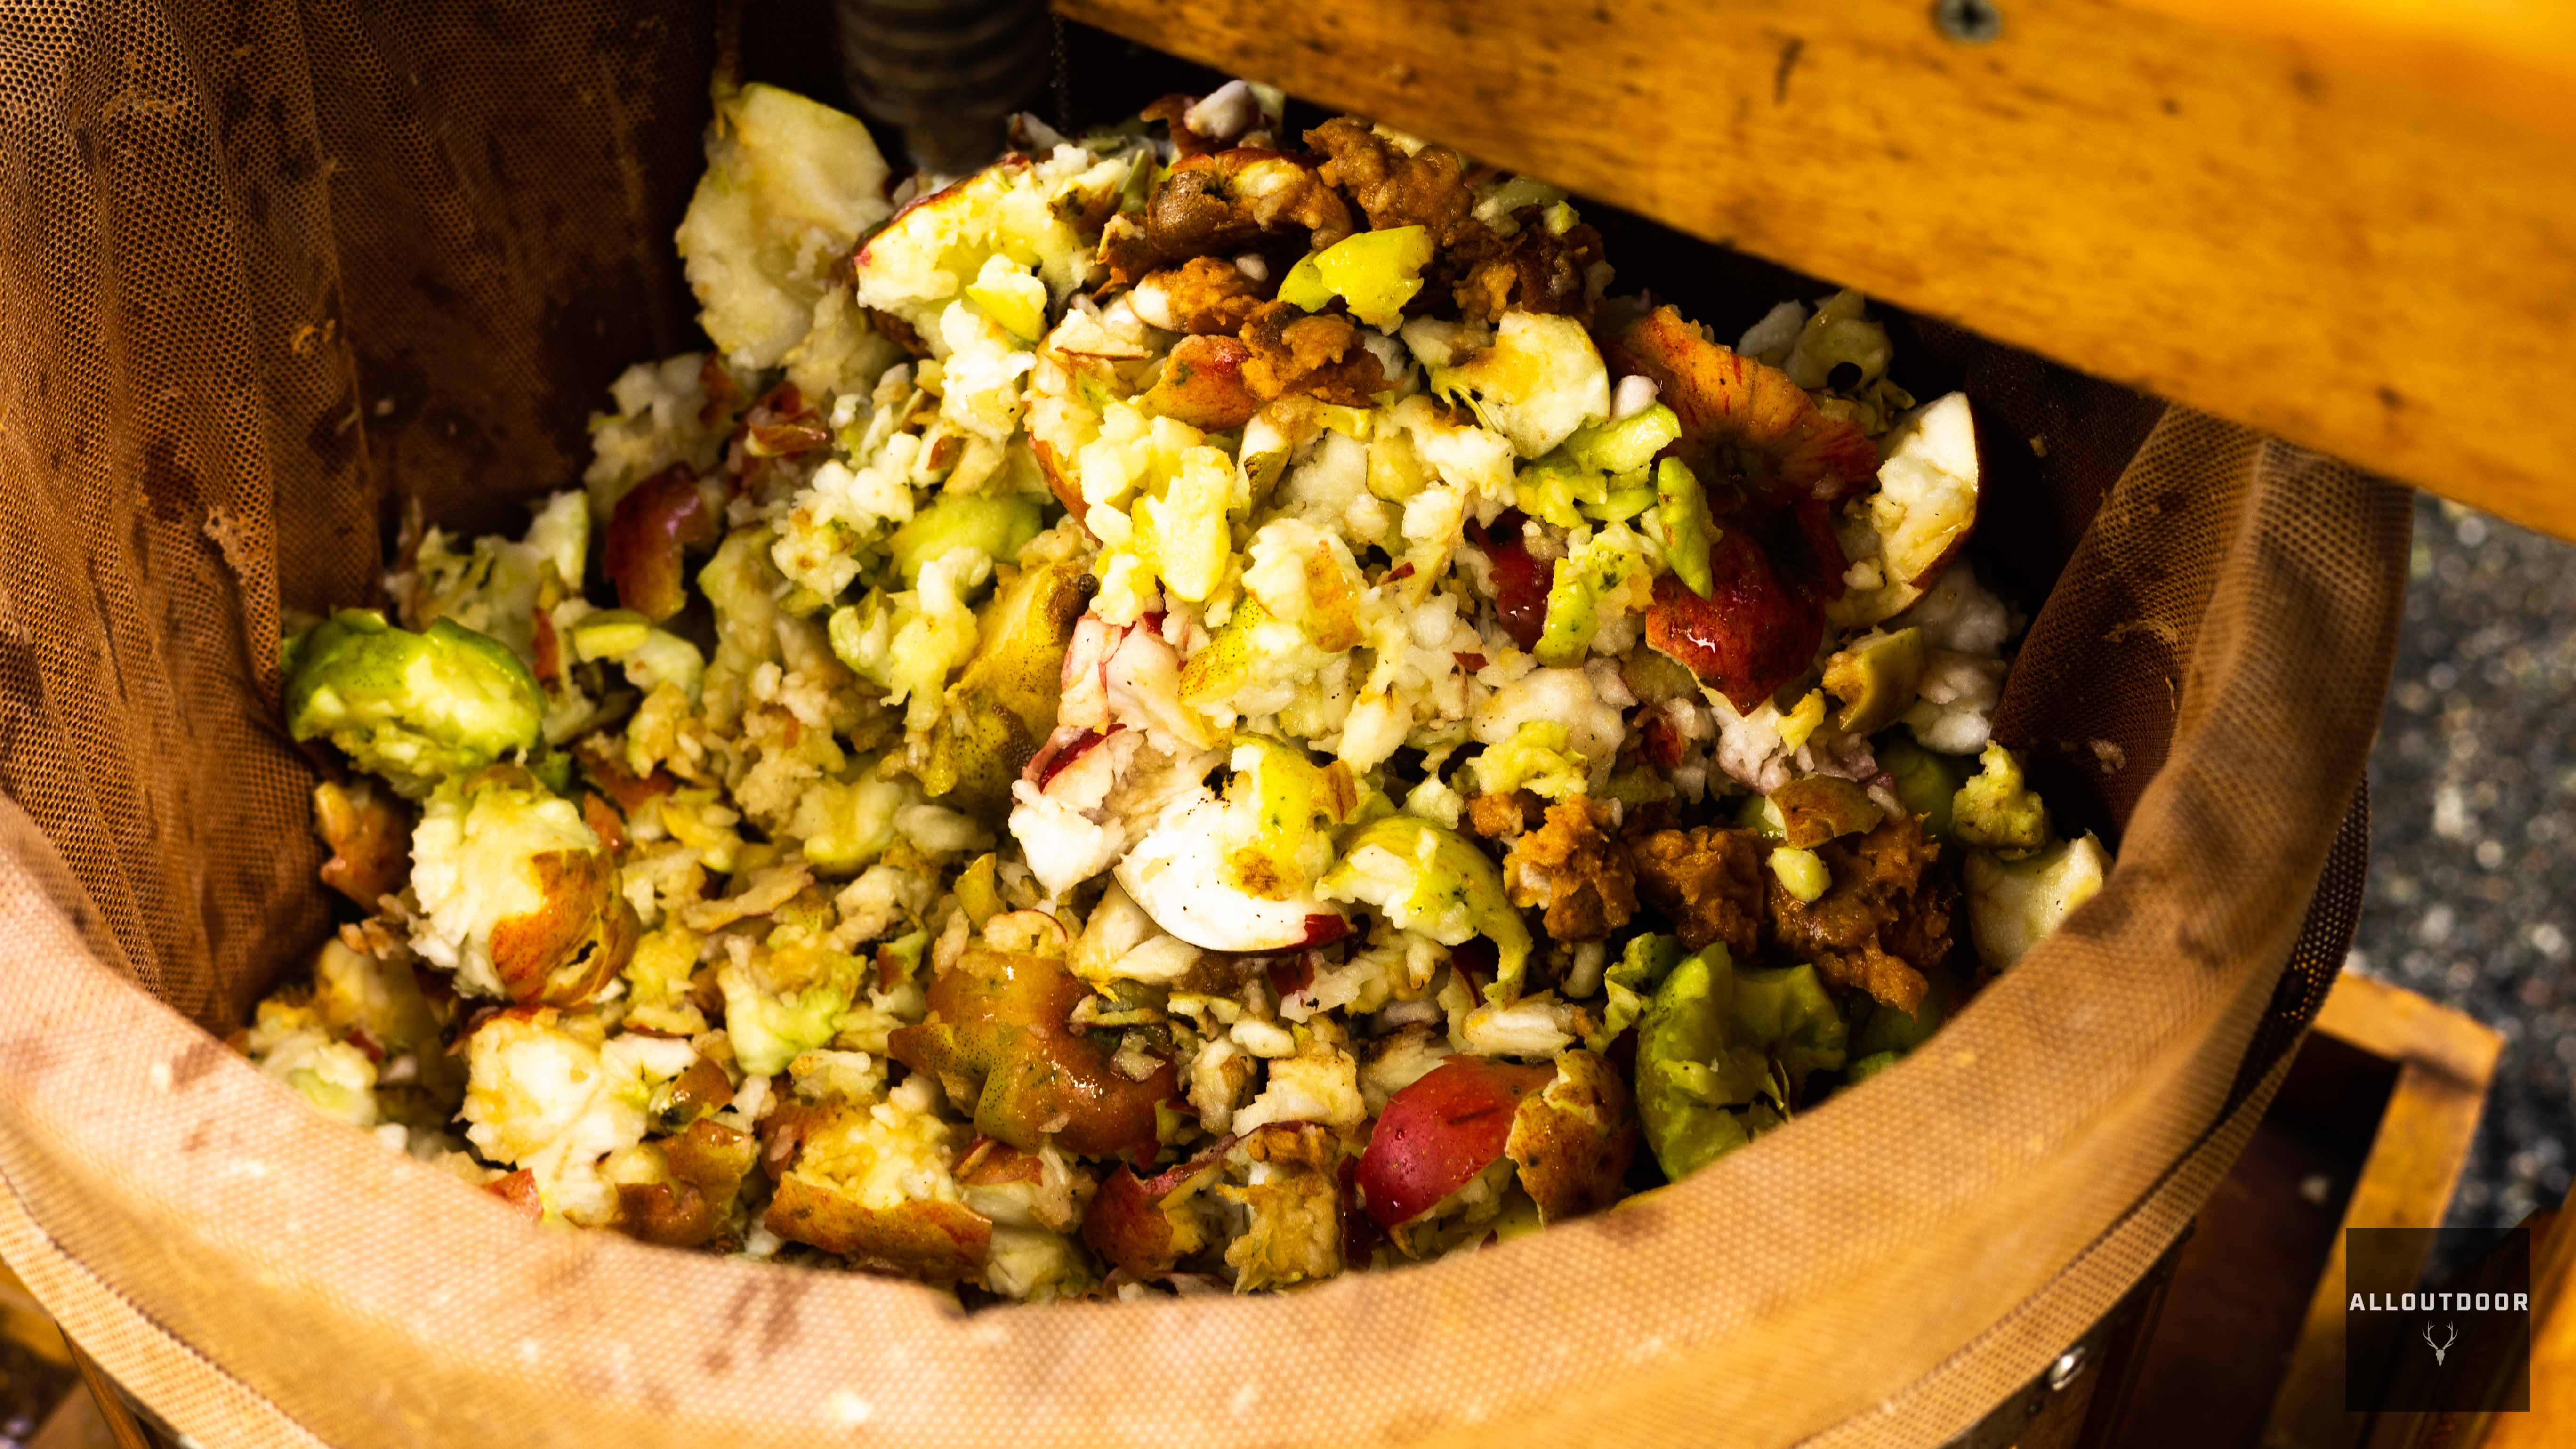
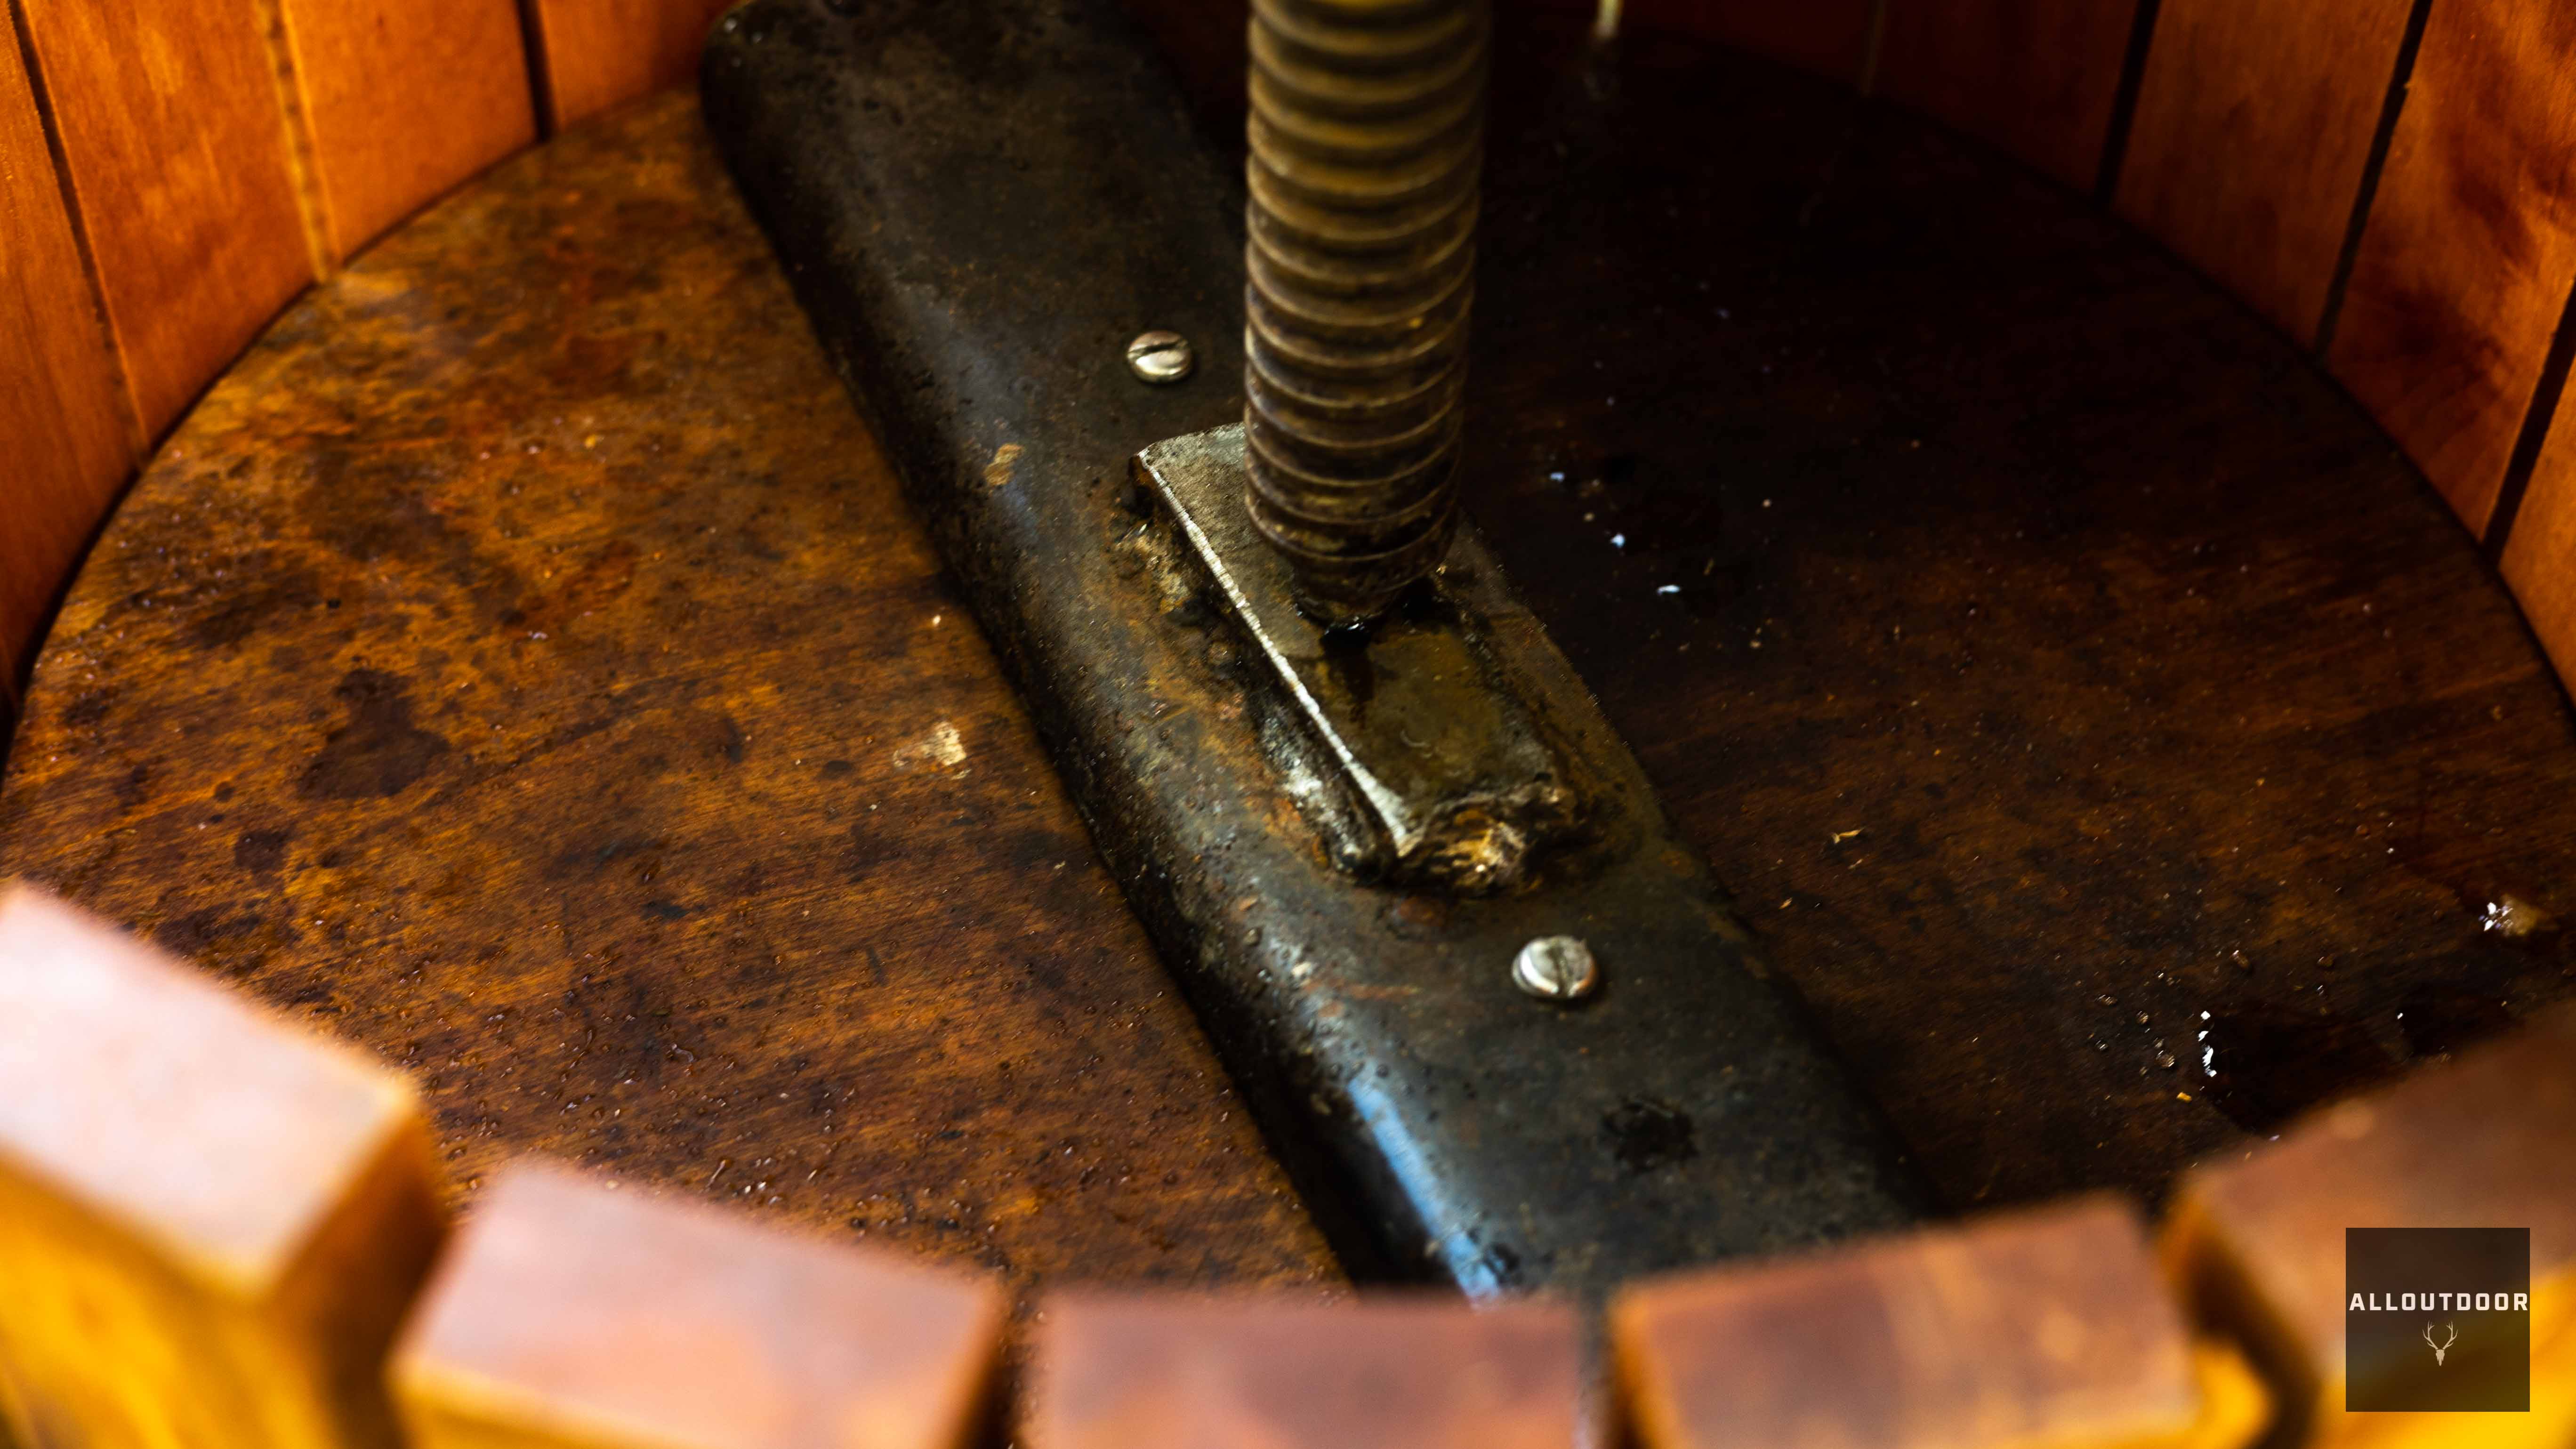
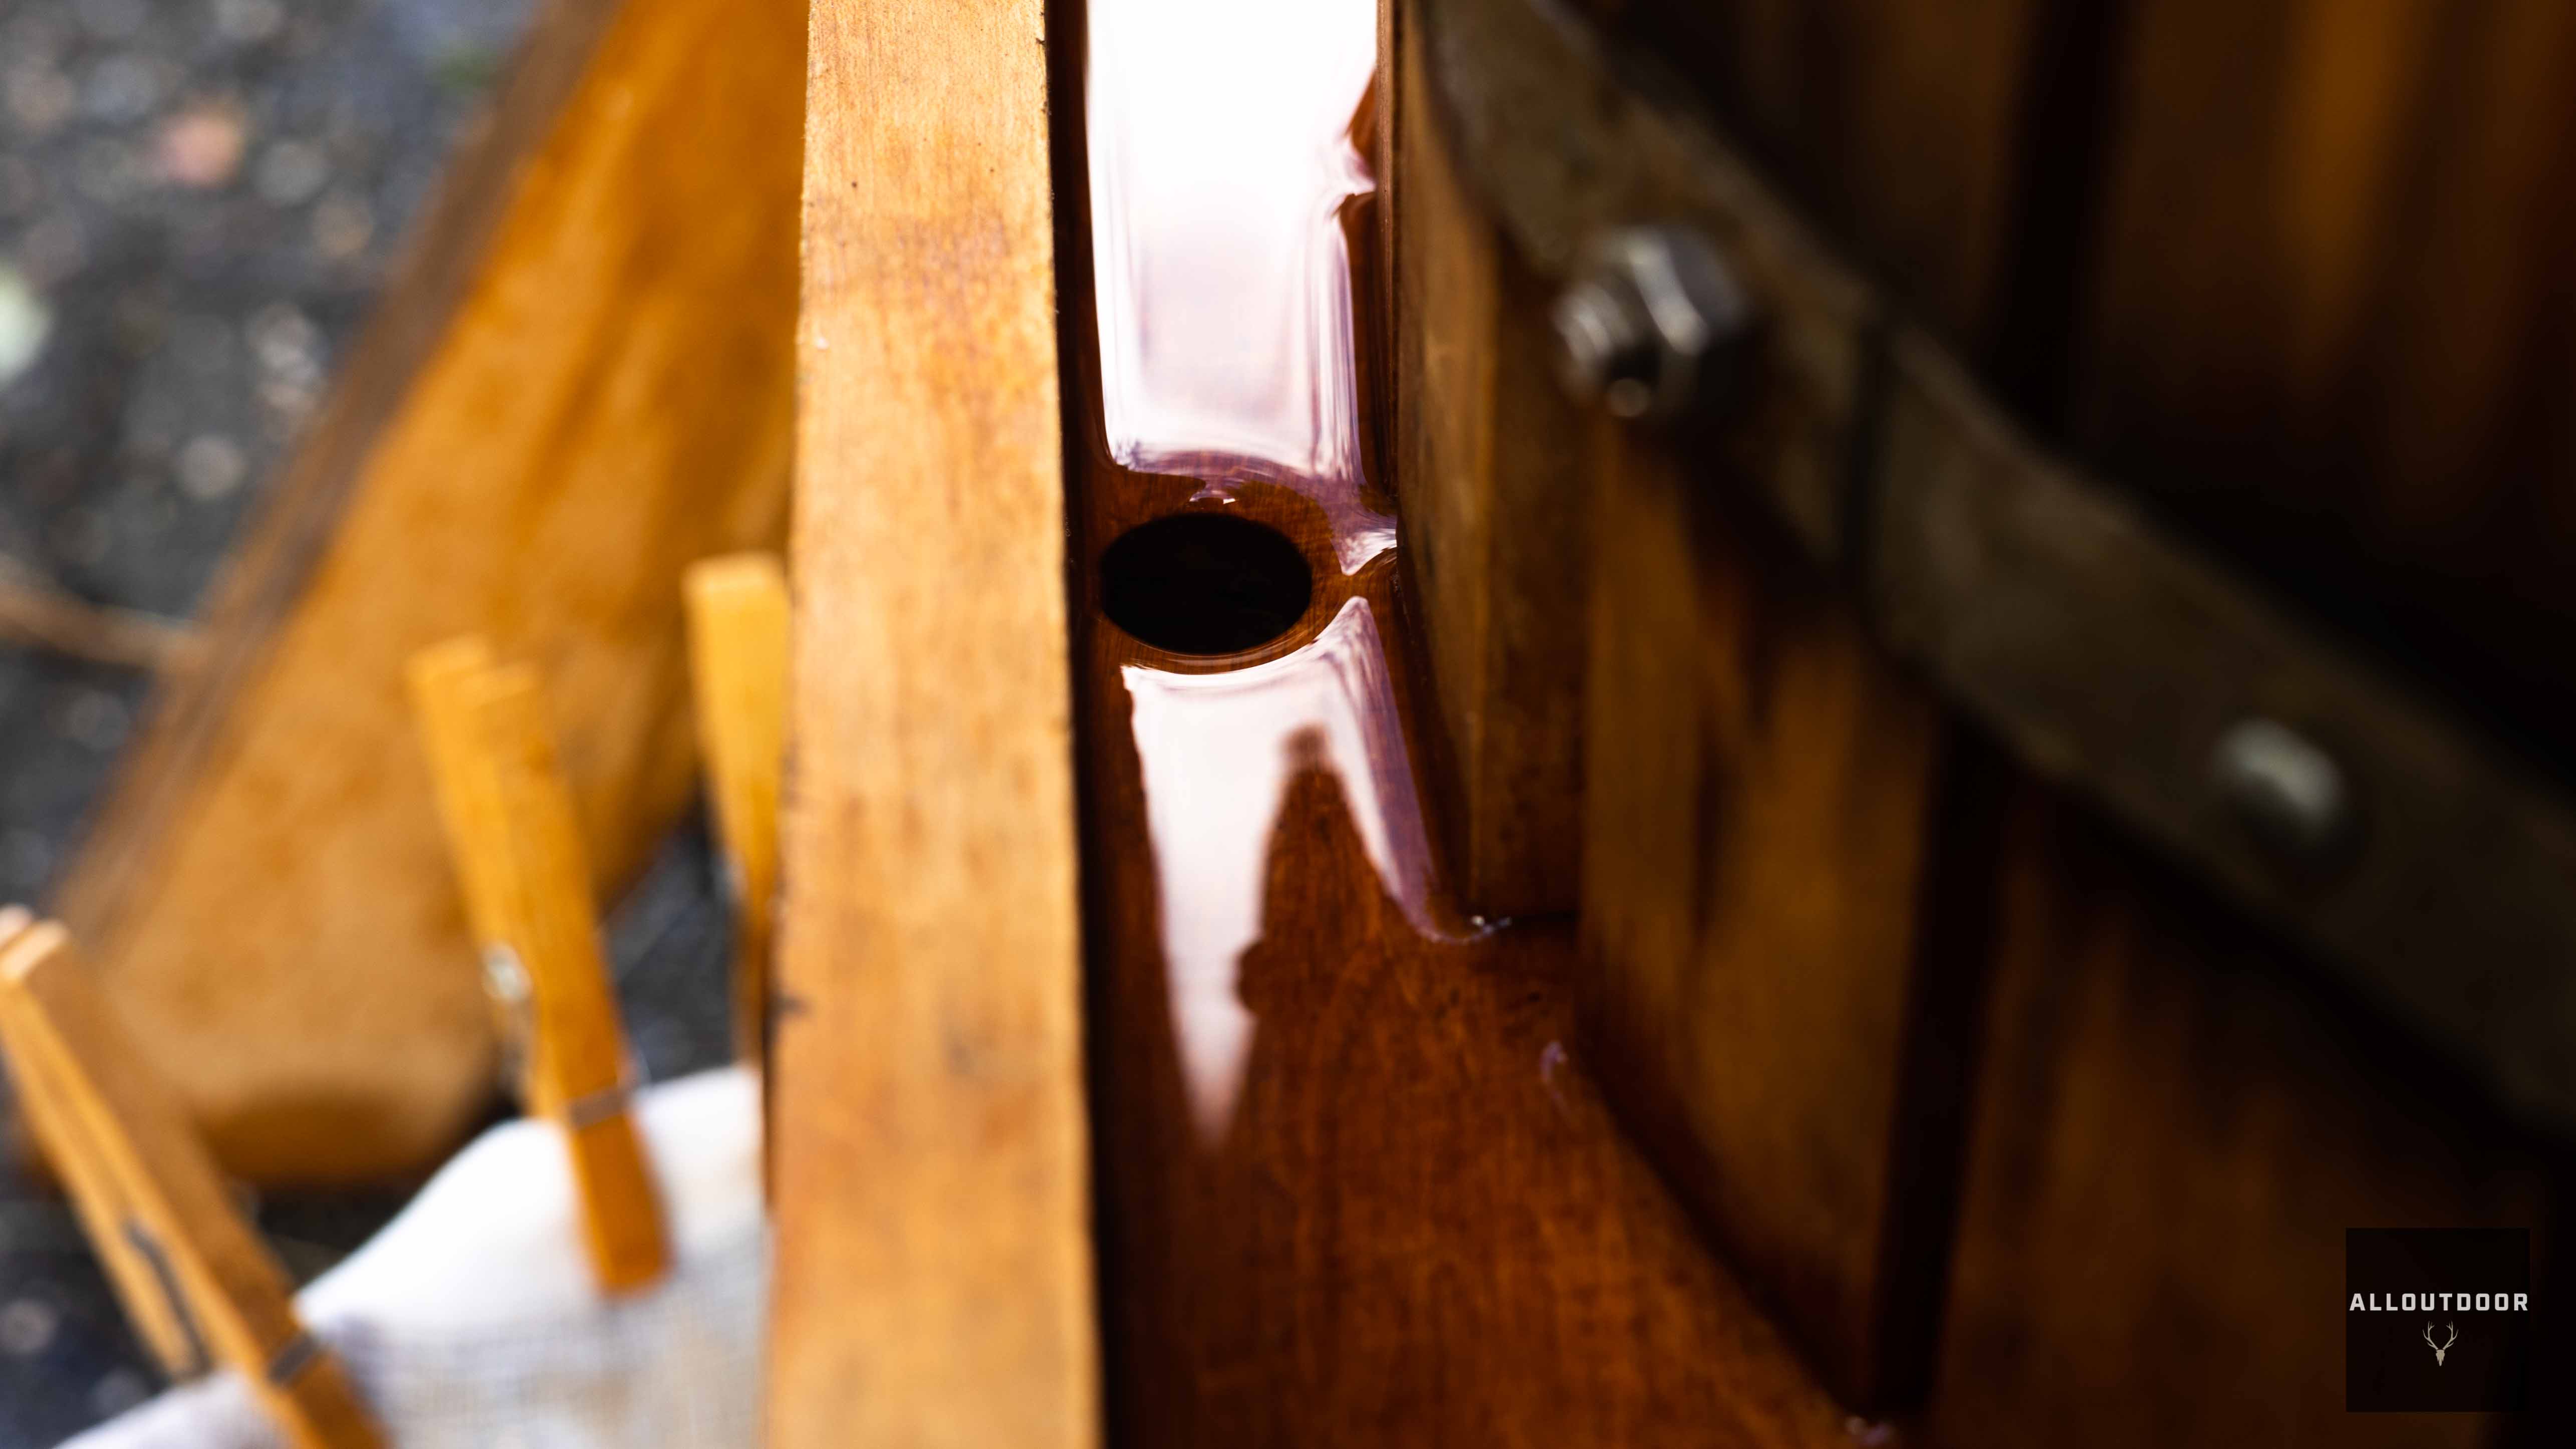
I’m fortunate enough to have an old-fashioned styled cider press in my grandparent’s barn to utilize so that’s what I used to create my homemade cider, but you can definitely go to your grocery store and buy apple cider and use that as well. Keep in mind that it should be apple juice or apple cider and you don’t want a juice that has any additional fruits in it unless you are experimenting.
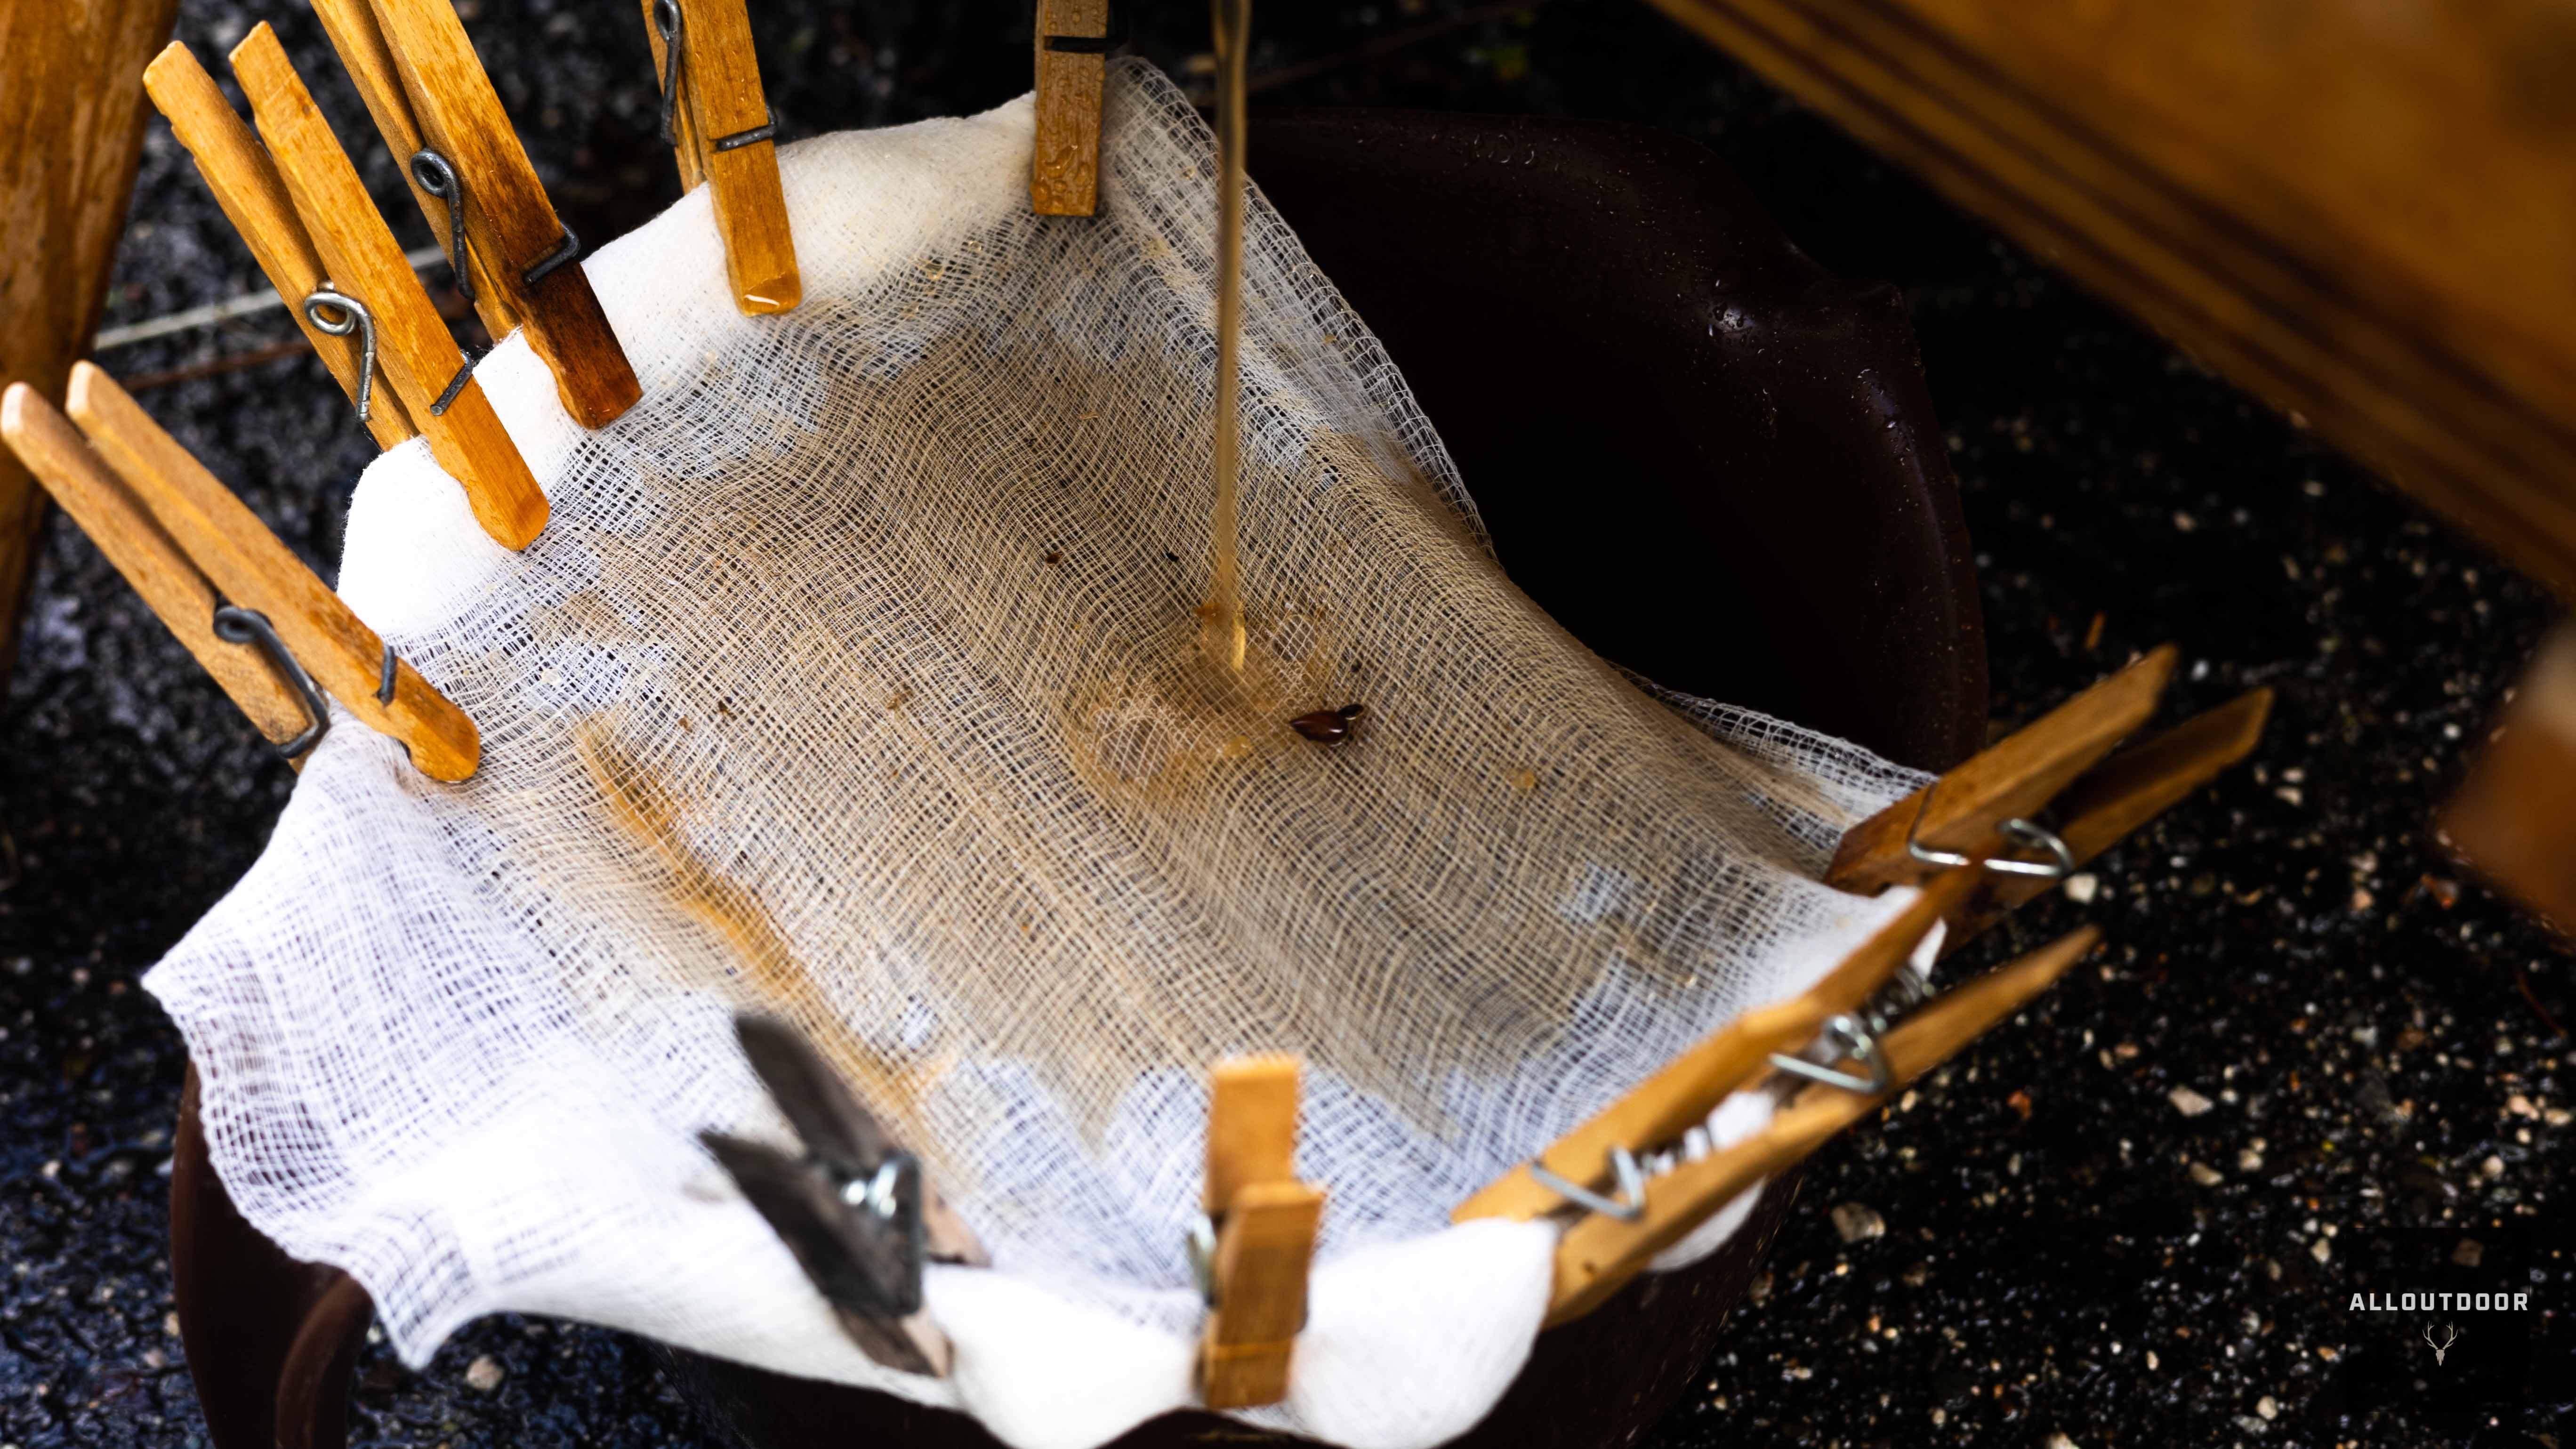
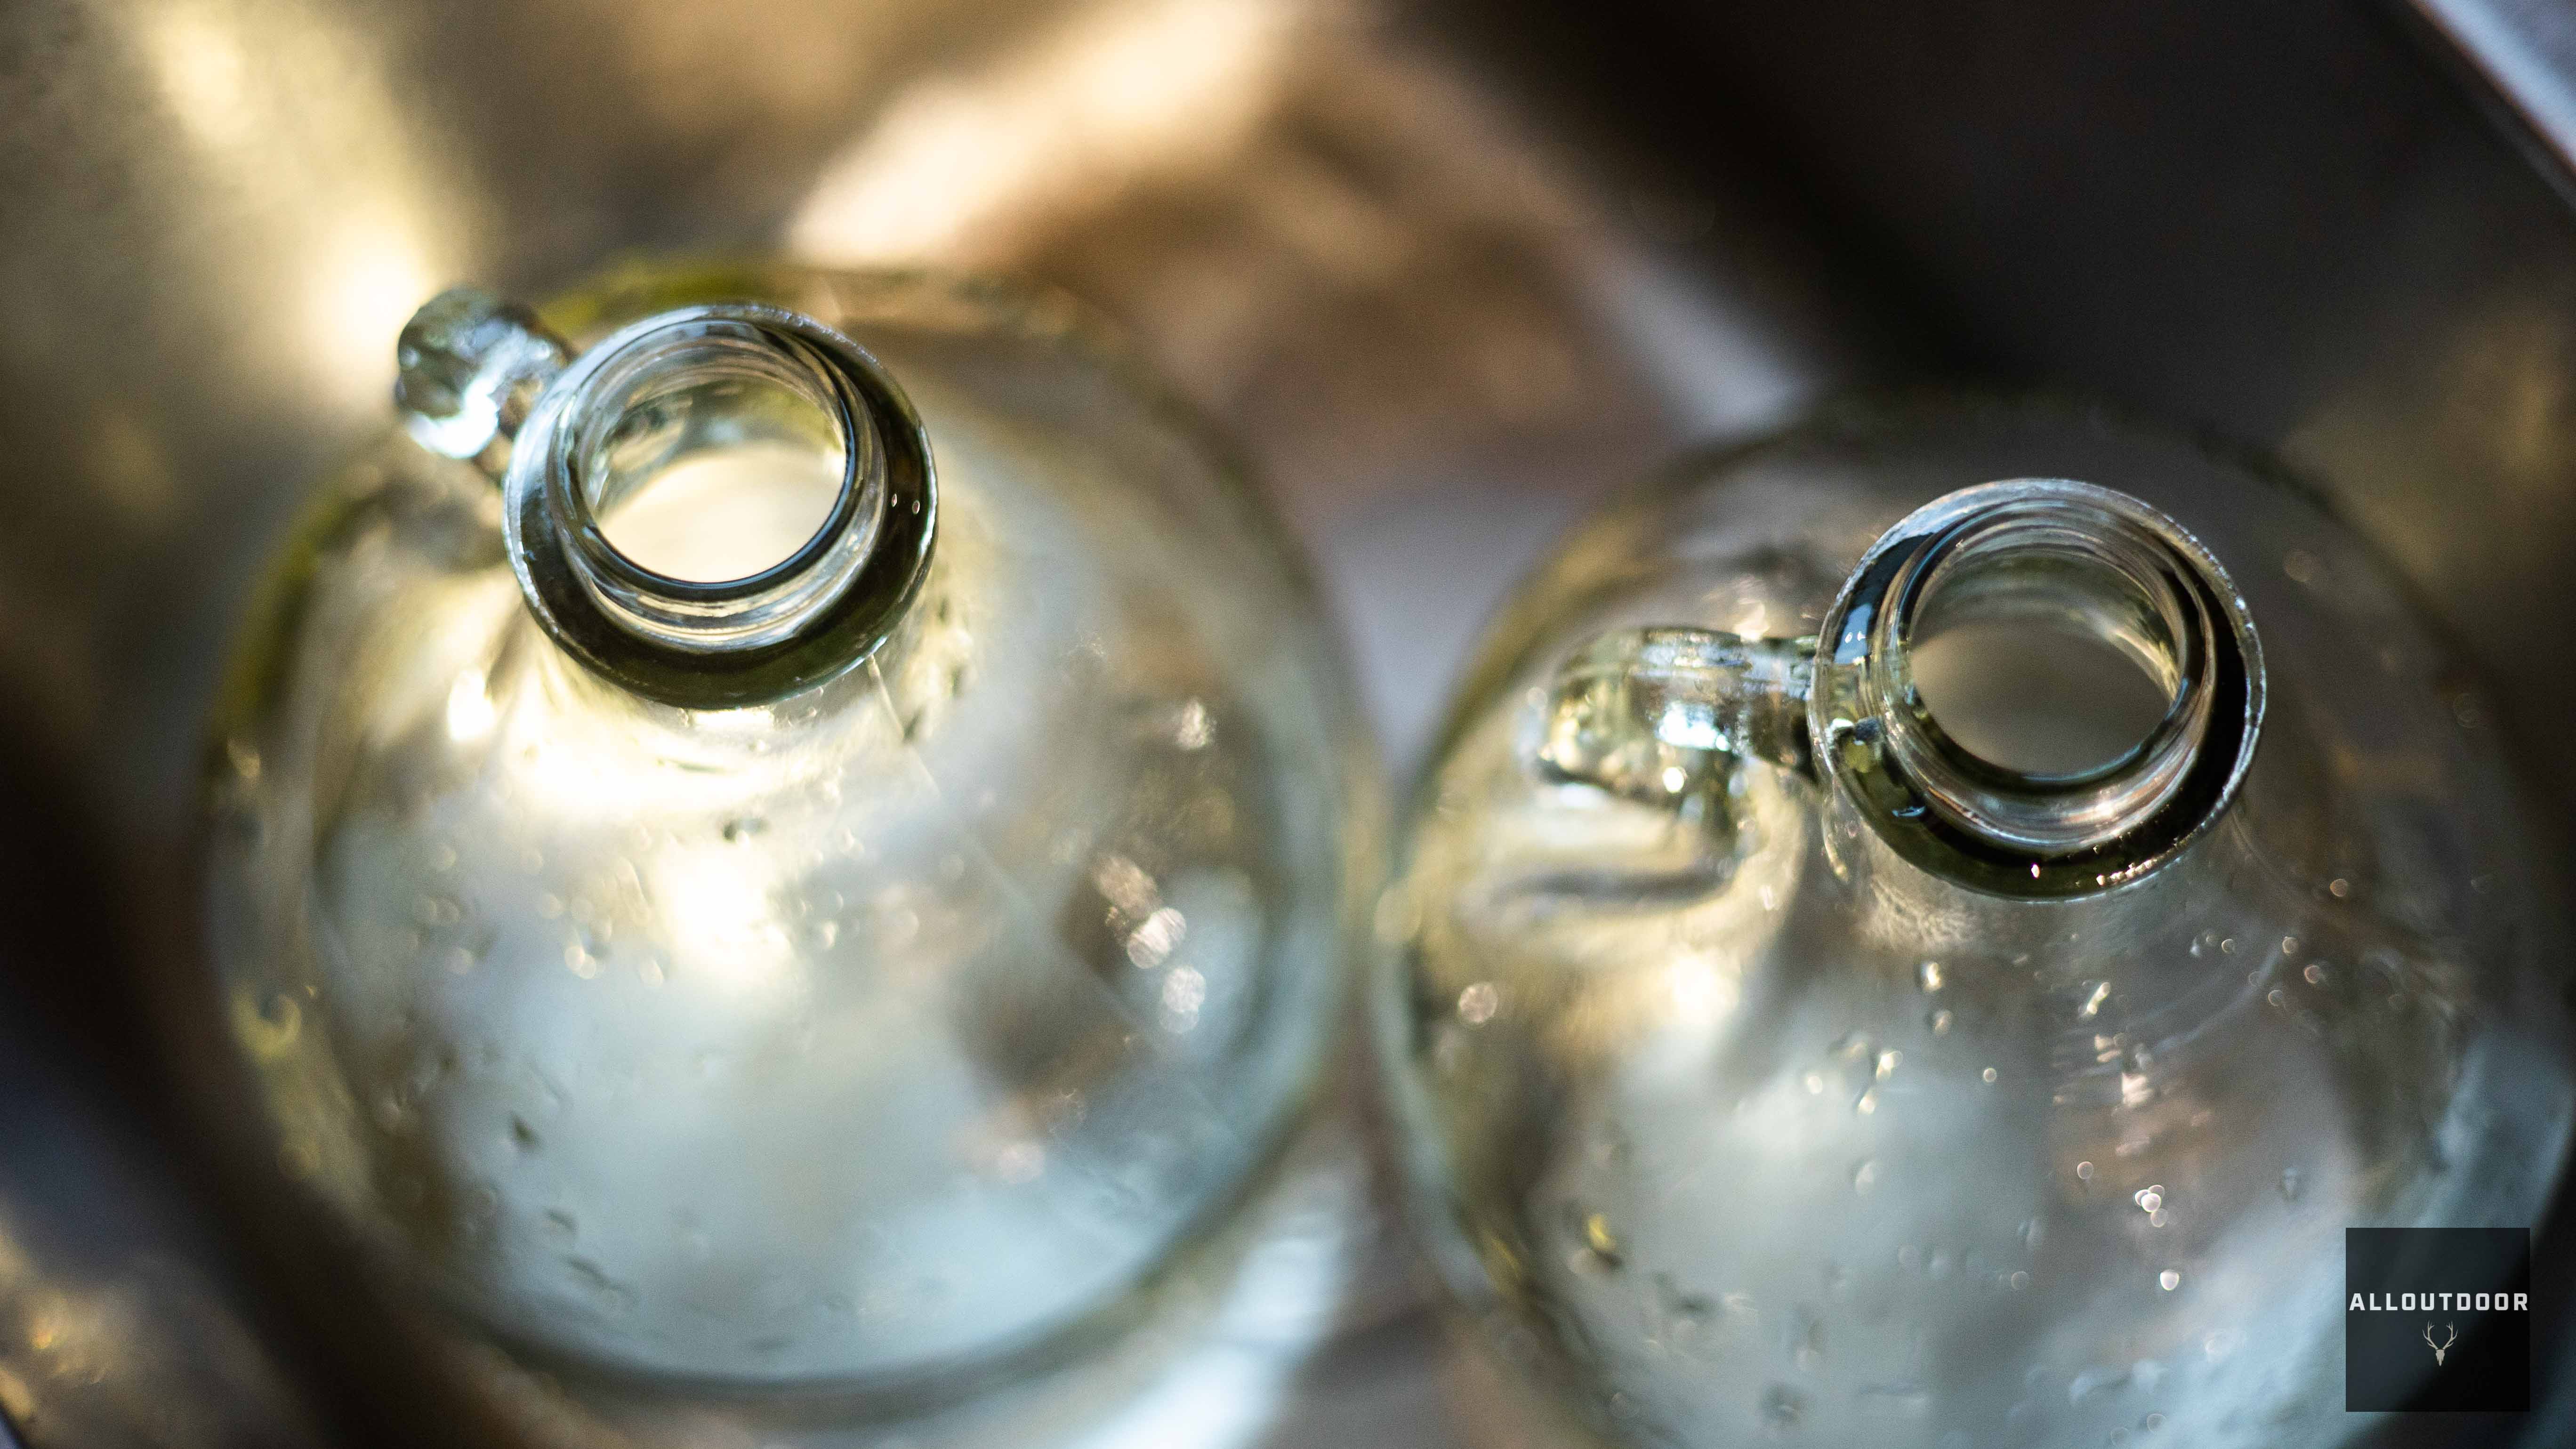
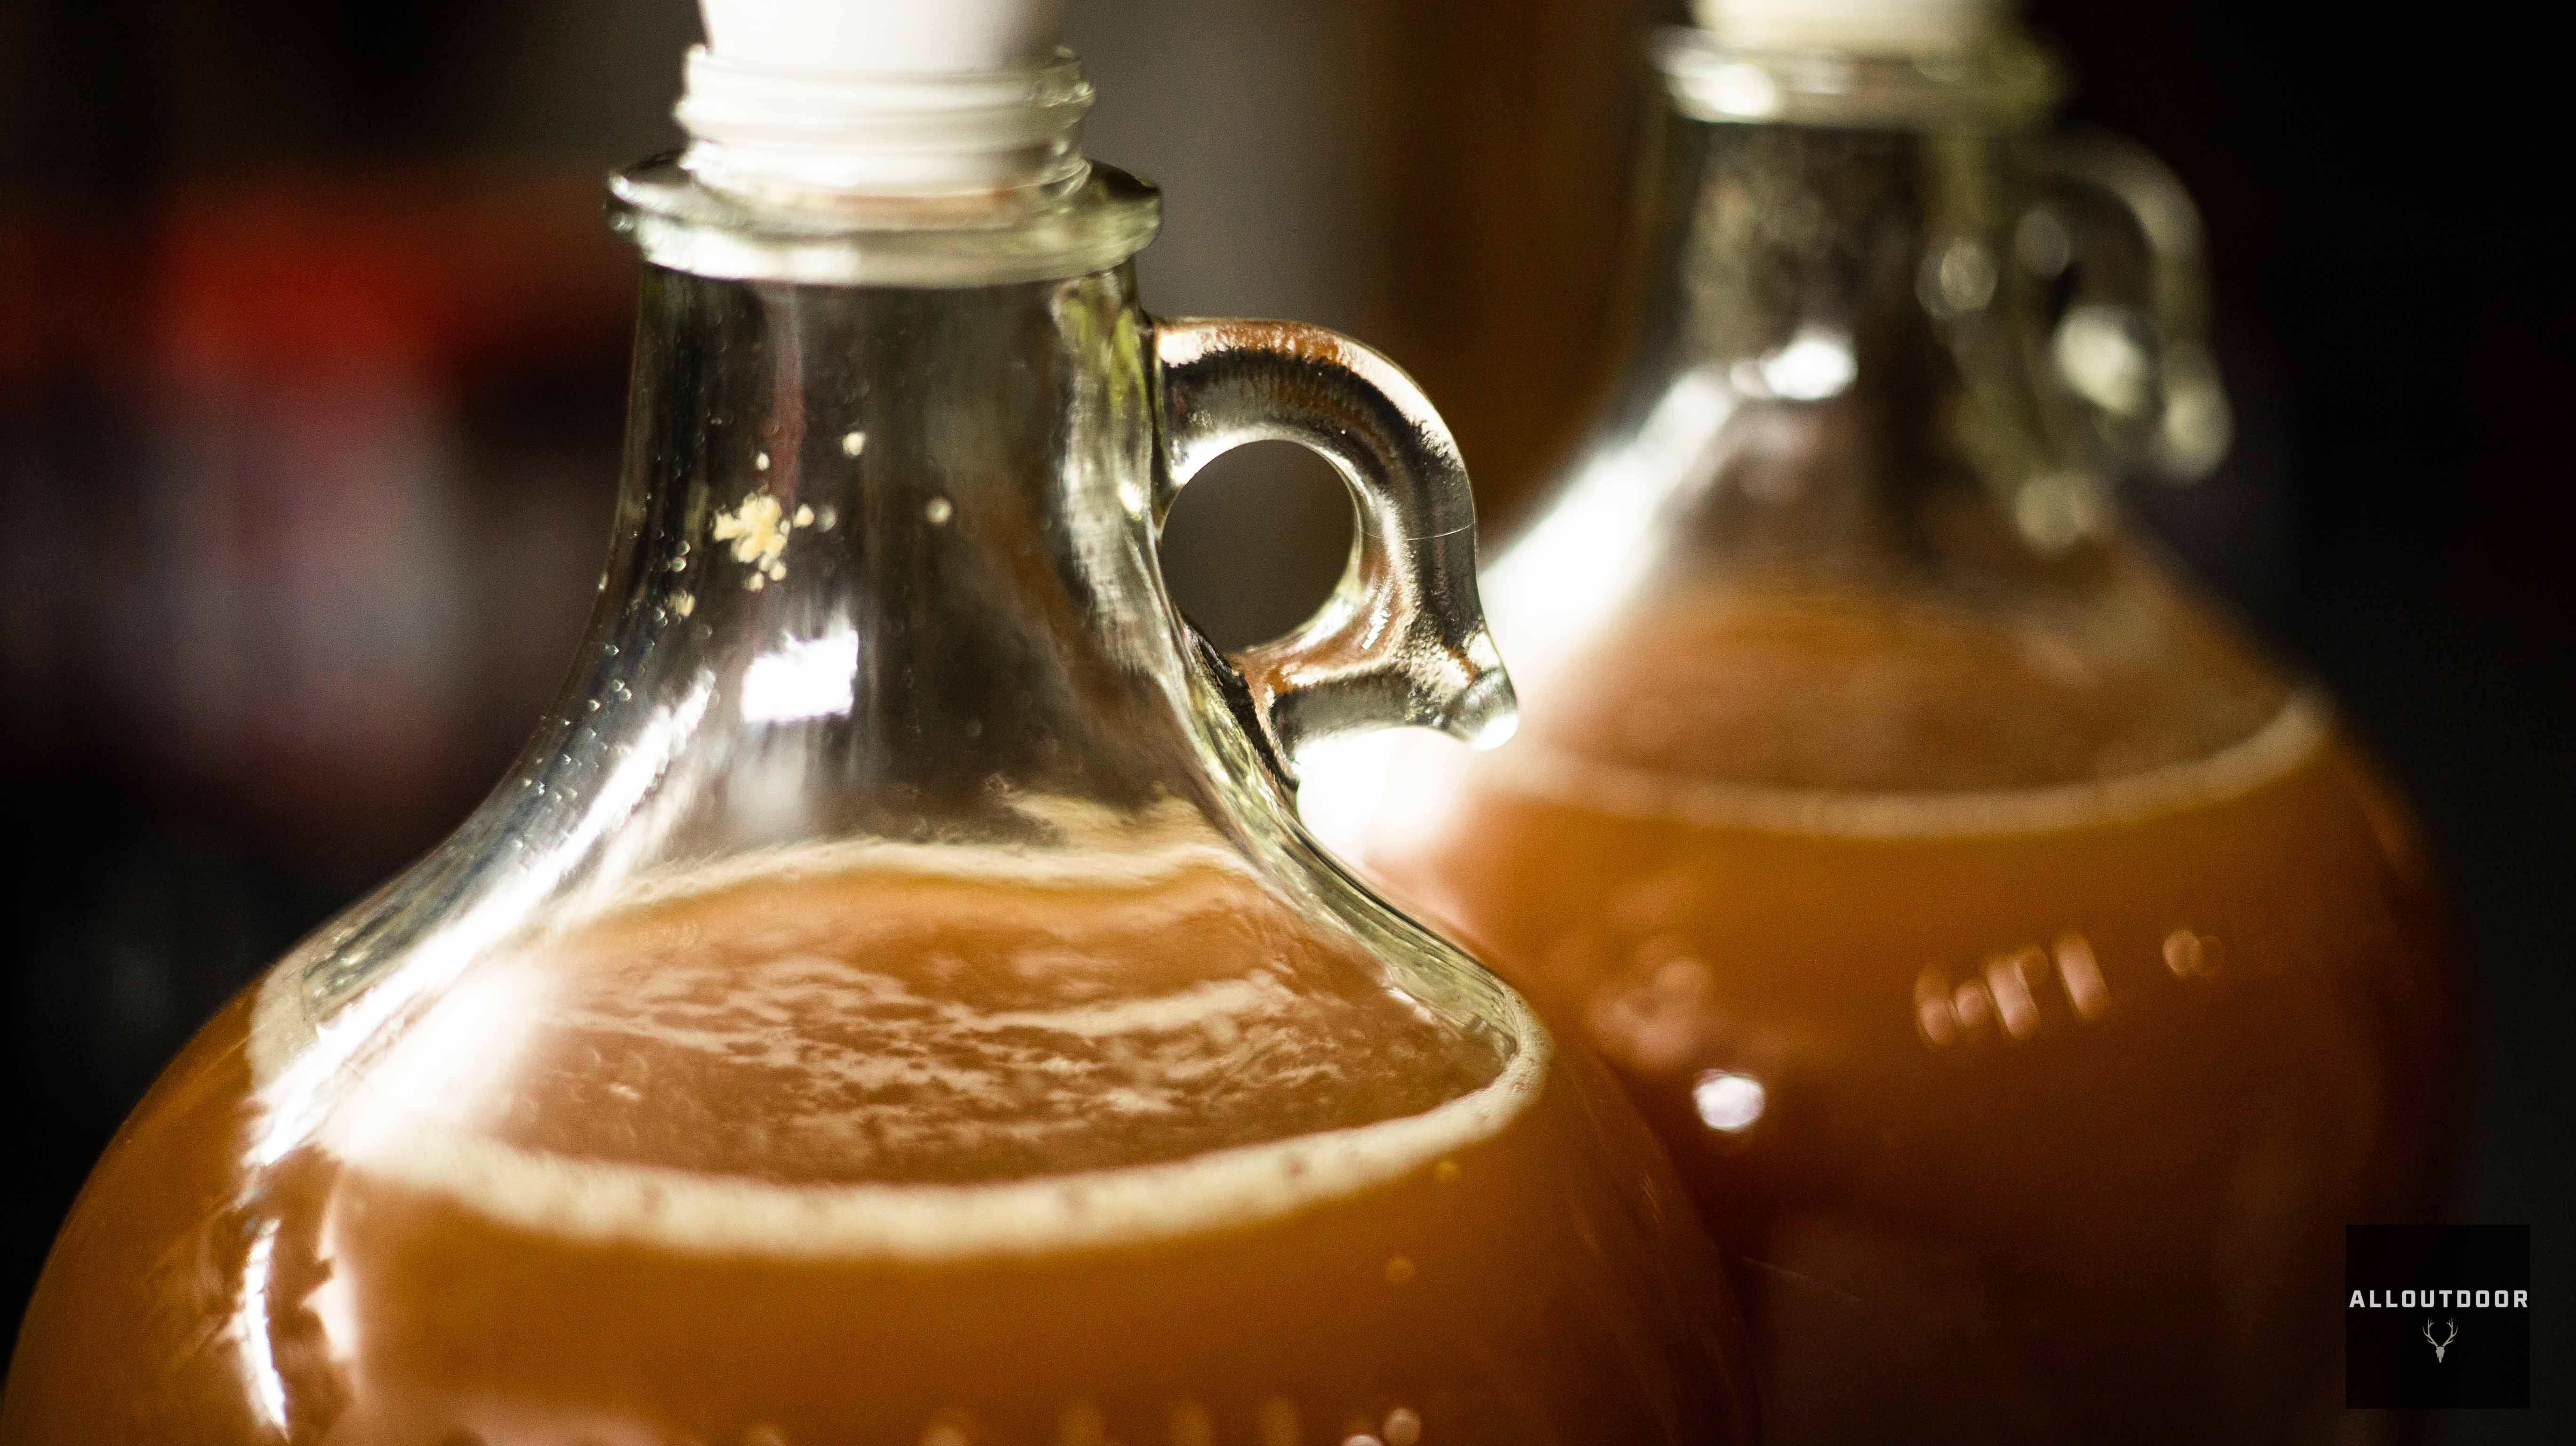
And after buying or pressing your apple juice, the next thing you’re going to want to do is find yourself a fermentation container. I like to use these 1-gallon glass containers on Amazon and they also come with an airlock.

The next thing to do is going to be to sanitize and clean all of the equipment you’re going to be using. You can use hot water and soap or you can also use a proper sanitizer that is designed for use cases just like this one. Next, you’re going to pour all of your cider into your jug. You don’t want to overfill it because you want to leave some space for the fermentation and bubbles to happen at the top of your container. This is also a good time to give your cider container a good shake and help aerate everything.
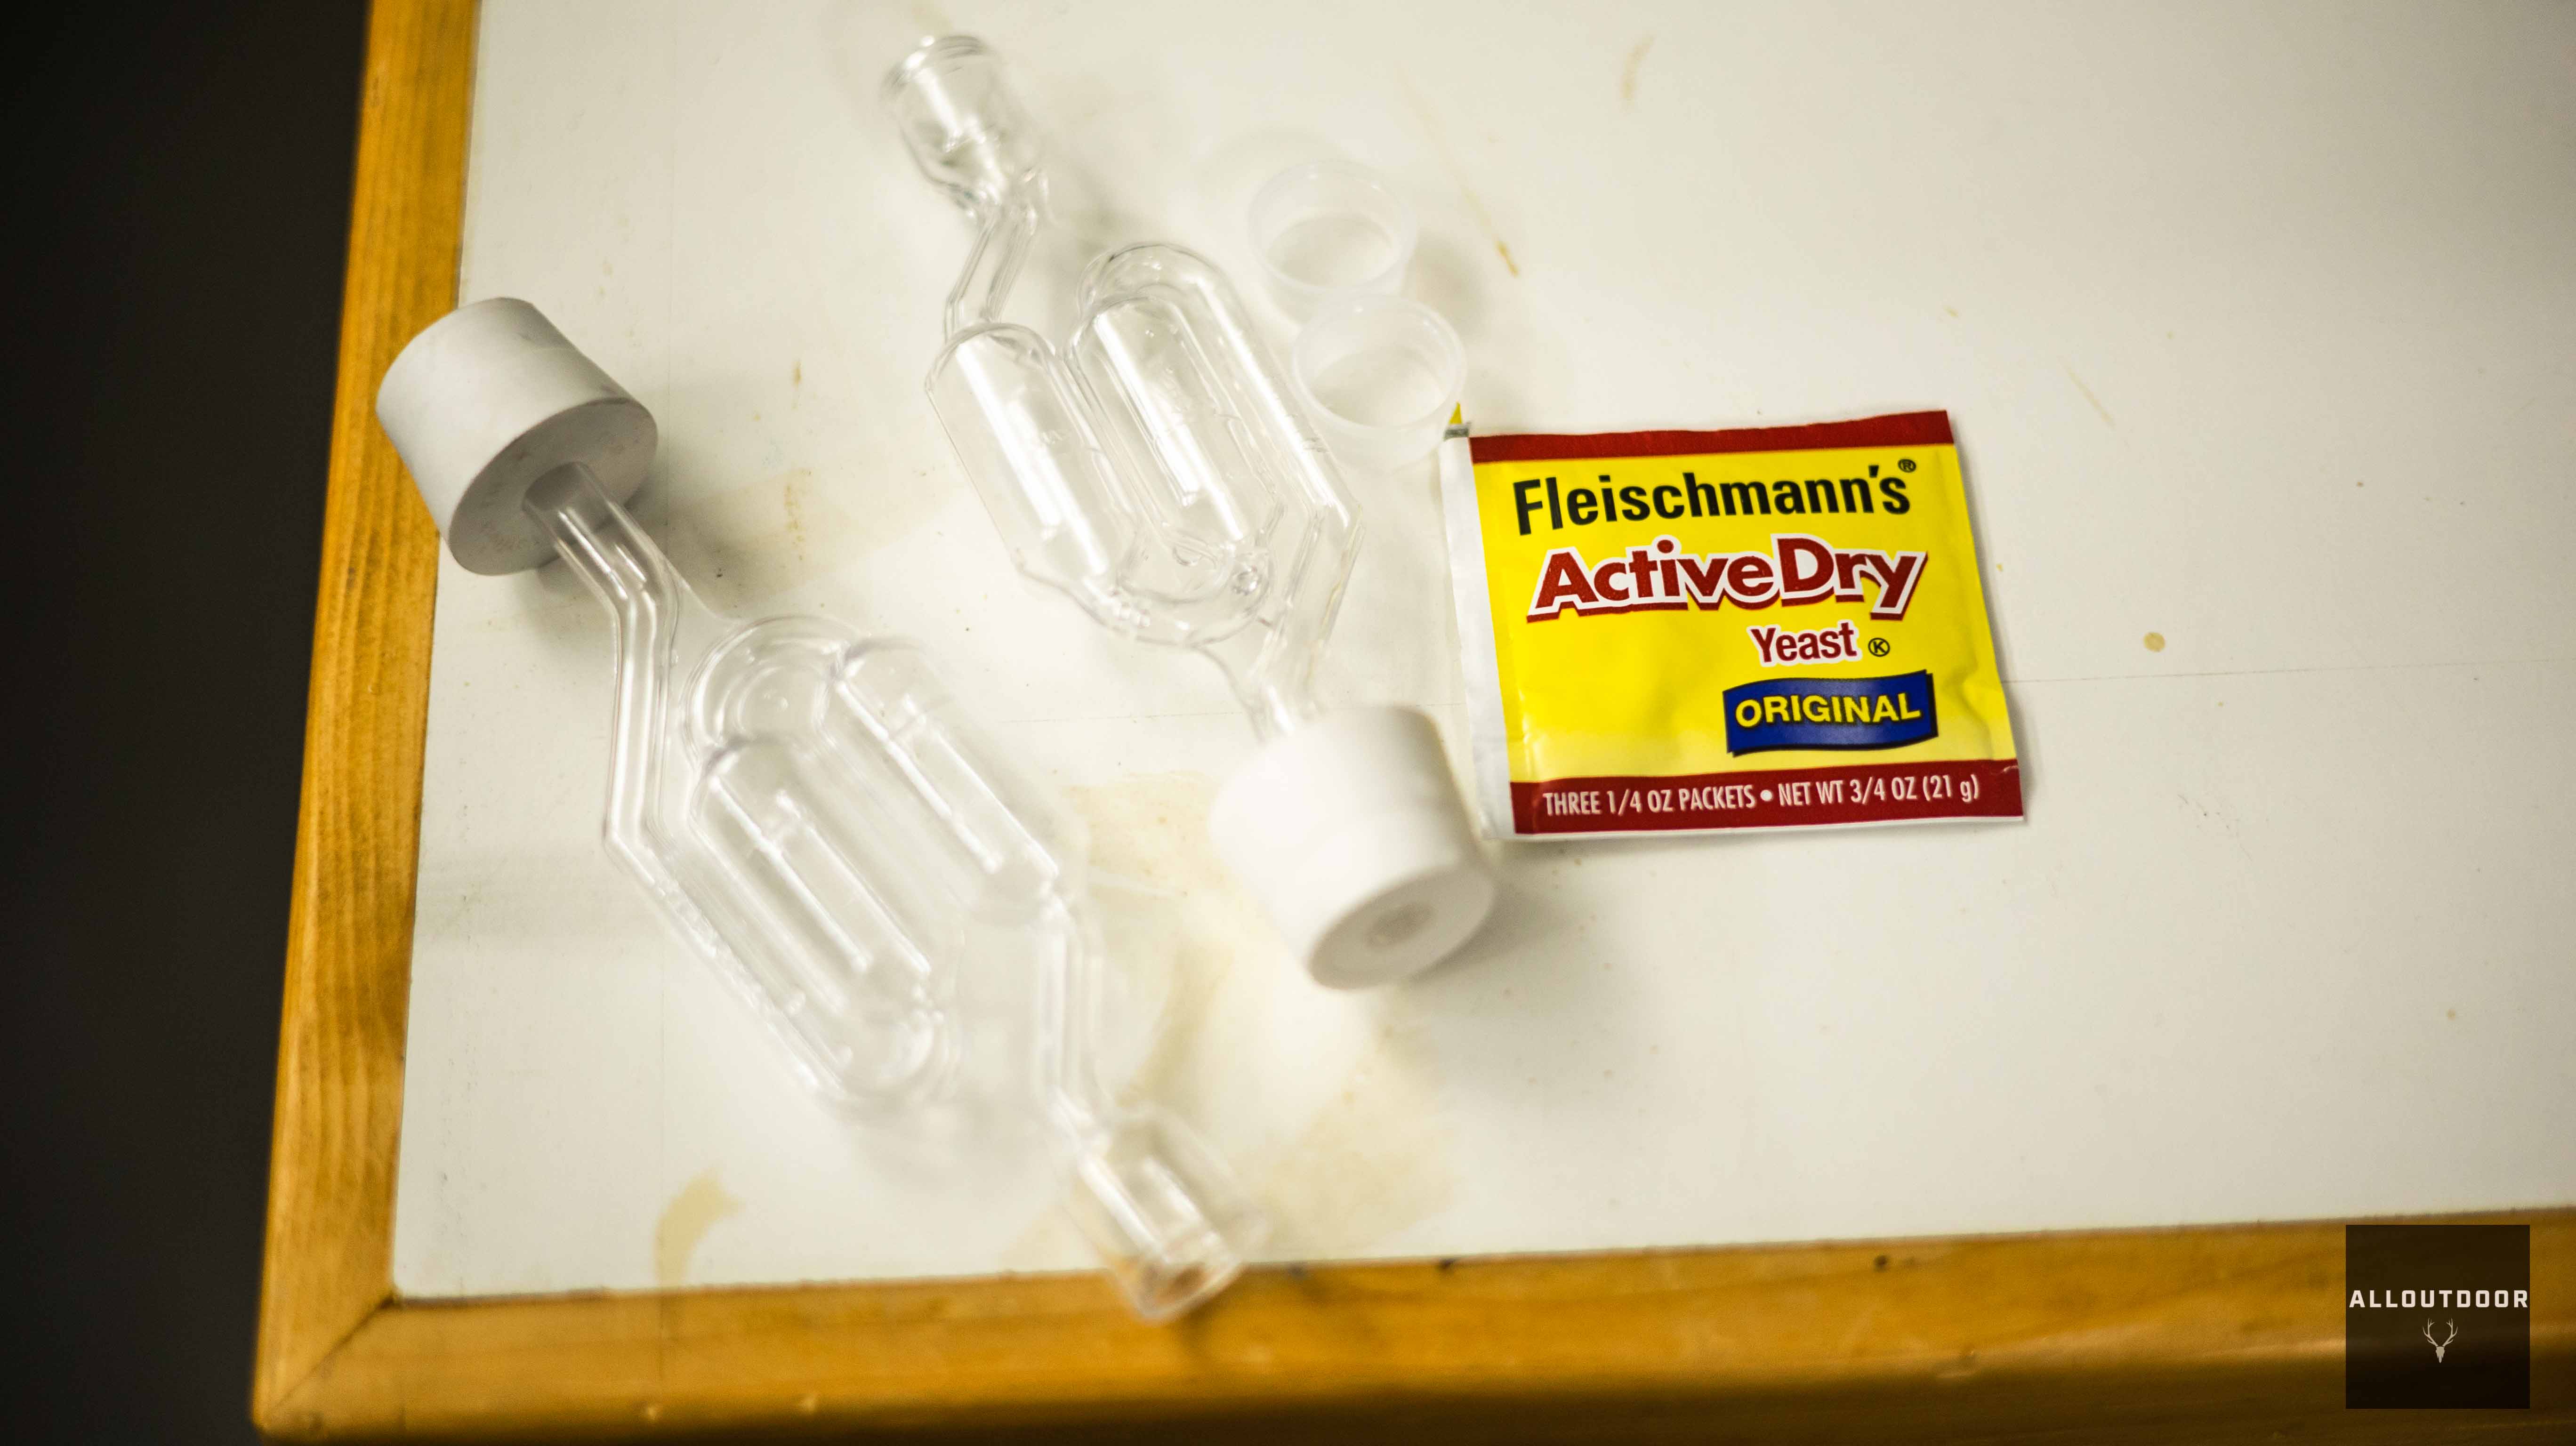
The next thing you’re going to want to do is add your yeast. While you can use specialty yeast for brewing cider and other alcoholic beverages, my research concluded that you can use pretty much any kind of yeast for making cider, so I went with bread yeast. I added half of a packet per 1-gallon container.
The next thing you’re going to want to do is stir the yeast into the side of itself and make sure it’s not a car on the side walls of your container. Keep in mind that adding air and bubbles to your cider is a good thing and this is going to help the process of creating the hard cider. This is a good point in time to take a reading with your Hygometer if you feel like doing so.
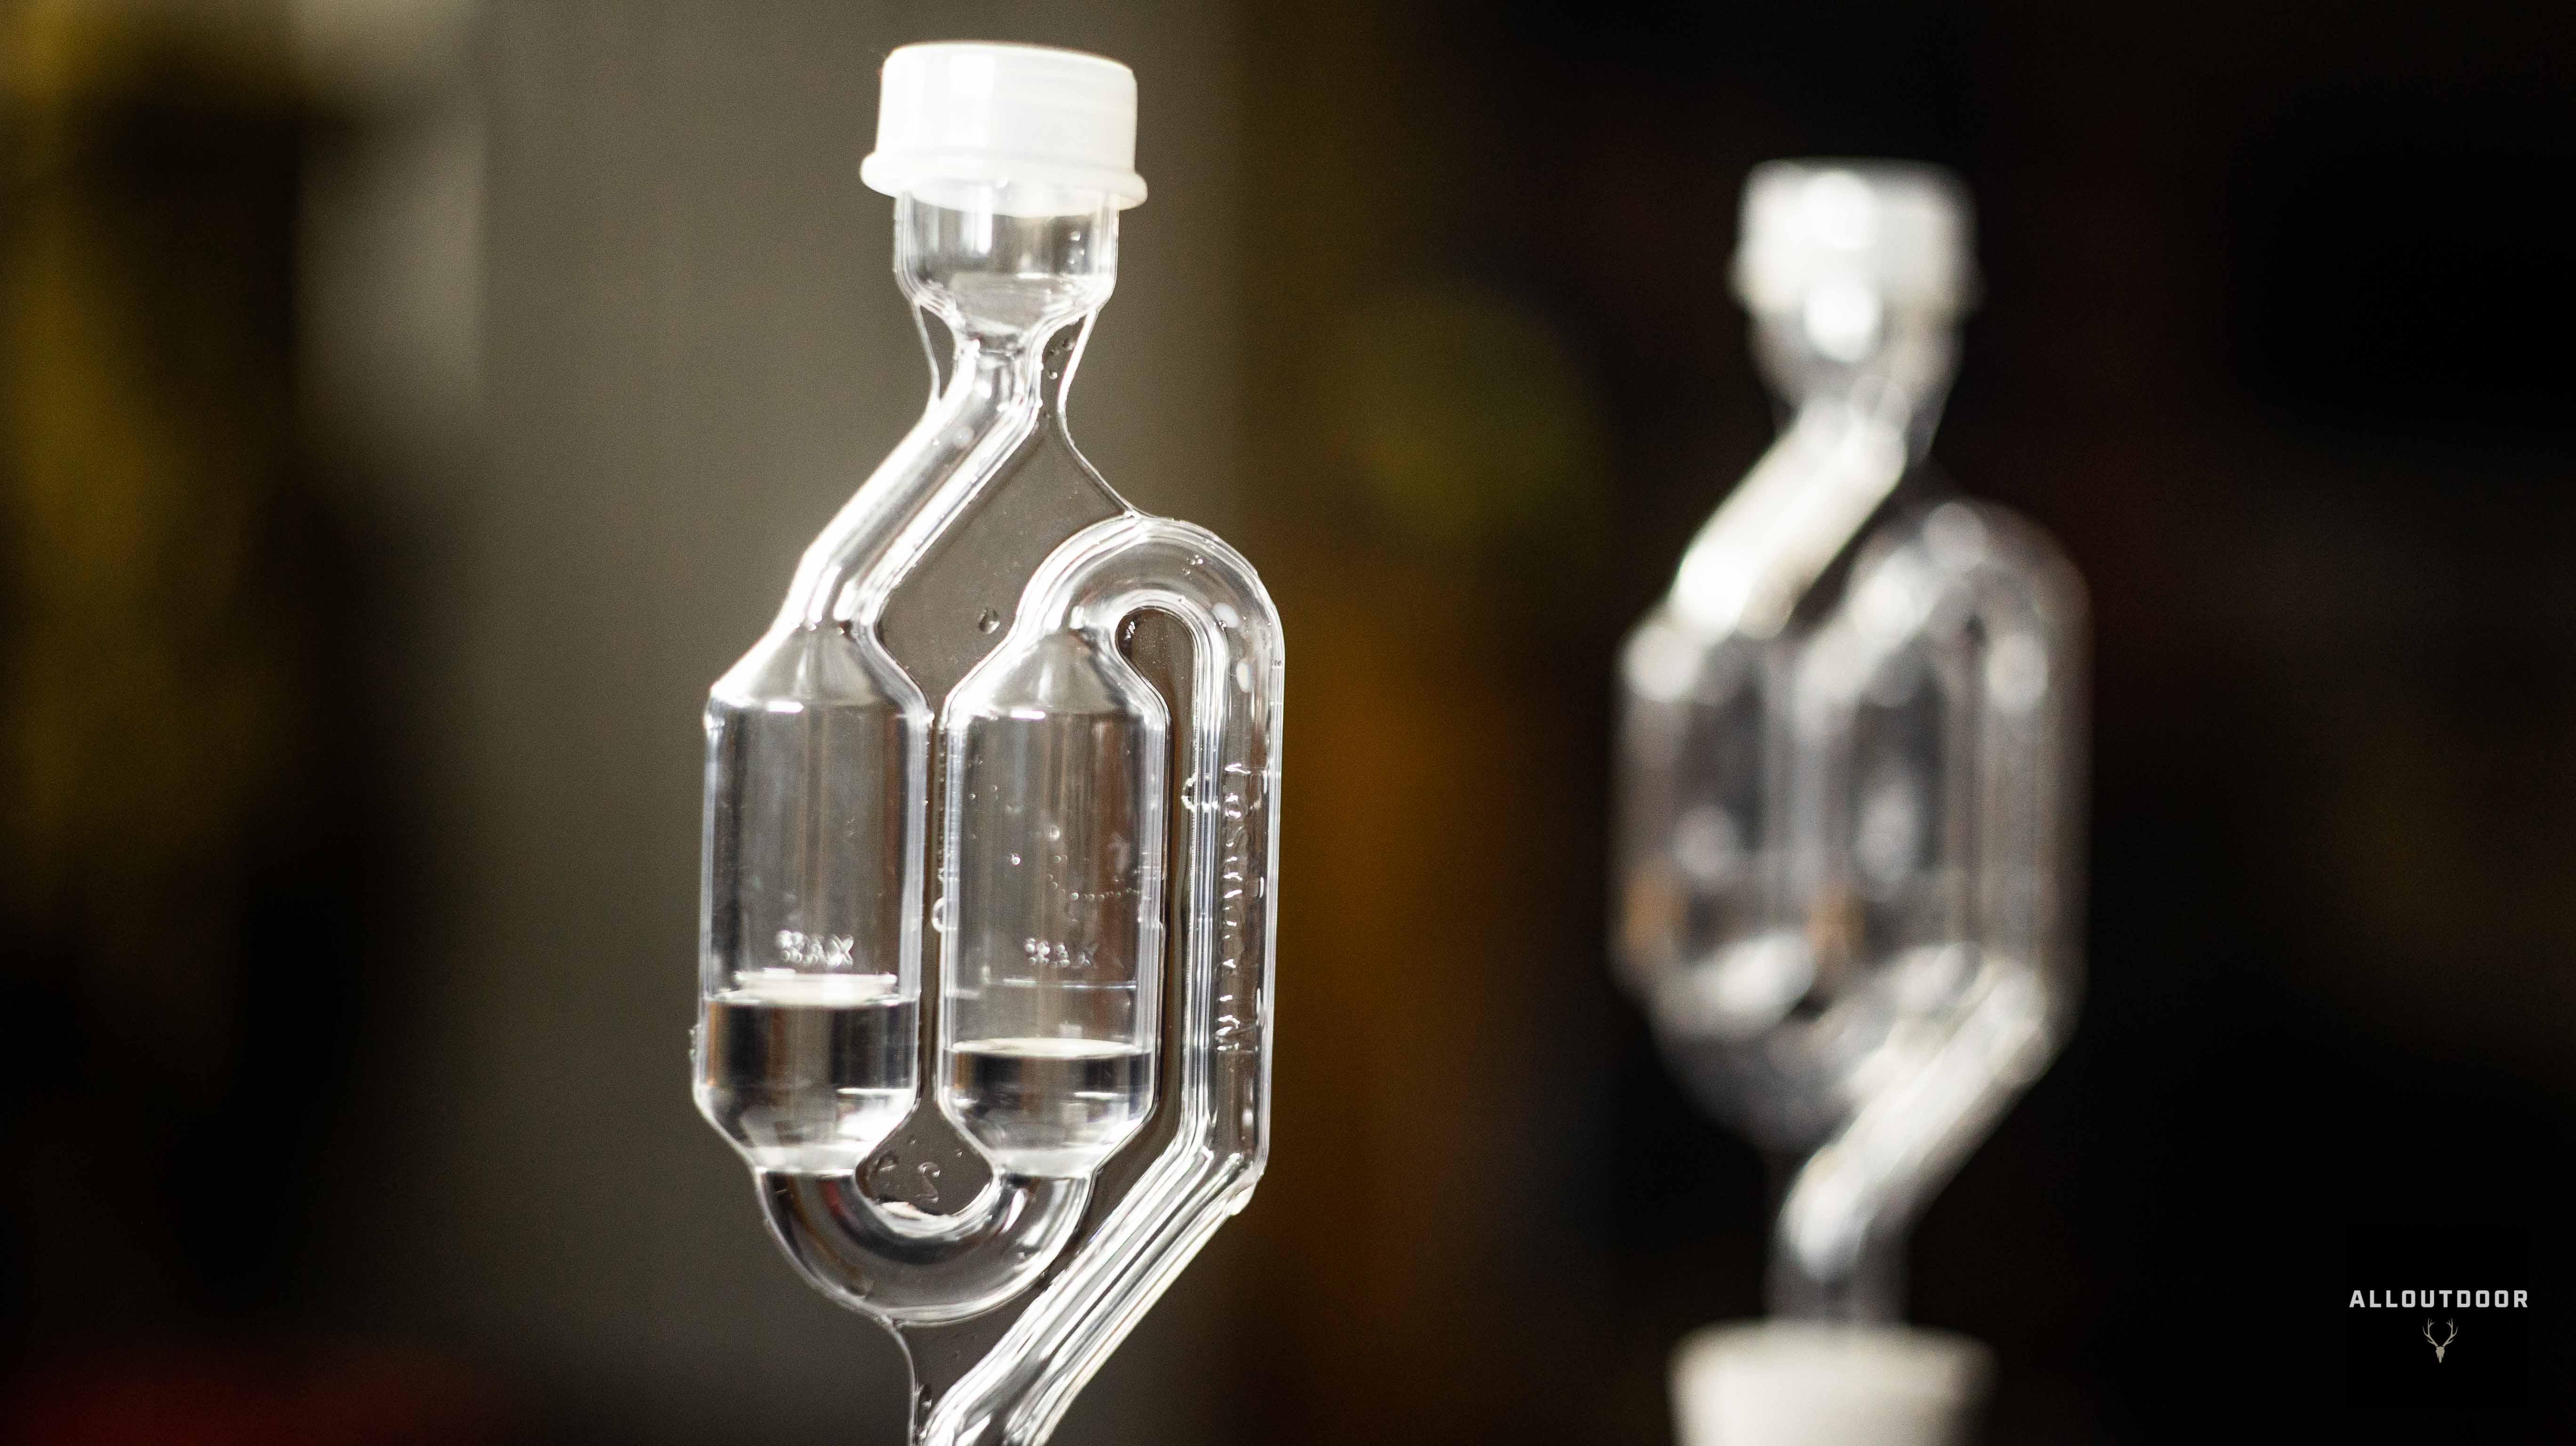
Next, you want to add your bong and airlock to the top of your container. My research also concluded that you can either use a cheap whiskey, or a sanitized liquid in your air walk but you do not want to use water as water will attract fruit flies, and other insects, the top of your fermentation.
The next thing you can do that is optional is label your container so that you know when you started your fermentation process and you can keep an eye on it. I opted not to do this this time because I only have two containers that I am fermenting and I have it marked on my calendar when I need to do what to them.
That’s gonna do it for this part of the hard apple cider at homebrew. I will be doing at least one more follow-up article on this process and if you enjoy this one, be sure to check out the next one.
