Do-It-Yourself Project (DIY) – Custom Gun Case Foam Replacement
Eugene L. 10.30.23
 – Custom Gun Case Foam Replacement")
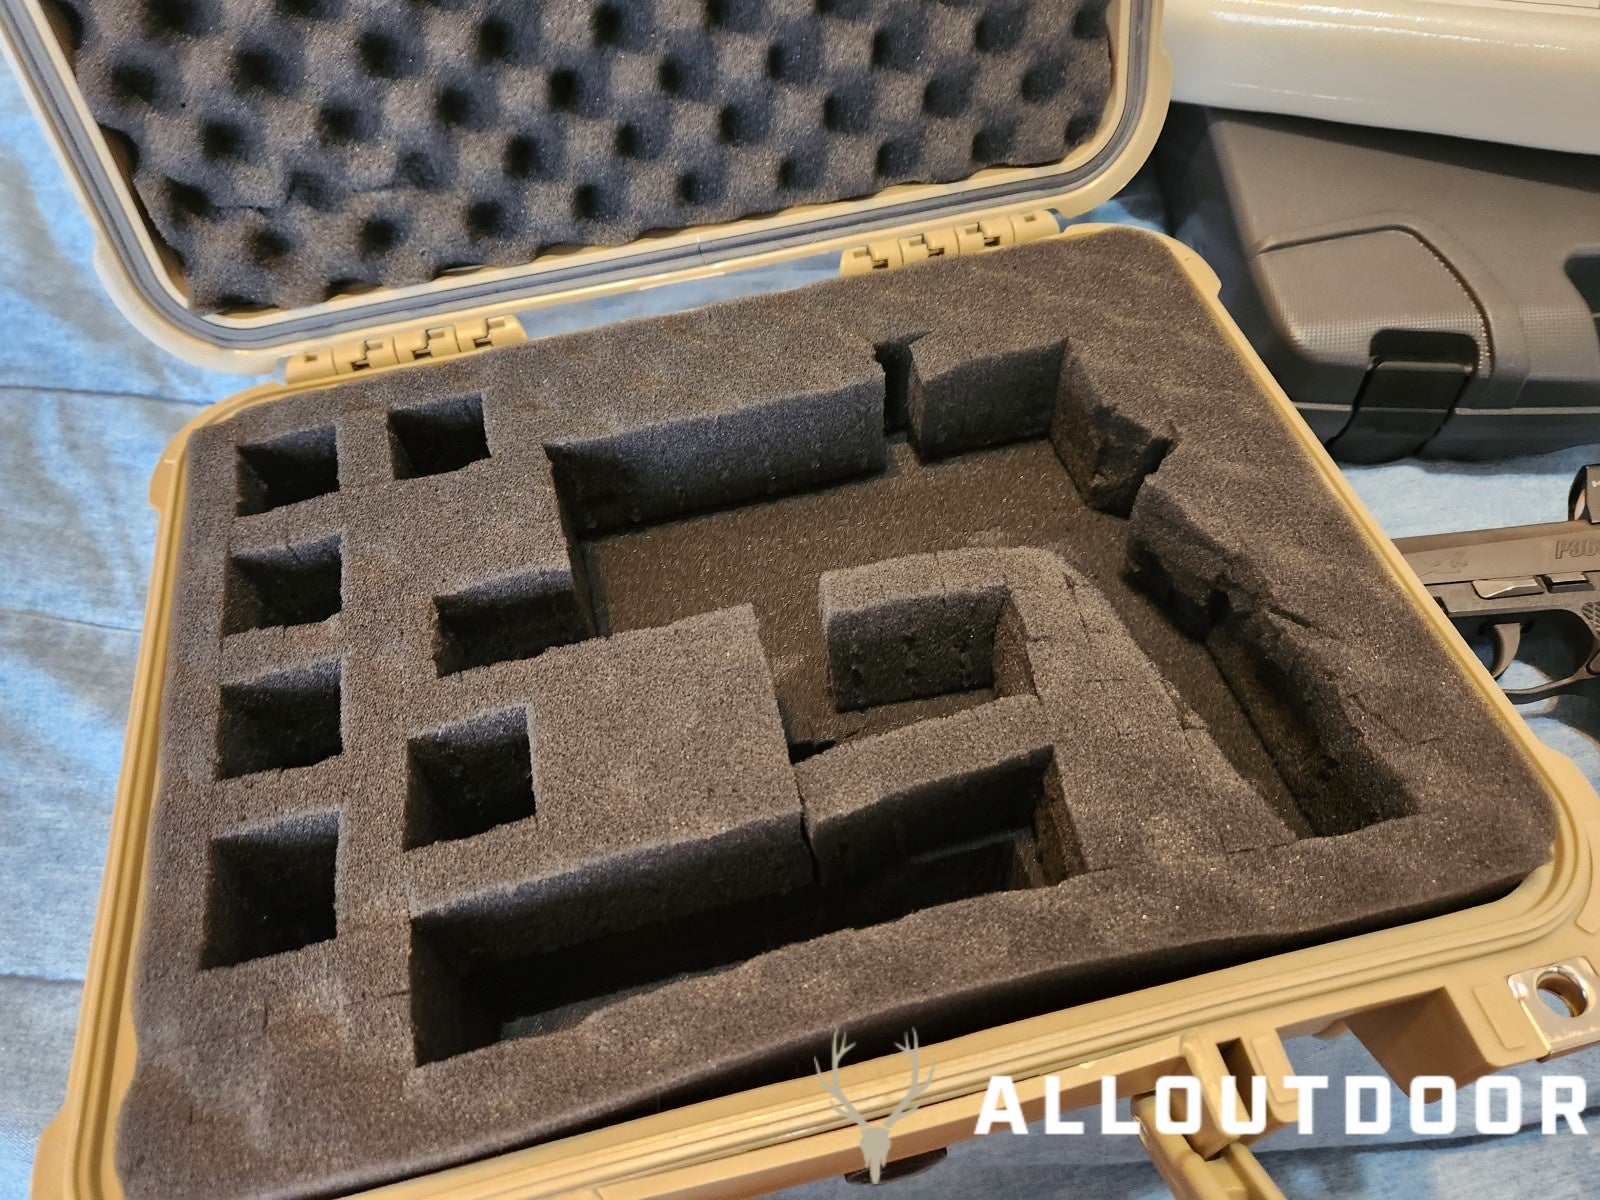
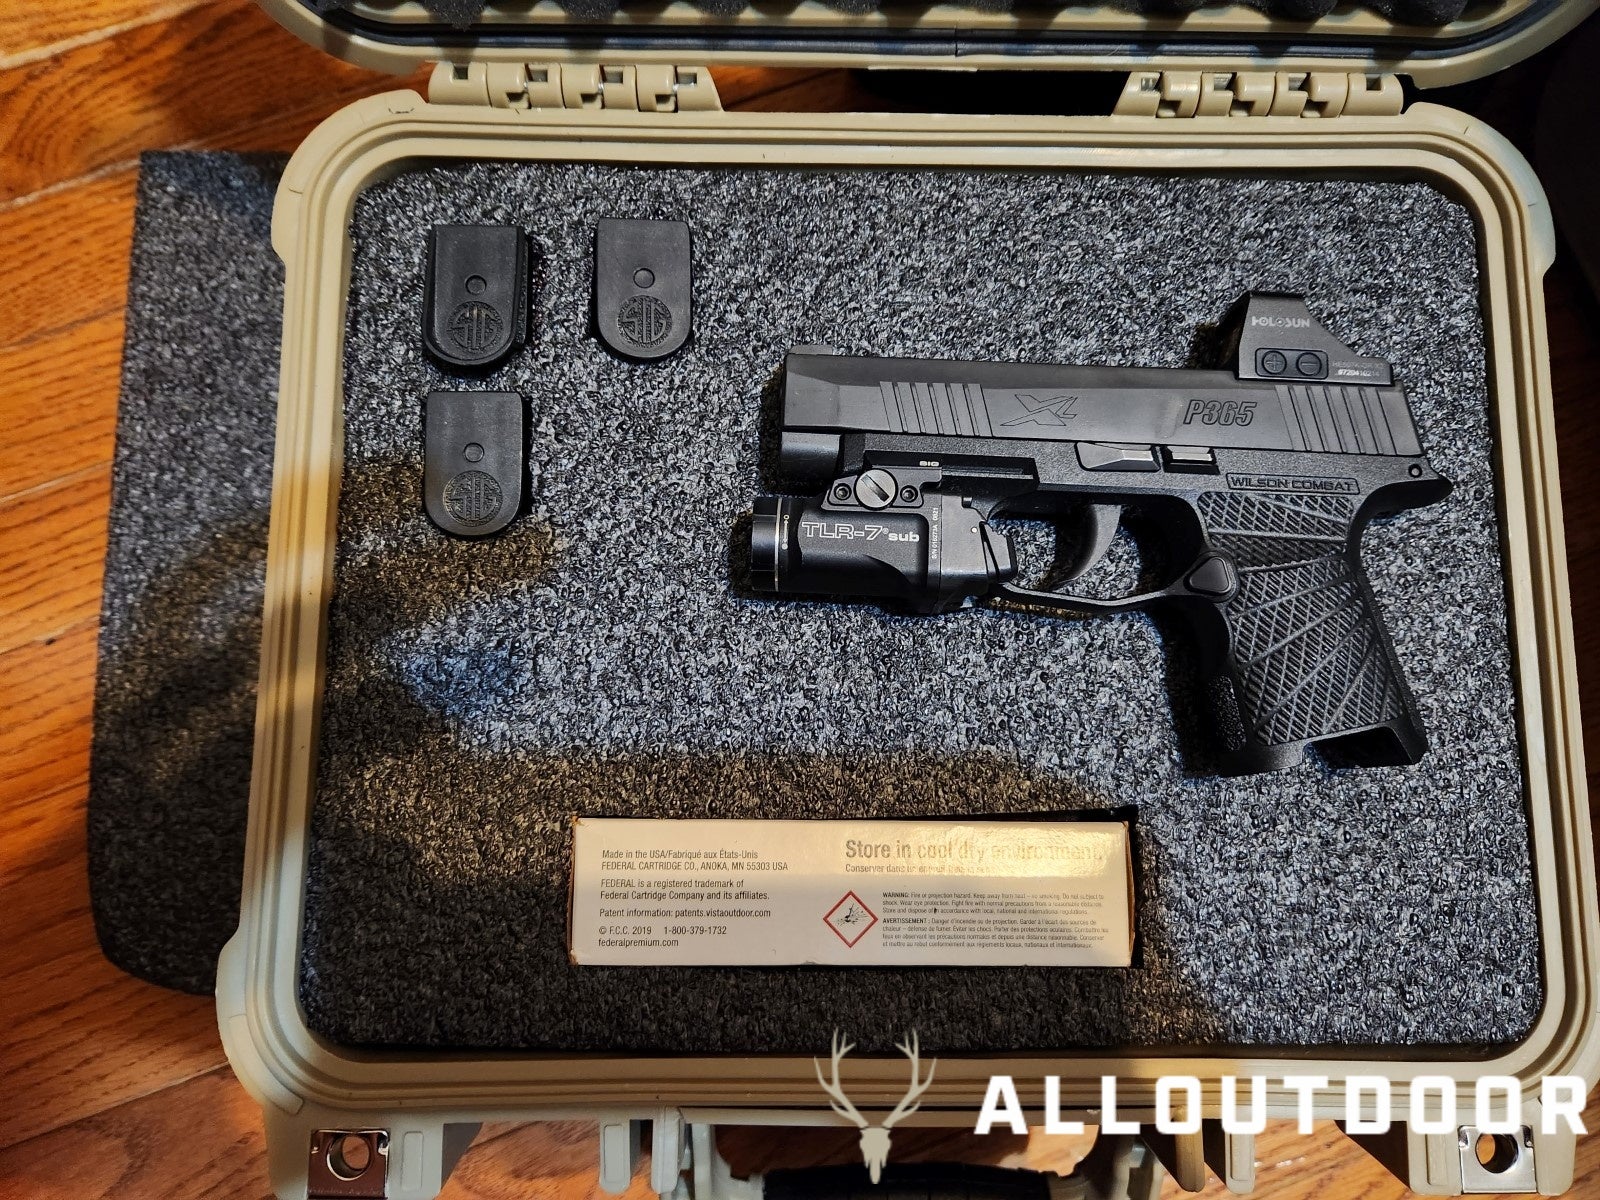
The holiday season is almost here and for some, that means a lot of air travel to visit family or to go on vacations. That means if you want to travel by air with your carry gun you have to get a hard case or refit an existing one for your carry gun to go in. I’m going to show you two (three) ways of replacing the foam in your hard cases for cheap. This is a gun case I had originally fit for an SIG Sauer P320 X-Carry, but with a lot of air travel this year I needed to replace the foam for my SIG Sauer P365.
Gun Storage Coverage on AllOutdoor
- AllOutdoor Review: Lakewood Billfold – Storage Solution for Baits
- Tonneau Buddy & Cargo Buddy – Ultimate Truck & SUV Storage Organizer!
- Steelhead Outdoors Bow Keeper Debut – Convenient, Exterior Storage
- DECKED Storage System: Organization For Your Gear
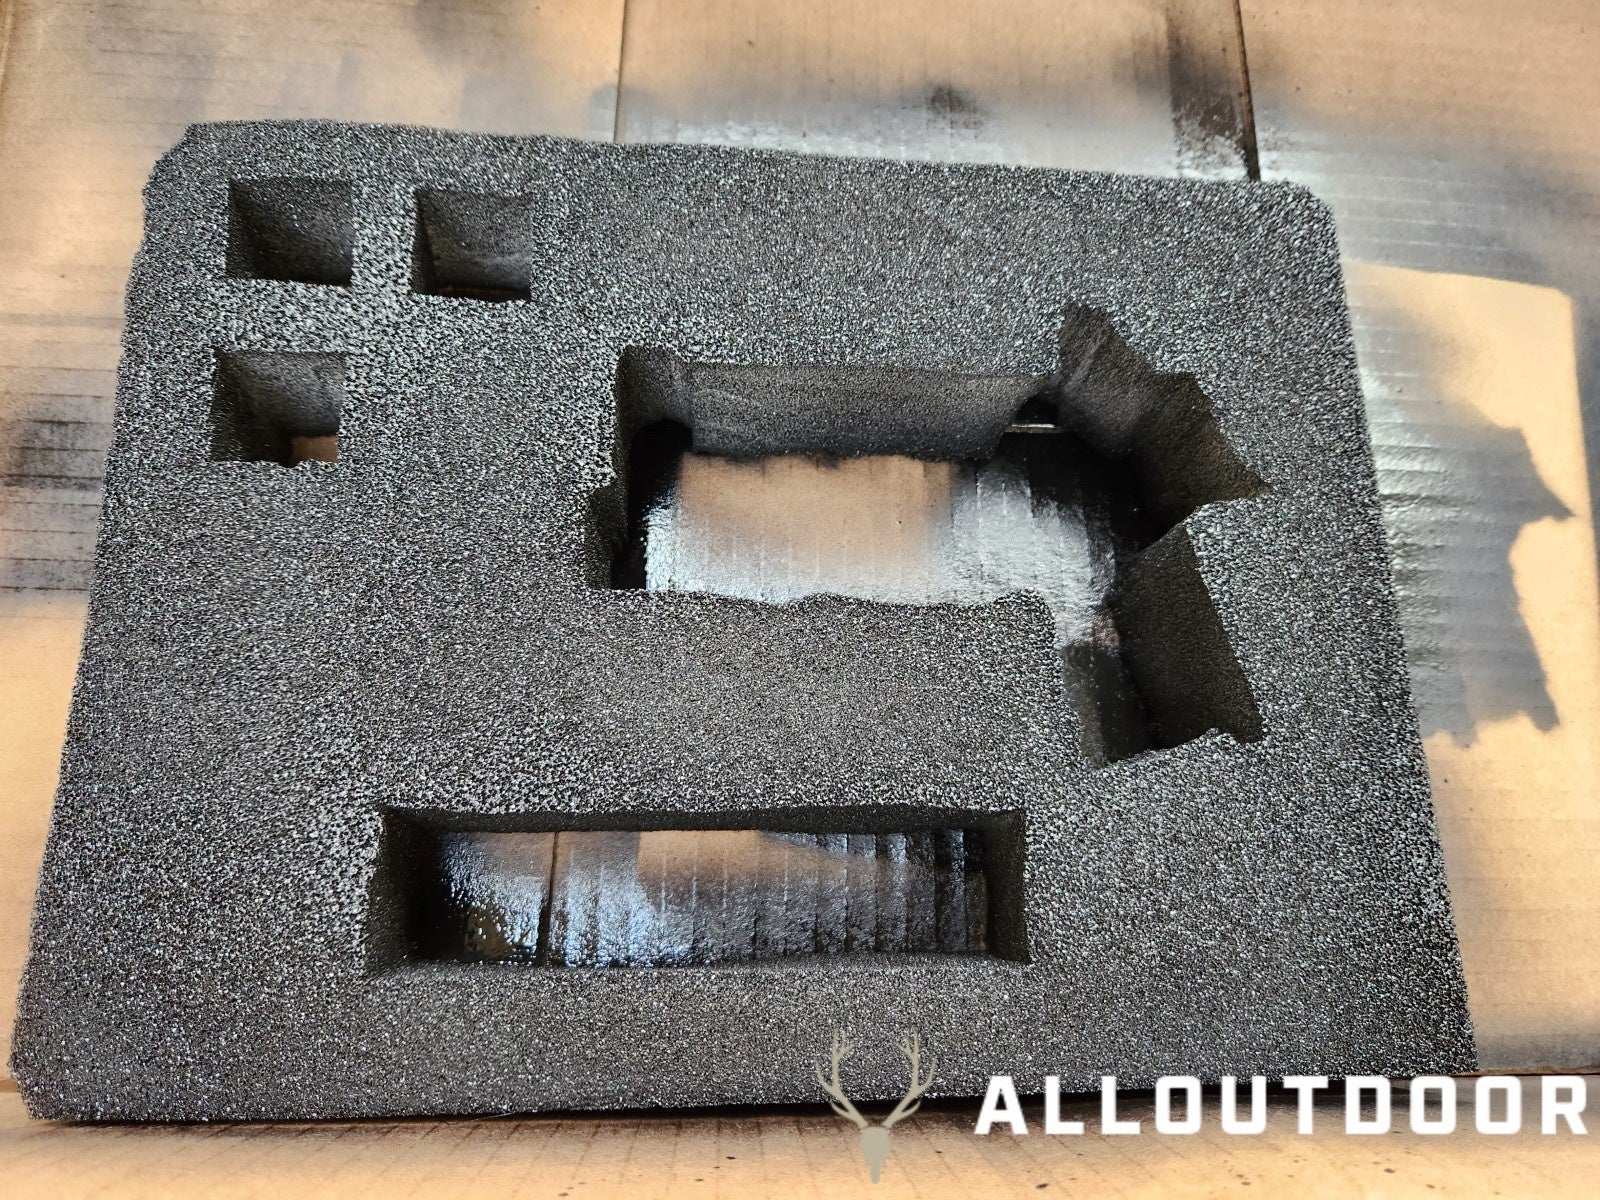
The first of the two (three) options for custom foam replacement is to just go to the hobby store and get some cheap white Polyfoam. You want to get the polyfoam that is at least 2 inches thick so it fits tightly against the foam in the lid of the hard case.
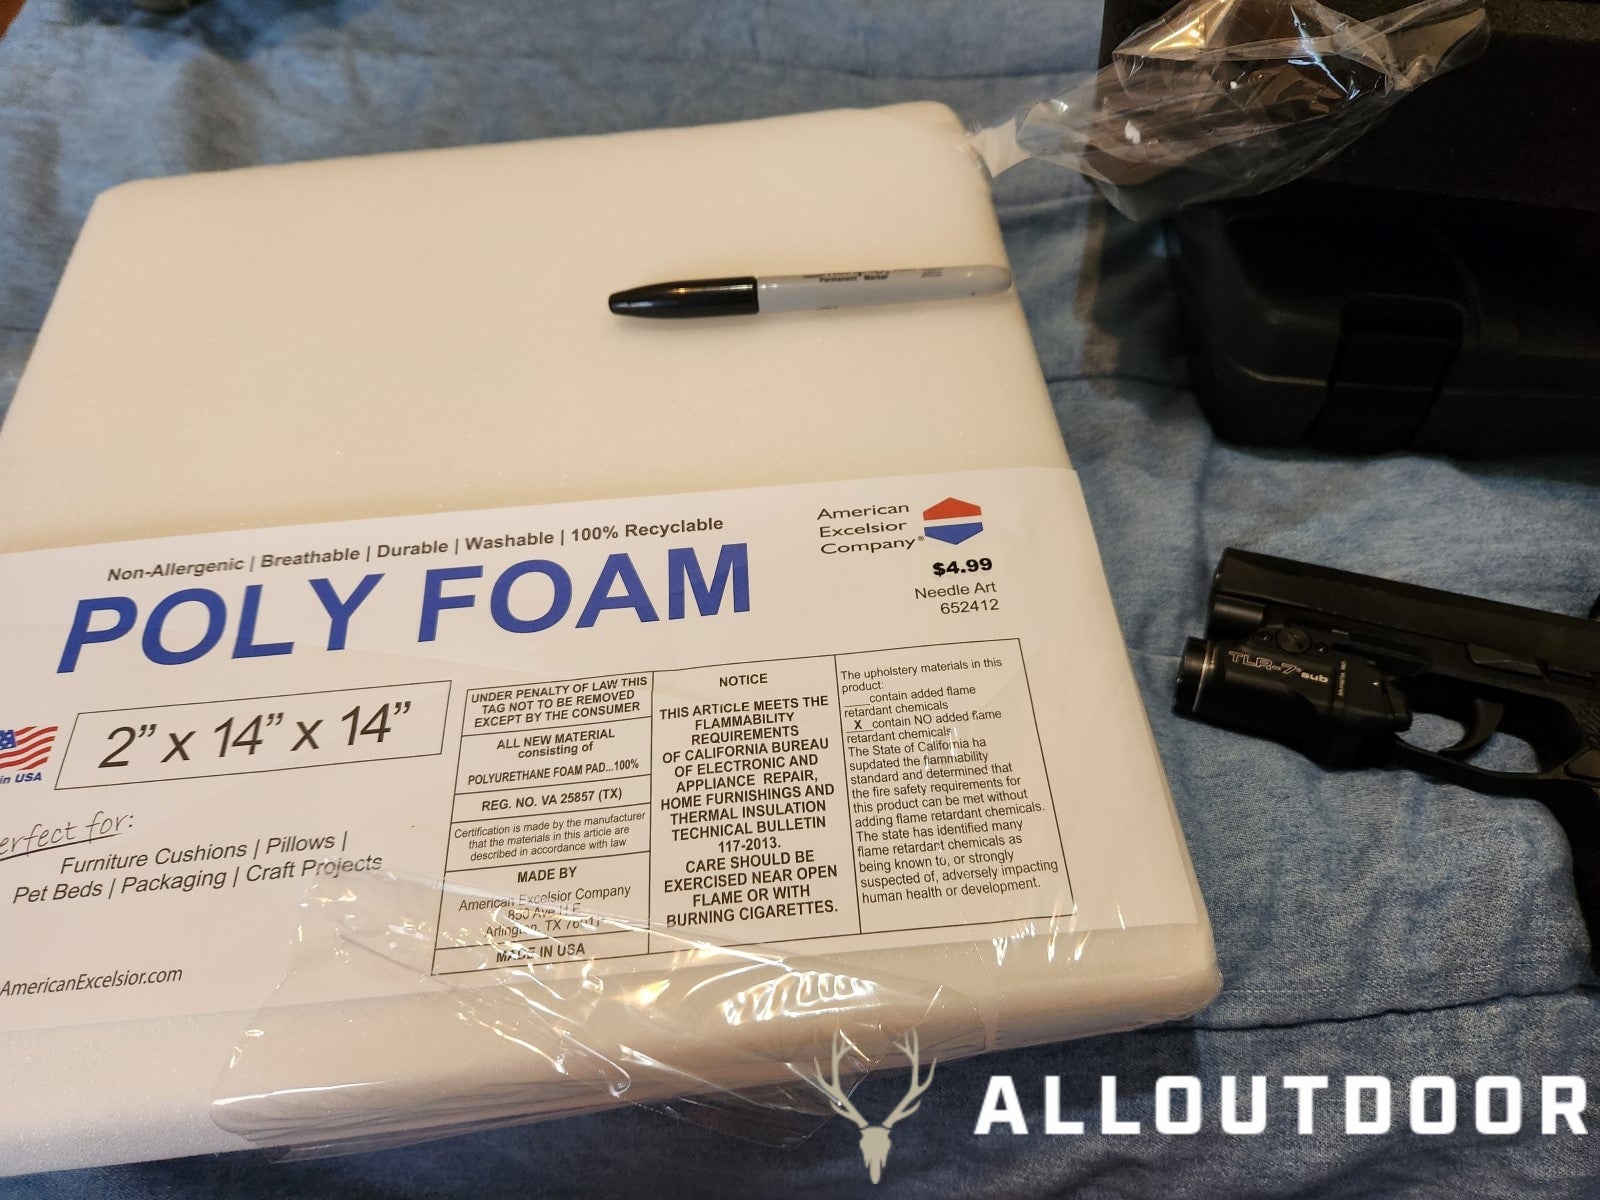
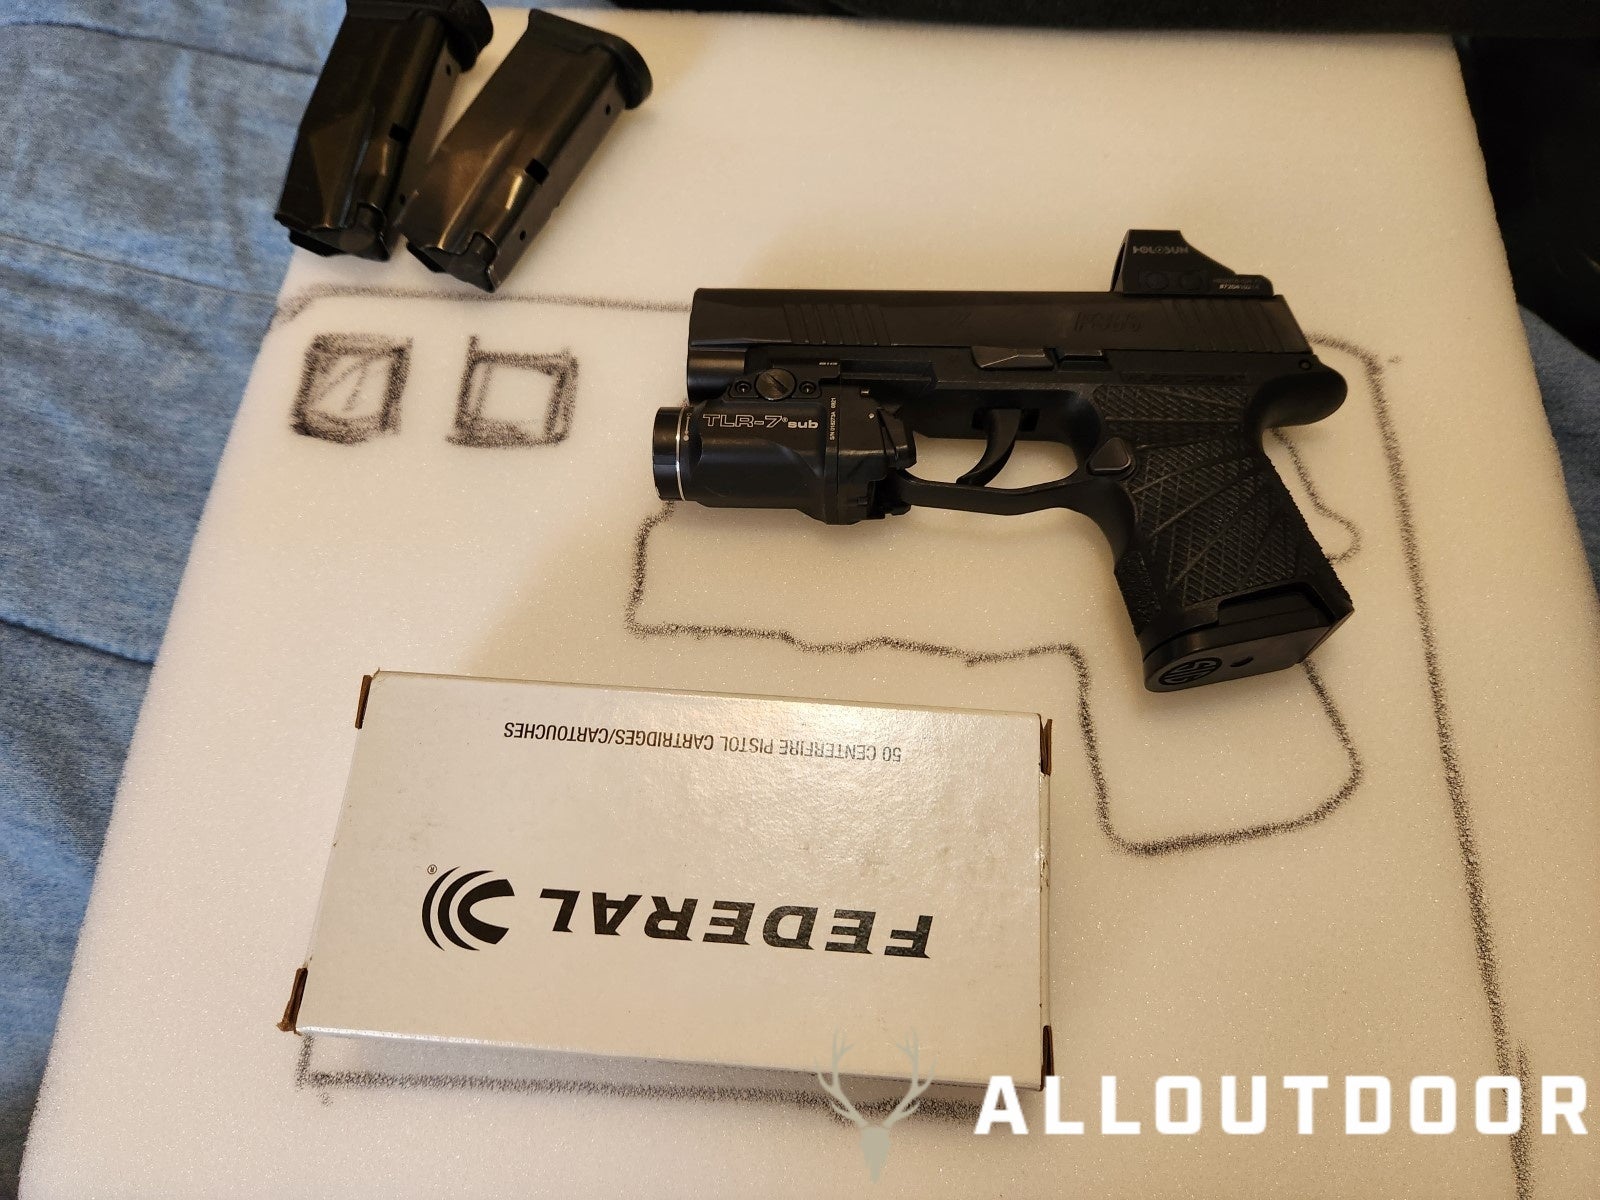
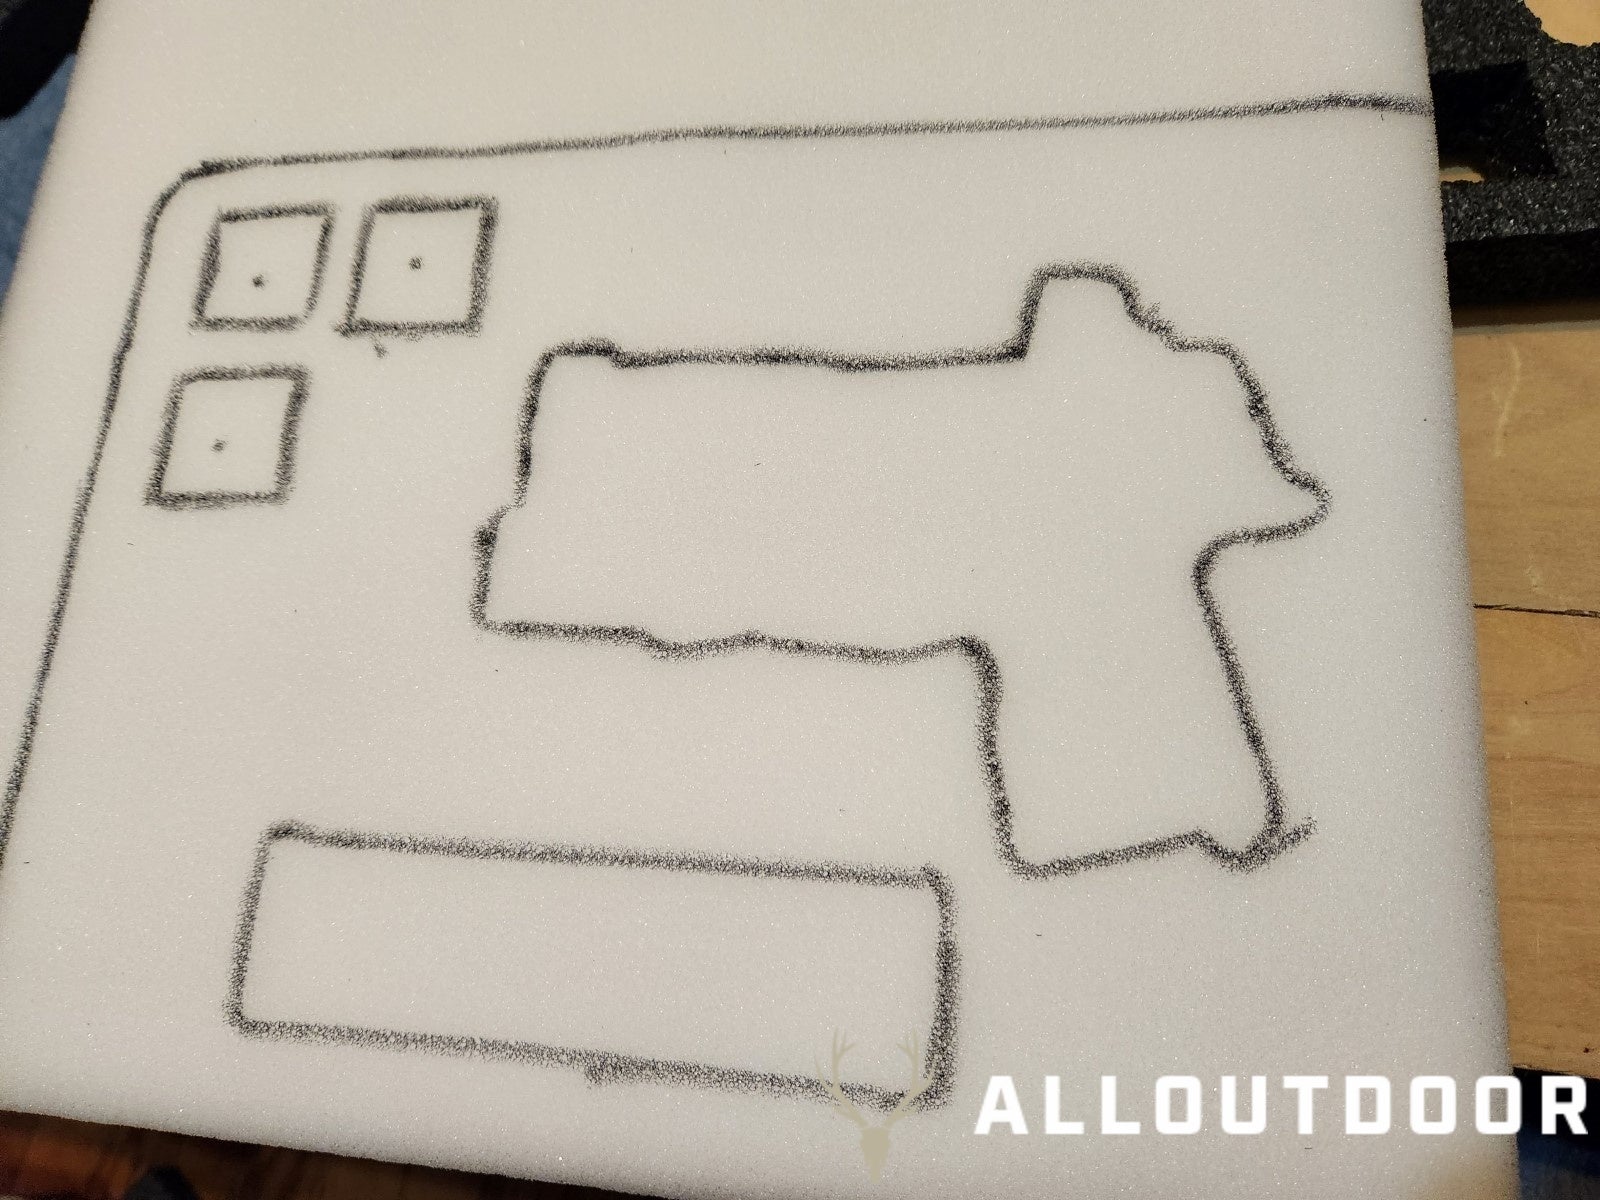
Take a sharpie and outline where you are going to cut the polyfoam. Take the original foam insert out of the case if you still have it and trace around it to get the right dimensions. For the outline cuts of the whole replacement insert it is better to go a little big than small. The foam can compress a little but you don’t want any air gaps around the rim. Then take your carry gun and magazines and outline them how you want them to sit in the gun case. As well as a spot for a box of your carry ammunition. You can not have ammo loaded in magazines or loose in your gun case for air travel. It needs to be stored in the original packaging or a hard-sided container that keeps the rounds separate.
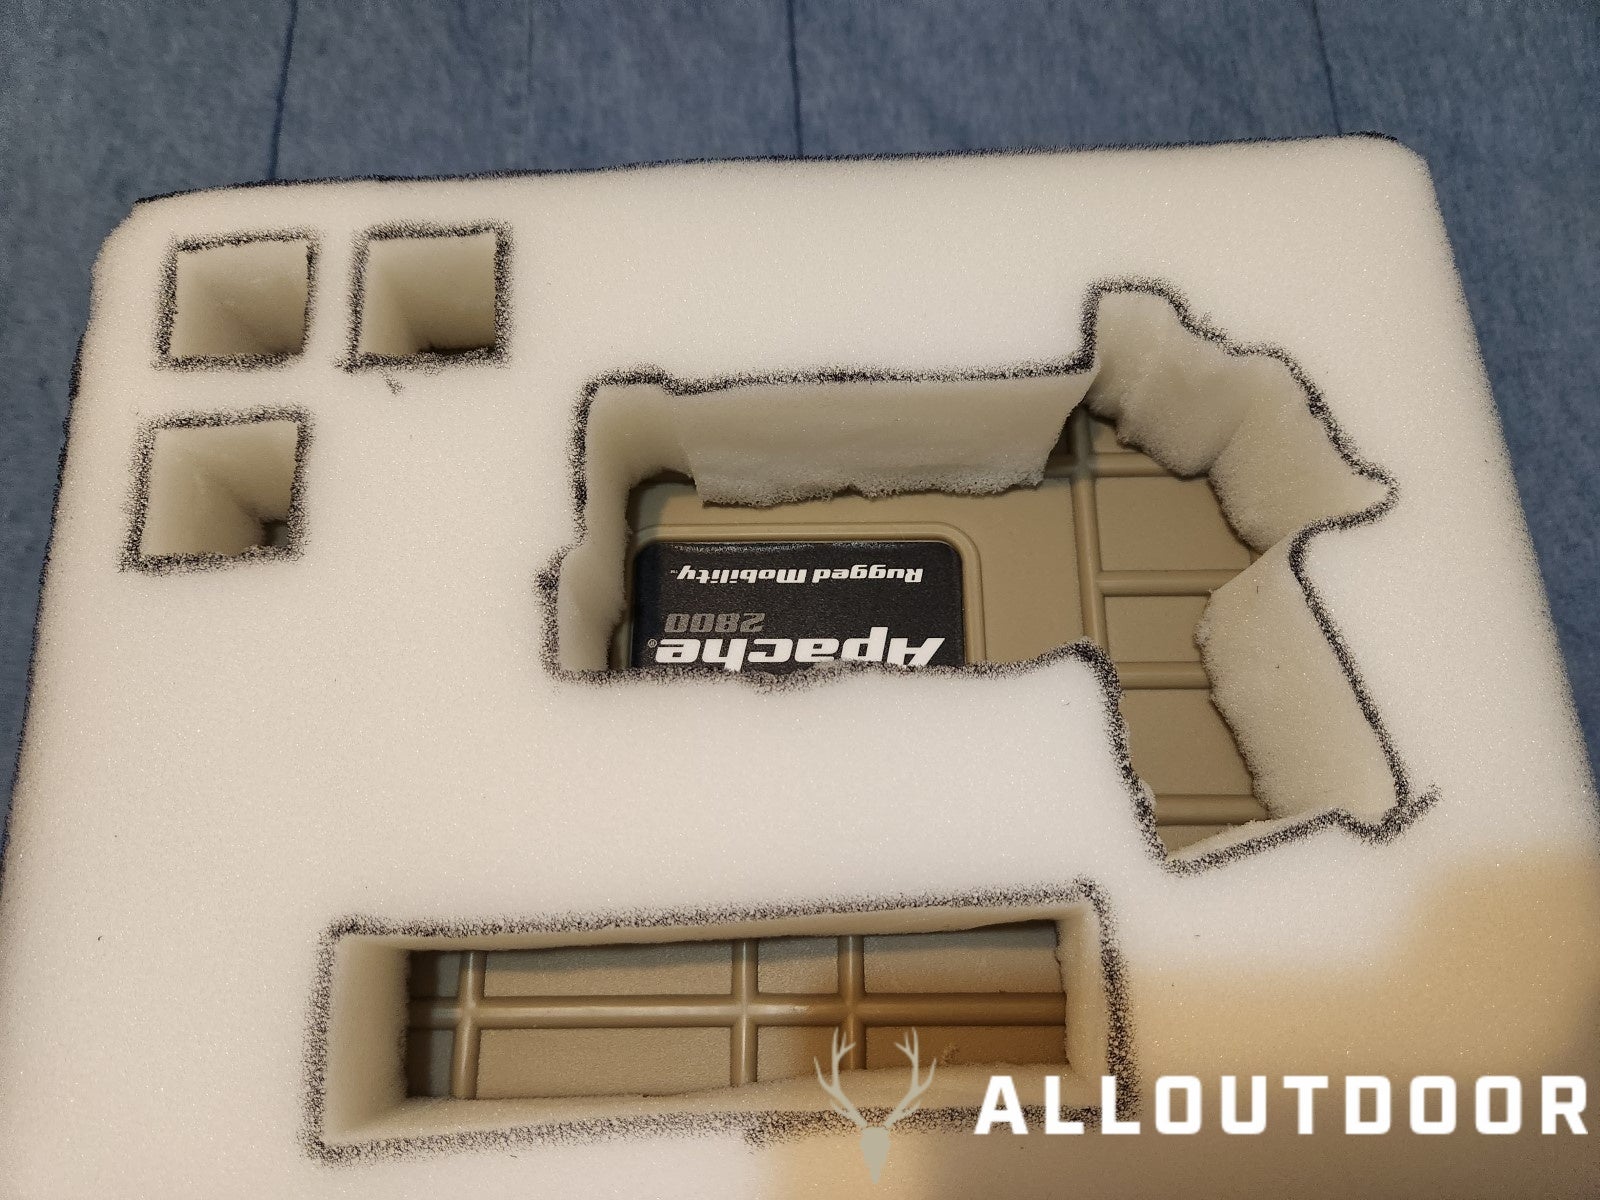
Once you’ve traced everything it is time to cut everything out. I used some disposable utility knives for this, that way the blades were fresh and never used. It helps a bit with cutting a bit more smoothly. You can also use an electric fillet or carving knife as well. Just don’t get too aggressive with it, you can always cut off more foam but not add it back.
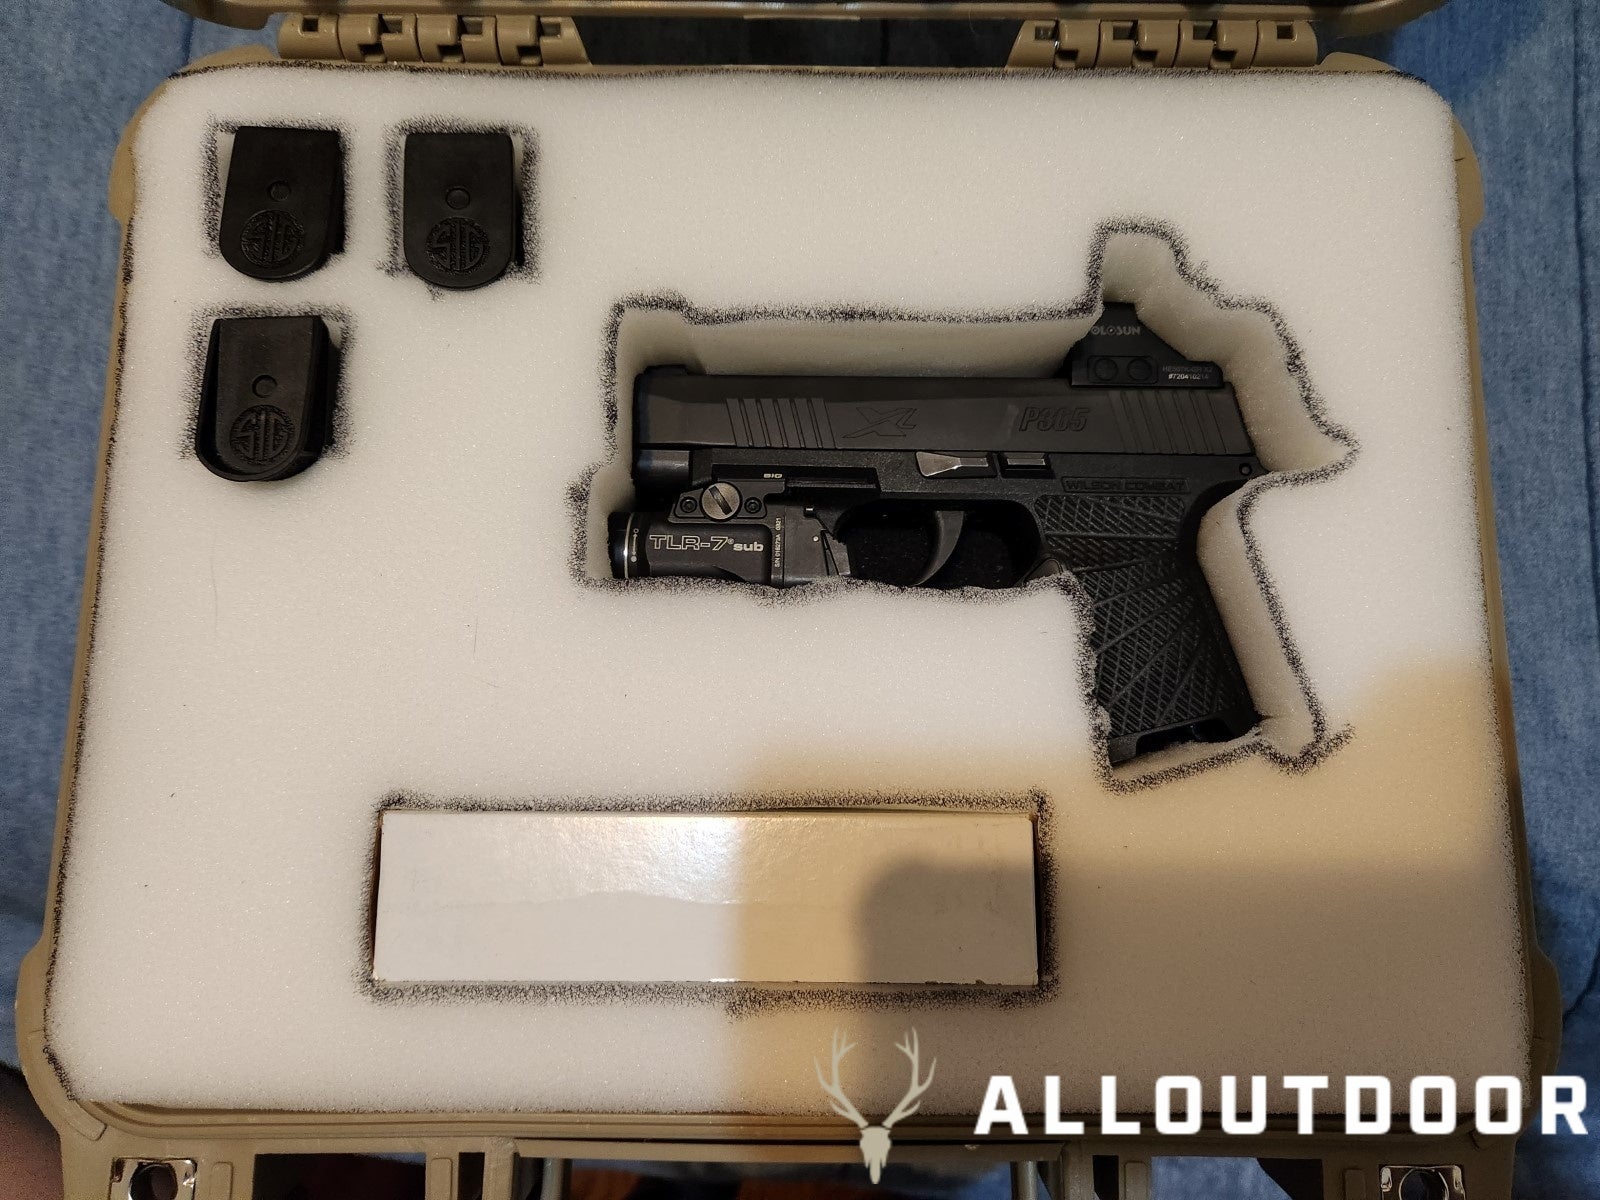
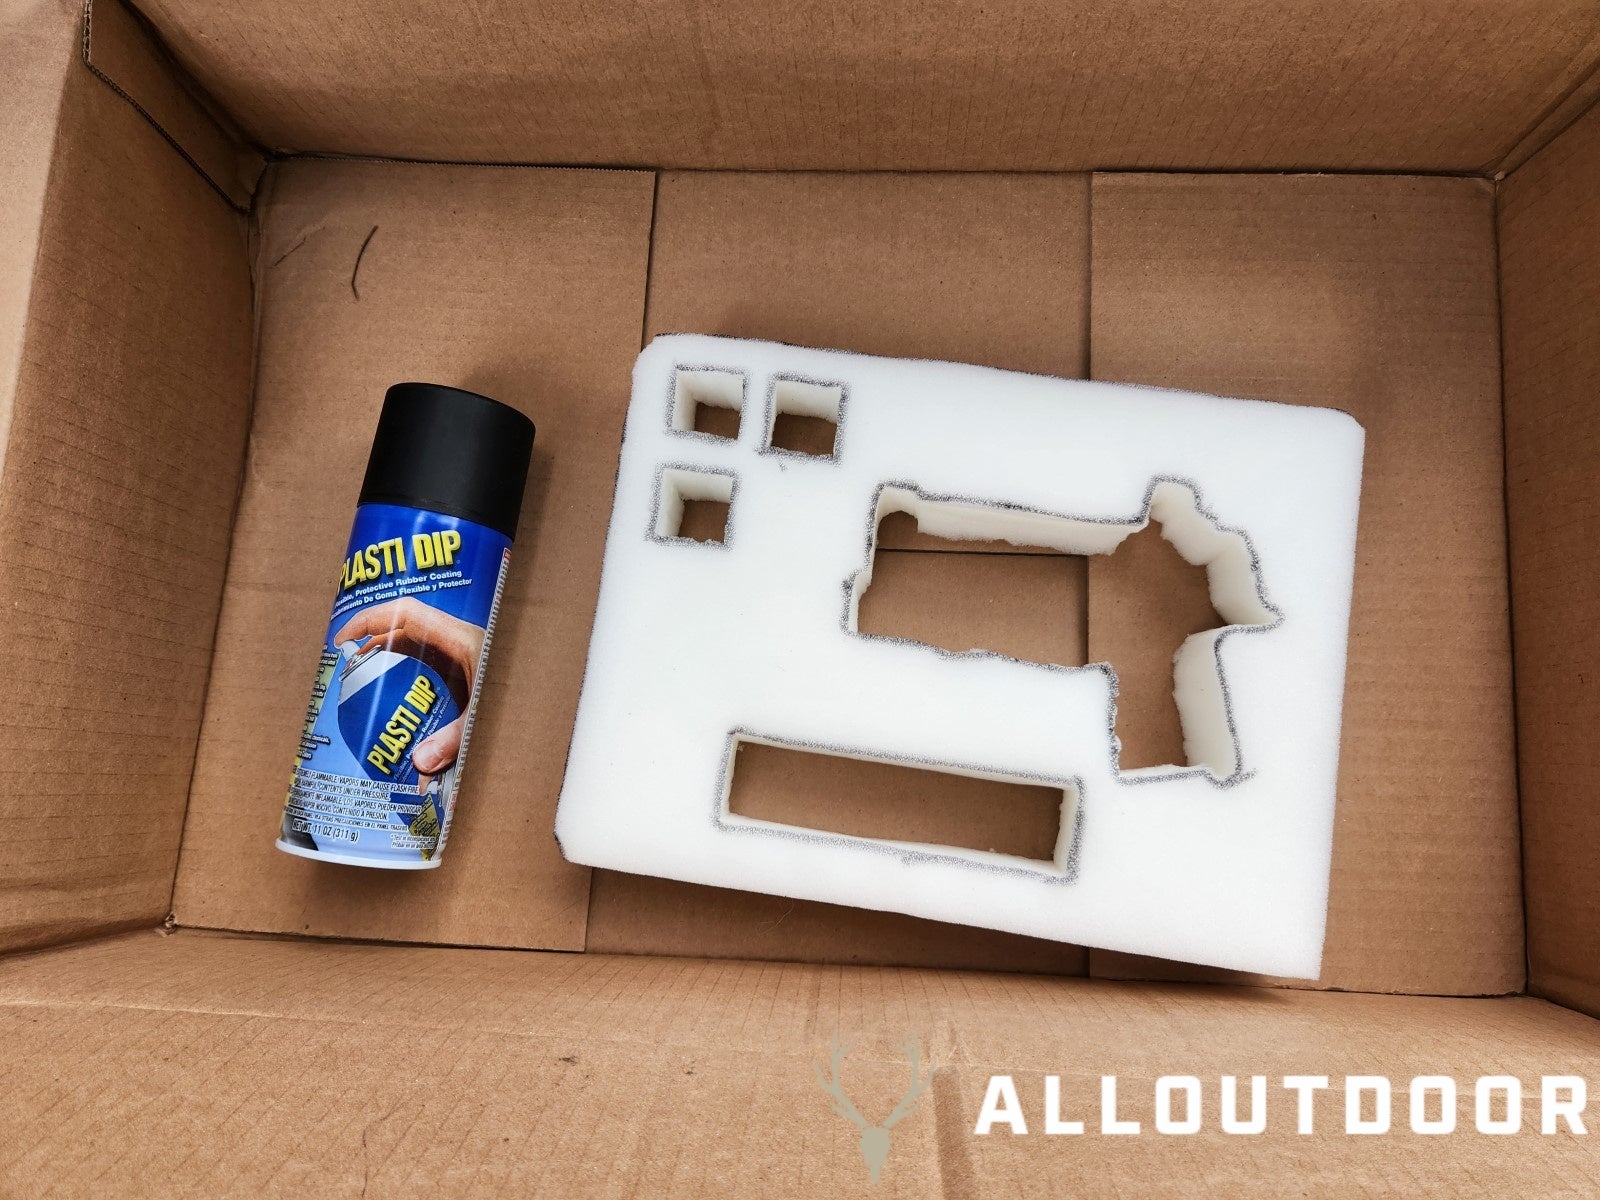
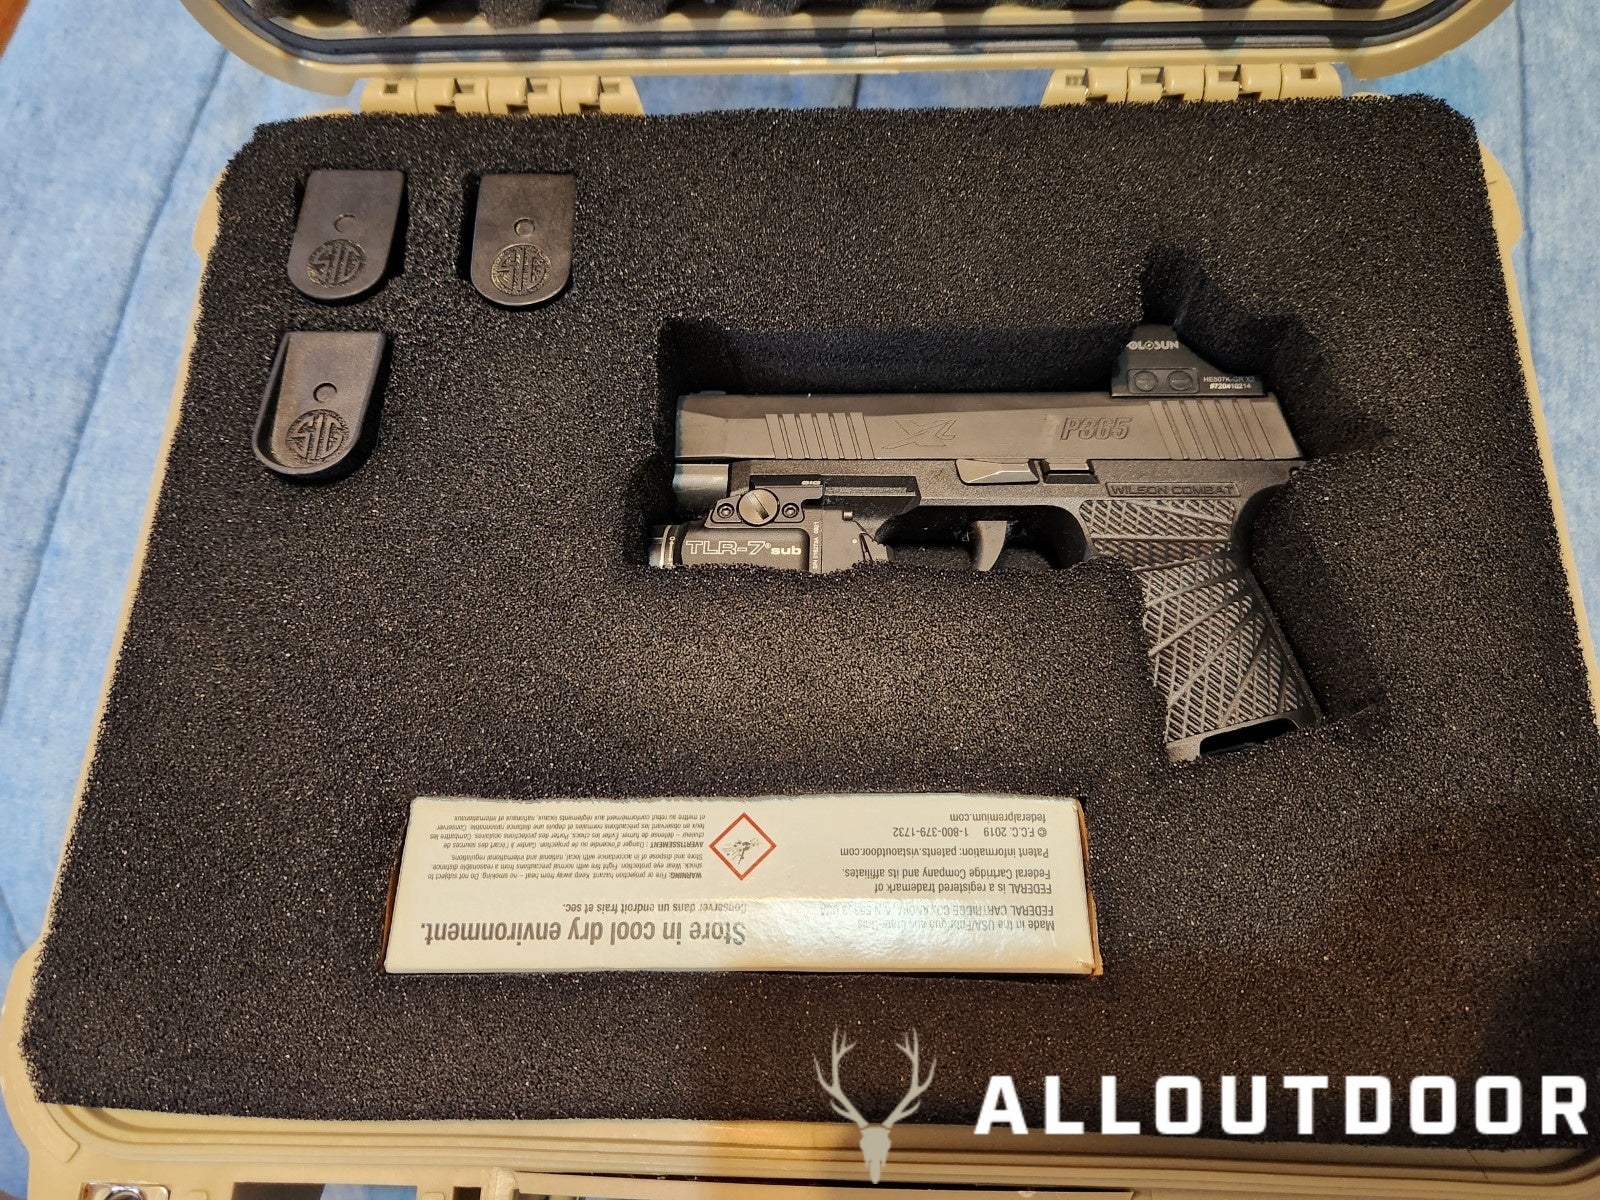
Once you test fit everything and it’s to your liking, it’s time to finish it up with some black spray can Plasti dip. Spray it evenly across the polyfoam, I recommend at least a couple of coats of Plasti Dip for a more even and thorough coating. This last step has two functions, first, it paints the white foam black. Second, it stiffens up the polyfoam some, letting your gun be more securely held in place inside the hard case.
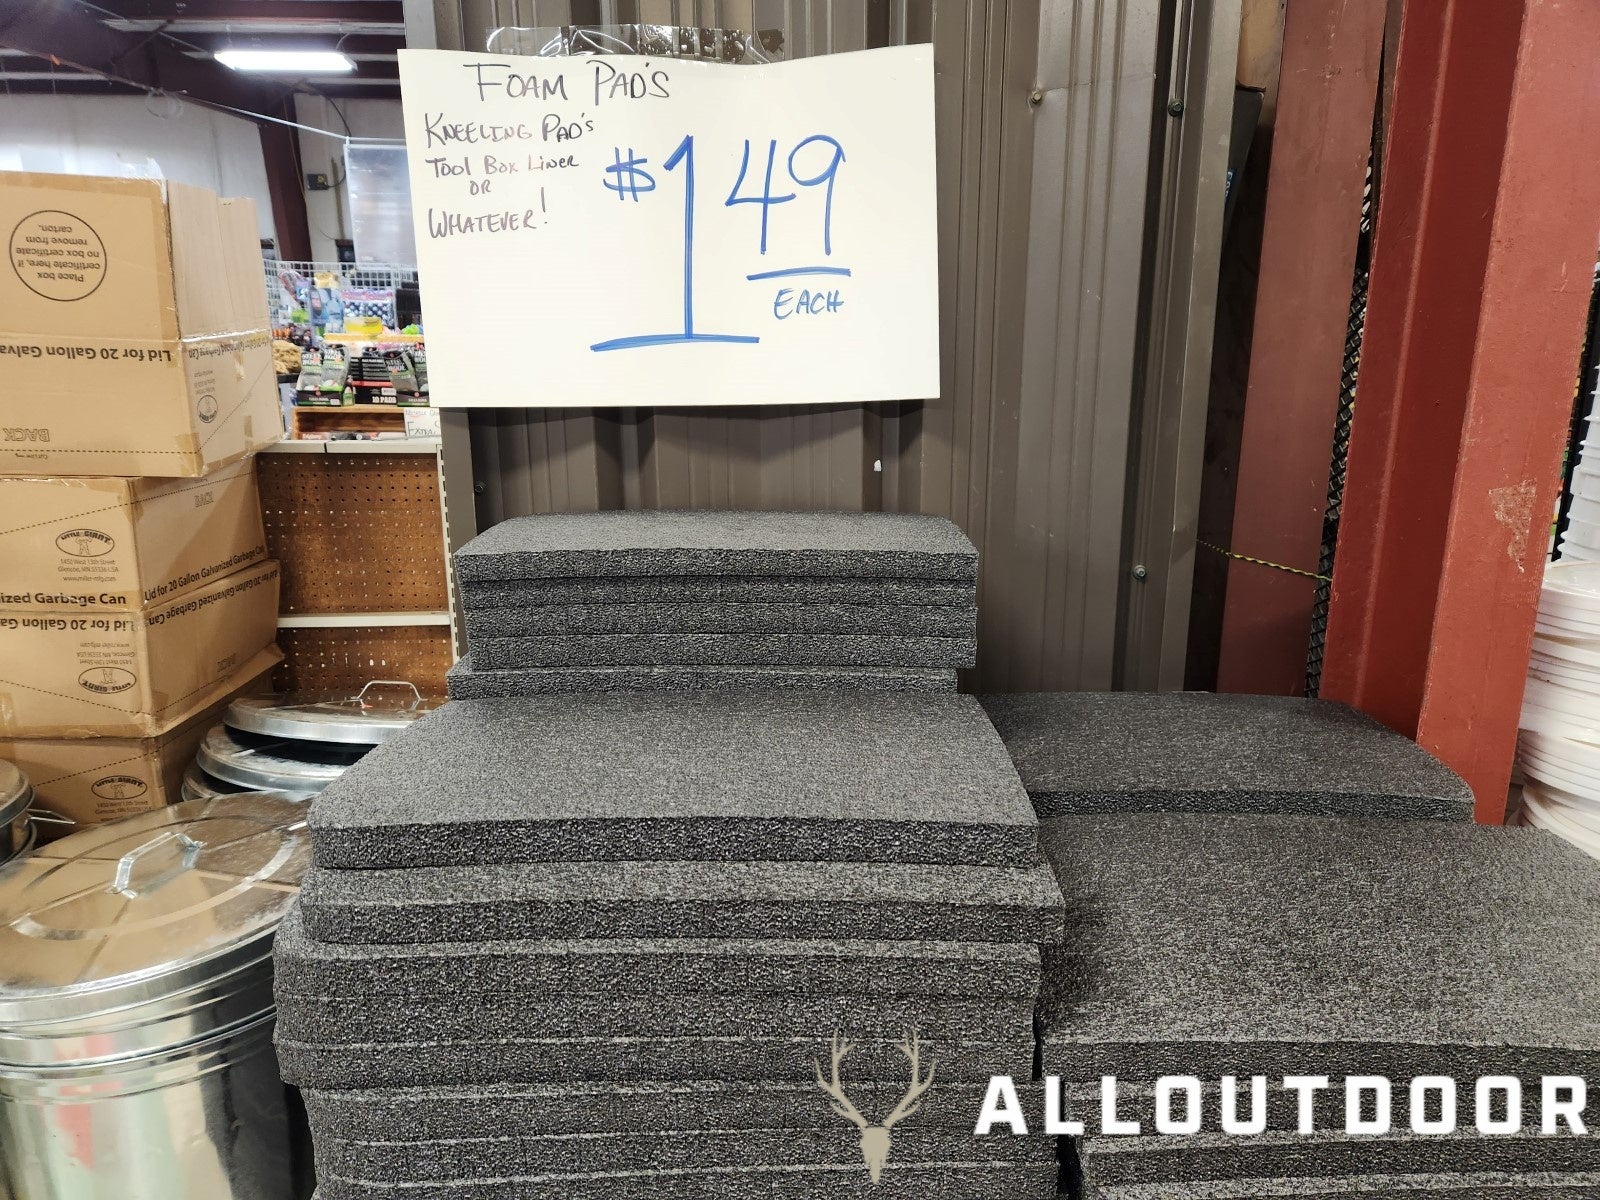
Now that I’ve covered one way of replacing the foam in your gun case with a custom replacement, let’s move on to the second method. This method is just a cut-and-replace method. You want to use polyethylene closed-cell foam, often you can find it as kneeling pads in garden sections. I found it at a local Overstock store for $1.50 a piece.
It’s the same thing as before with the polyfoam, trace your carry gun, magazines, and ammunition. Then cut the outlines out of the foam. Again I used some disposable utility knives because they are cheap but very sharp. Just like before don’t cut too much off at once, you can’t add more foam onto where you cut it off. The polyethylene foam is a bit easier to work with due to it being stiffer than polyfoam. But that also means it is less forgiving of miscuts.
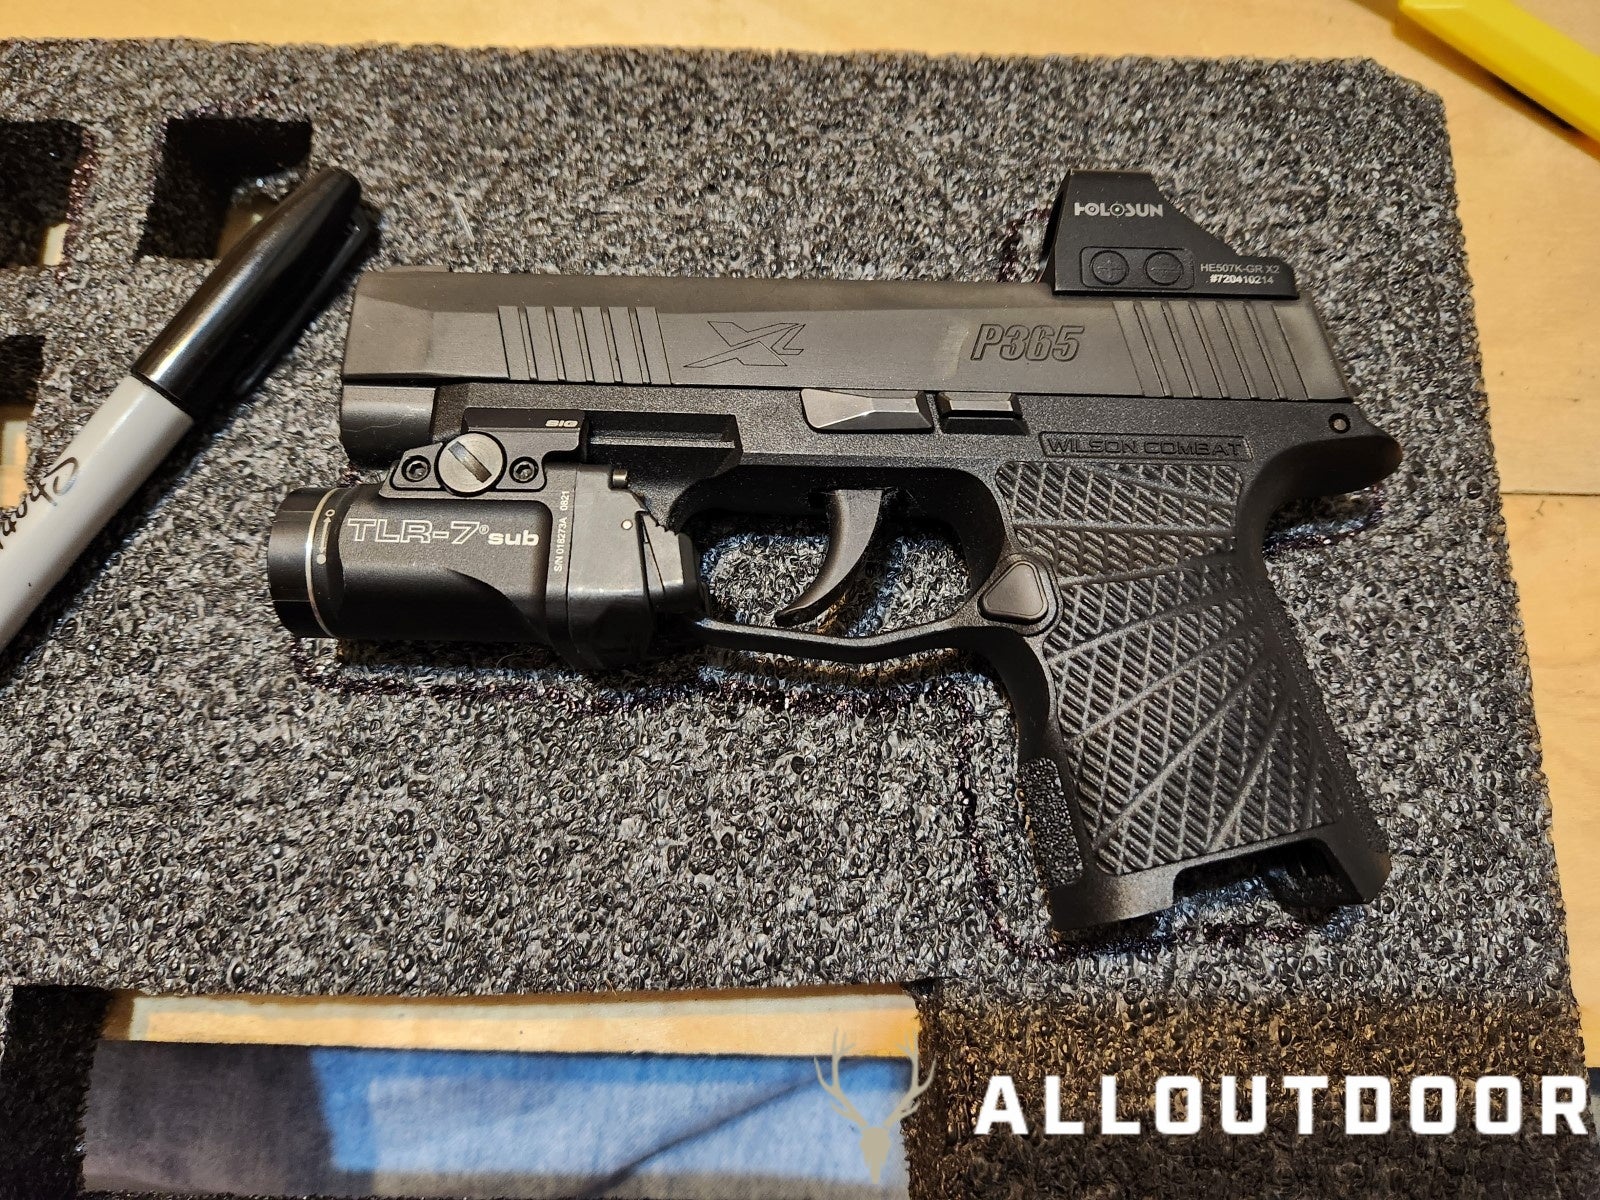
Once you finish your cuts the polyethylene custom gun case insert is done. There is no need to Plasti Dip this foam with it already being dark grey and stiff. I do want to note that this one does have a bit of movement with your gun as it’s not as tight fitting. So if you don’t like that I recommend the polyfoam method I covered first.

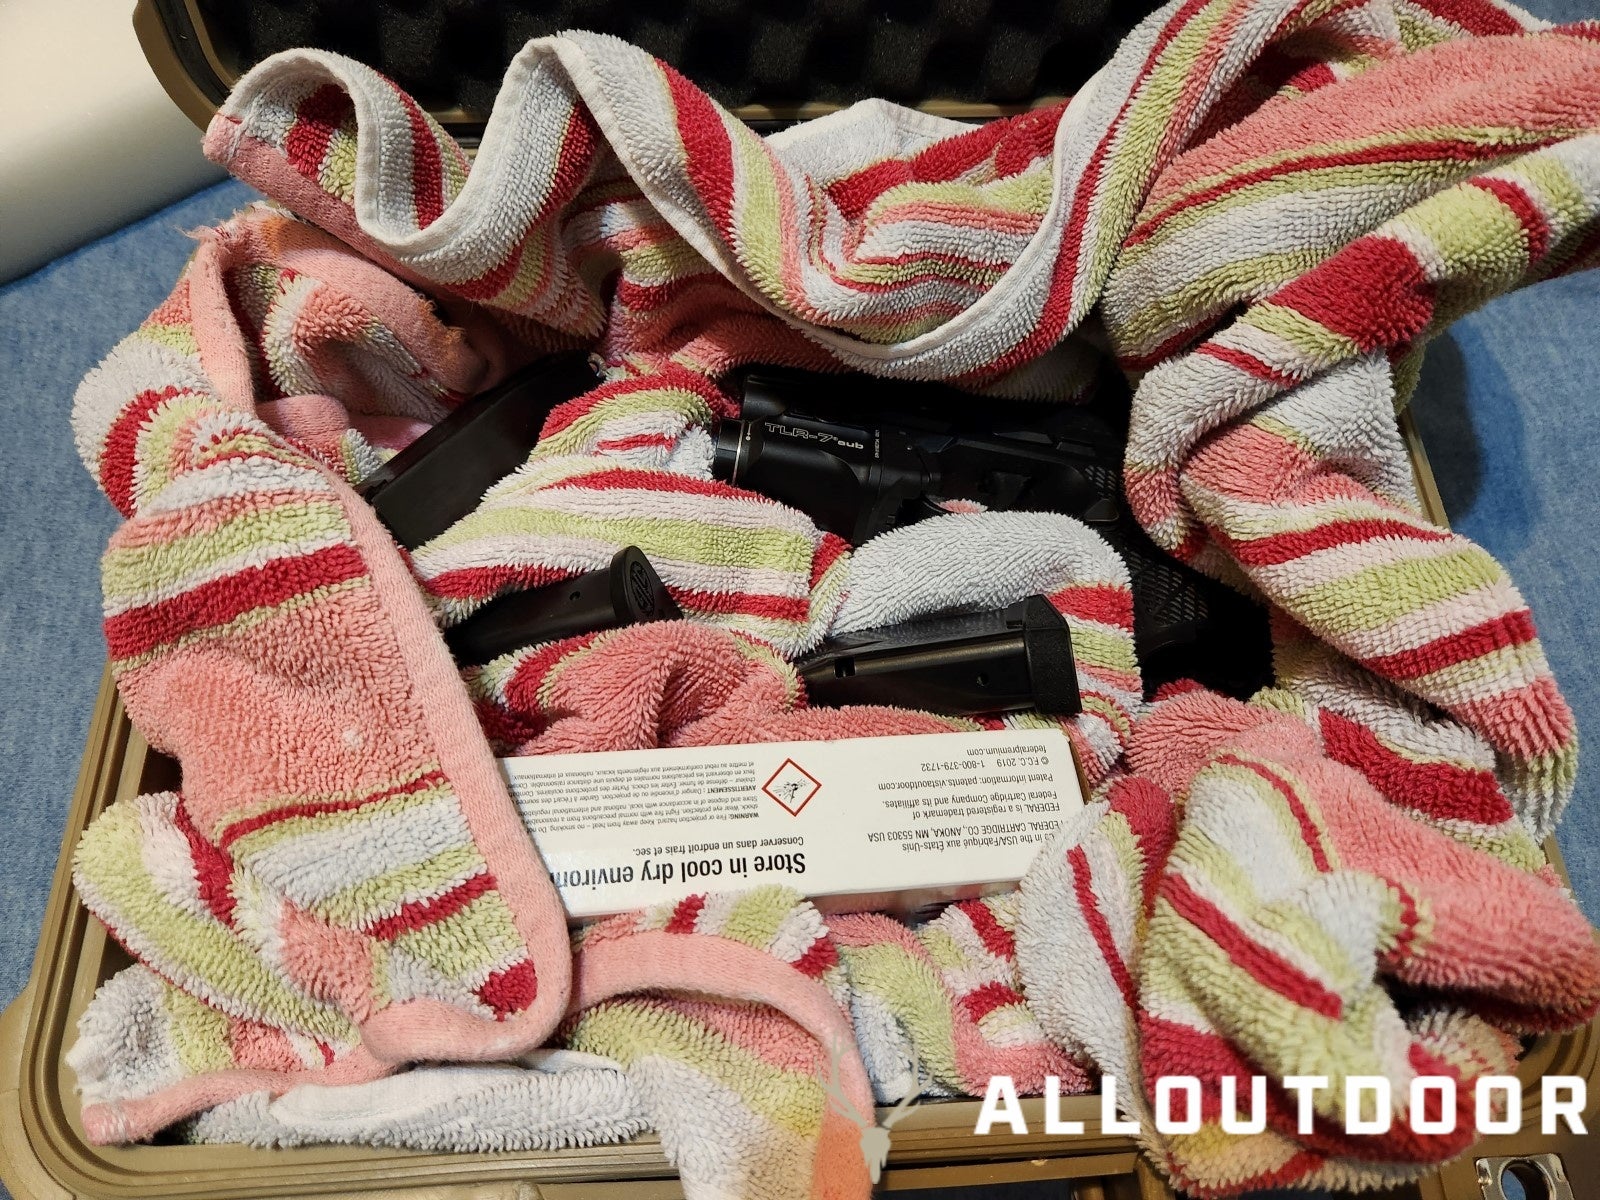
I know I said two methods at the beginning but there is a third method that would work. Especially if you are in a pinch and need to fly out in the morning. Just grab a beach towel that will fit in the gun case. Make some little spots for the carry gun, magazines, and ammo in the beach towel. Then just stuff the rest of the towel into the case and close it up. I know it looks ratchet as hell, but the towel holds everything in place and protects everything. If you hear some rattling throw in a hand towel to get rid of any leftover air space.
Finally, just some air travel tips, make sure every spot that can have a lock on your case has a lock. You want a solid shackle lock, not one of those wire locks. If the agent can fit a finger inside the case with the locks on the case, the locks are too big and they will refuse it. As for the locks on the case, you don’t want to have TSA-approved locks. For everyone who’s made it this far, safe travels, and thanks for reading.