AllOutdoor Review: SIG SAUER ZULU6 – Alaskan Wildlife Spotting
Nicholas Chen 10.18.22

Recently I went on a cruise to Alaska. I wanted to video and photograph wildlife on the trip. I thought about my cameras, lenses and my Maven 12×50 B.6 binos. While those will work, they take time to use and I am not sure how well they would work while moving. More on that later. So I decided to bite the bullet and buy a pair of imaged stabilized binoculars. I found the SIG SAUER ZULU6 binos at my local Sportsman Warehouse and bought them a day before our trip. They were a family favorite on the cruise. Let’s take a look at them.
Binocular Coverage on AllOutdoor
- AllOutdoor Review: Maven C.2 Binocular In 10x28mm
- Sig Sauer’s Buckmasters Rangefinder and NEW 10×42 Binoculars
- SIG Sauer’s New KILO6K-HD Compact Ballistic Rangefinding Binoculars
Image Stabilized Binoculars, But Why?
As I mentioned above I have cameras and a decent Maven bino. While they are all adequate at seeing far I was concerned about the whale watching and wildlife excursion that I planned to take in Juneau, Alaska. We would be on a boat and I was pretty sure that boat will be moving. Plus trying to hold the Maven Binos steady just to observe things takes time let alone try to photograph/film through them with my phone is an added complication. This is excessive time I don’t have when trying to photograph or film something in a short amount of time, like a Humpback Whale coming up for air. I recall my friend Aaron beaming about his Canon stabilized binoculars but they are over $1,000. I wanted binos with range and image stabilization. A simple Google search and the SIG SAUER ZULU6 seemed to tick all the boxes. It has more magnification than my Maven Binos even though the objective lens size is smaller. It retails for $850, which is less than the Canon binos. The Canon I was looking at was the 18×50 IS but they weigh 2.6 lbs!. The SIG SAUER ZULU6 only weighs 20 oz (1.4 lbs). I had only tried my friend’s Canon IS binos over 2 years ago and I do not remember much. So when I bought the ZULU6 I took them out off the box as soon as I left the store and powered them up. I was impressed by the image stabilization. I even had my 6 year old daughter try them and she could see things clearly. She hasn’t learned how to keep normal binos steady so these were a huge help.
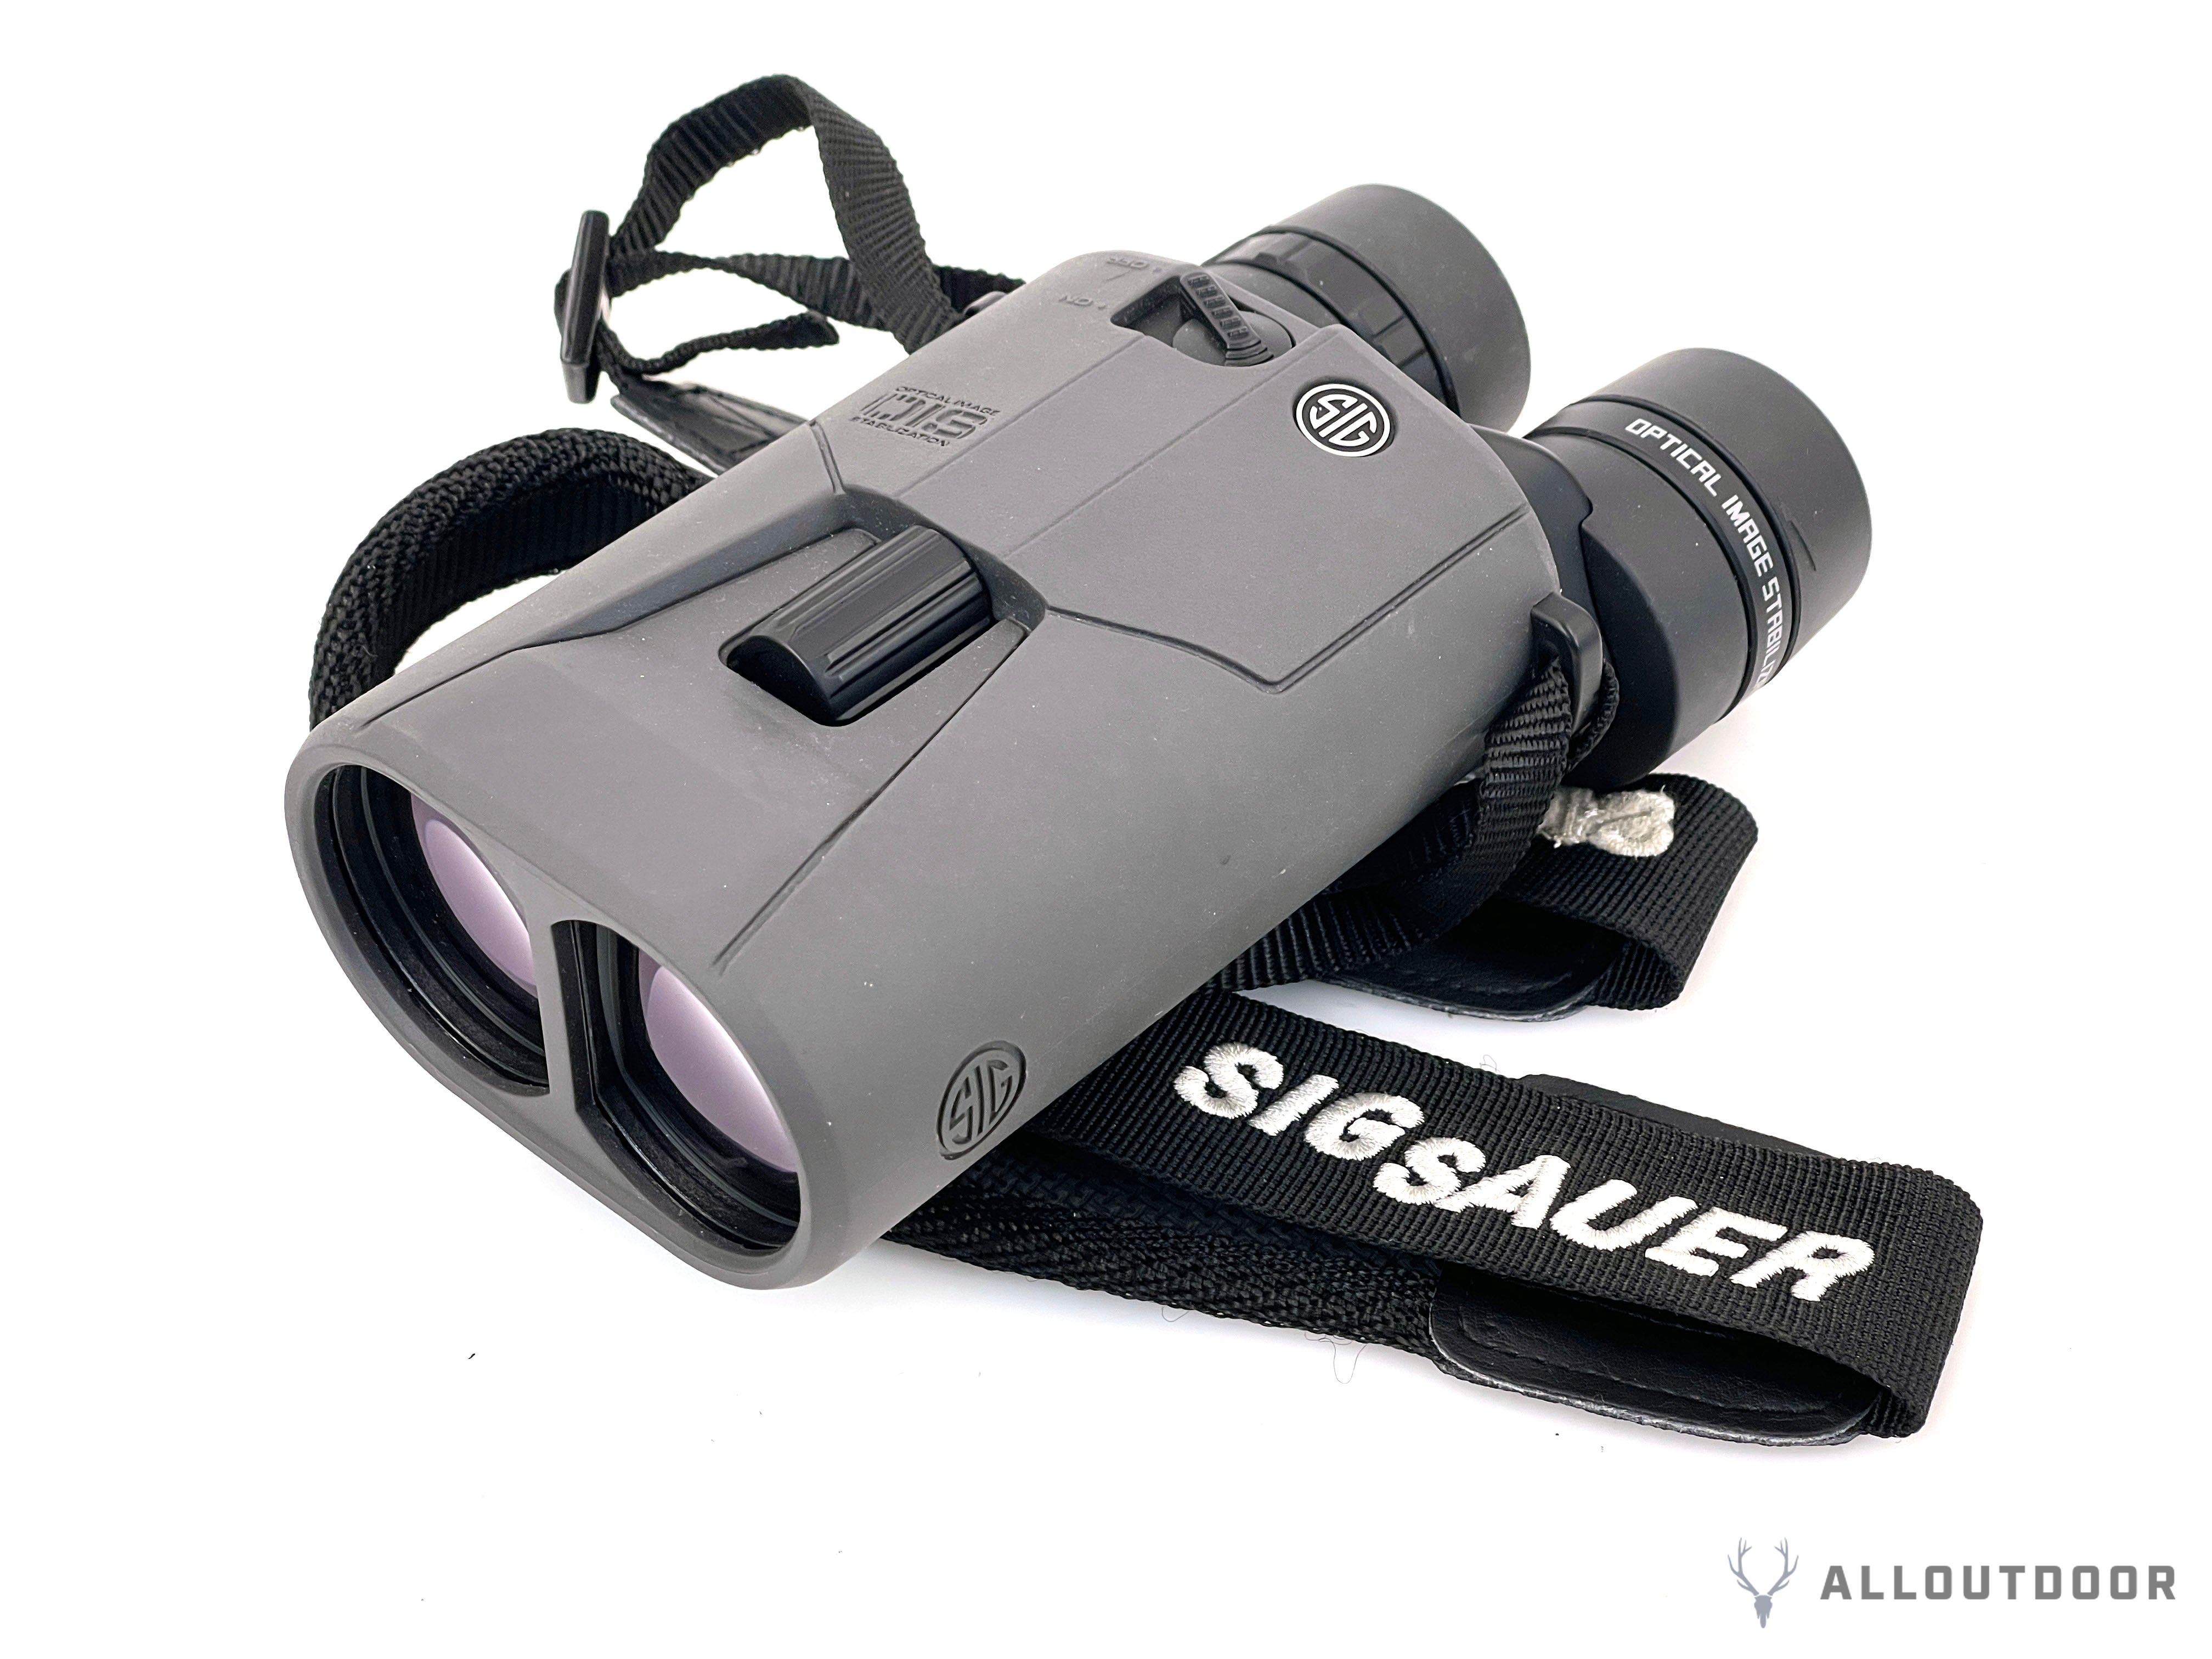
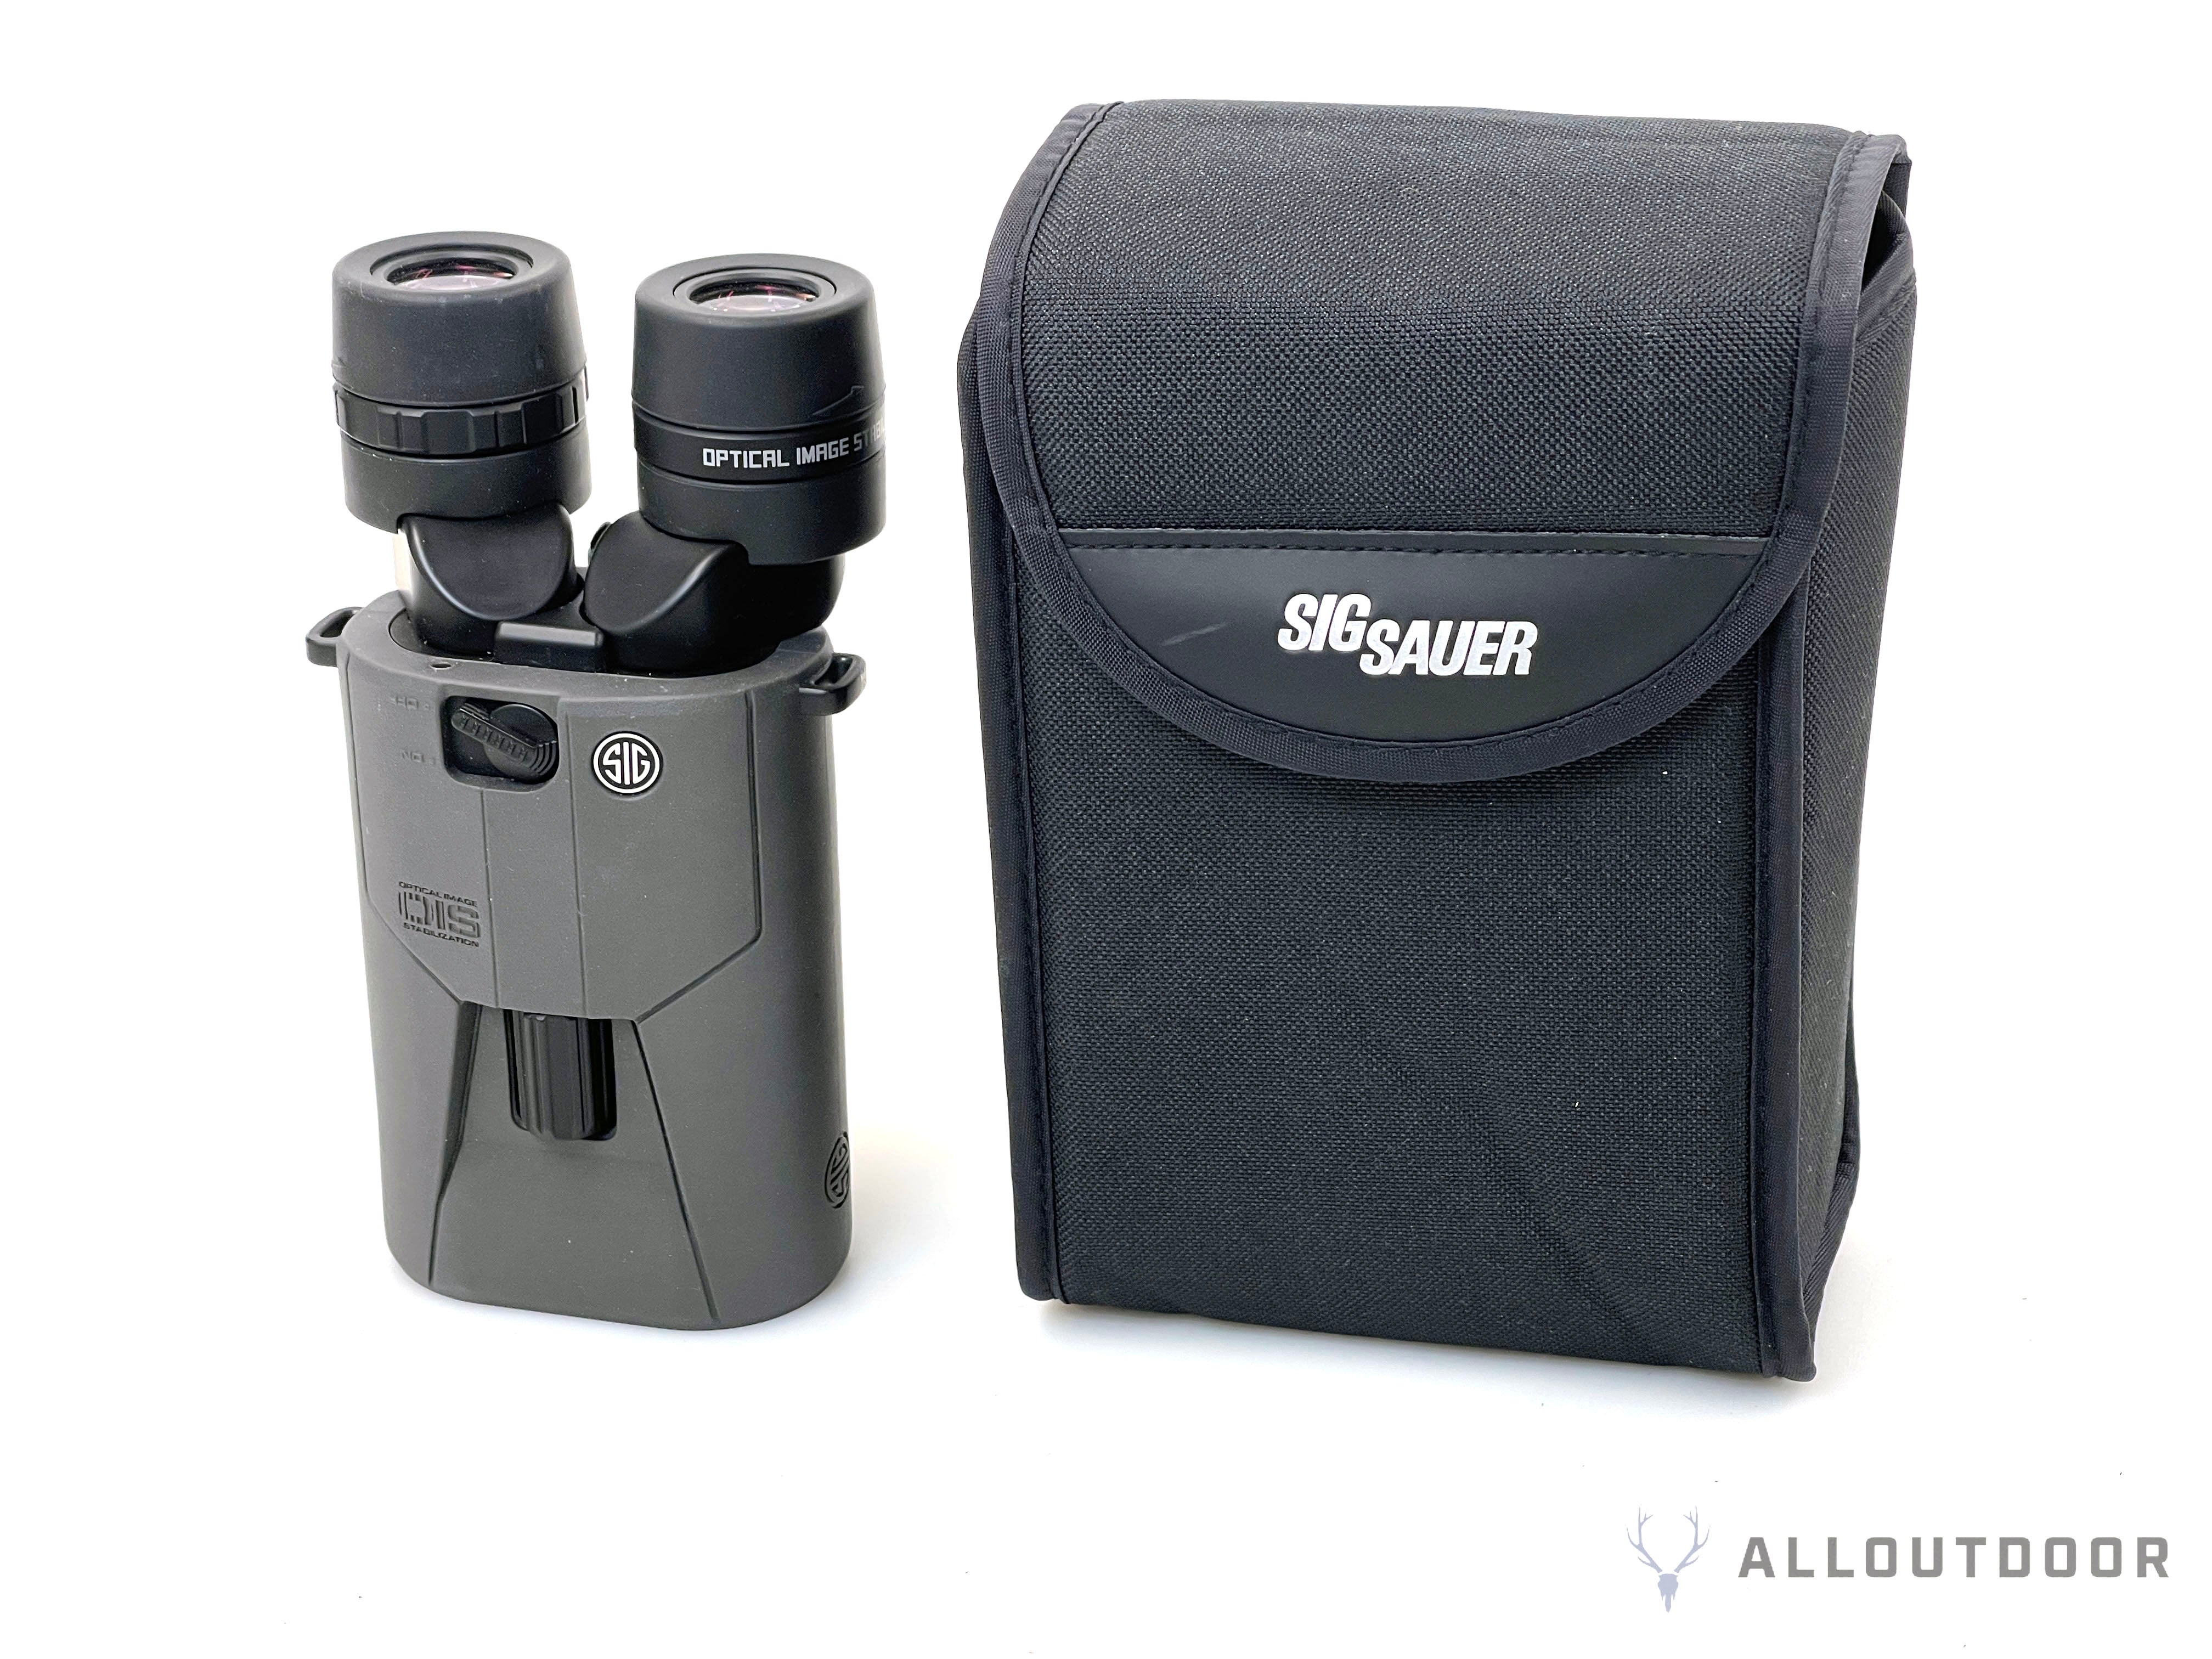
SIG SAUER ZULU6

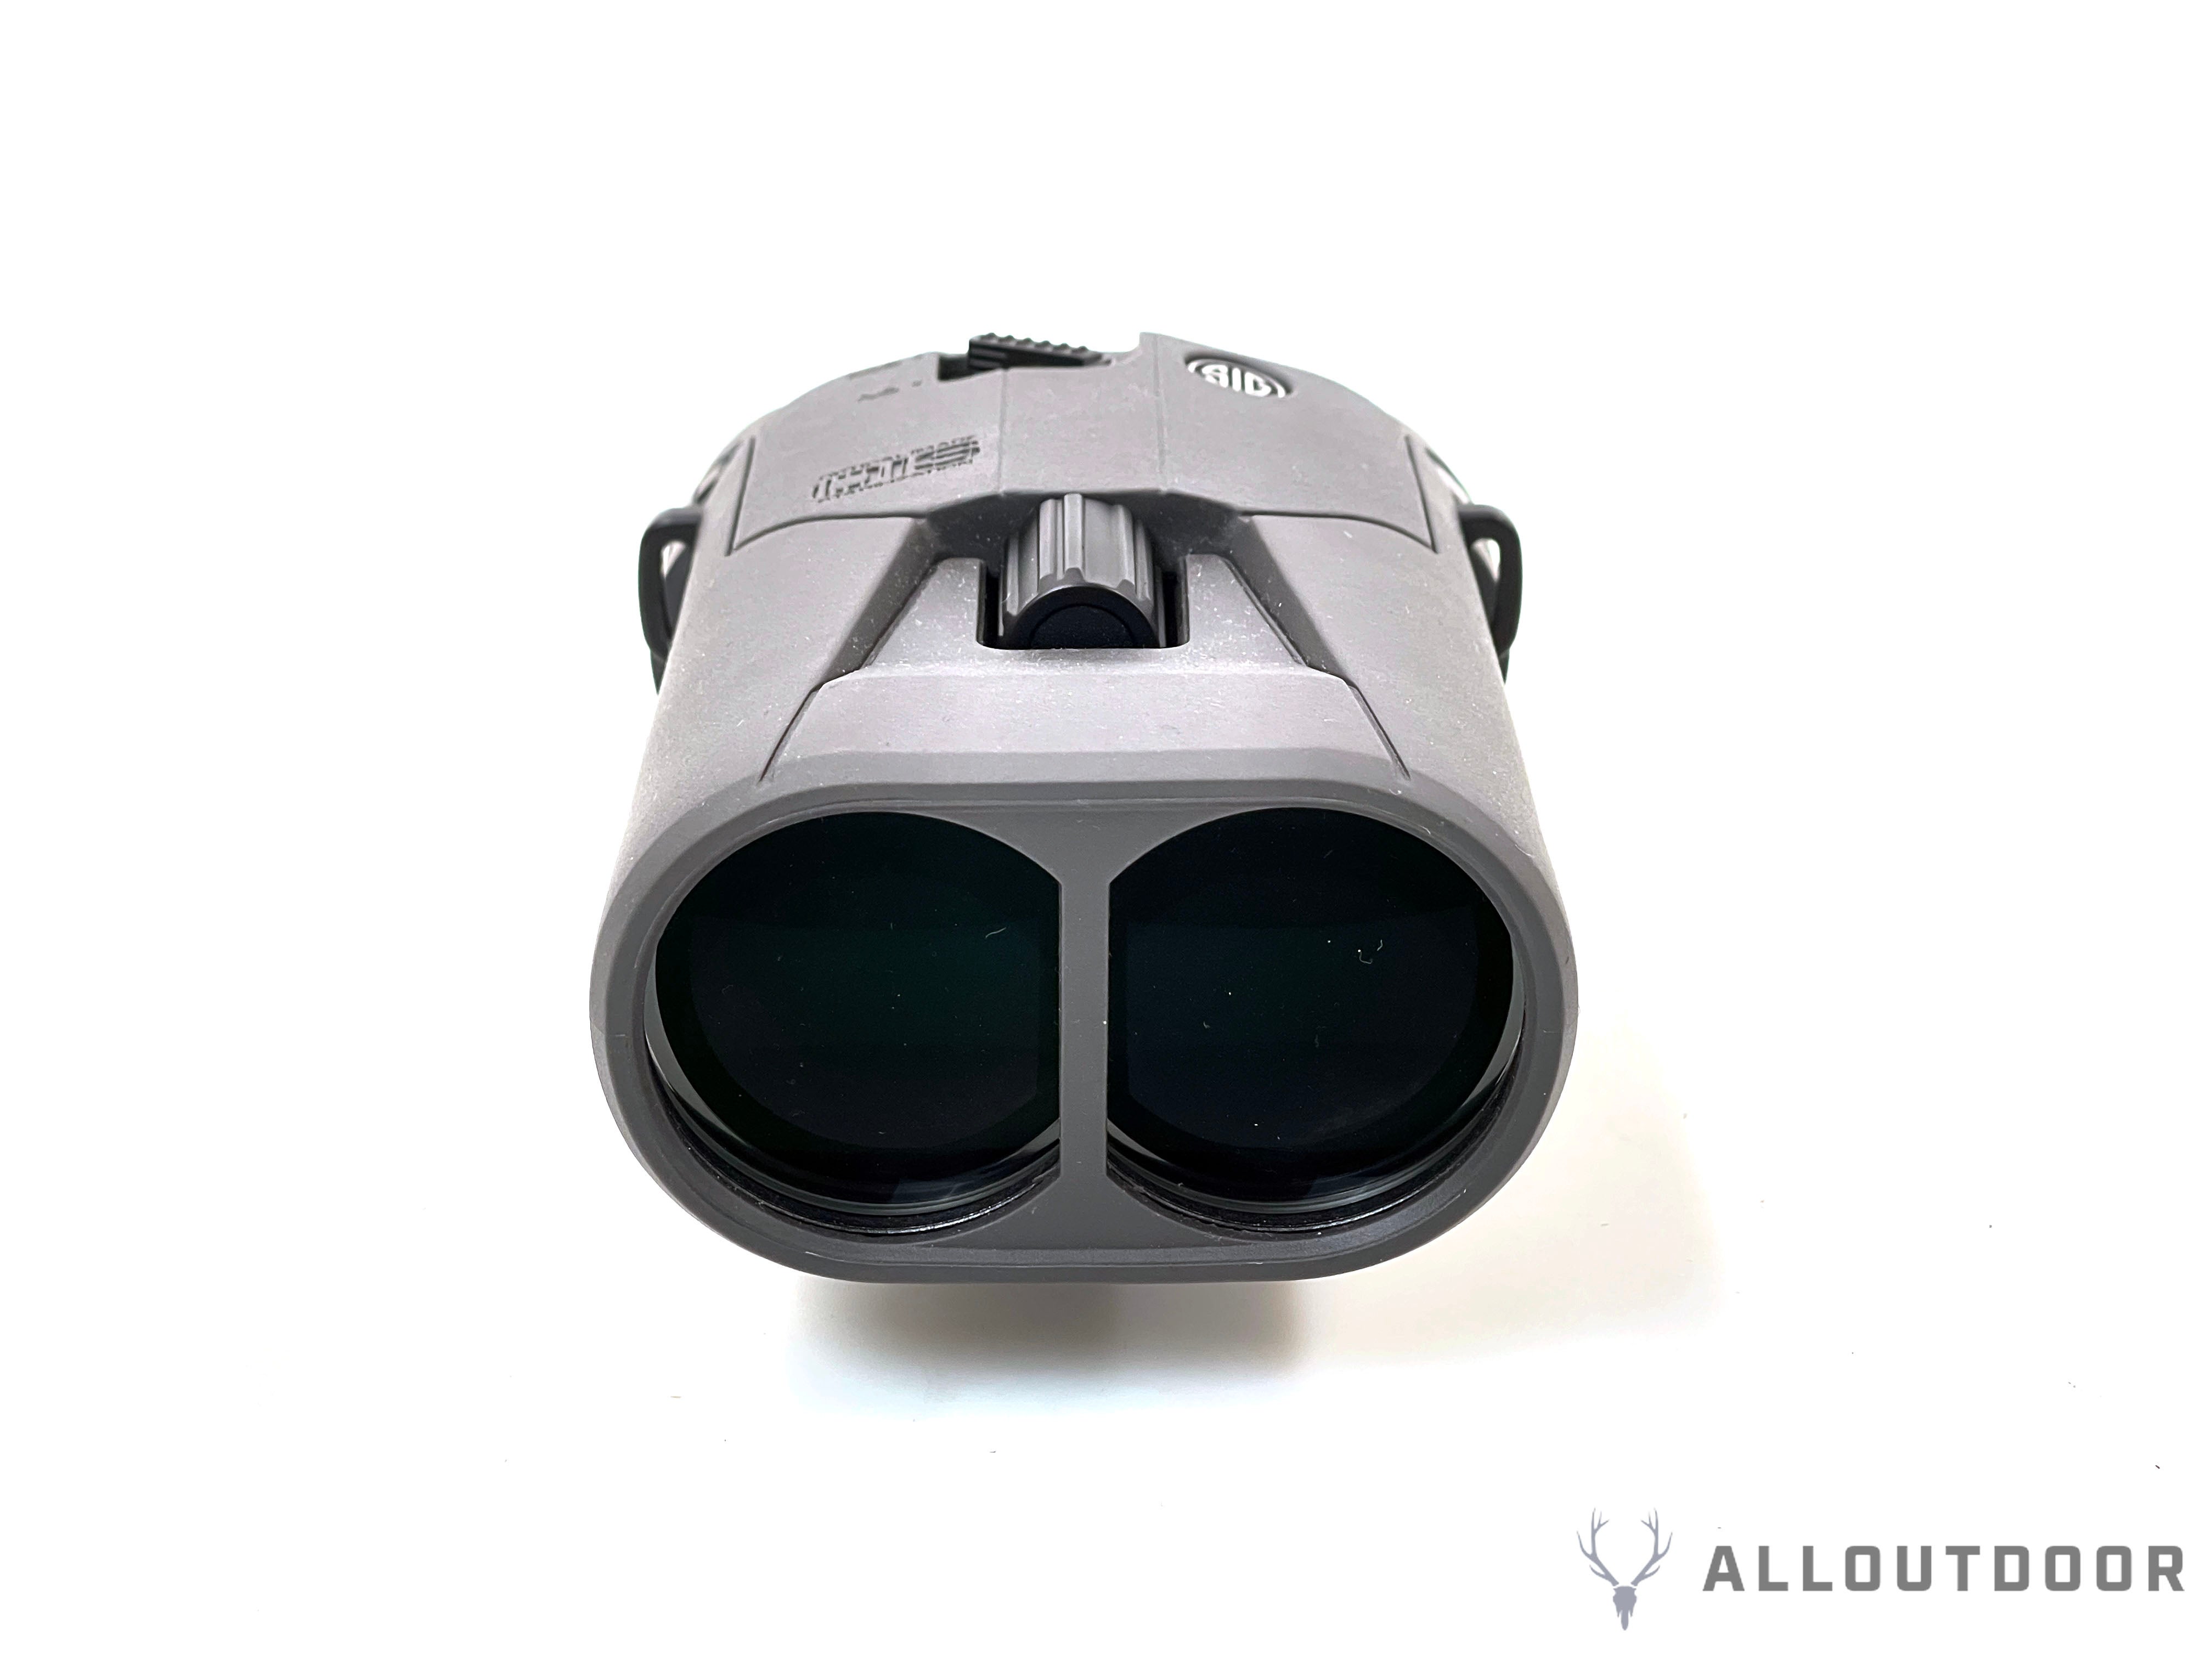
The SIG SAUER ZULU6 has a rather unconventional design. The objective lenses sit next to each other and rather than have the two pods hinge in the middle, the eyepieces rotate for pupillary distance adjustment.
Near the front of the ZULU6 is the focus knob.
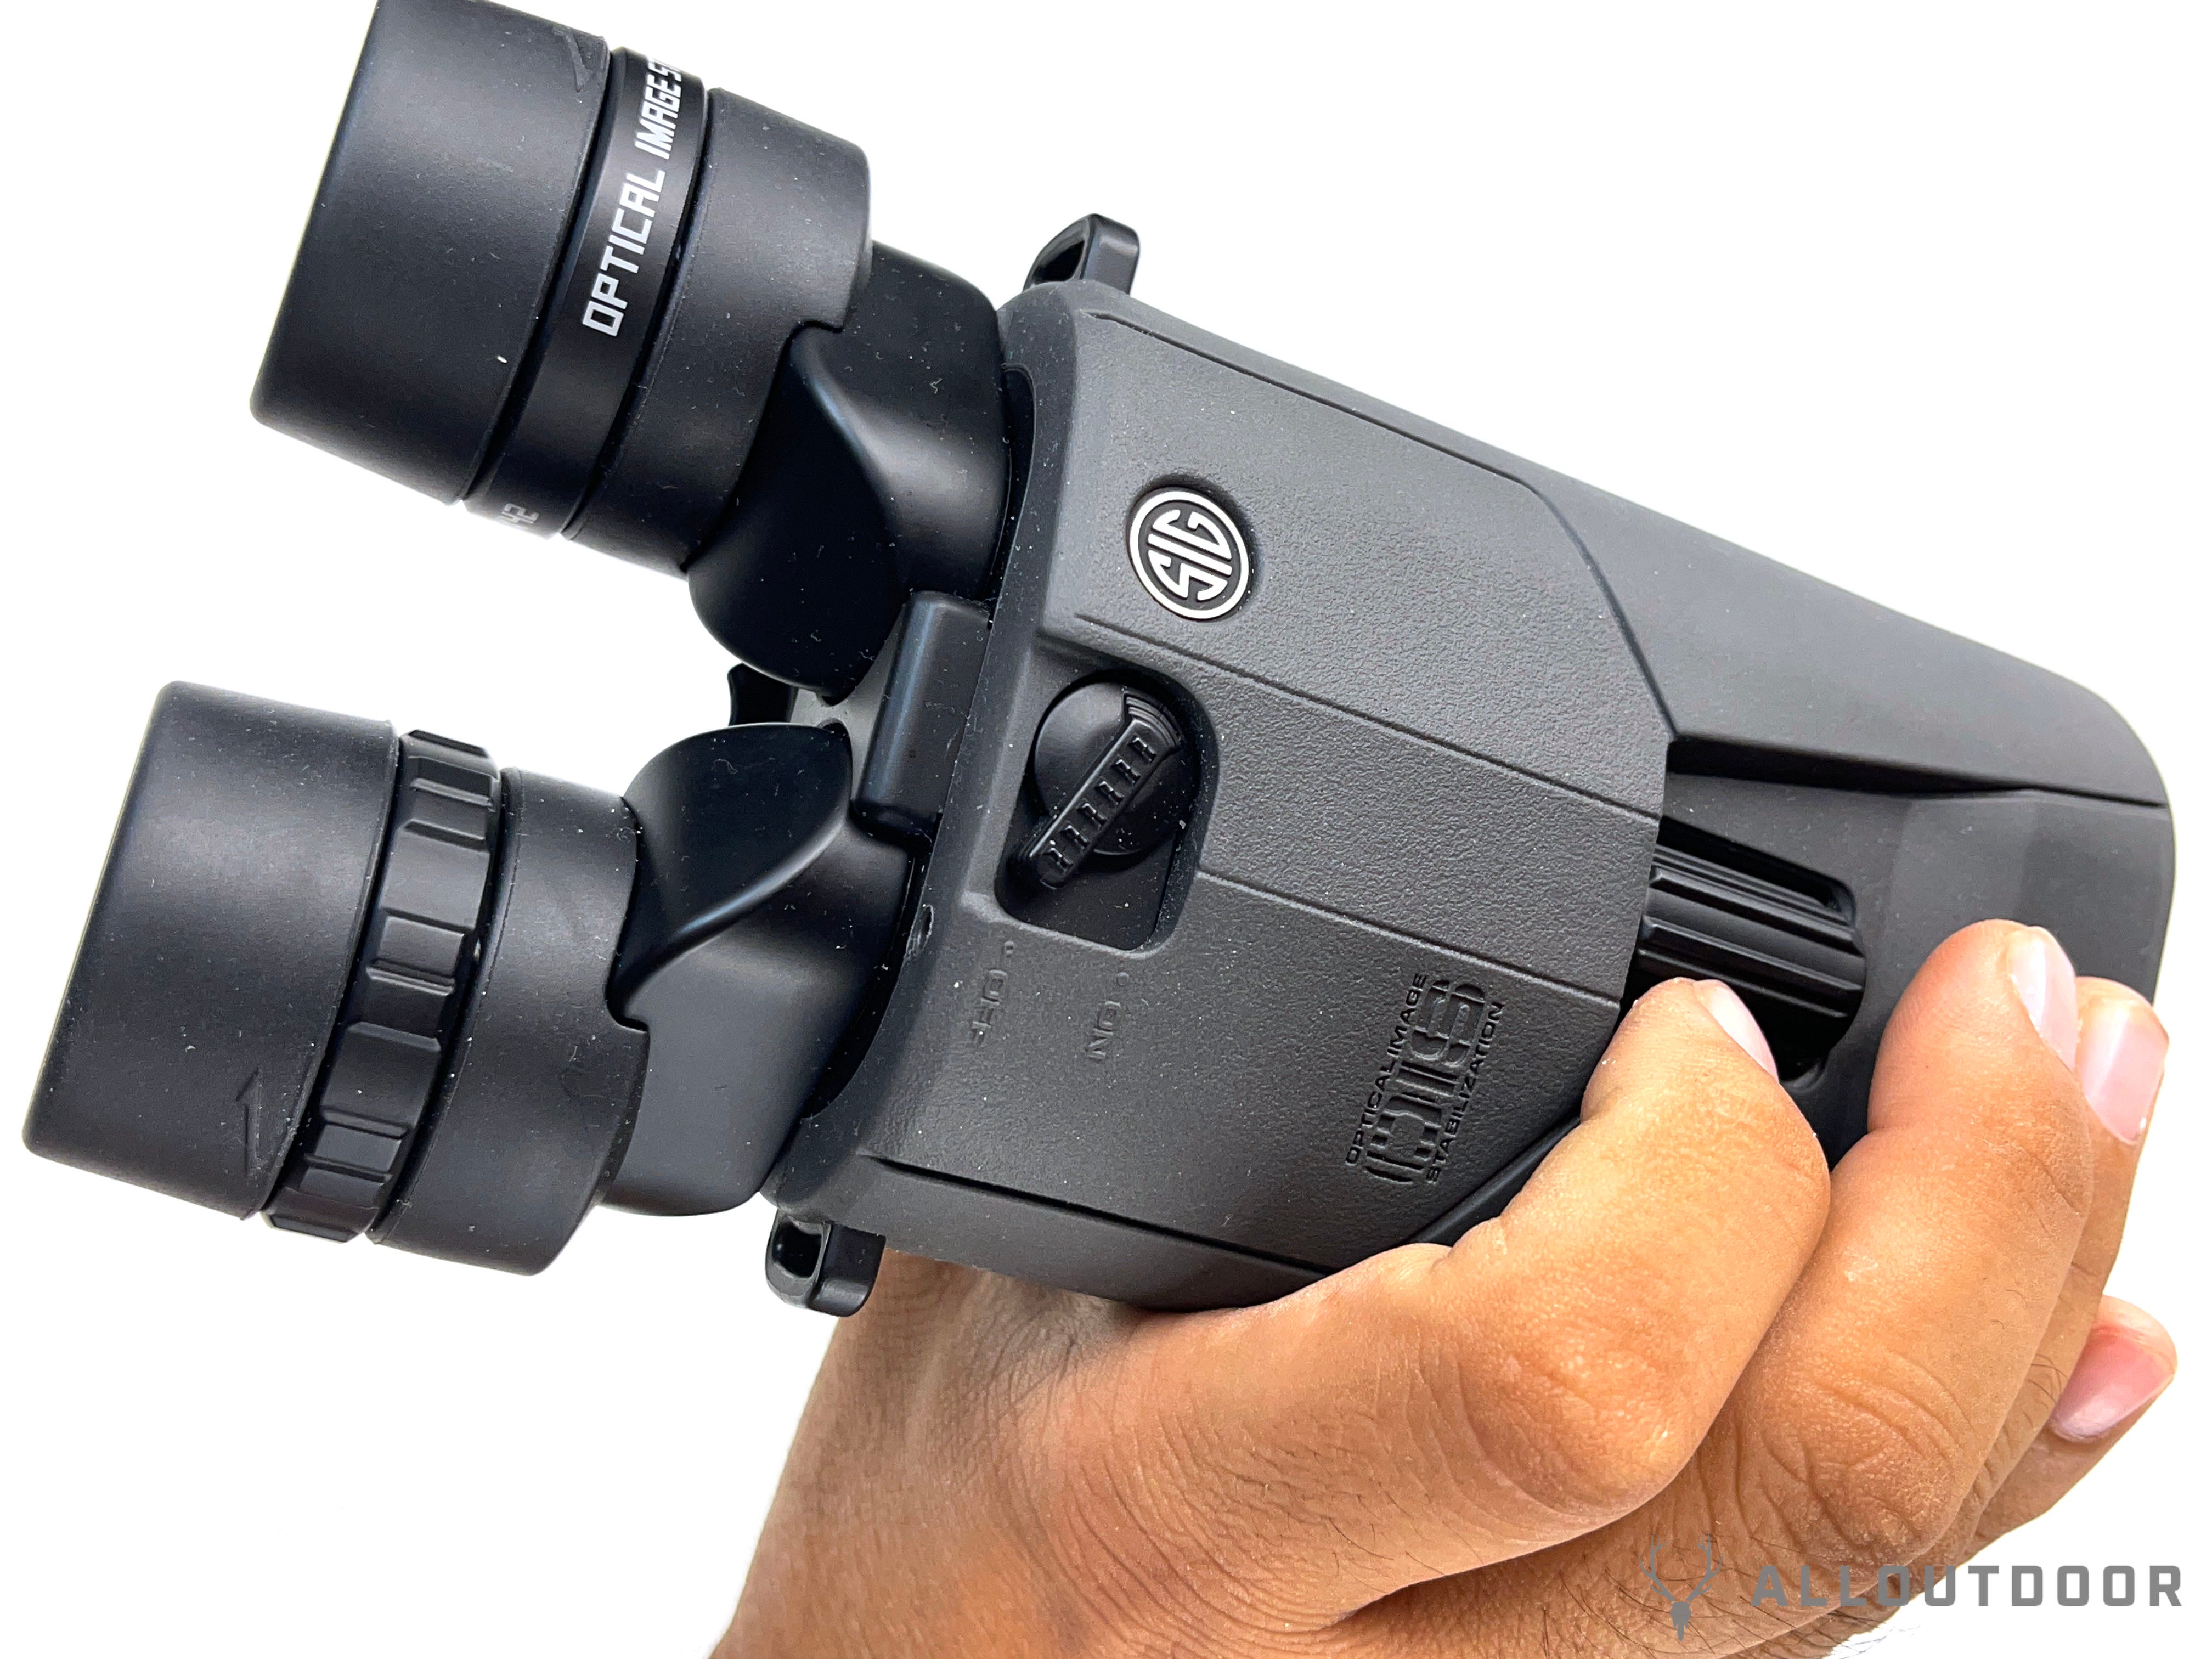
Using the ZULU6 is a bit different. Most binos have the focus knob close to the eyepieces. So I had to correct my family on how to use the ZULU6. They would naturally grasp the ZULU6 like the image below. With their index finger indexing on the power switch.
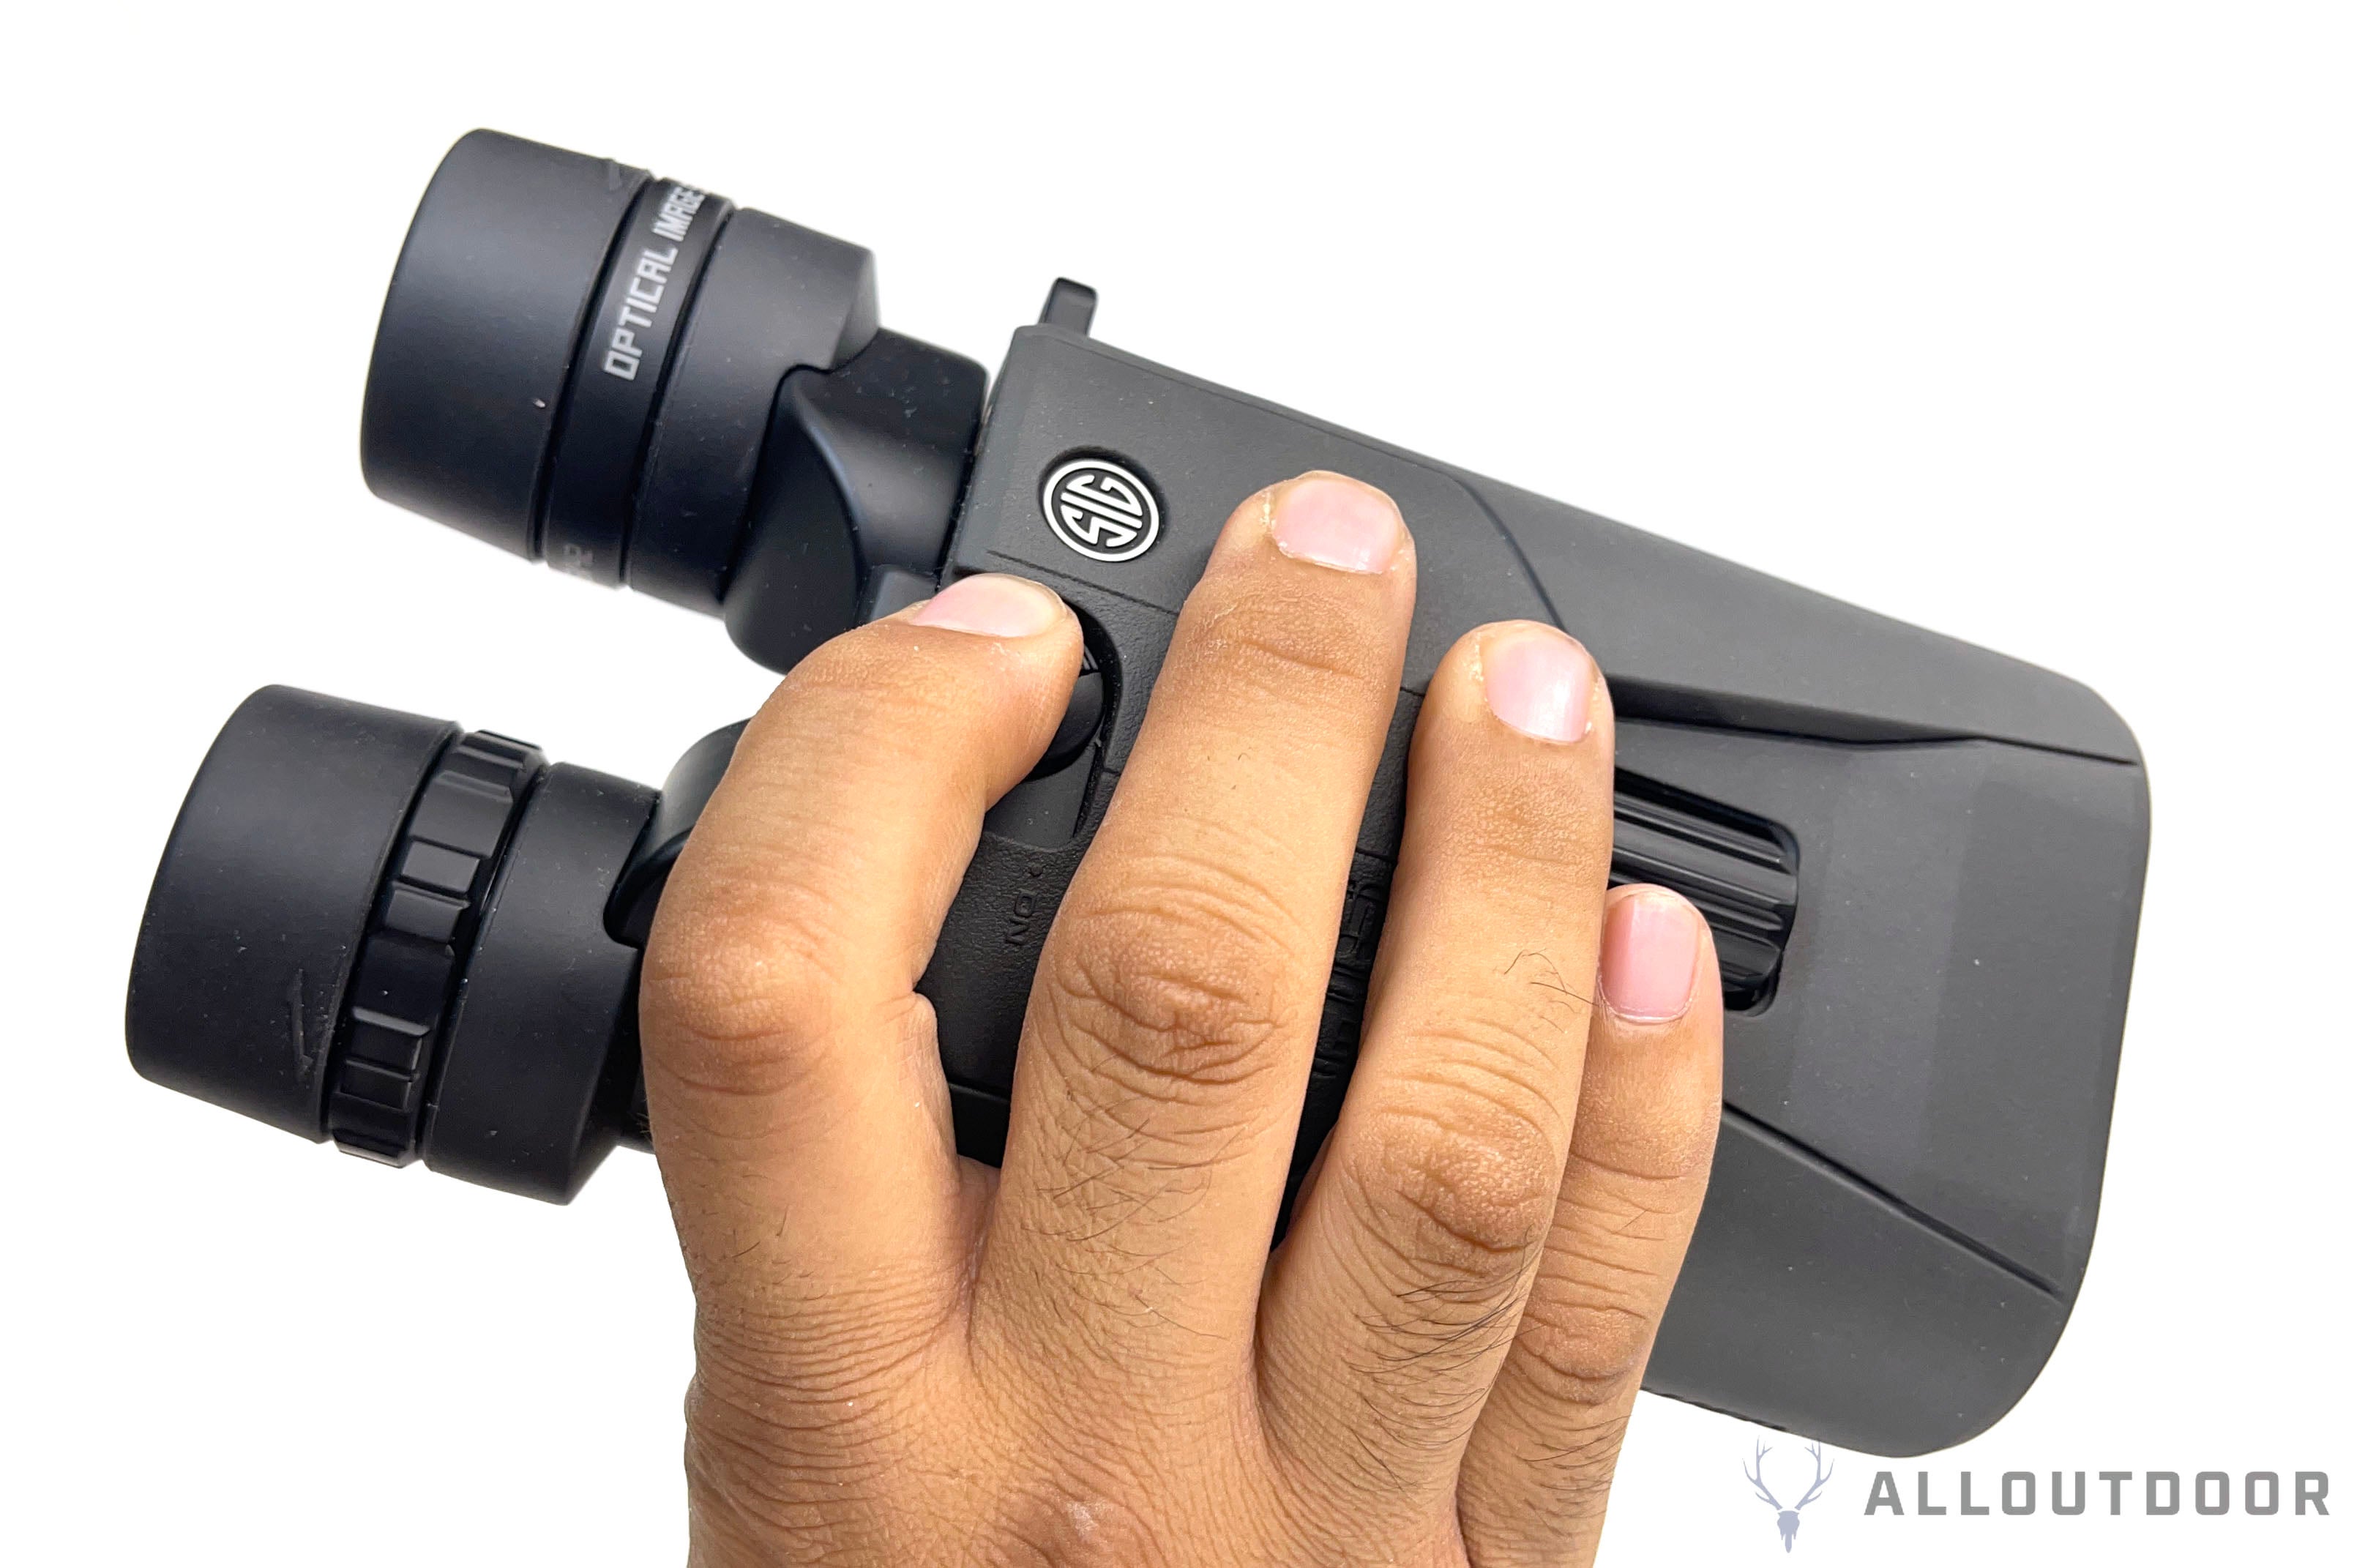
You need to adjust your hands a bit forward so your index finger can turn the focus knob. I did not have any issue but I could see someone with larger hands not having enough room for their pinky fingers.
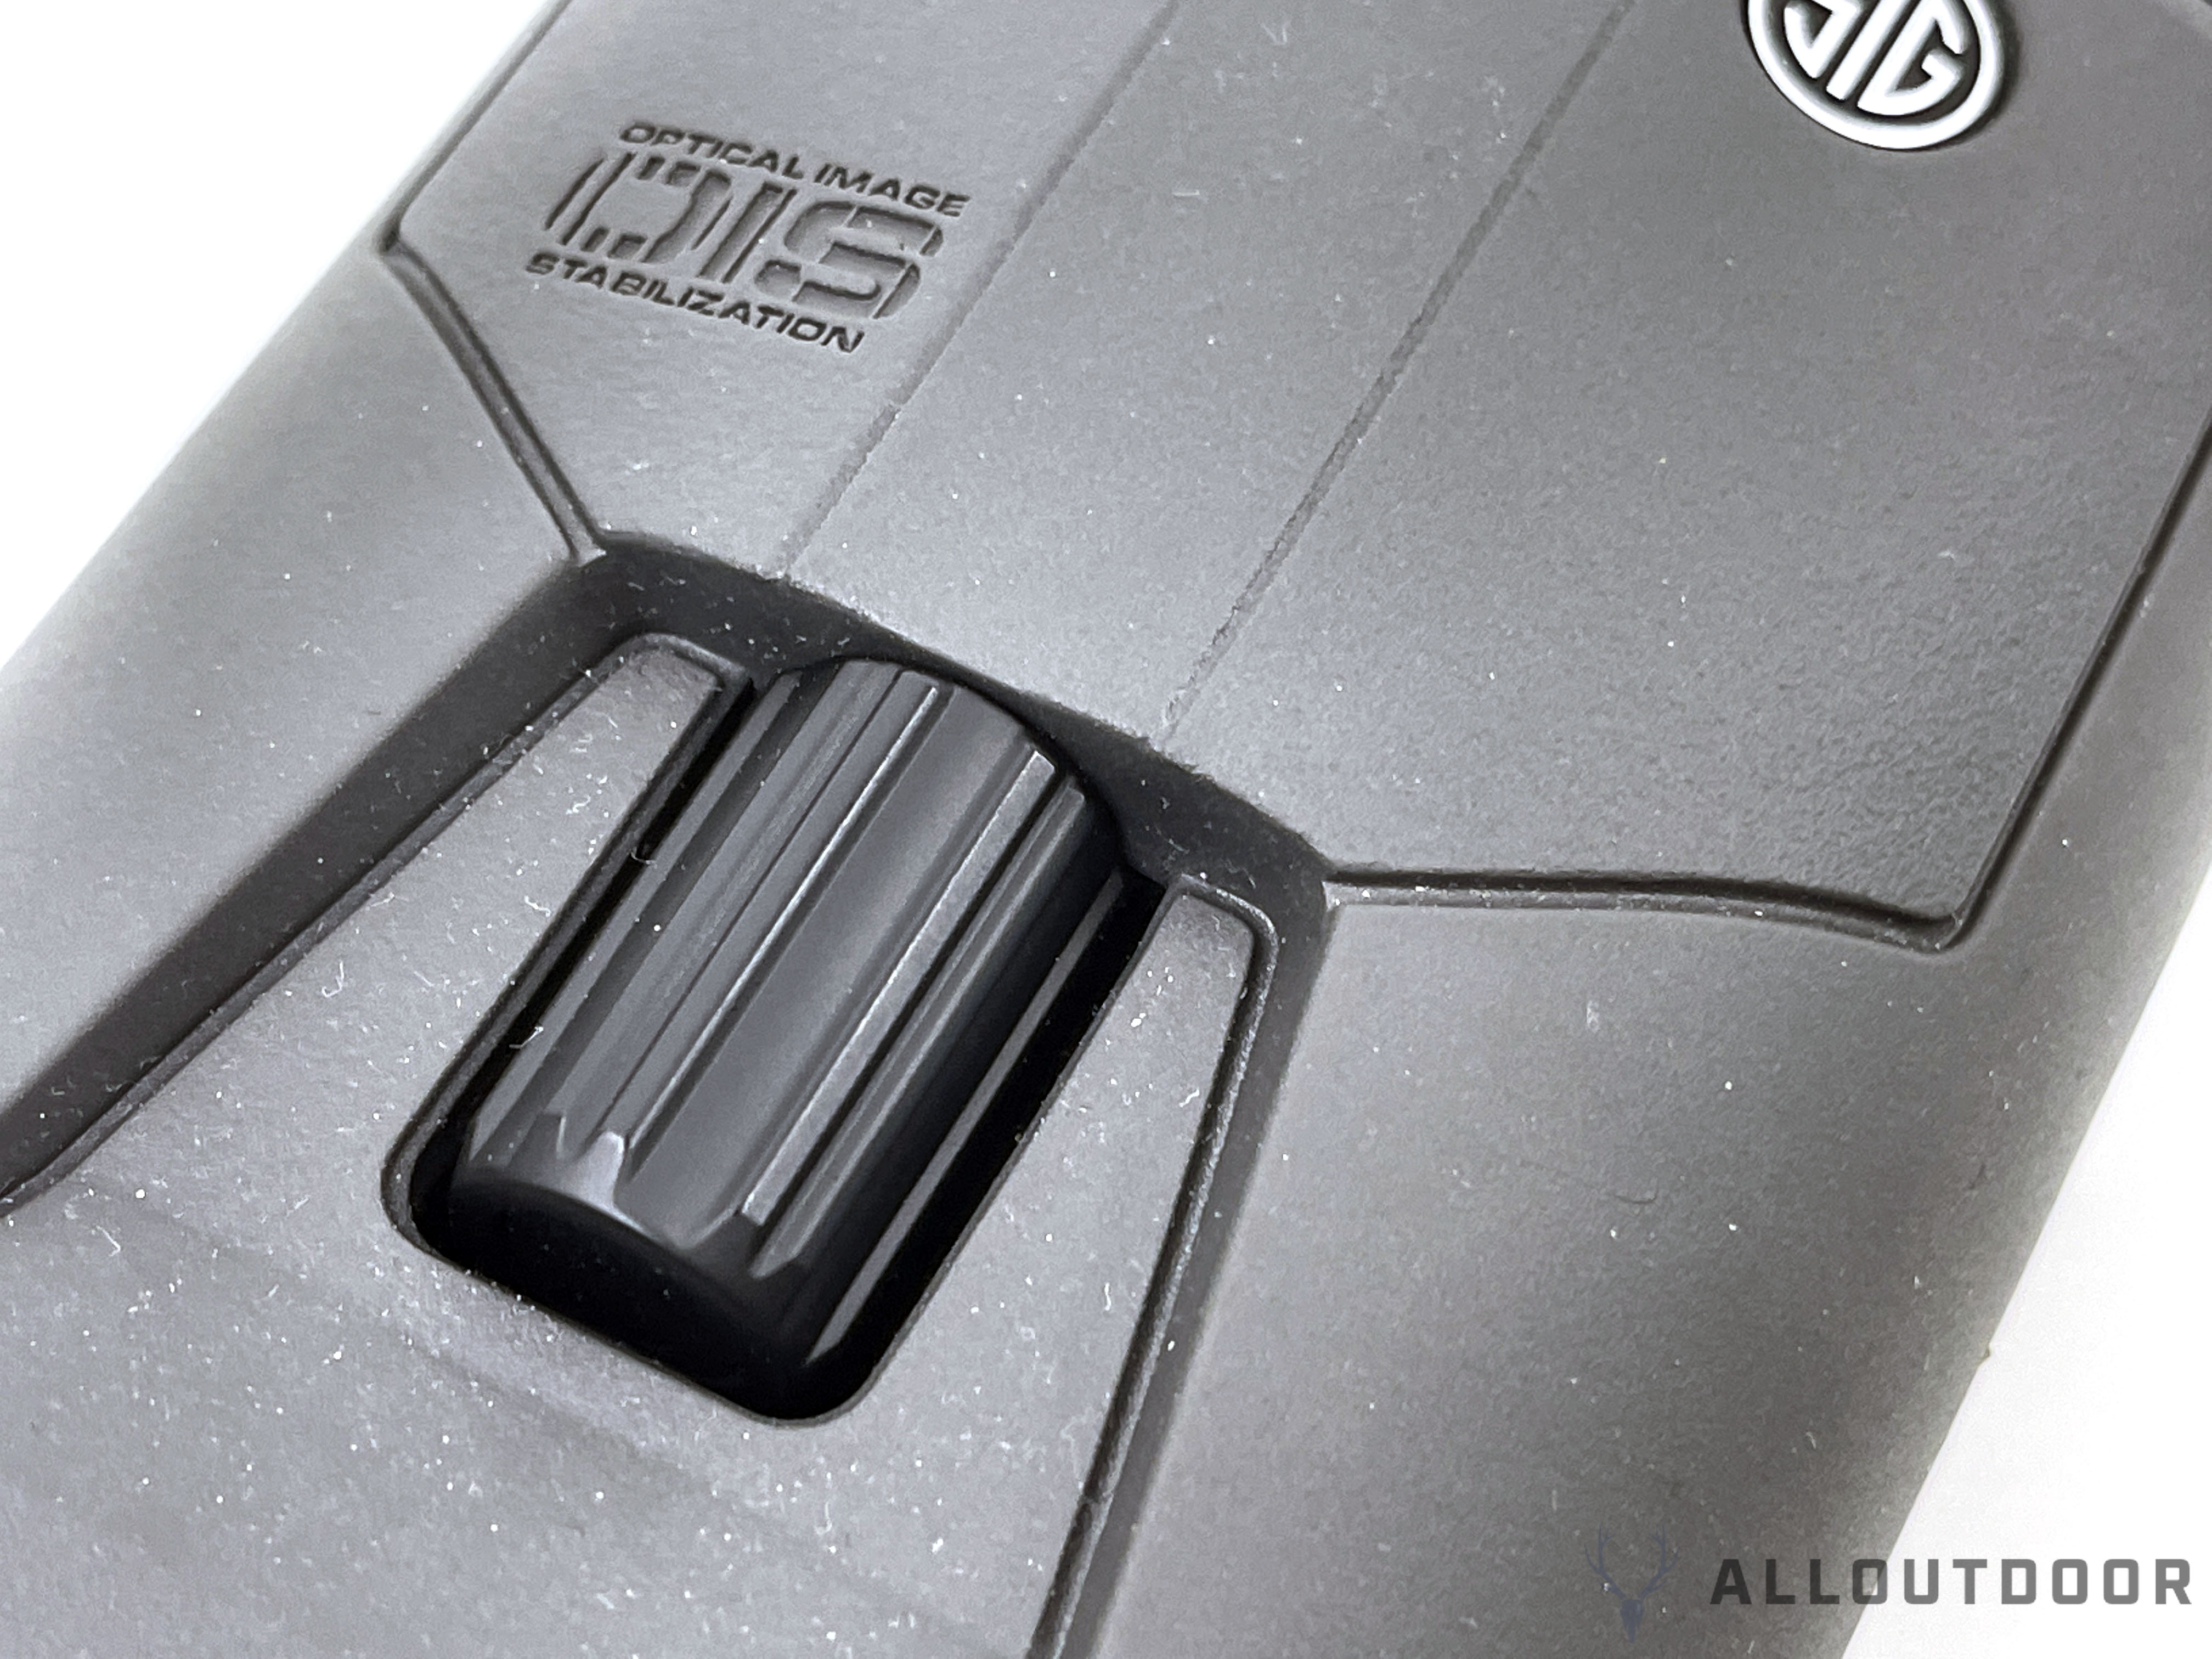
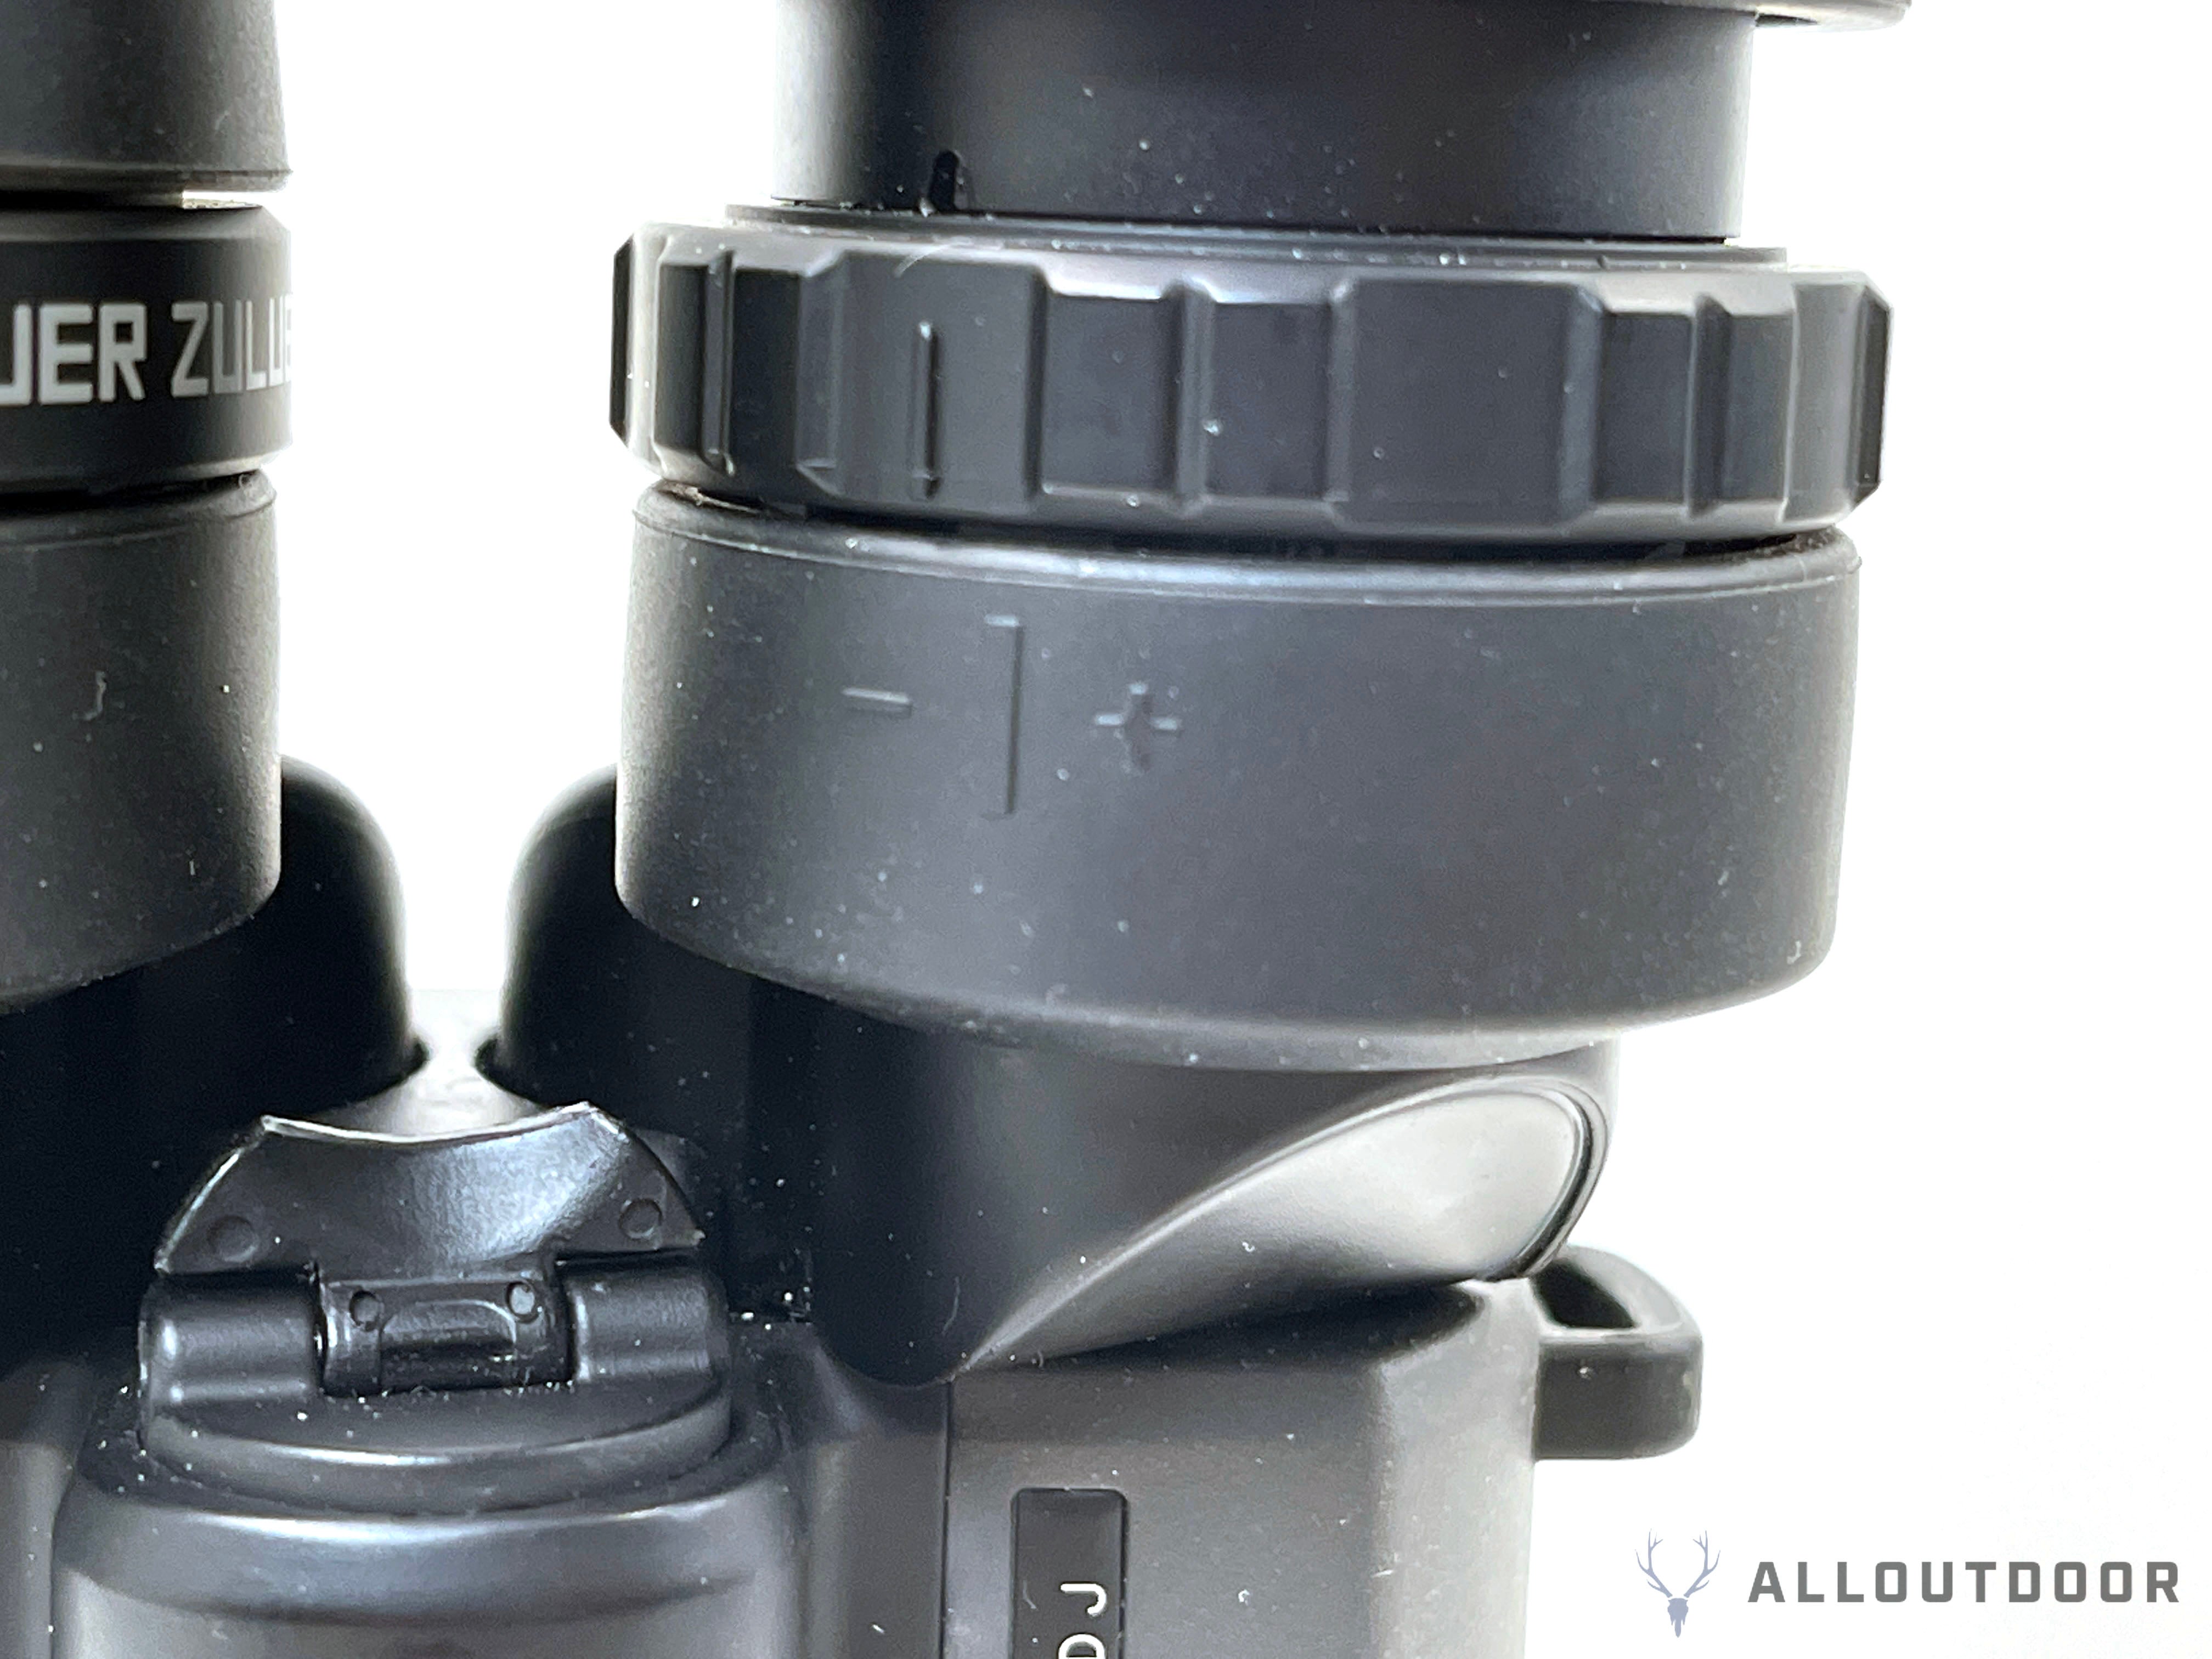
On top and just in front of the objective lenses is the power switch for the Optical Image Stabilization. 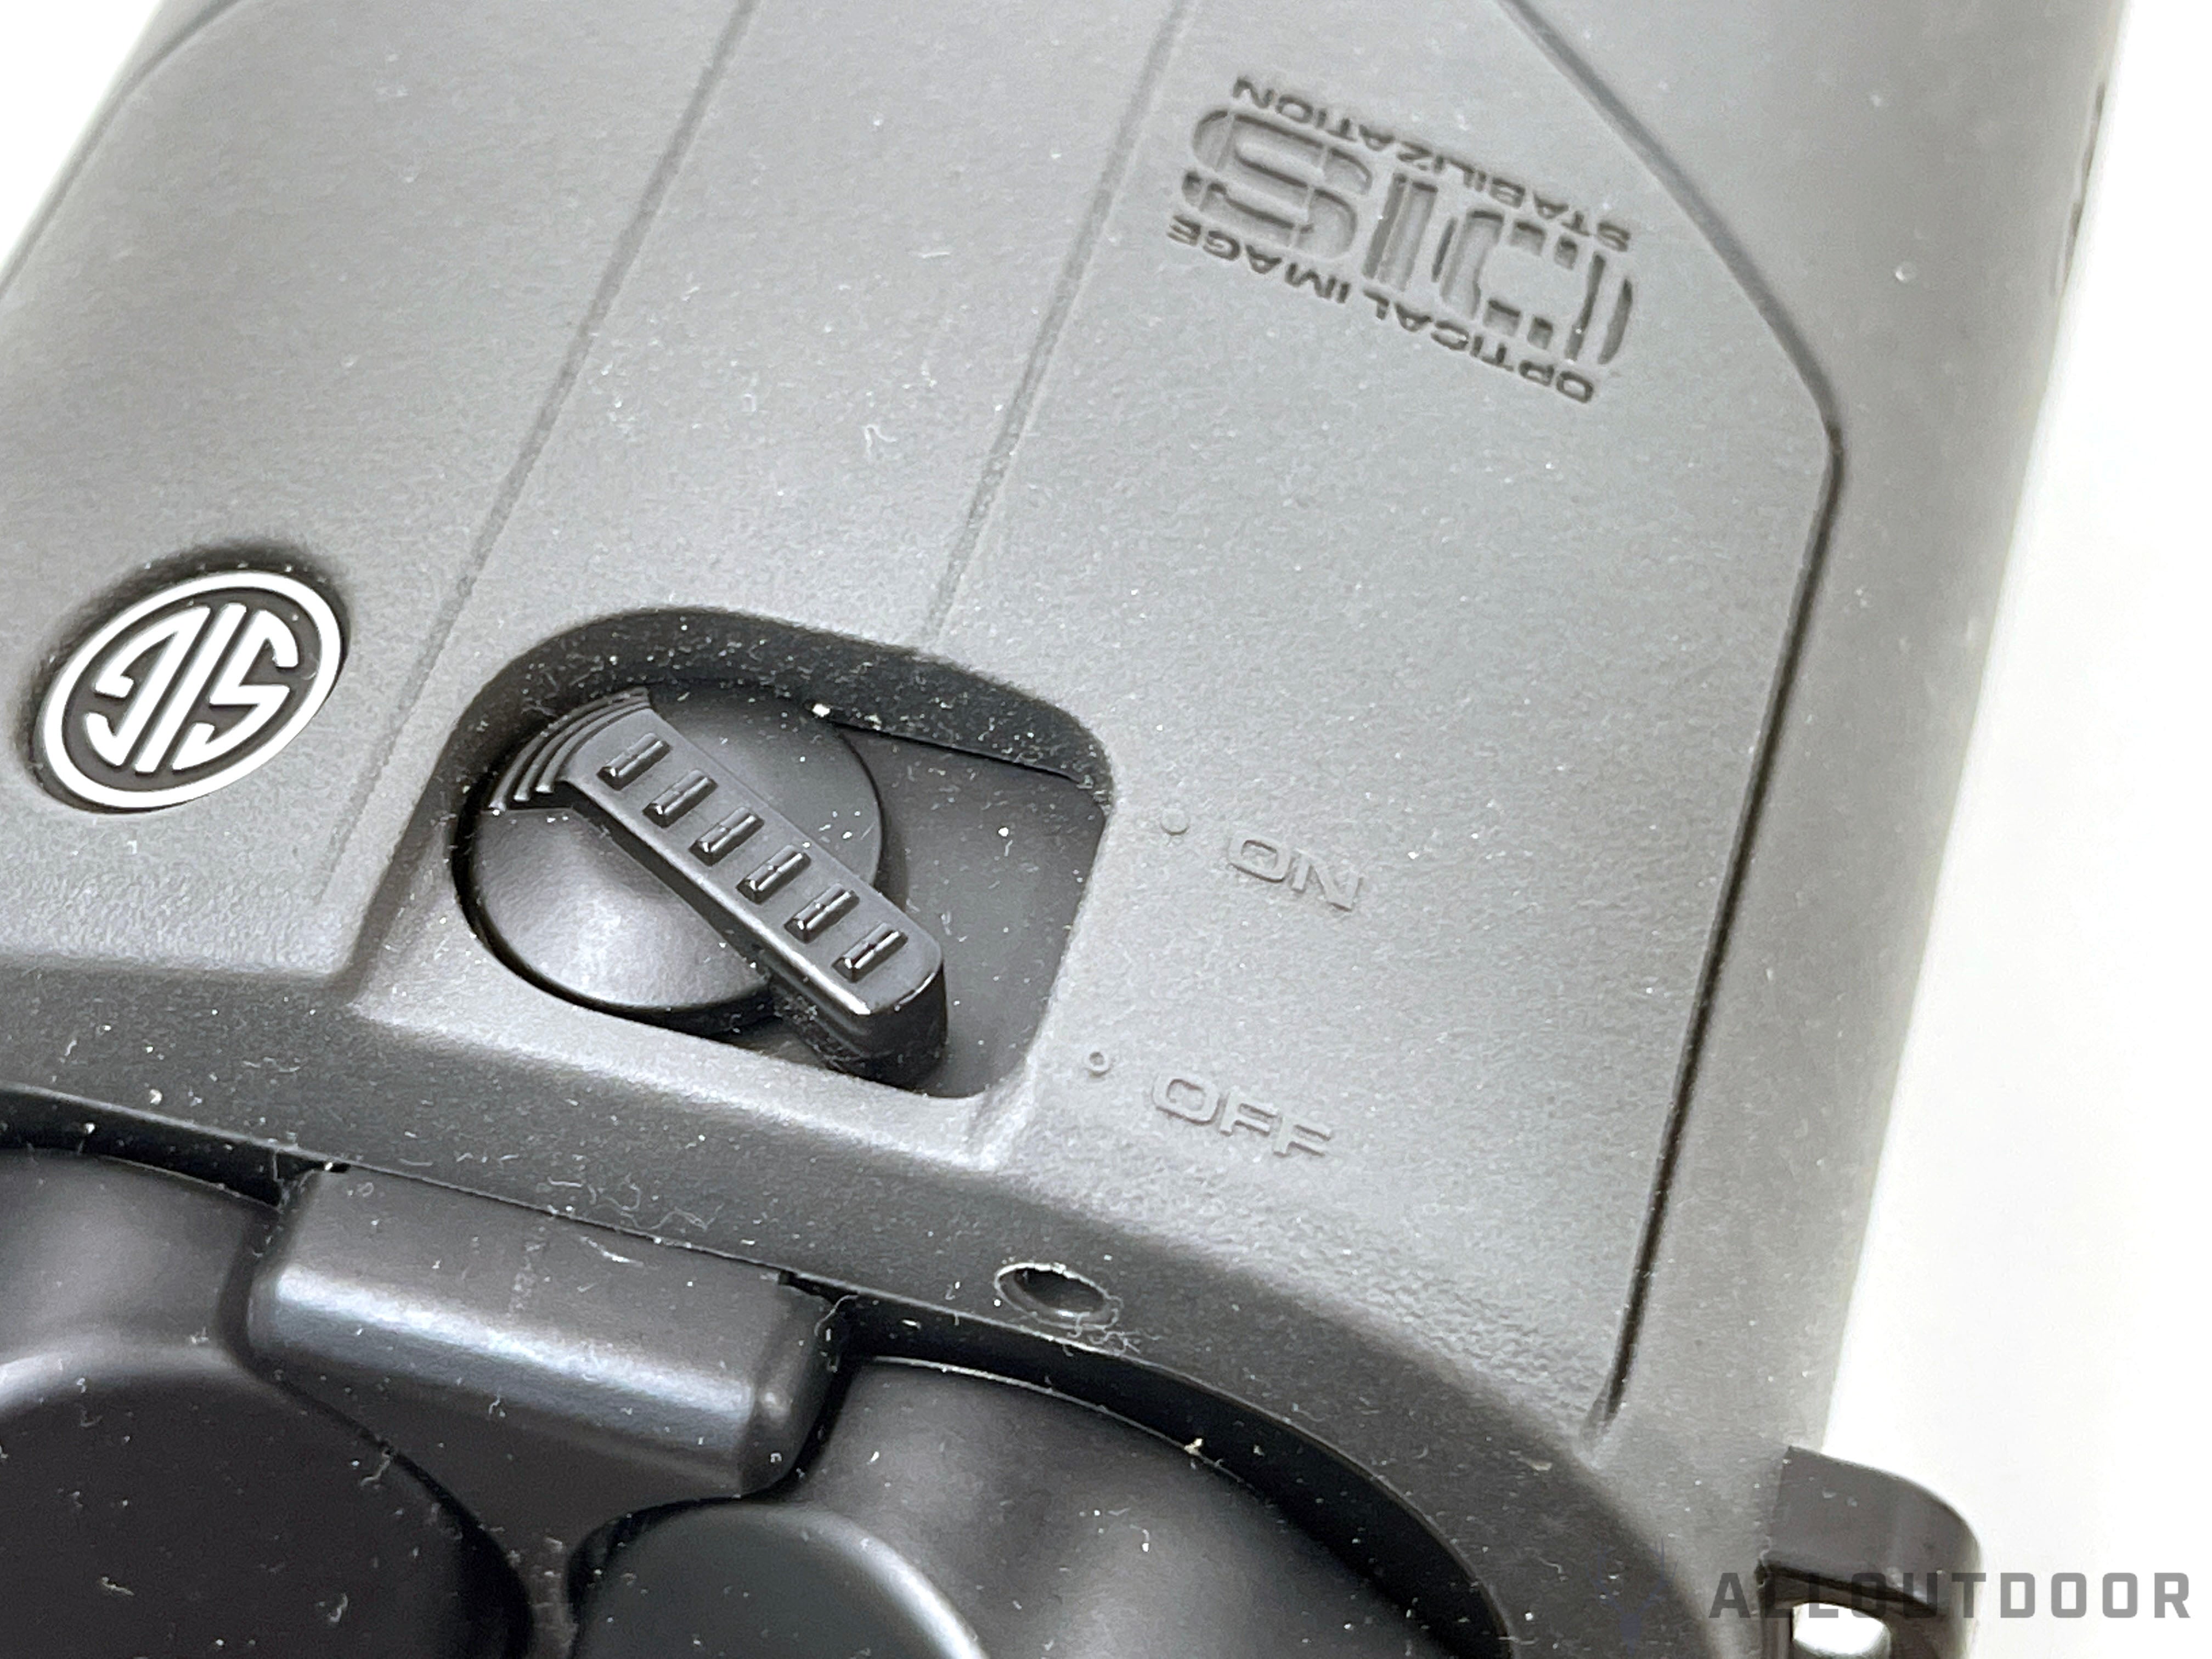
How does the Optical Image Stabilization work? Watch this video by Canon. SIG SAUER does not have a video explaining their system so this will have to do.
Just below the power switch is an indicator light that faces the user. It glows to let you know the Optical Image Stabilization is on.

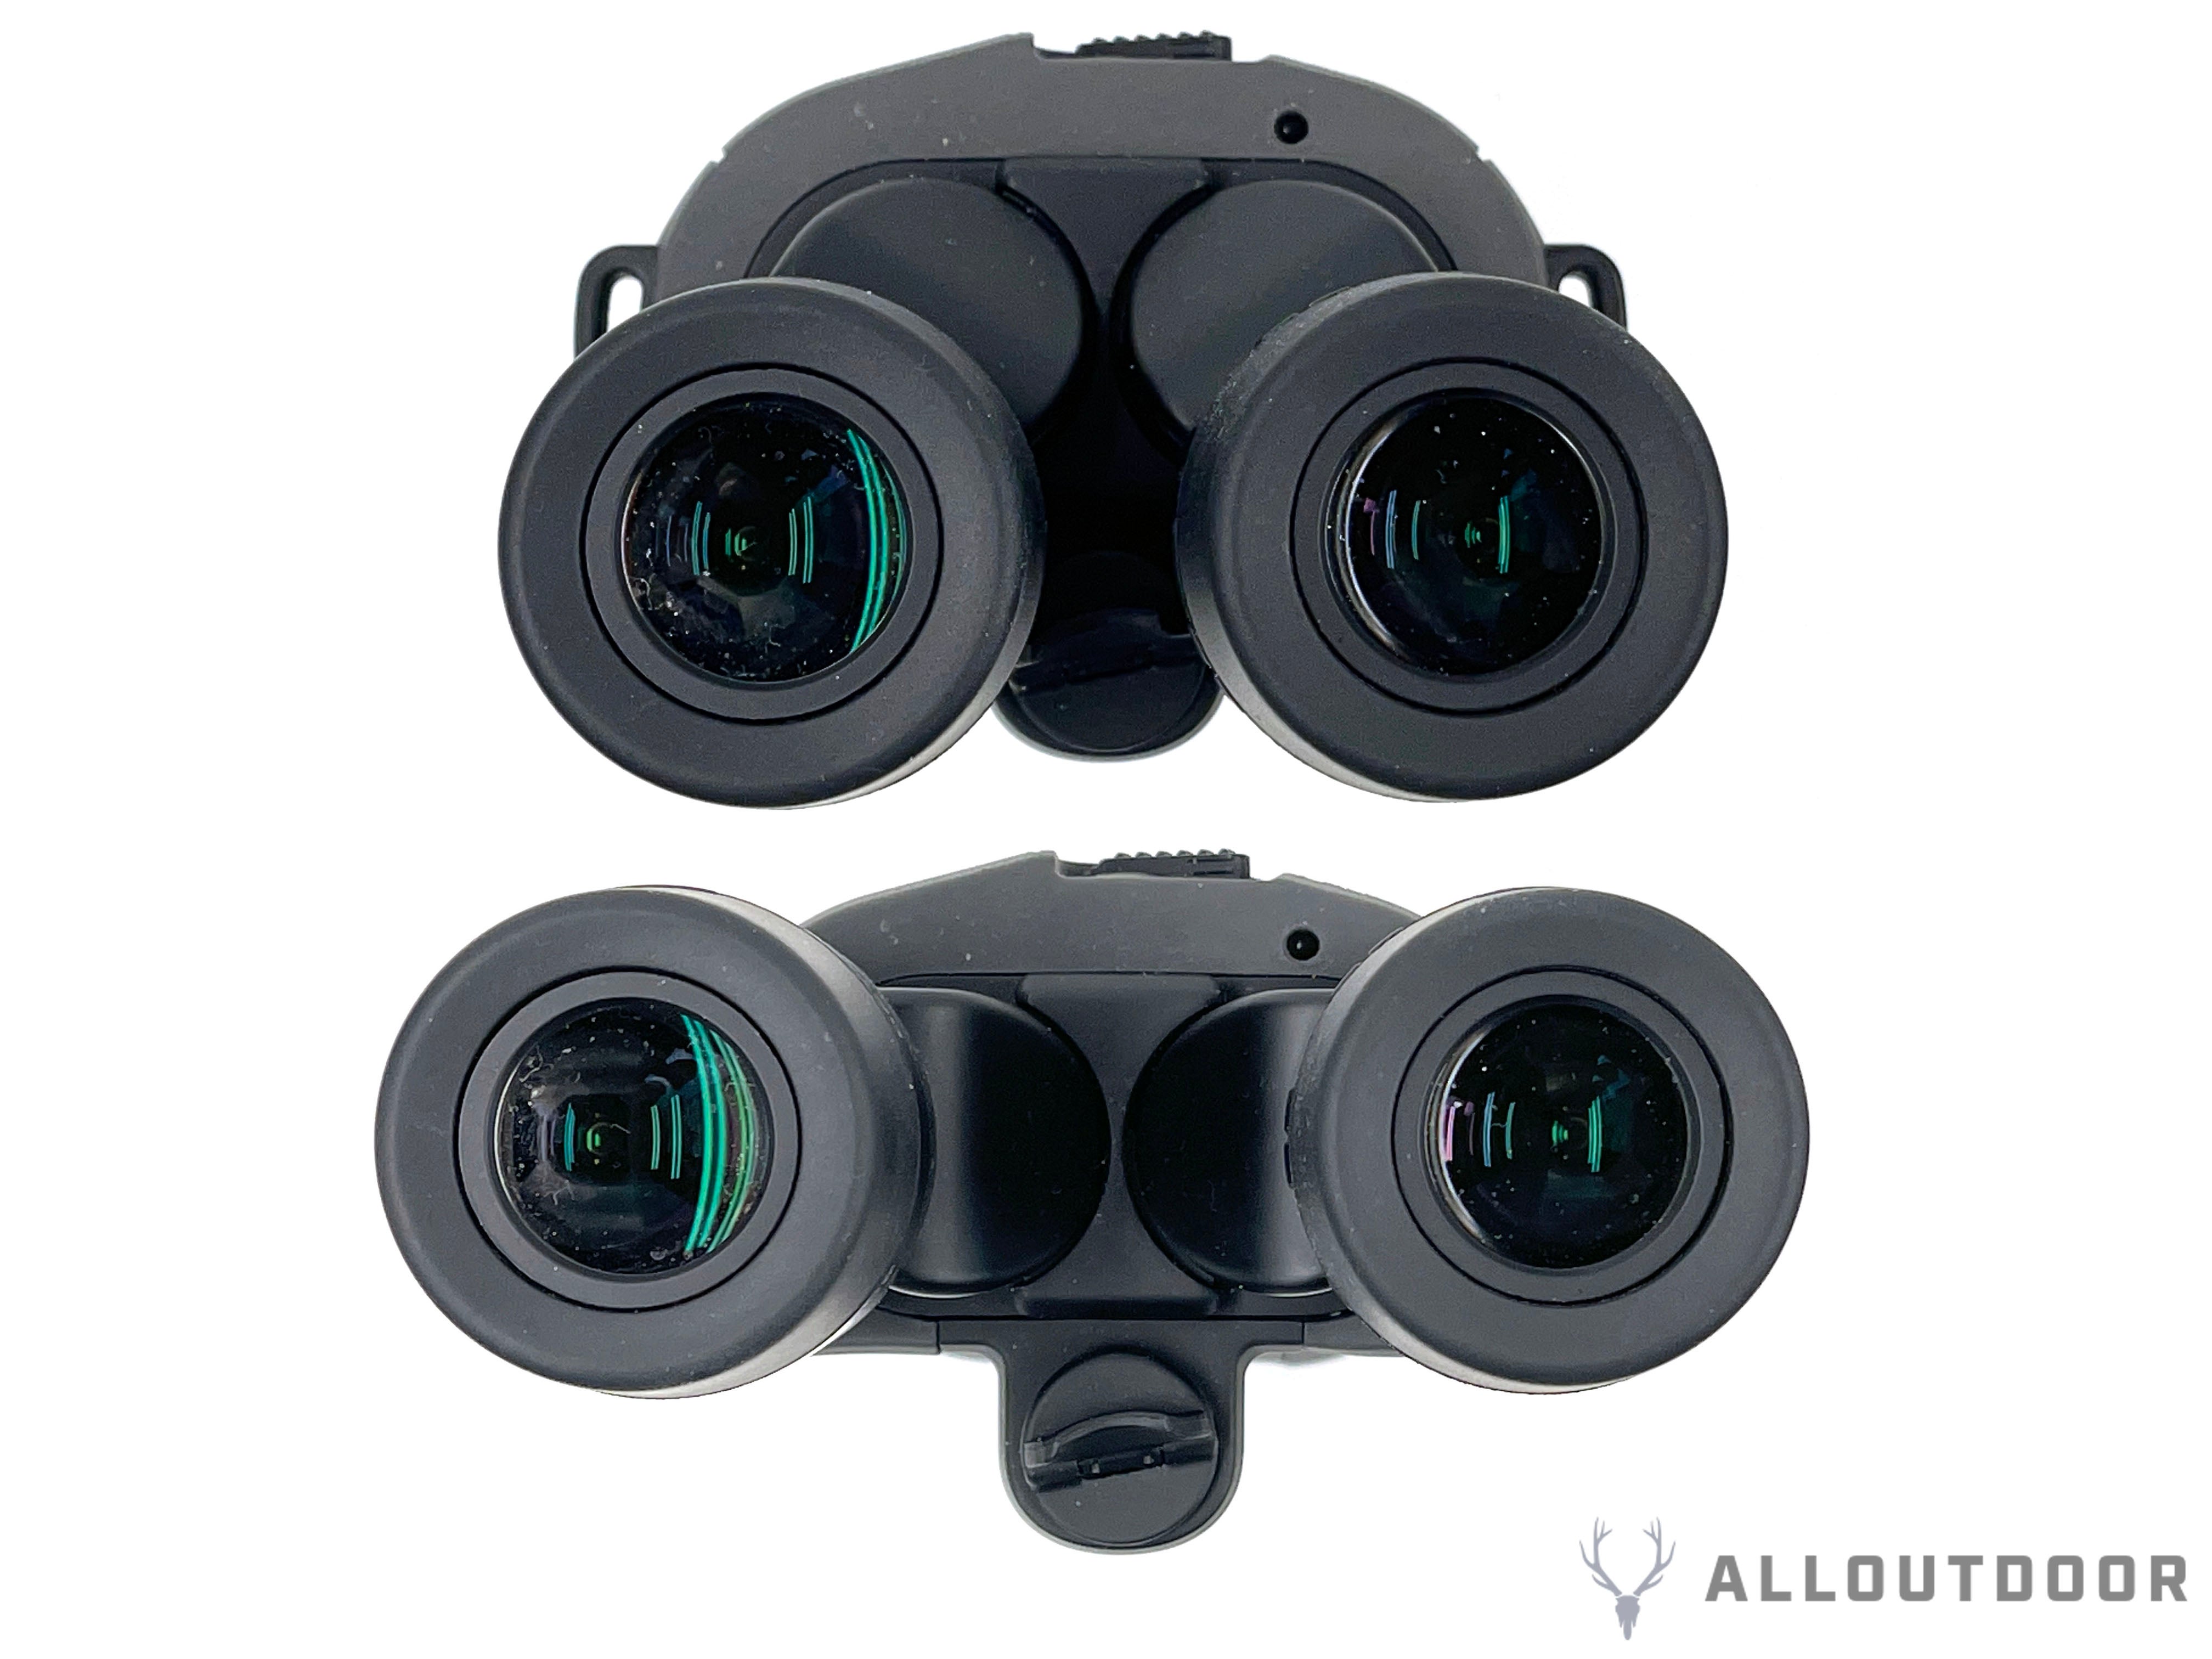
As I mentioned earlier, the eyepieces rotate to adjust for pupillary distance adjustment. They are geared to one another so when you rotate one, it rotates the other. See the photo below for the max range of adjustment.
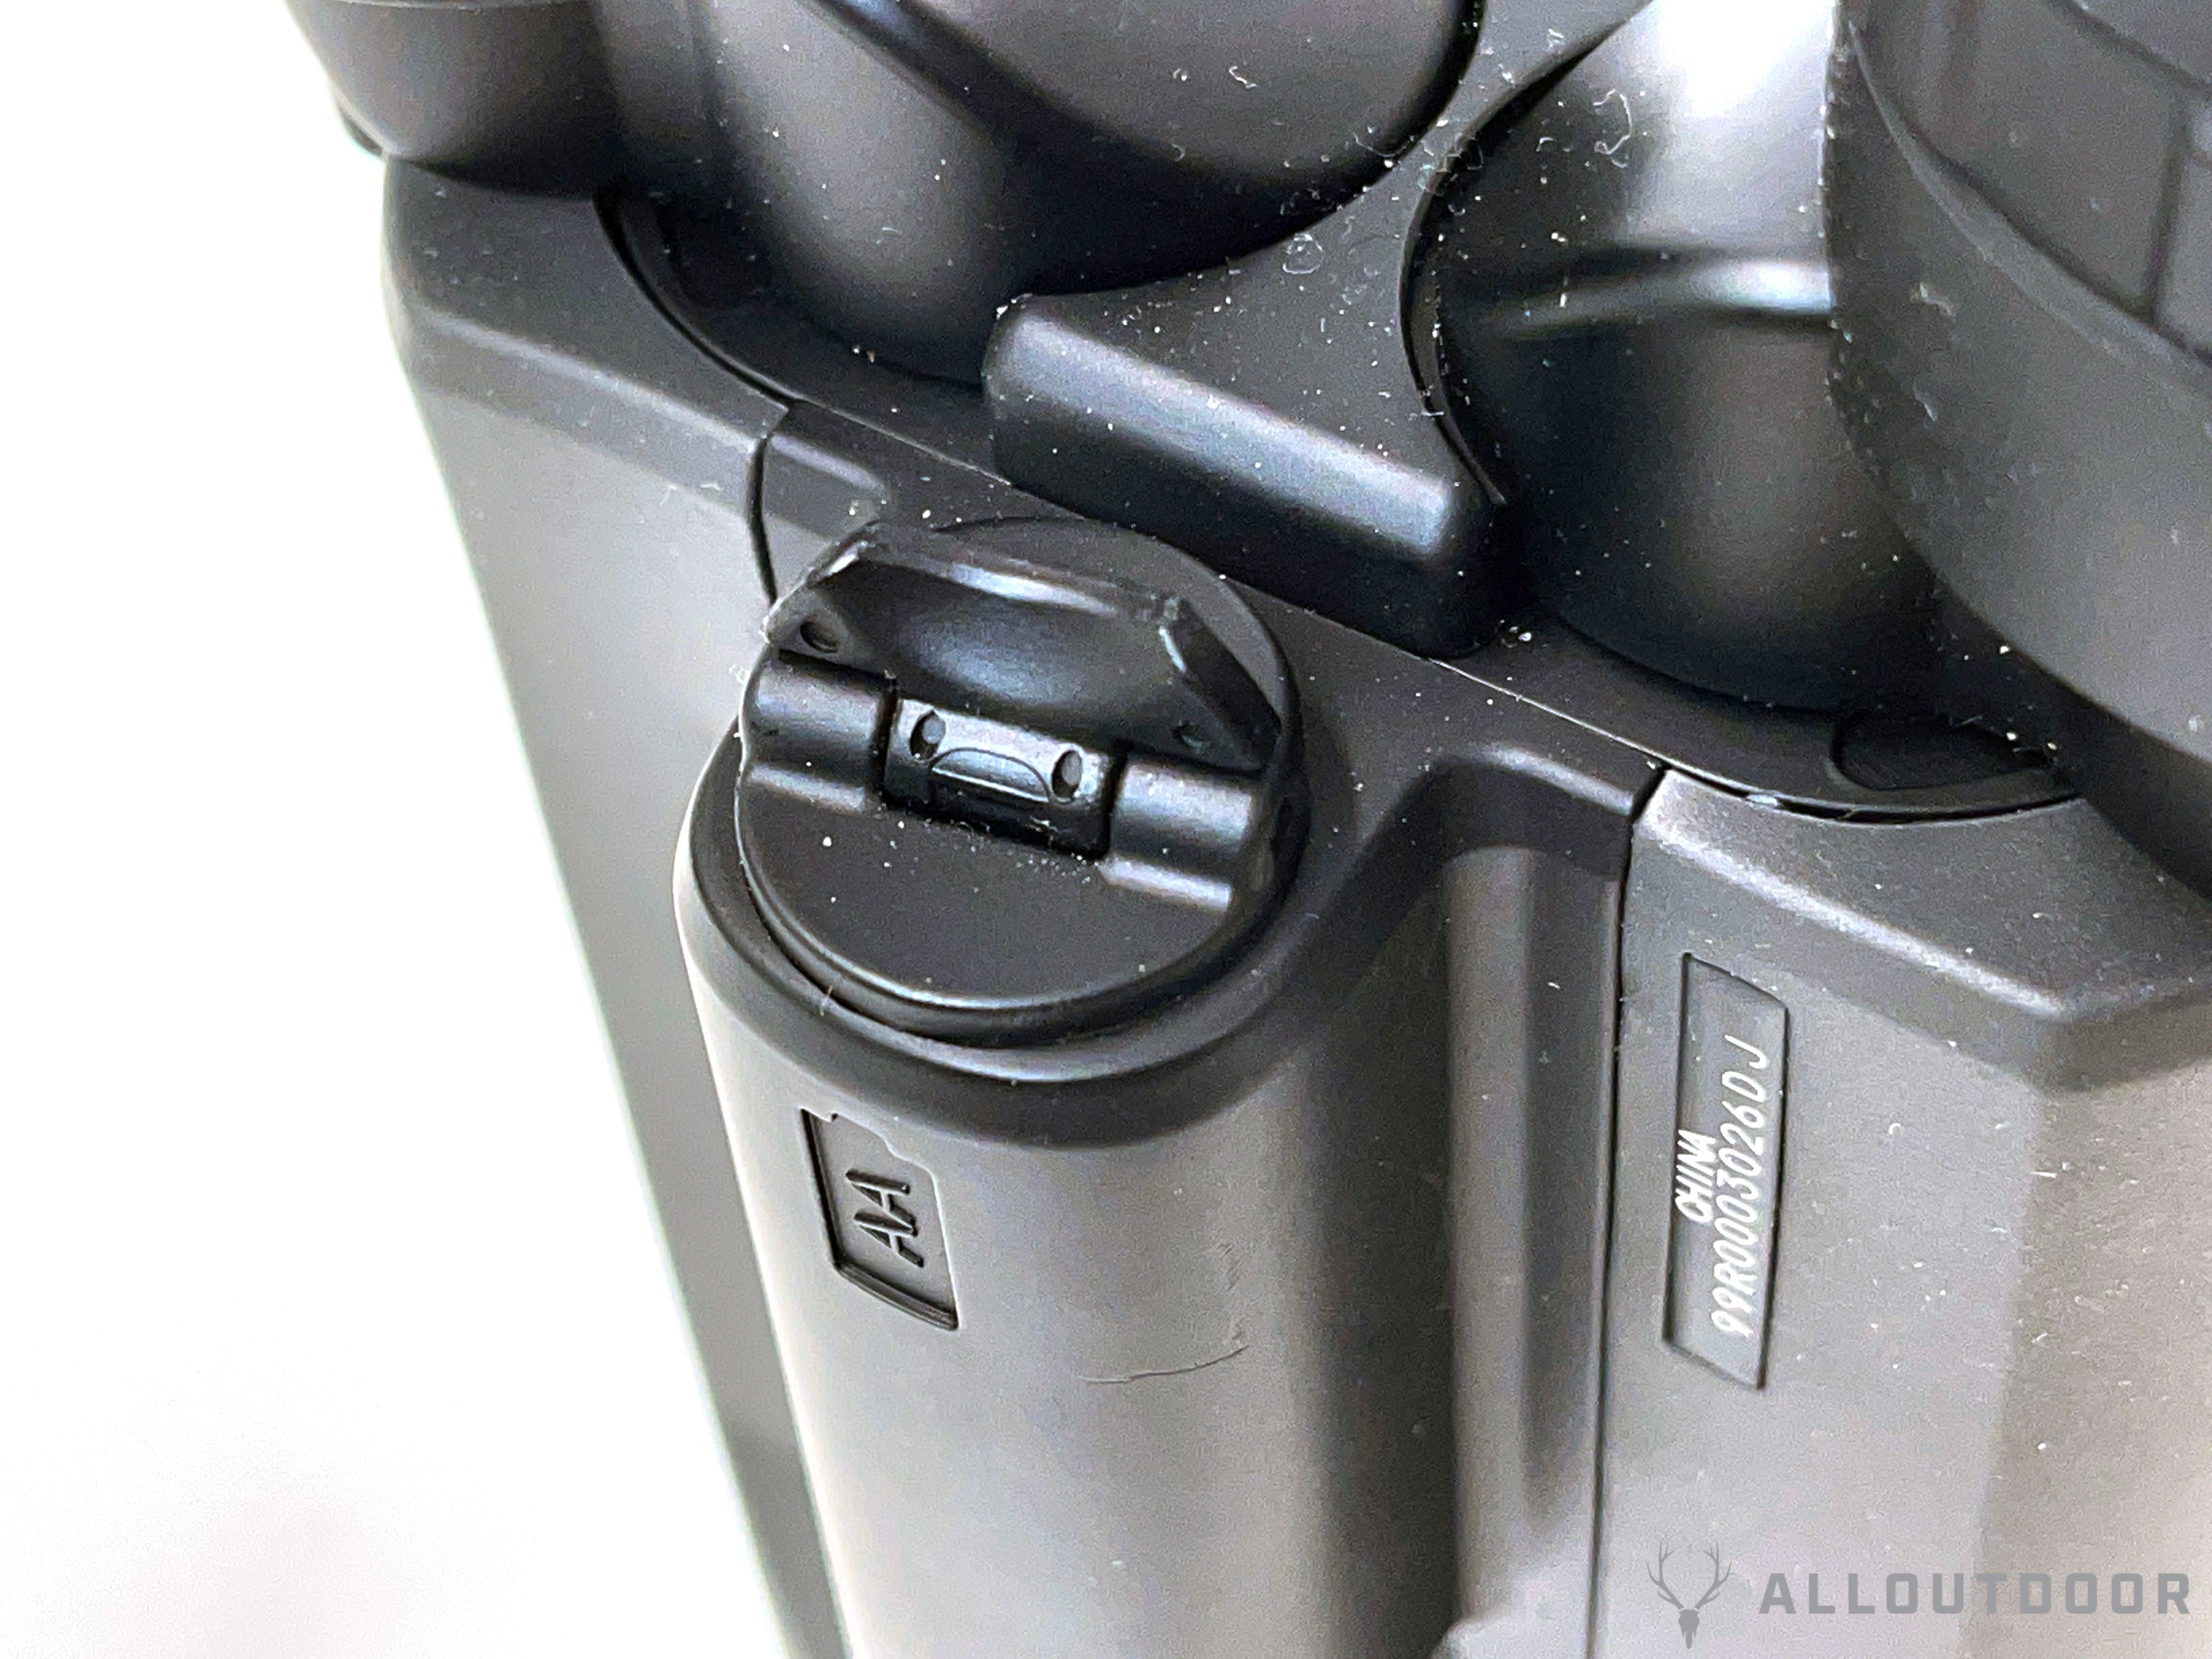
The ZULU6 is powered by a single AA battery. I have seen other reviews that state the battery lasts a year but said reviewers only used them a handful of times on some hunts which is not the same a year long use. I used them every day on the week long cruise and did not need to change the battery.

The battery cap has a flip down tab to help unscrew it from the bino body. I would have liked it if it was tethered. But it has an o-ring for waterproofness and that helps increase the friction to keep the battery cap in place.
There are retractable rubber eyecups and a diopter on the right ocular.

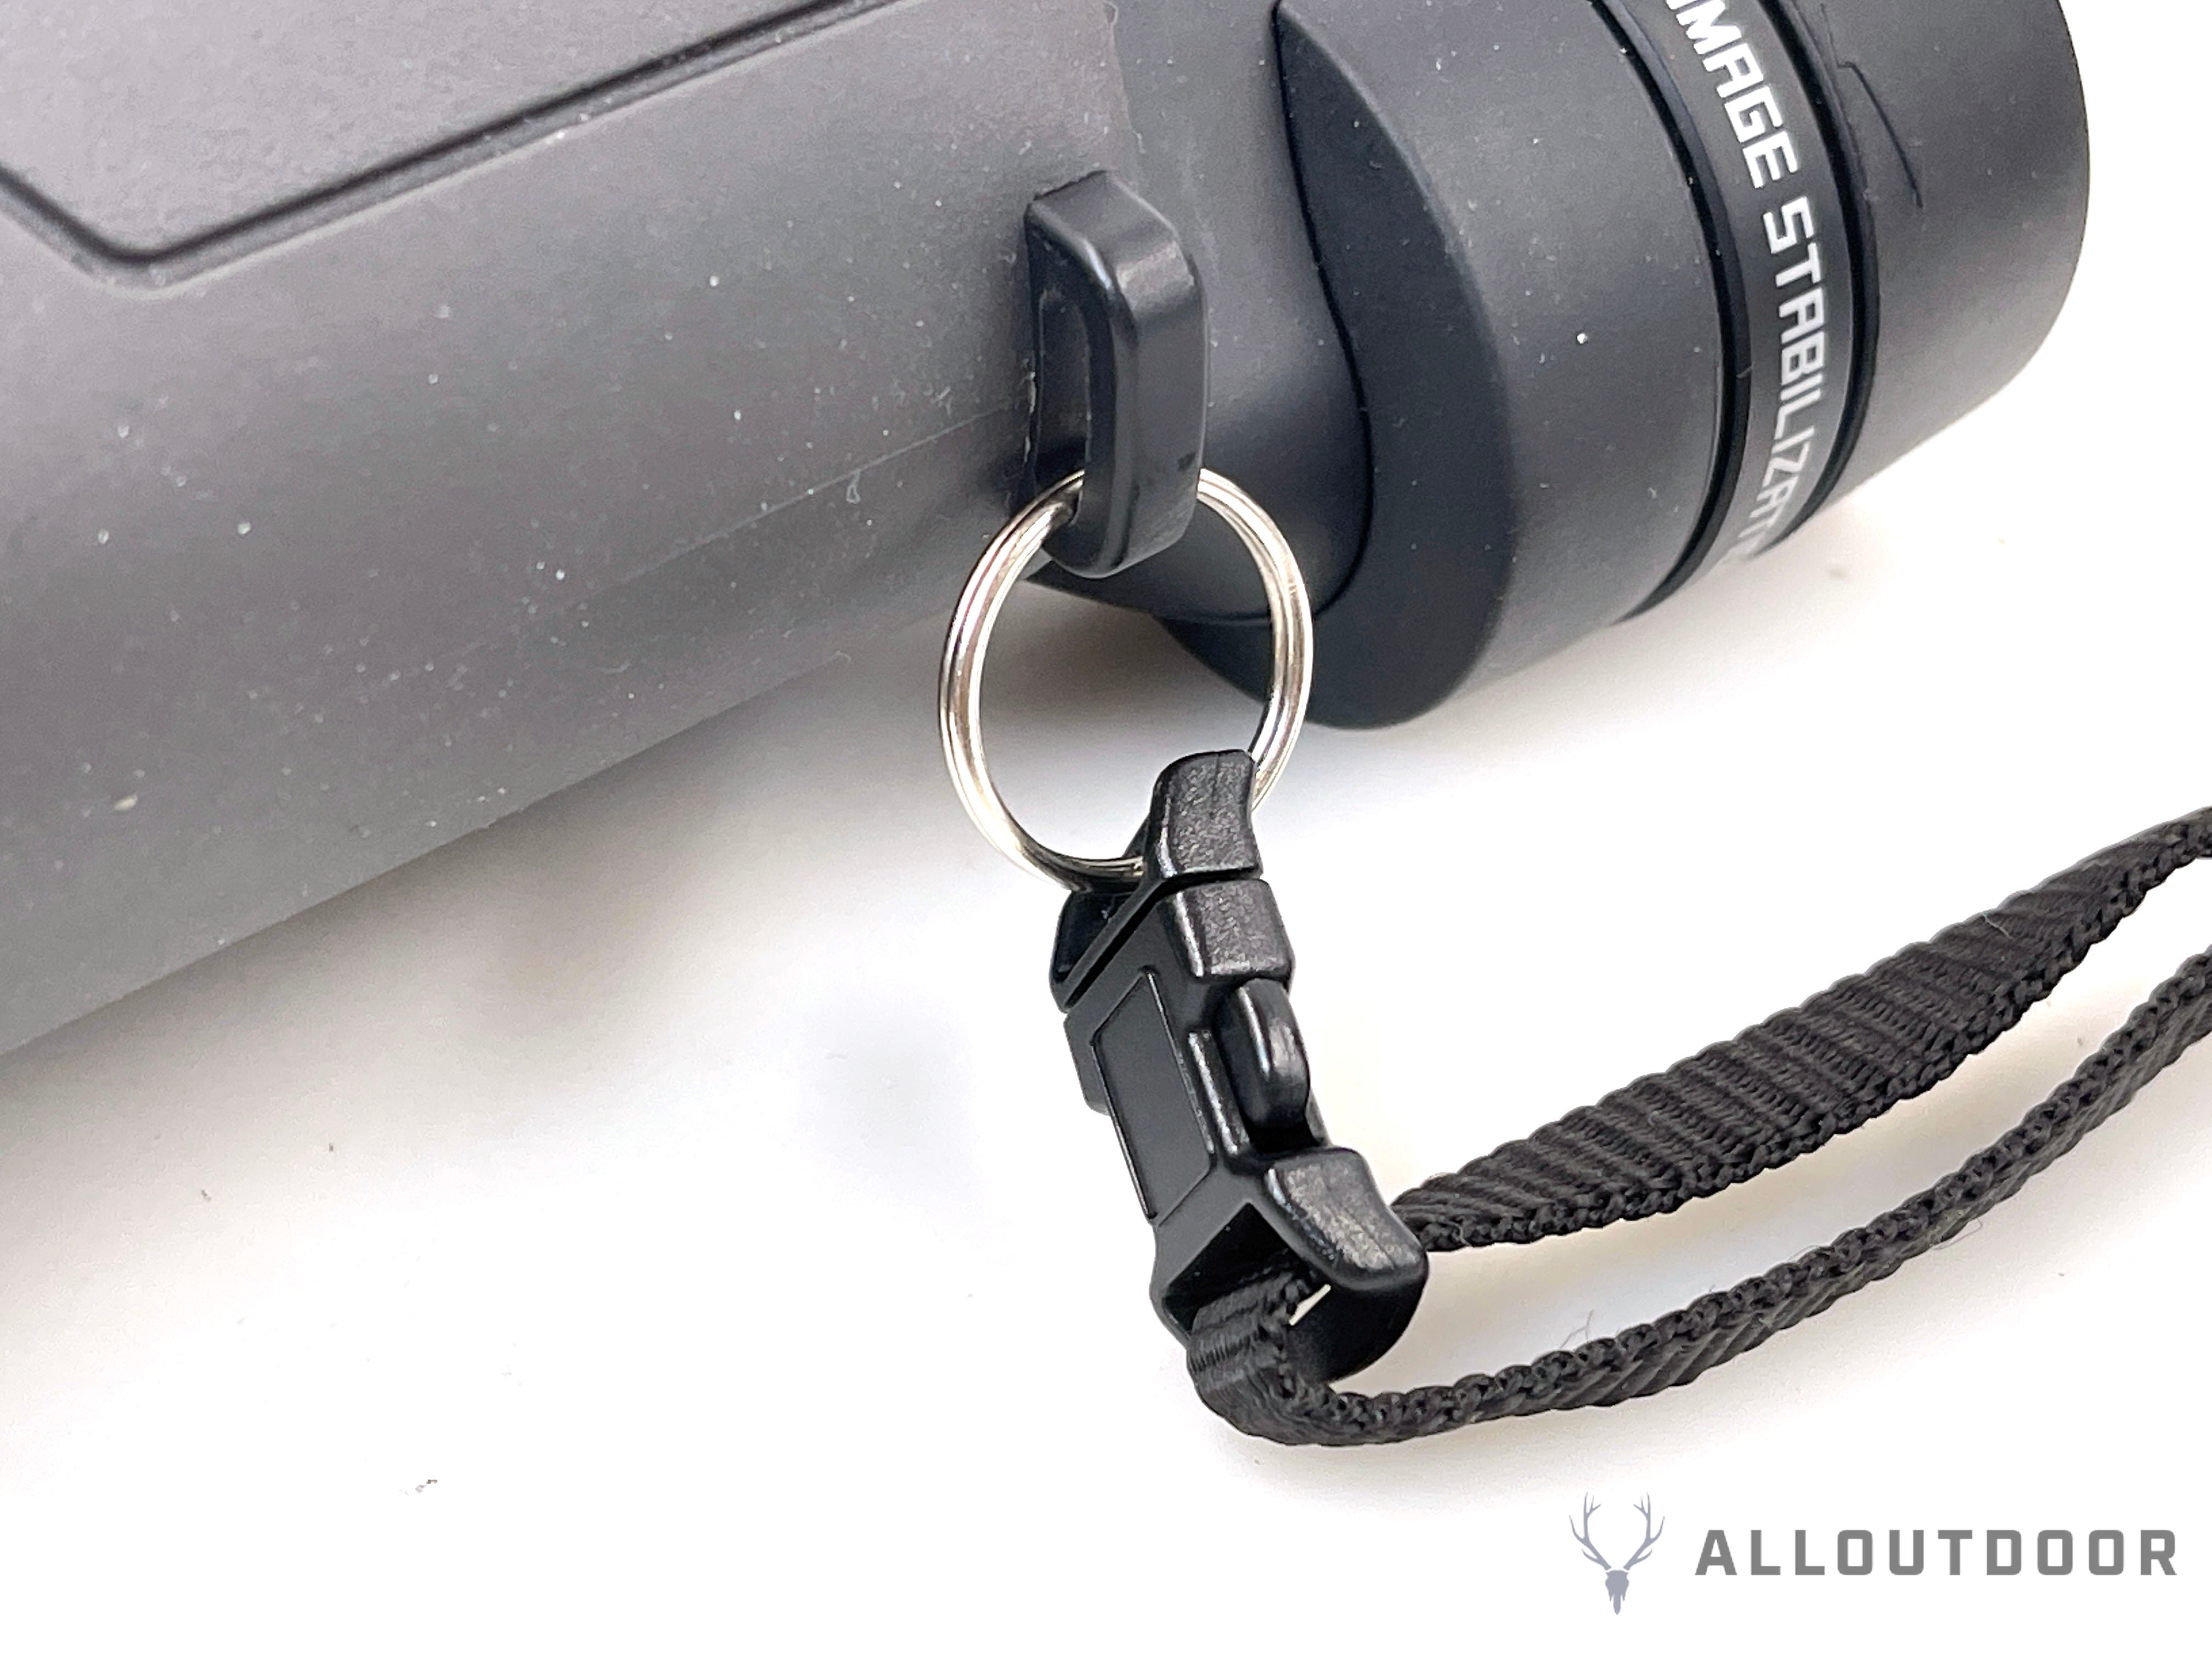
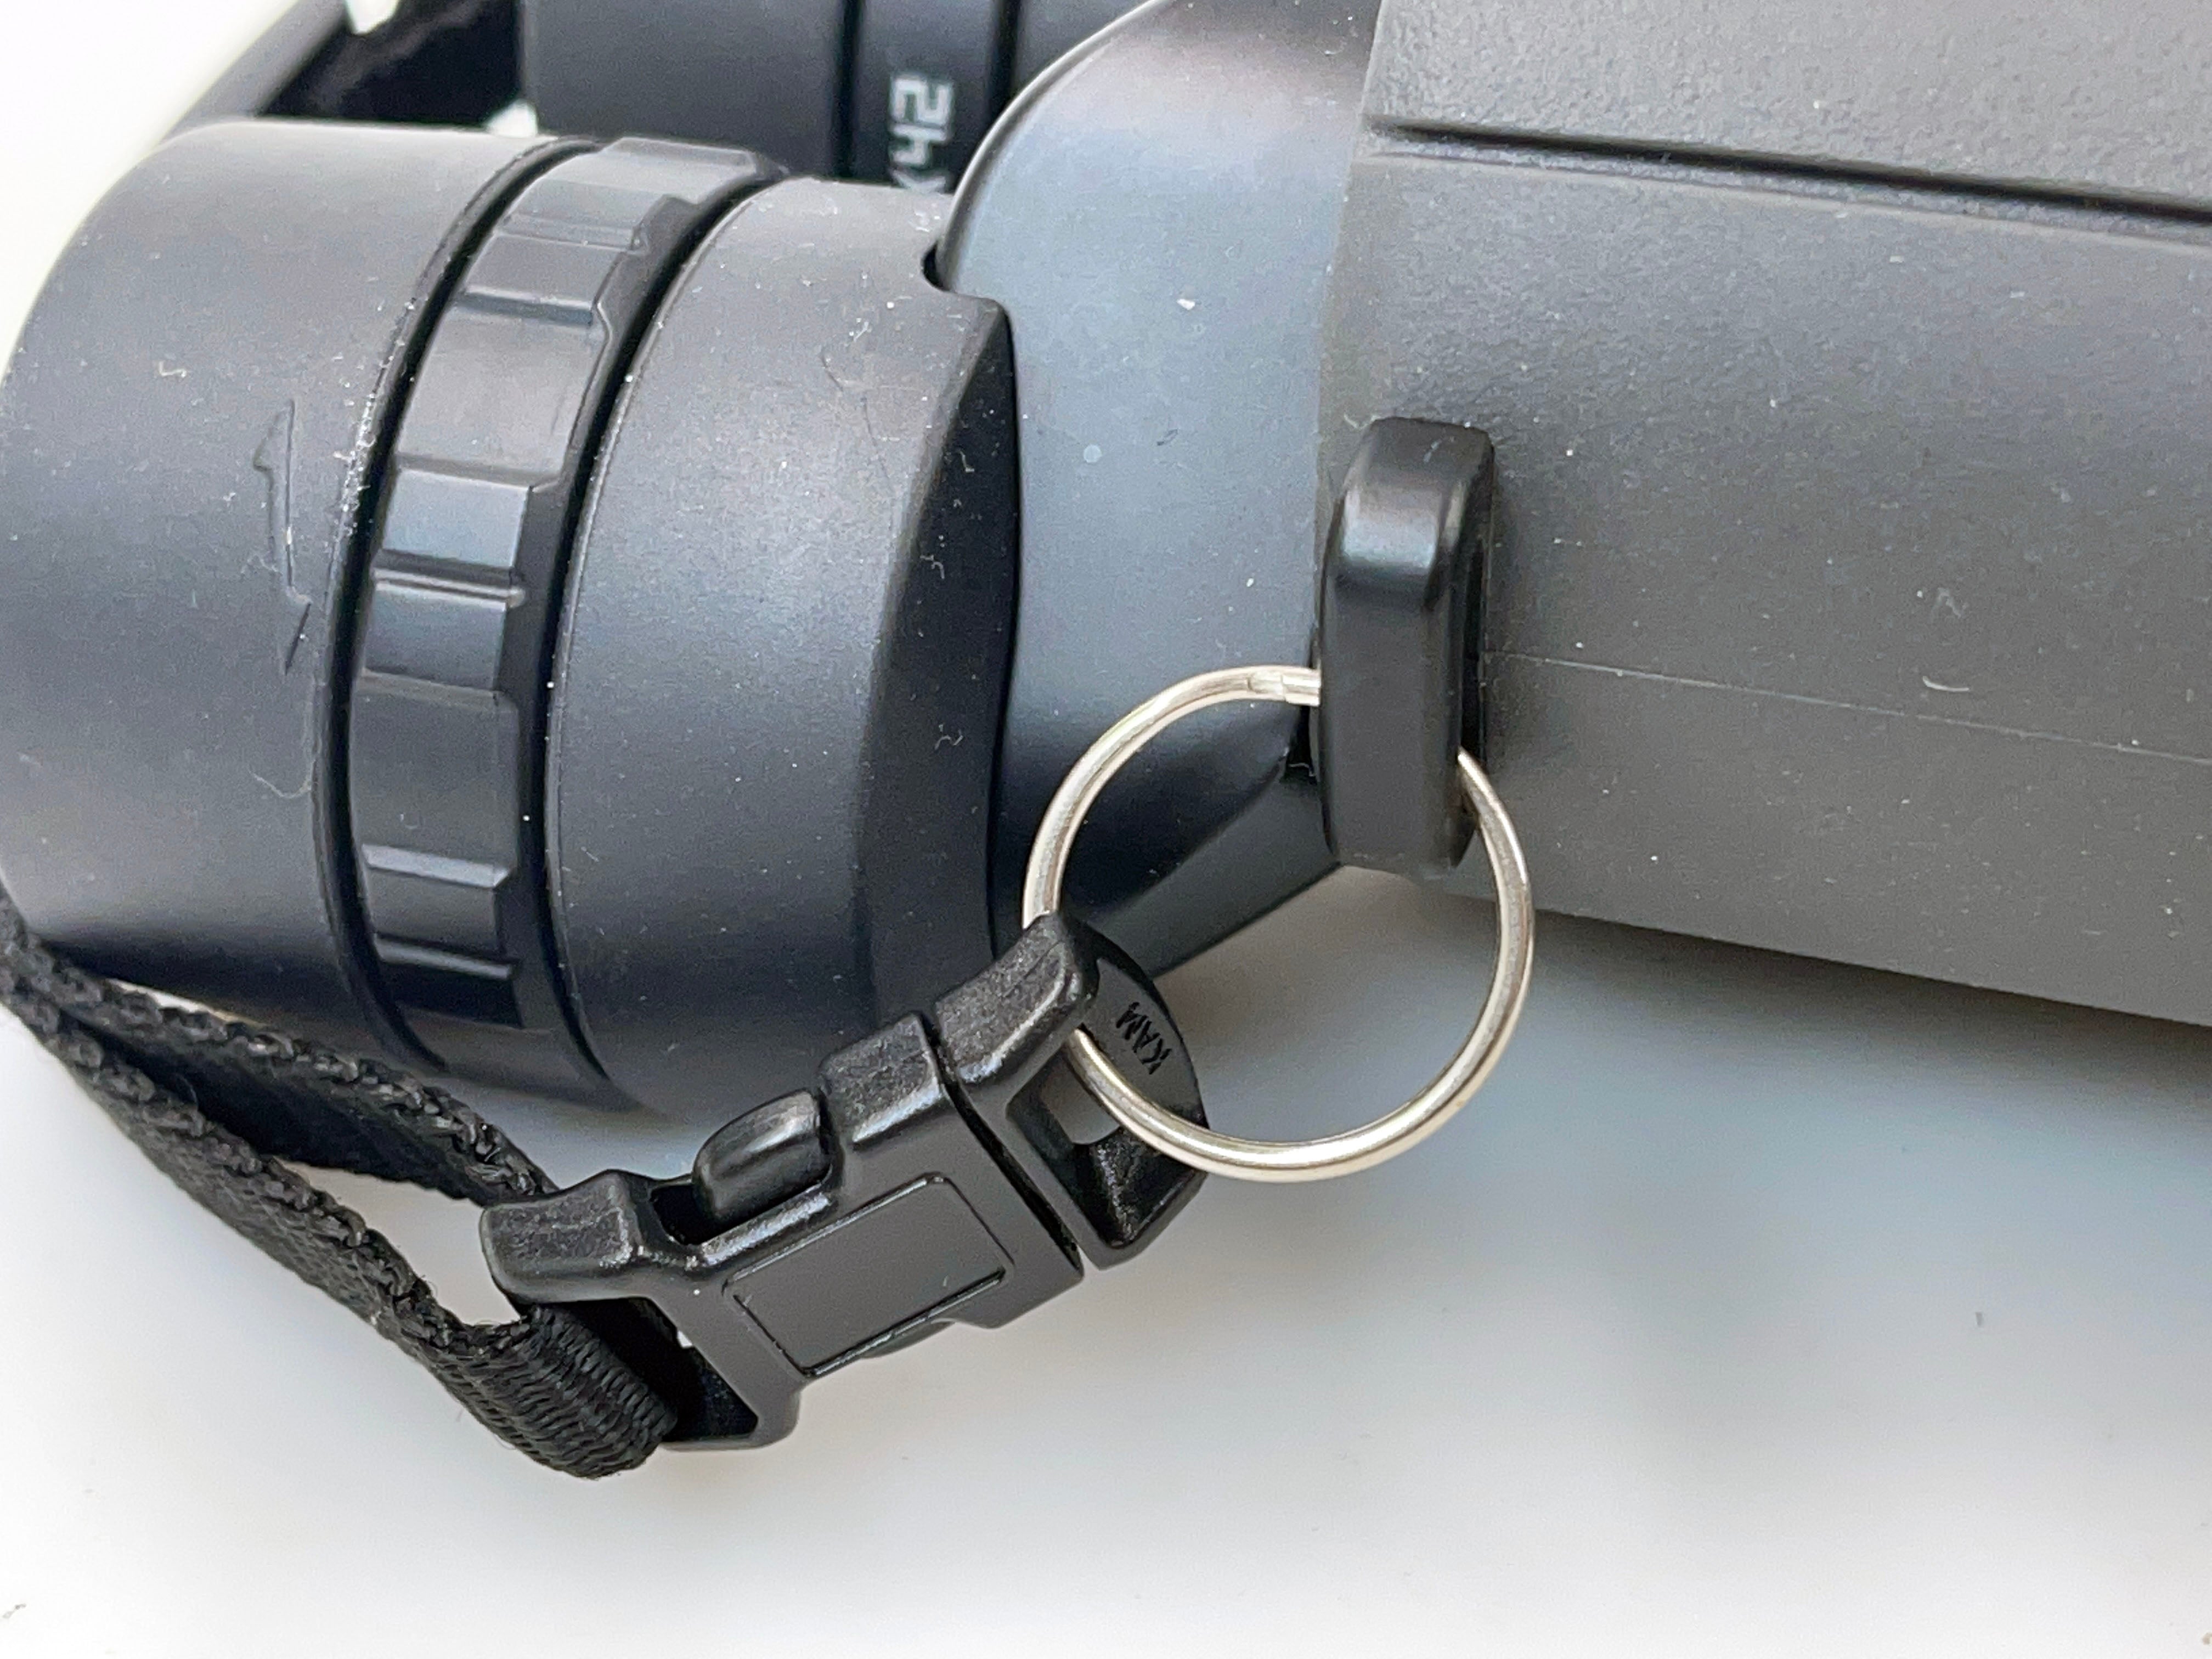
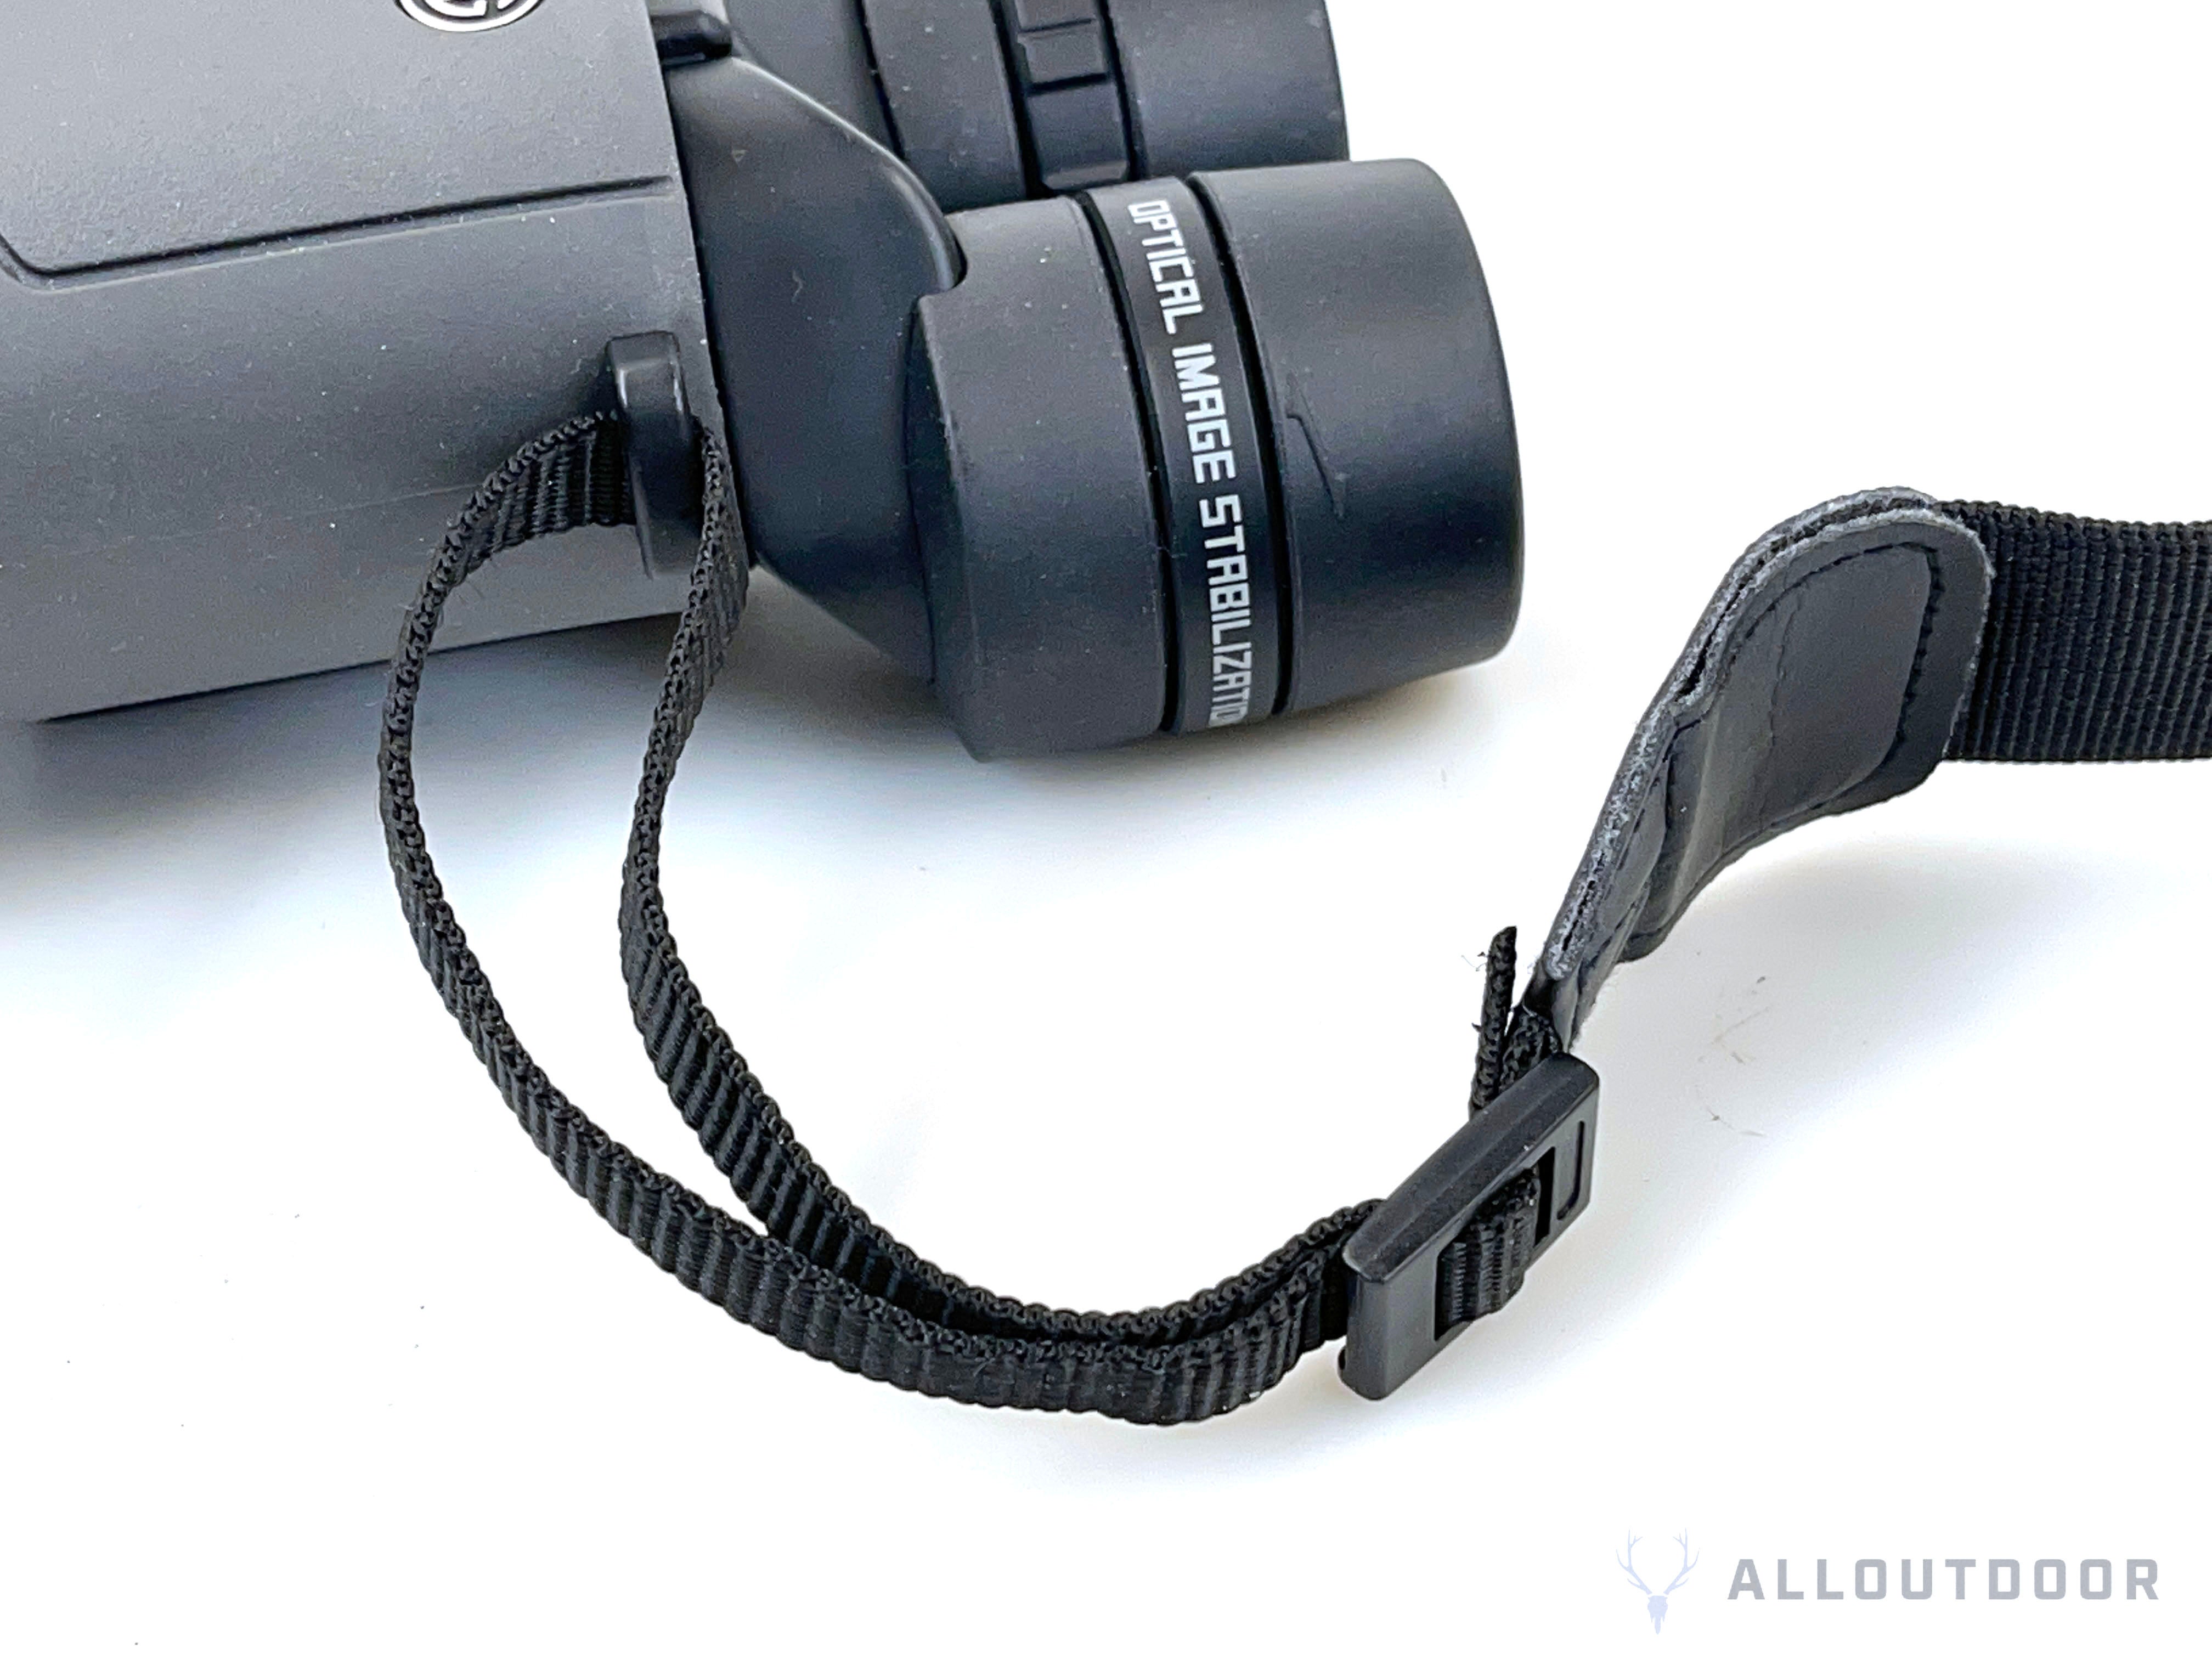
The neck strap for the ZULU6 is a simple affair. They provide a split ring and quick detach buckle for the strap.
My family used these binos for a solid week and we never unbuckled the neck strap. In fact we always used it because we told our kids “These are expensive, don’t drop them” and they would use the neck strap.
I did find the metal split ring and plastic buckles a little bit annoying as they make noise when they hit the sides of the ZULU6. So I removed them and looped the neckstrap directly to the housing.
In the box, The ZULU6 comes with a ballistic nylon pouch. It is a simple pouch with a velcro flap and a belt loop sewn into the back.
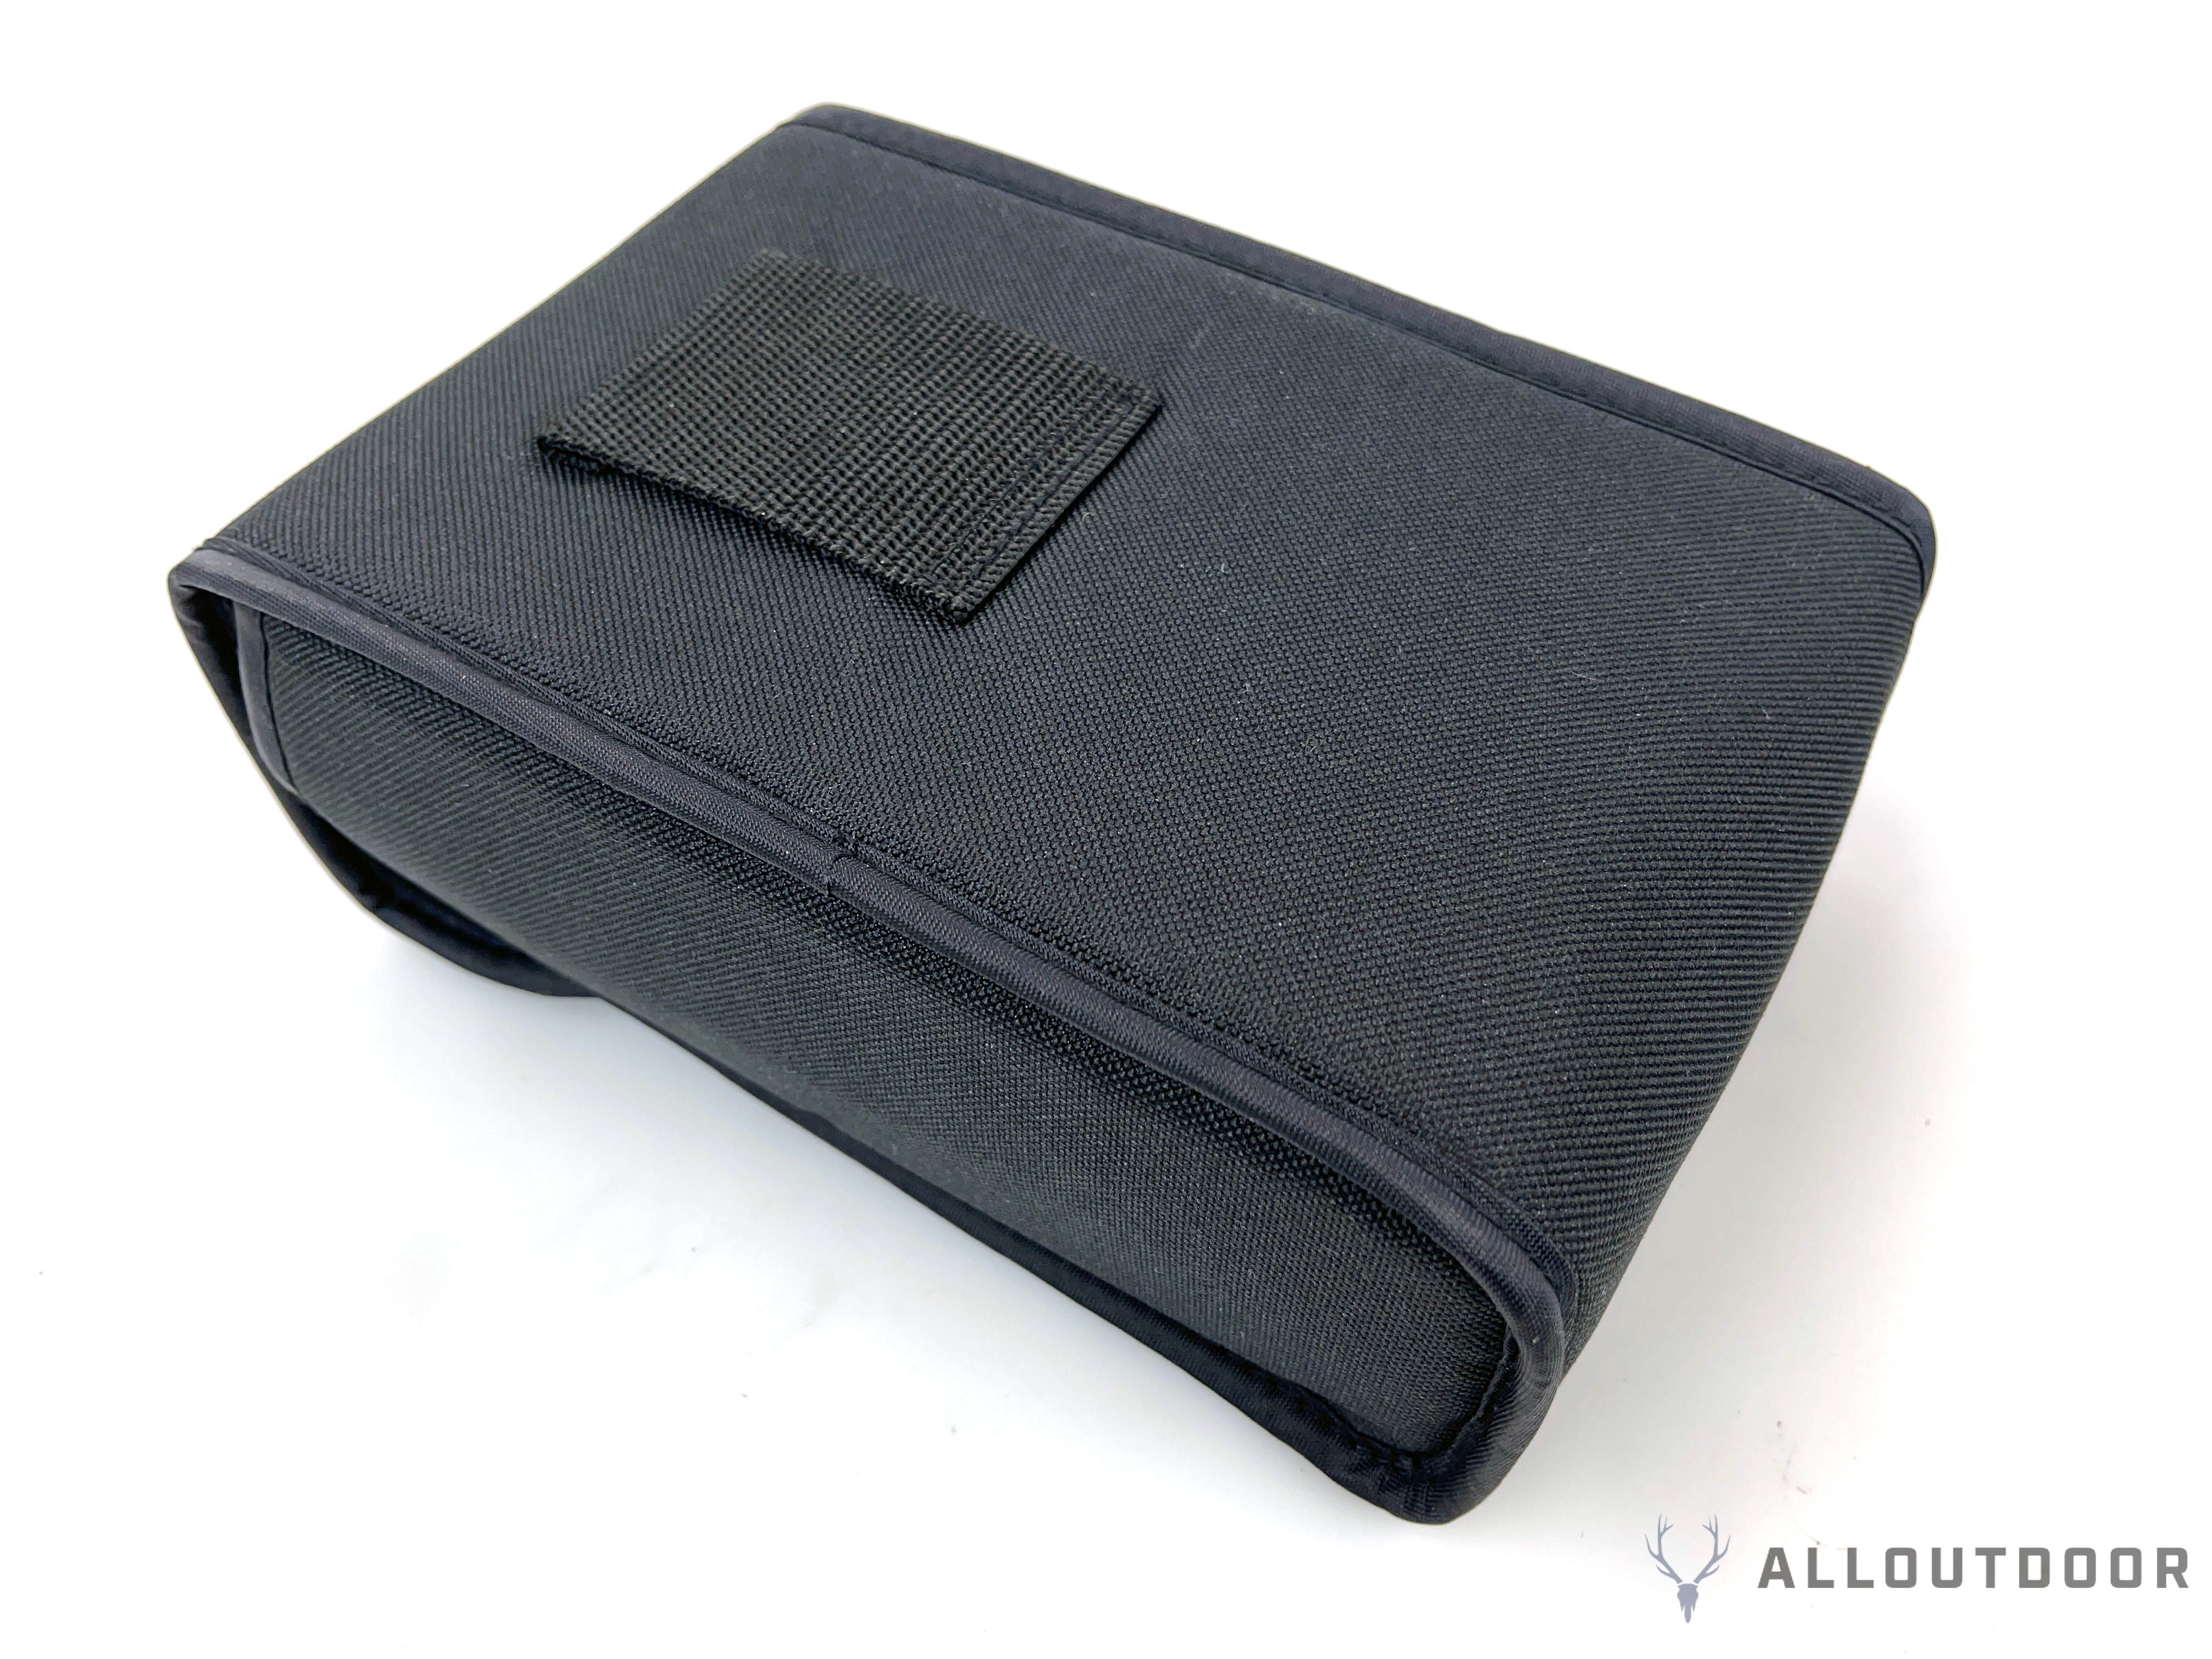
I only used the pouch to protect the ZULU6 in my backpack. Otherwise we wore the bino around our necks. Notice anything missing? The ZULU6 does not come with any lens covers. It did come with a pair of plastic caps that sit over the eyepieces but they are not retained in anyway. It is more for protecting them during travel in the pouch. I would have liked rubber lens covers for the eyepieces. Either a caps that slip onto the eyecups or a bra style cap like the one on my Maven Binos which is retained by the neck strap. More importantly I want a a cover to protect the objective lenses. I think a simple rubber cap to go over the entire front of the ZULU6 would be fine and held on with an elastic cord, then you could slip it off, have it hang down and slip it back on when you want to protect the objective lens.
Photographing and Videoing Through The ZULU6
I have a Phone Skope case for my iPhone 12 Max Pro and the lens adapter for my PVS-14 oculars fits the ZULU6 eyepiece.
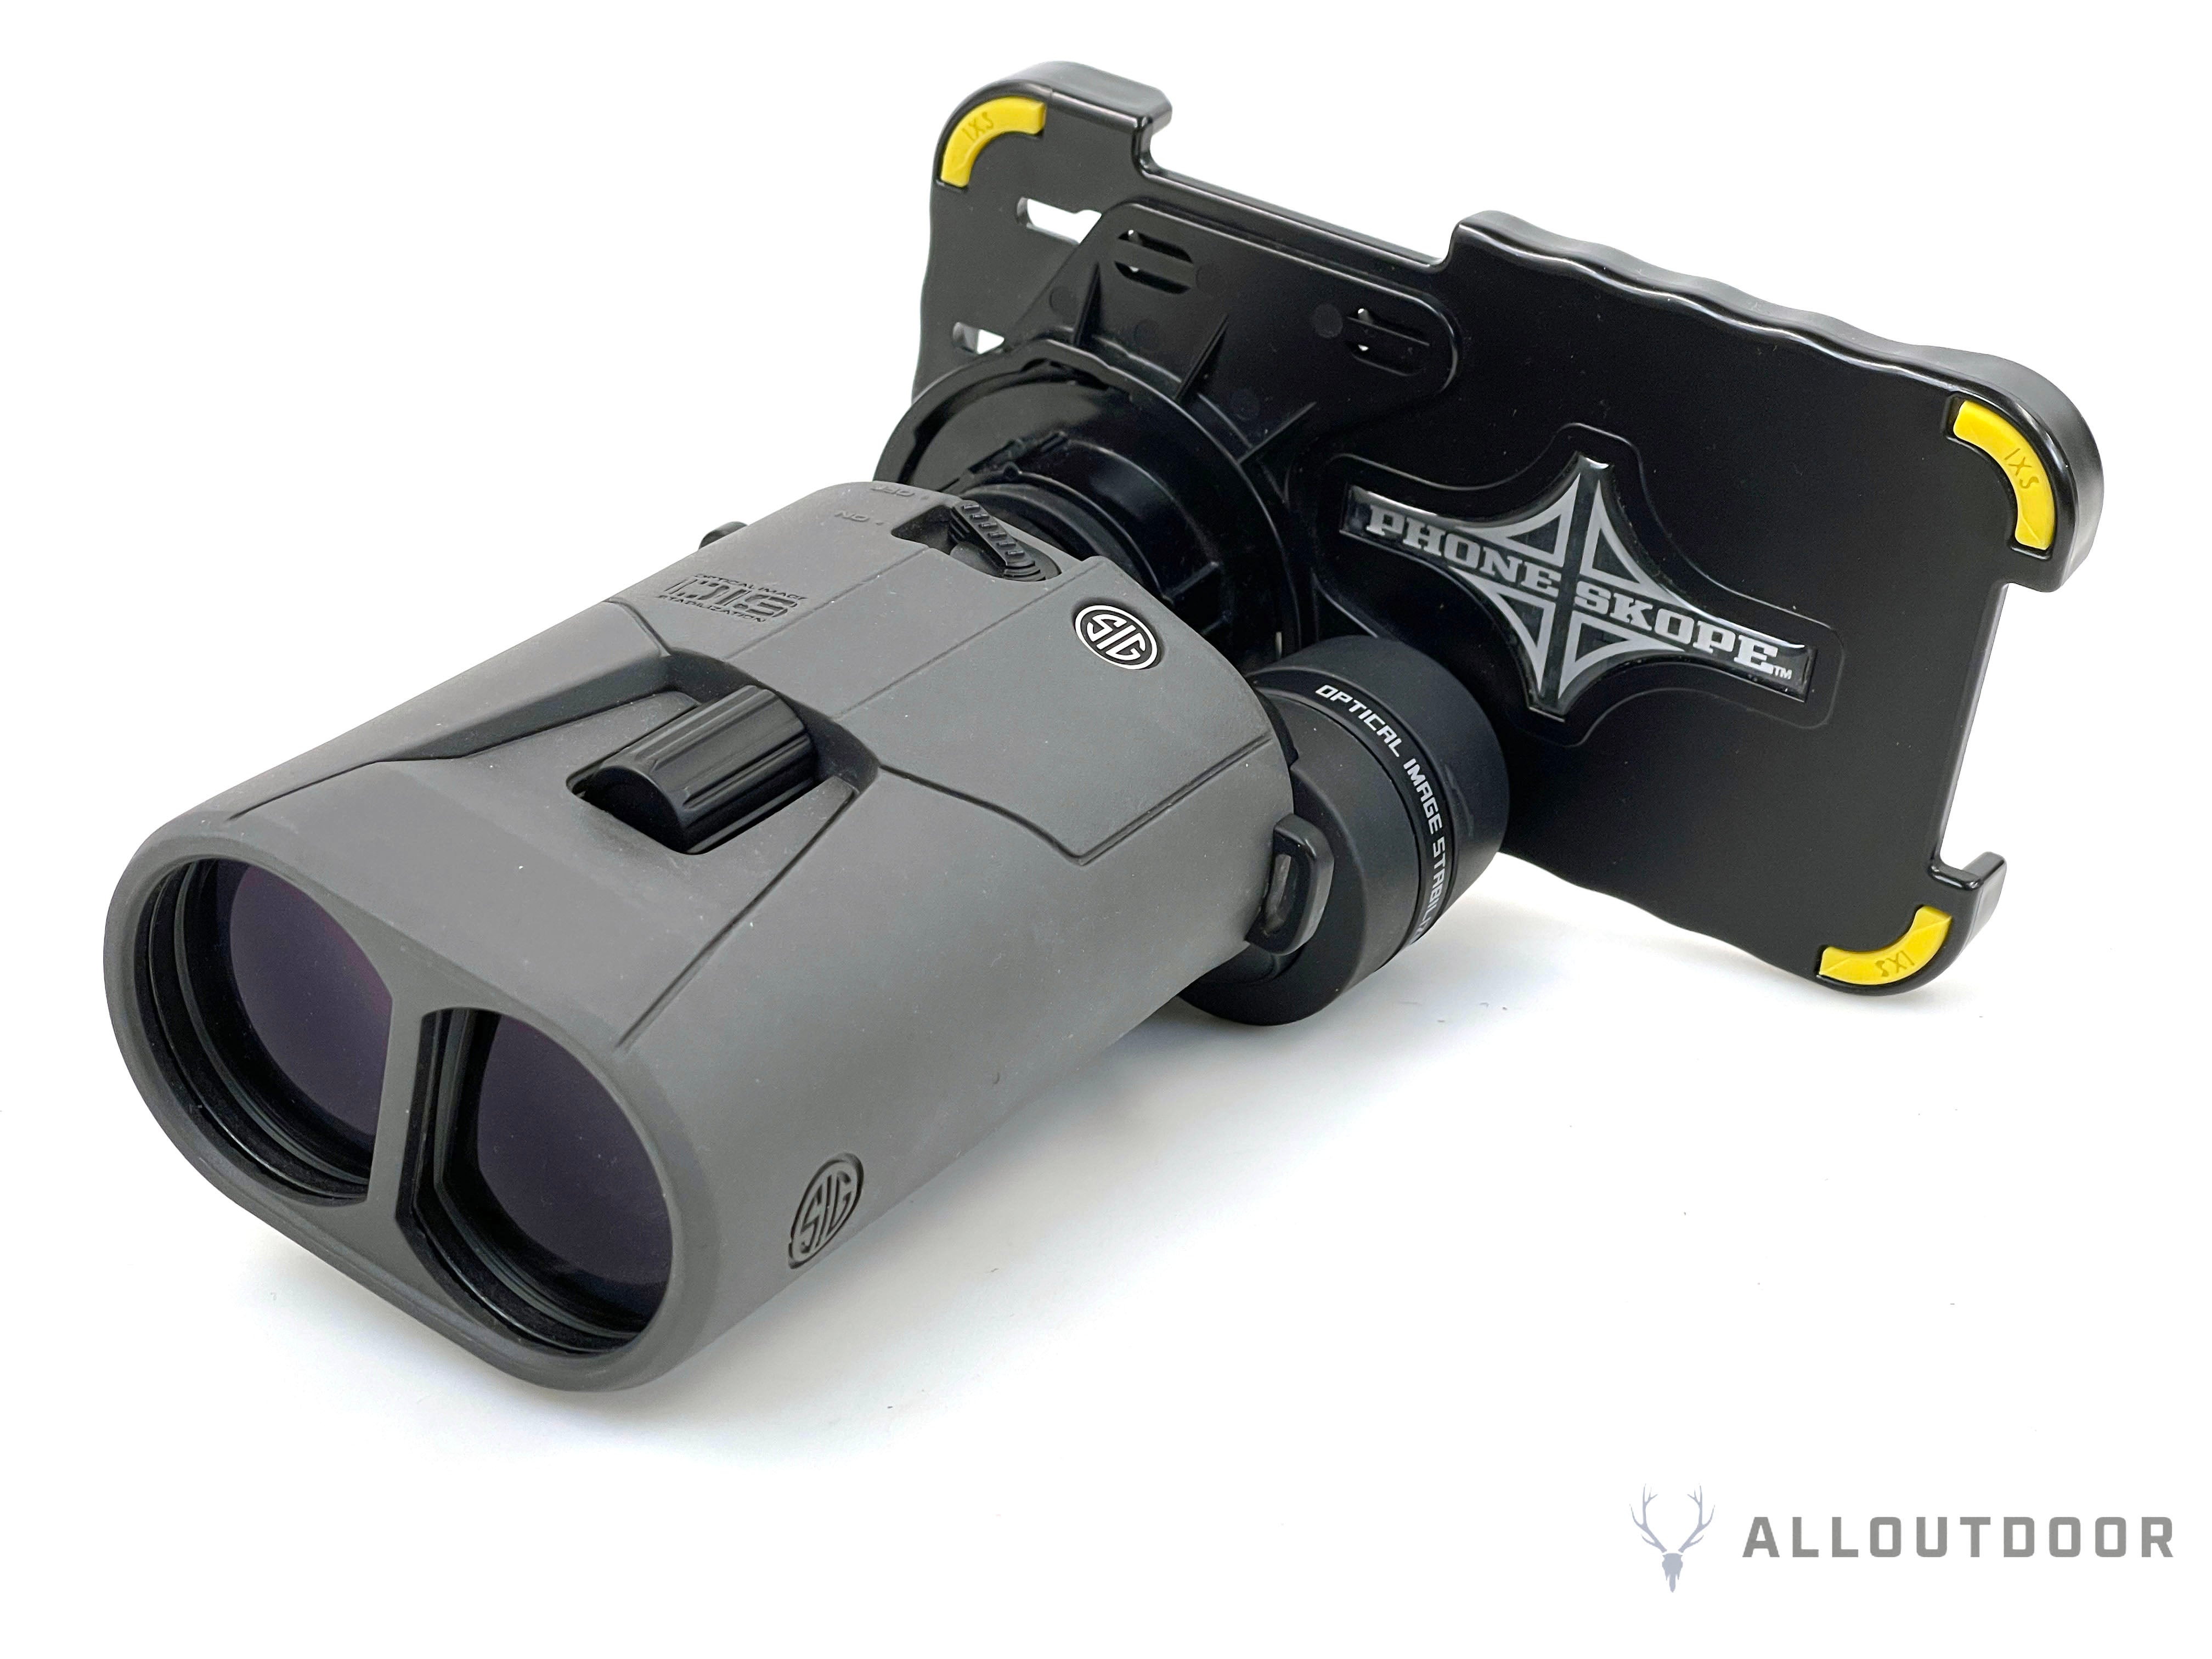
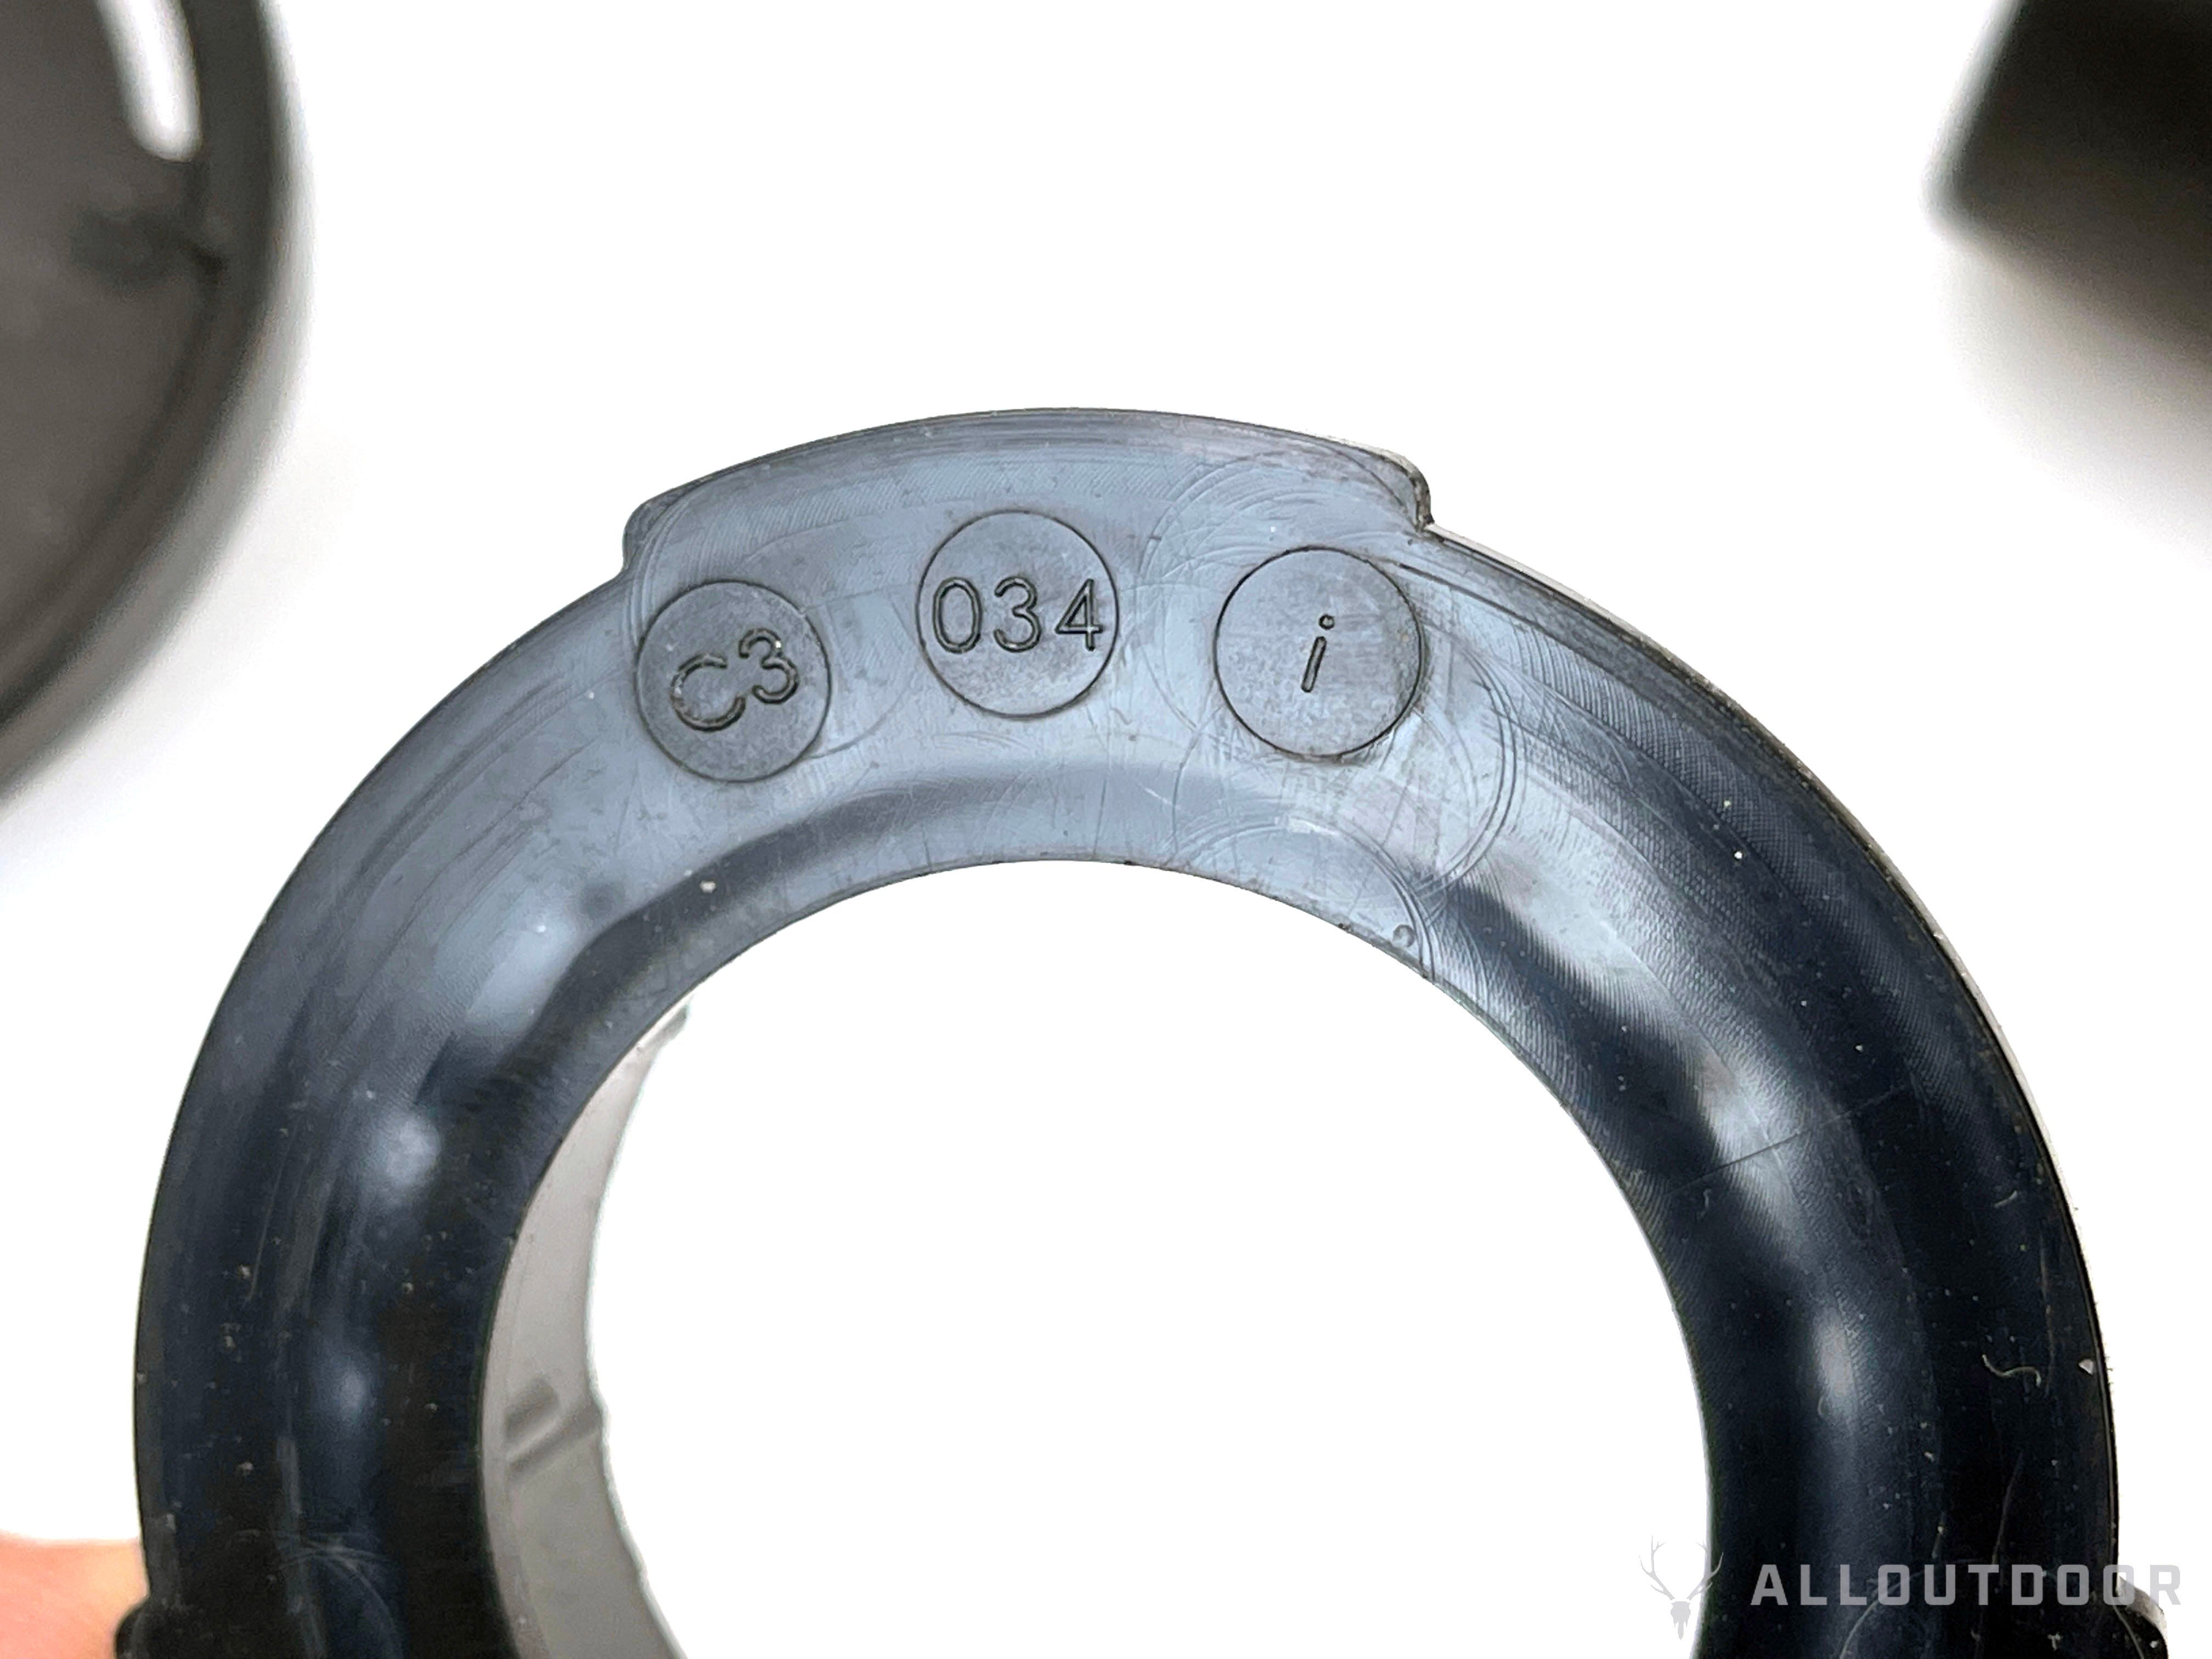
With the adapter installed you can see how the eyepiece is almost flush with the adapter.
Using the PhoneSkope with my iPhone takes a bit of trial and error. First of all the iPhone 12 has three different lenses. While the Phone Scope case has adjustable lens adapter mount, it is not quick or easy to move it from lens to lens. So I found the sweet spot for viewing and filming through the SIG ZULU6 was to stay at 1x to just under 2x. If I zoom in with the iPhone and go past 2x magnification, the iPhone switches to its long range lens. But that lens is blocked by the lens adapter mount of the Phone Scope case. So if you want to replicate this setup, keep the magnification under 2x.
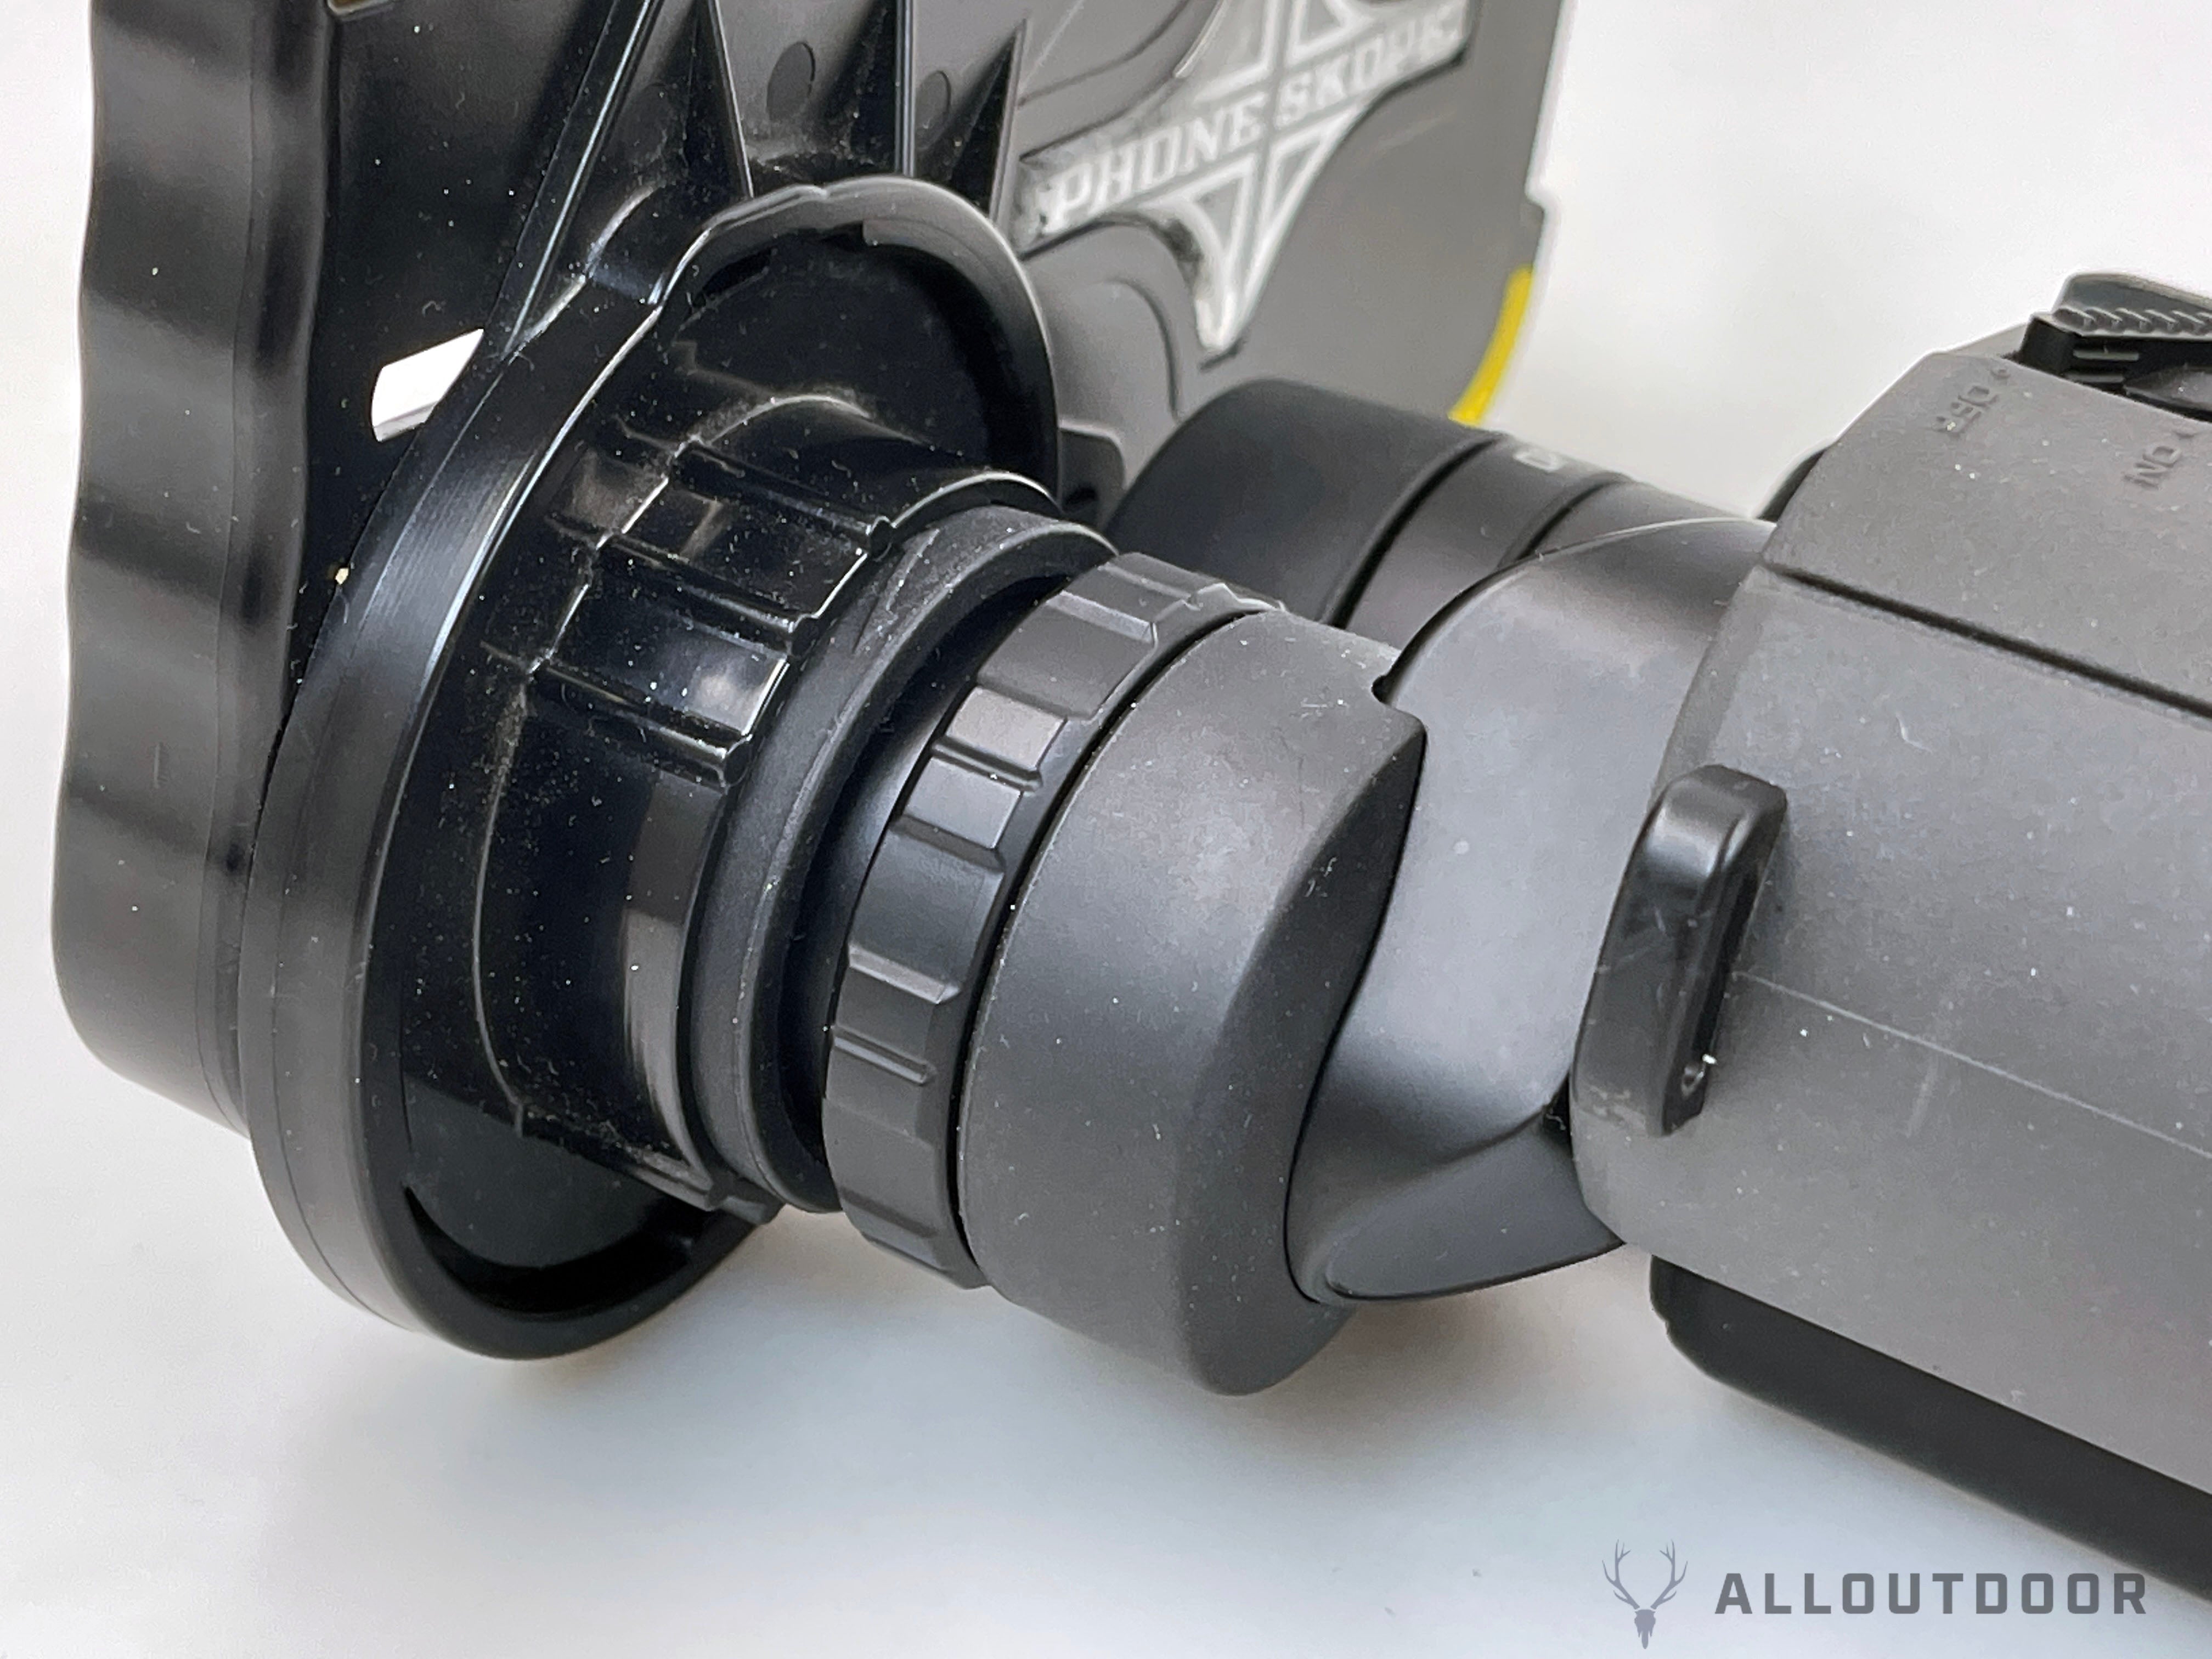
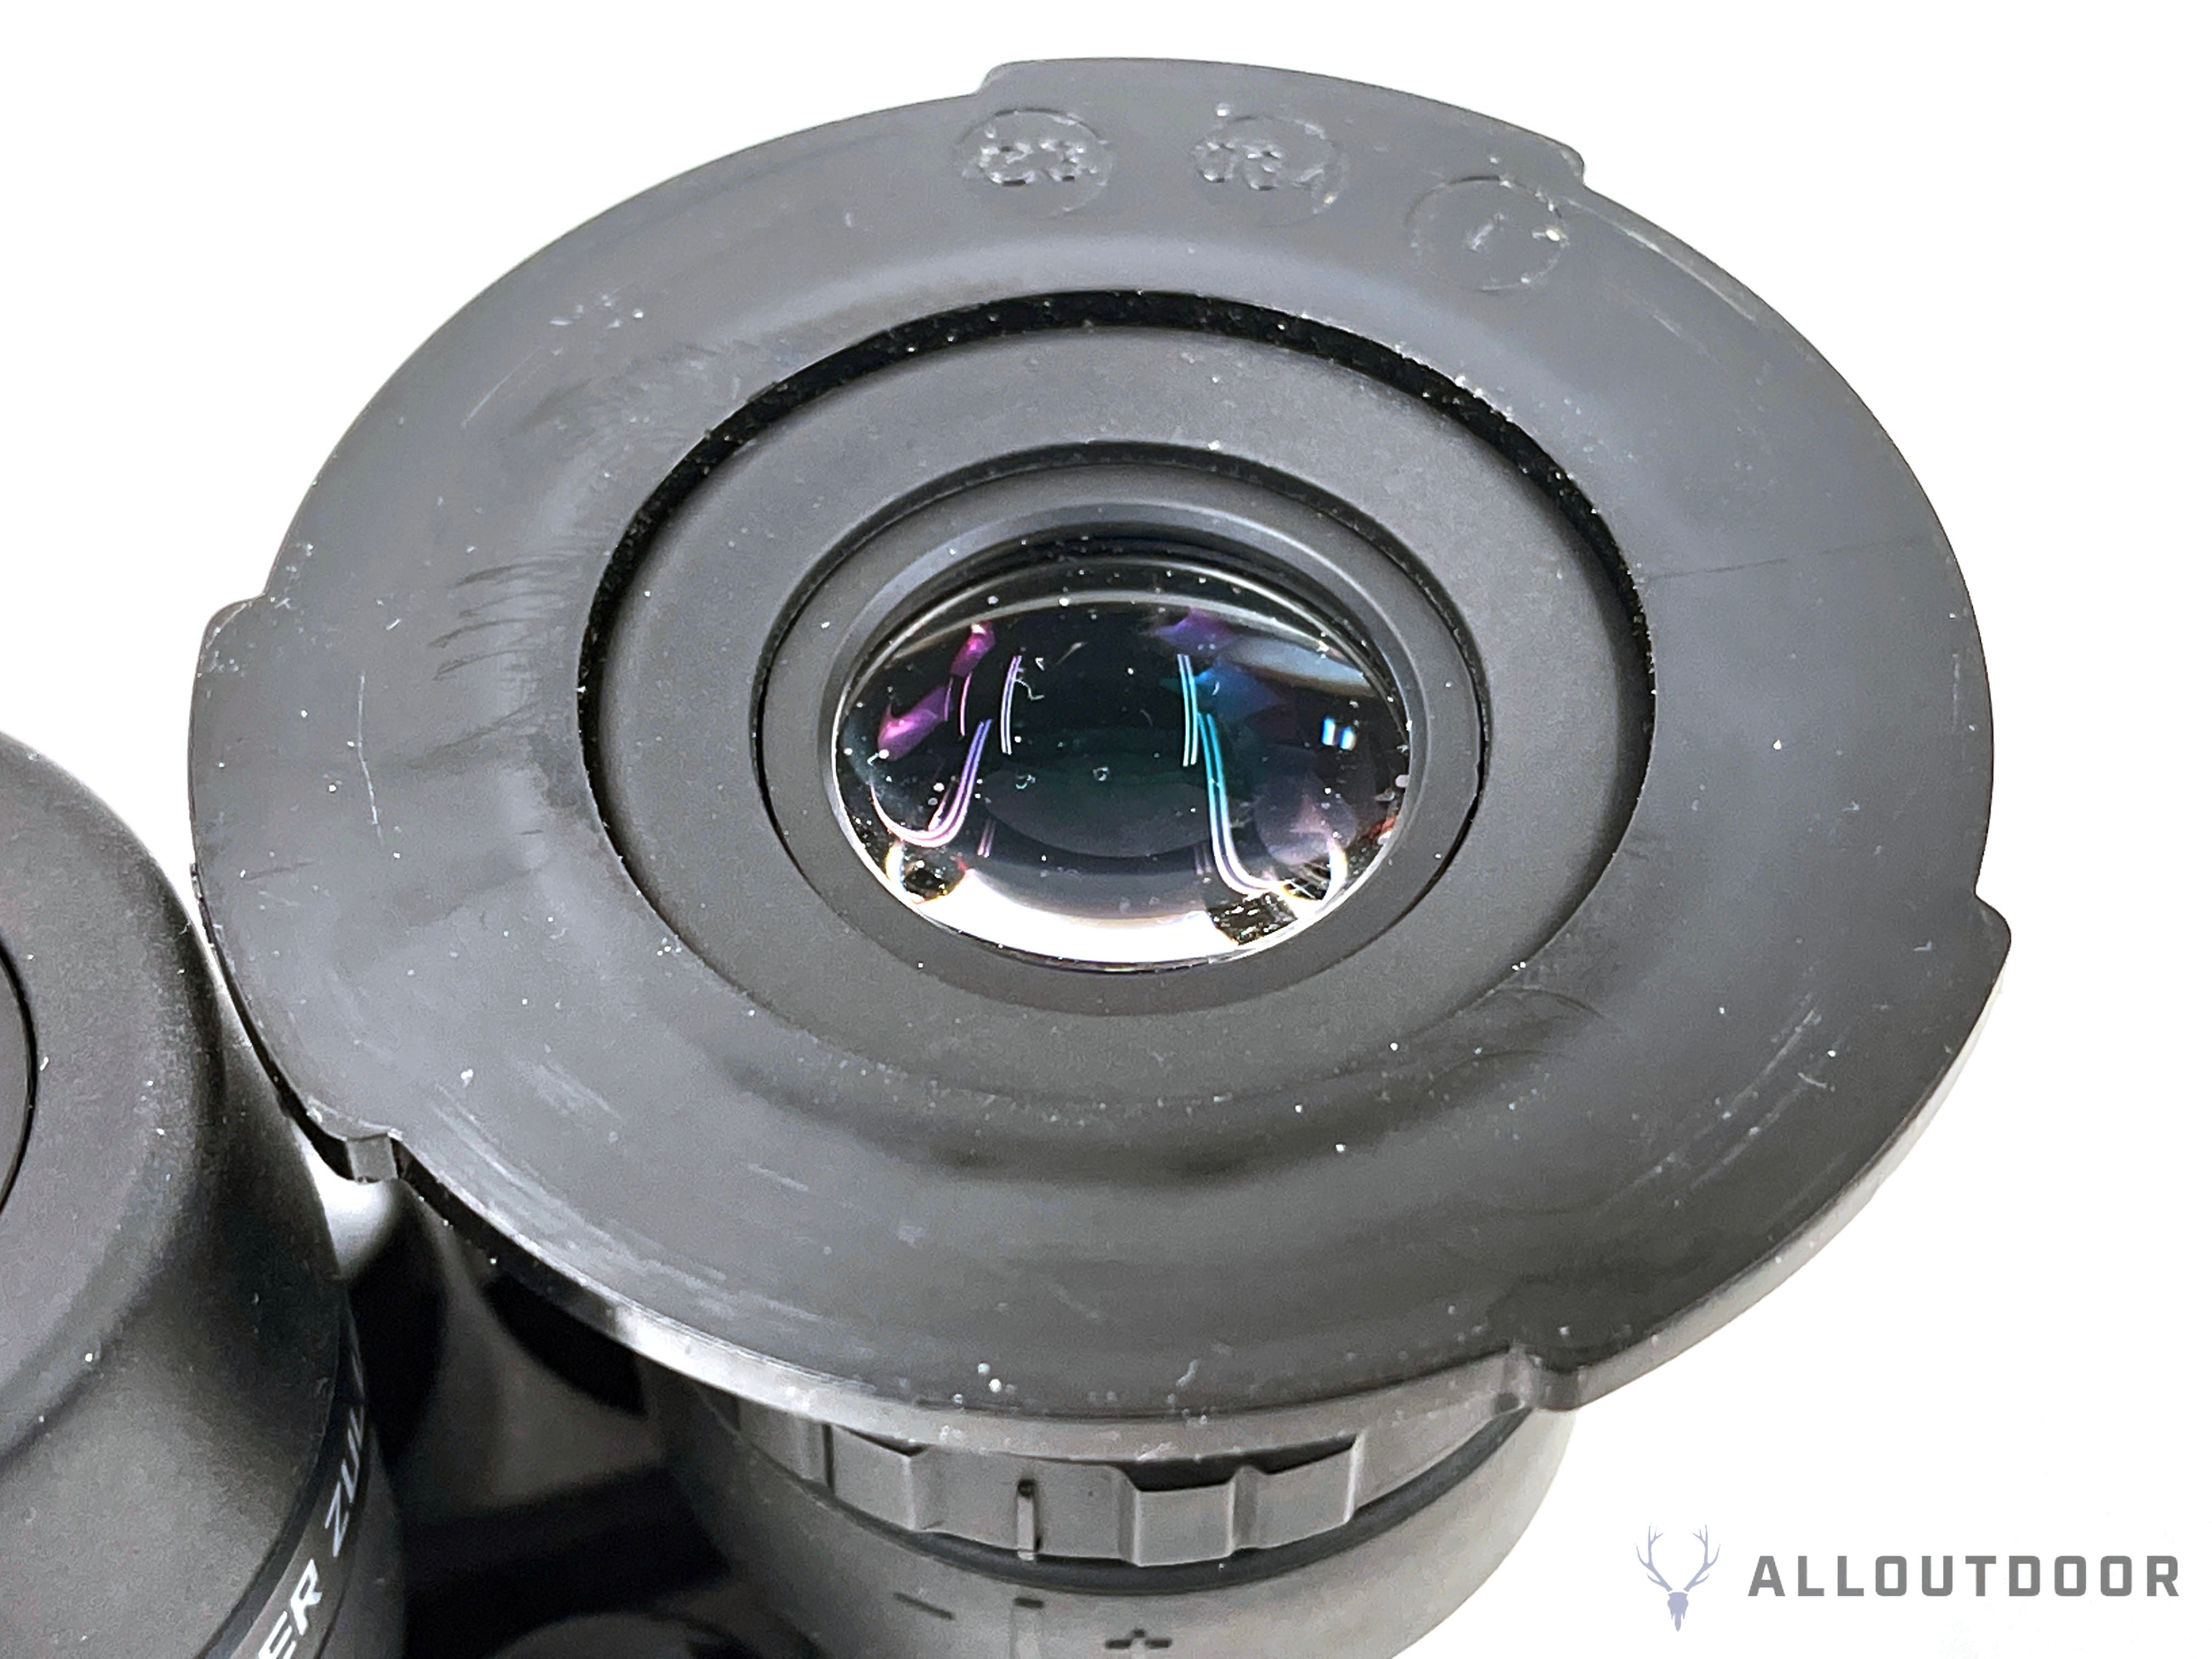
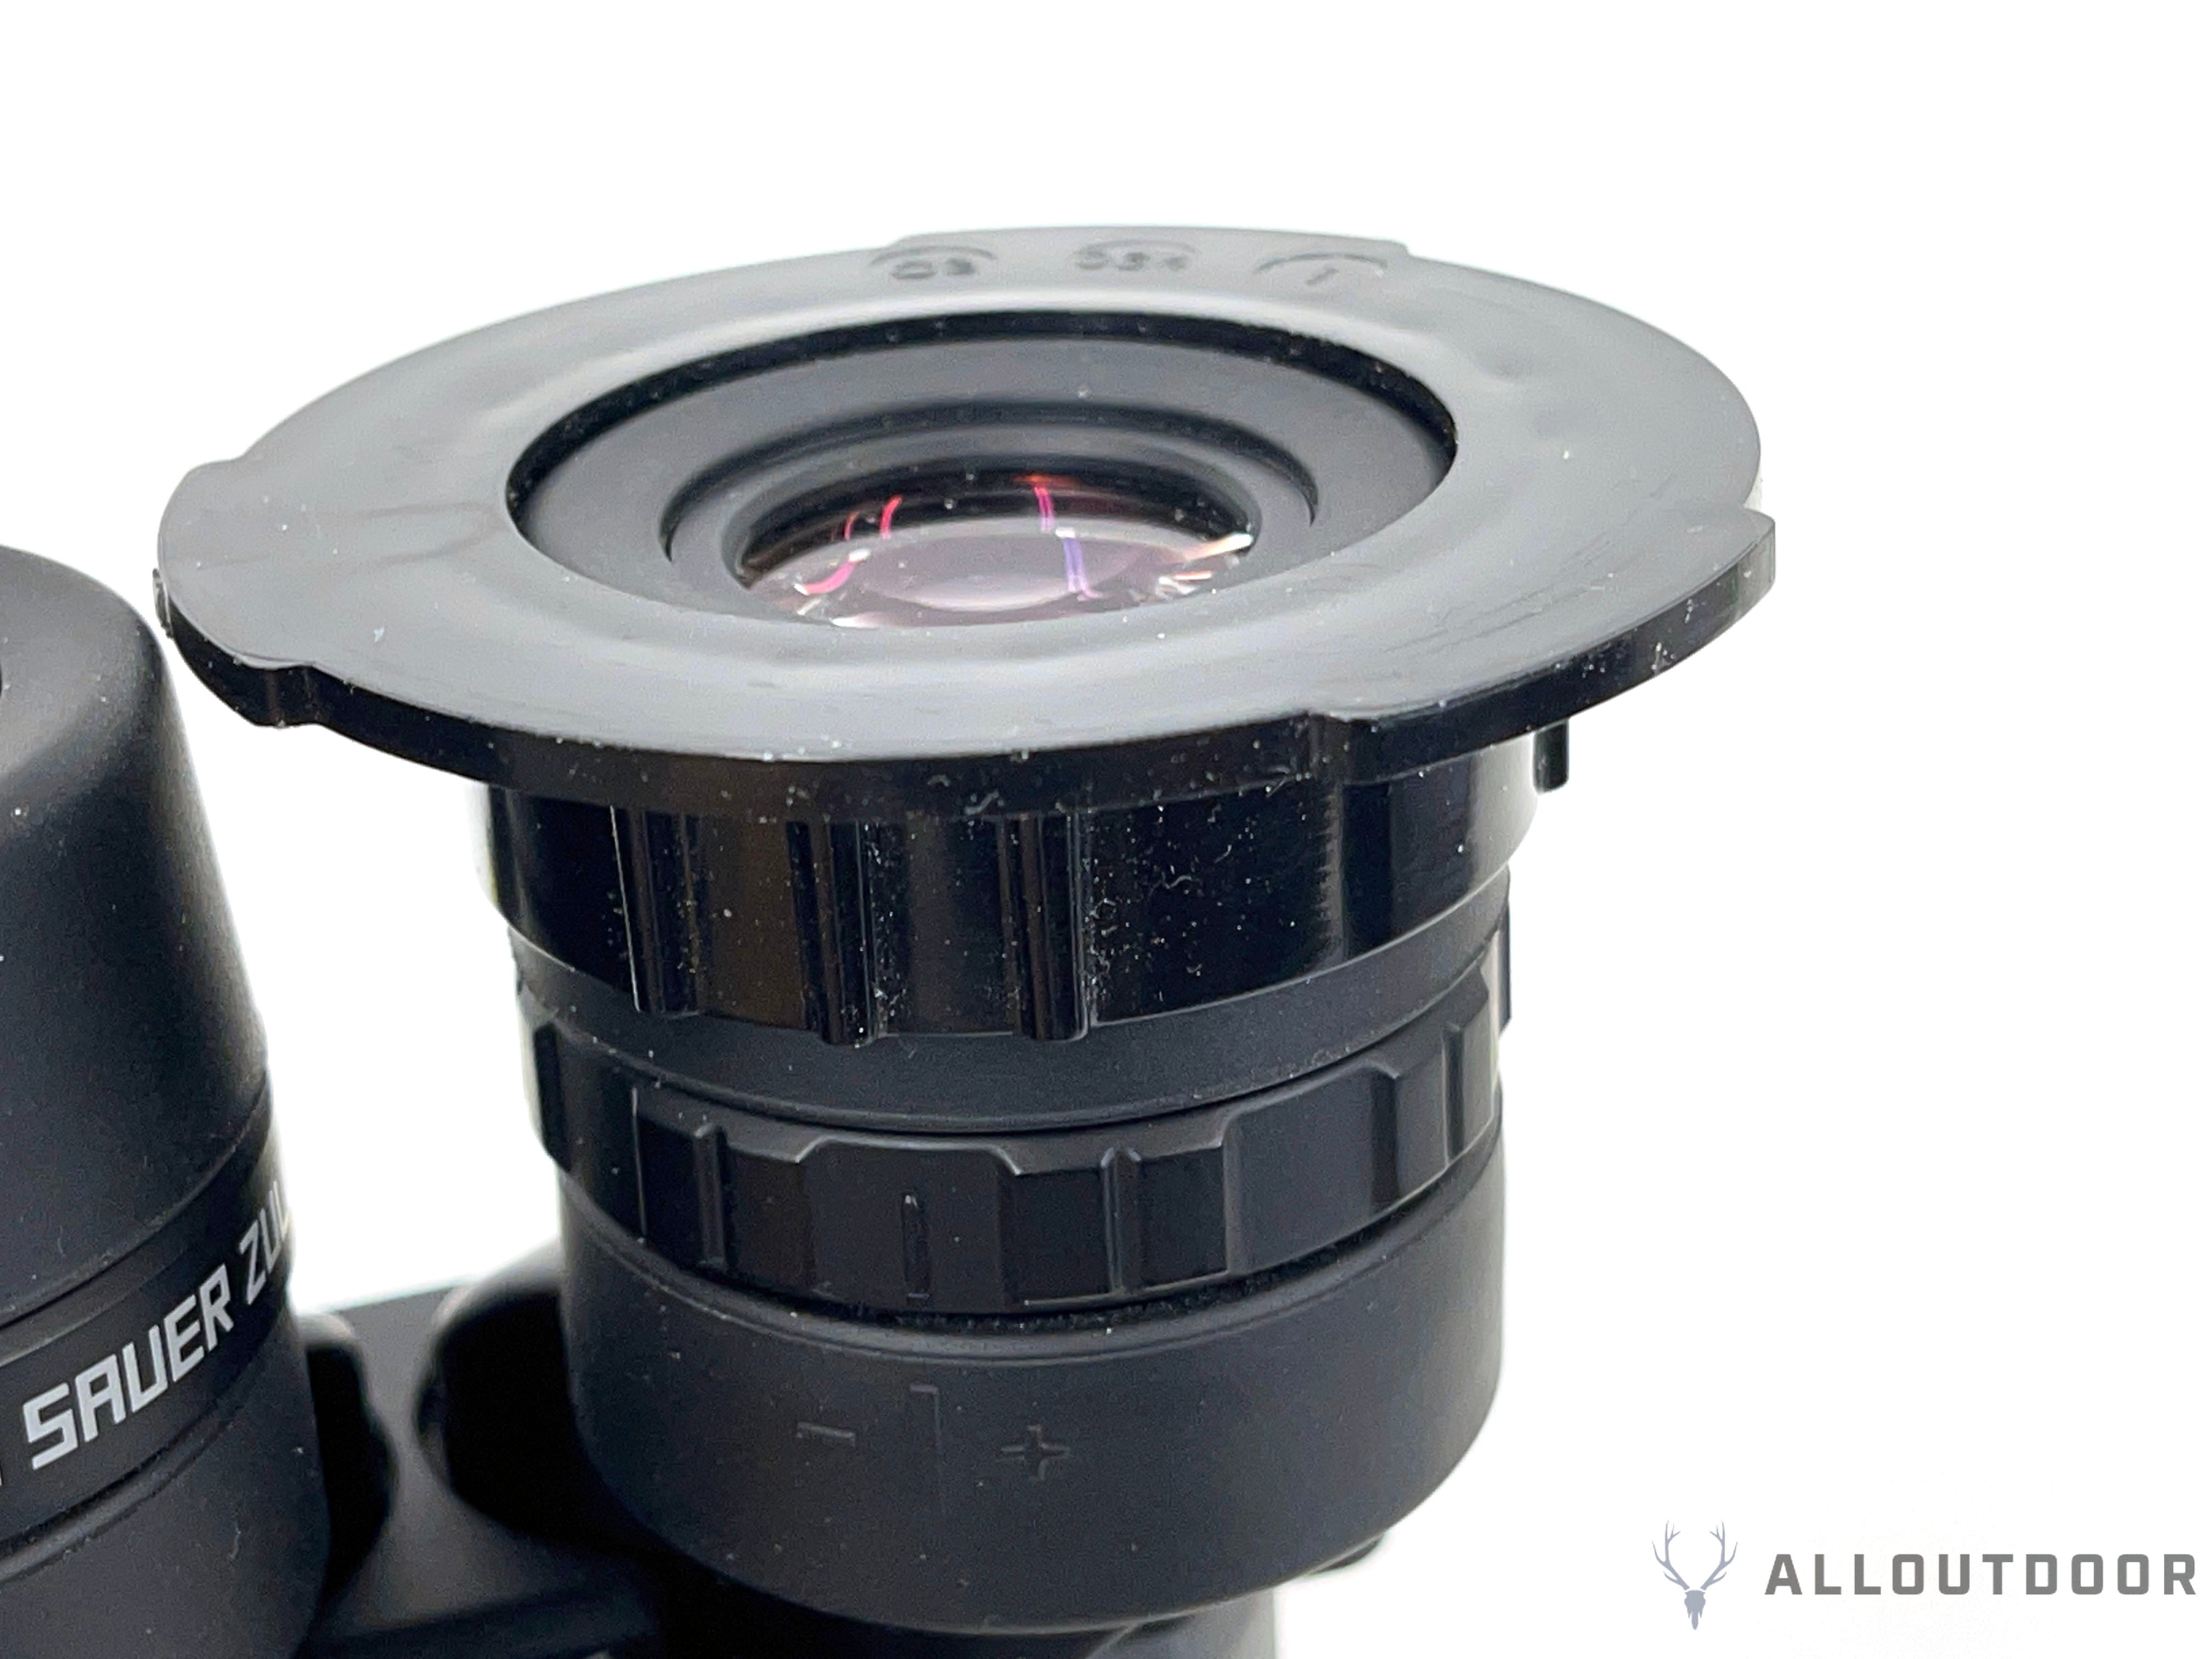
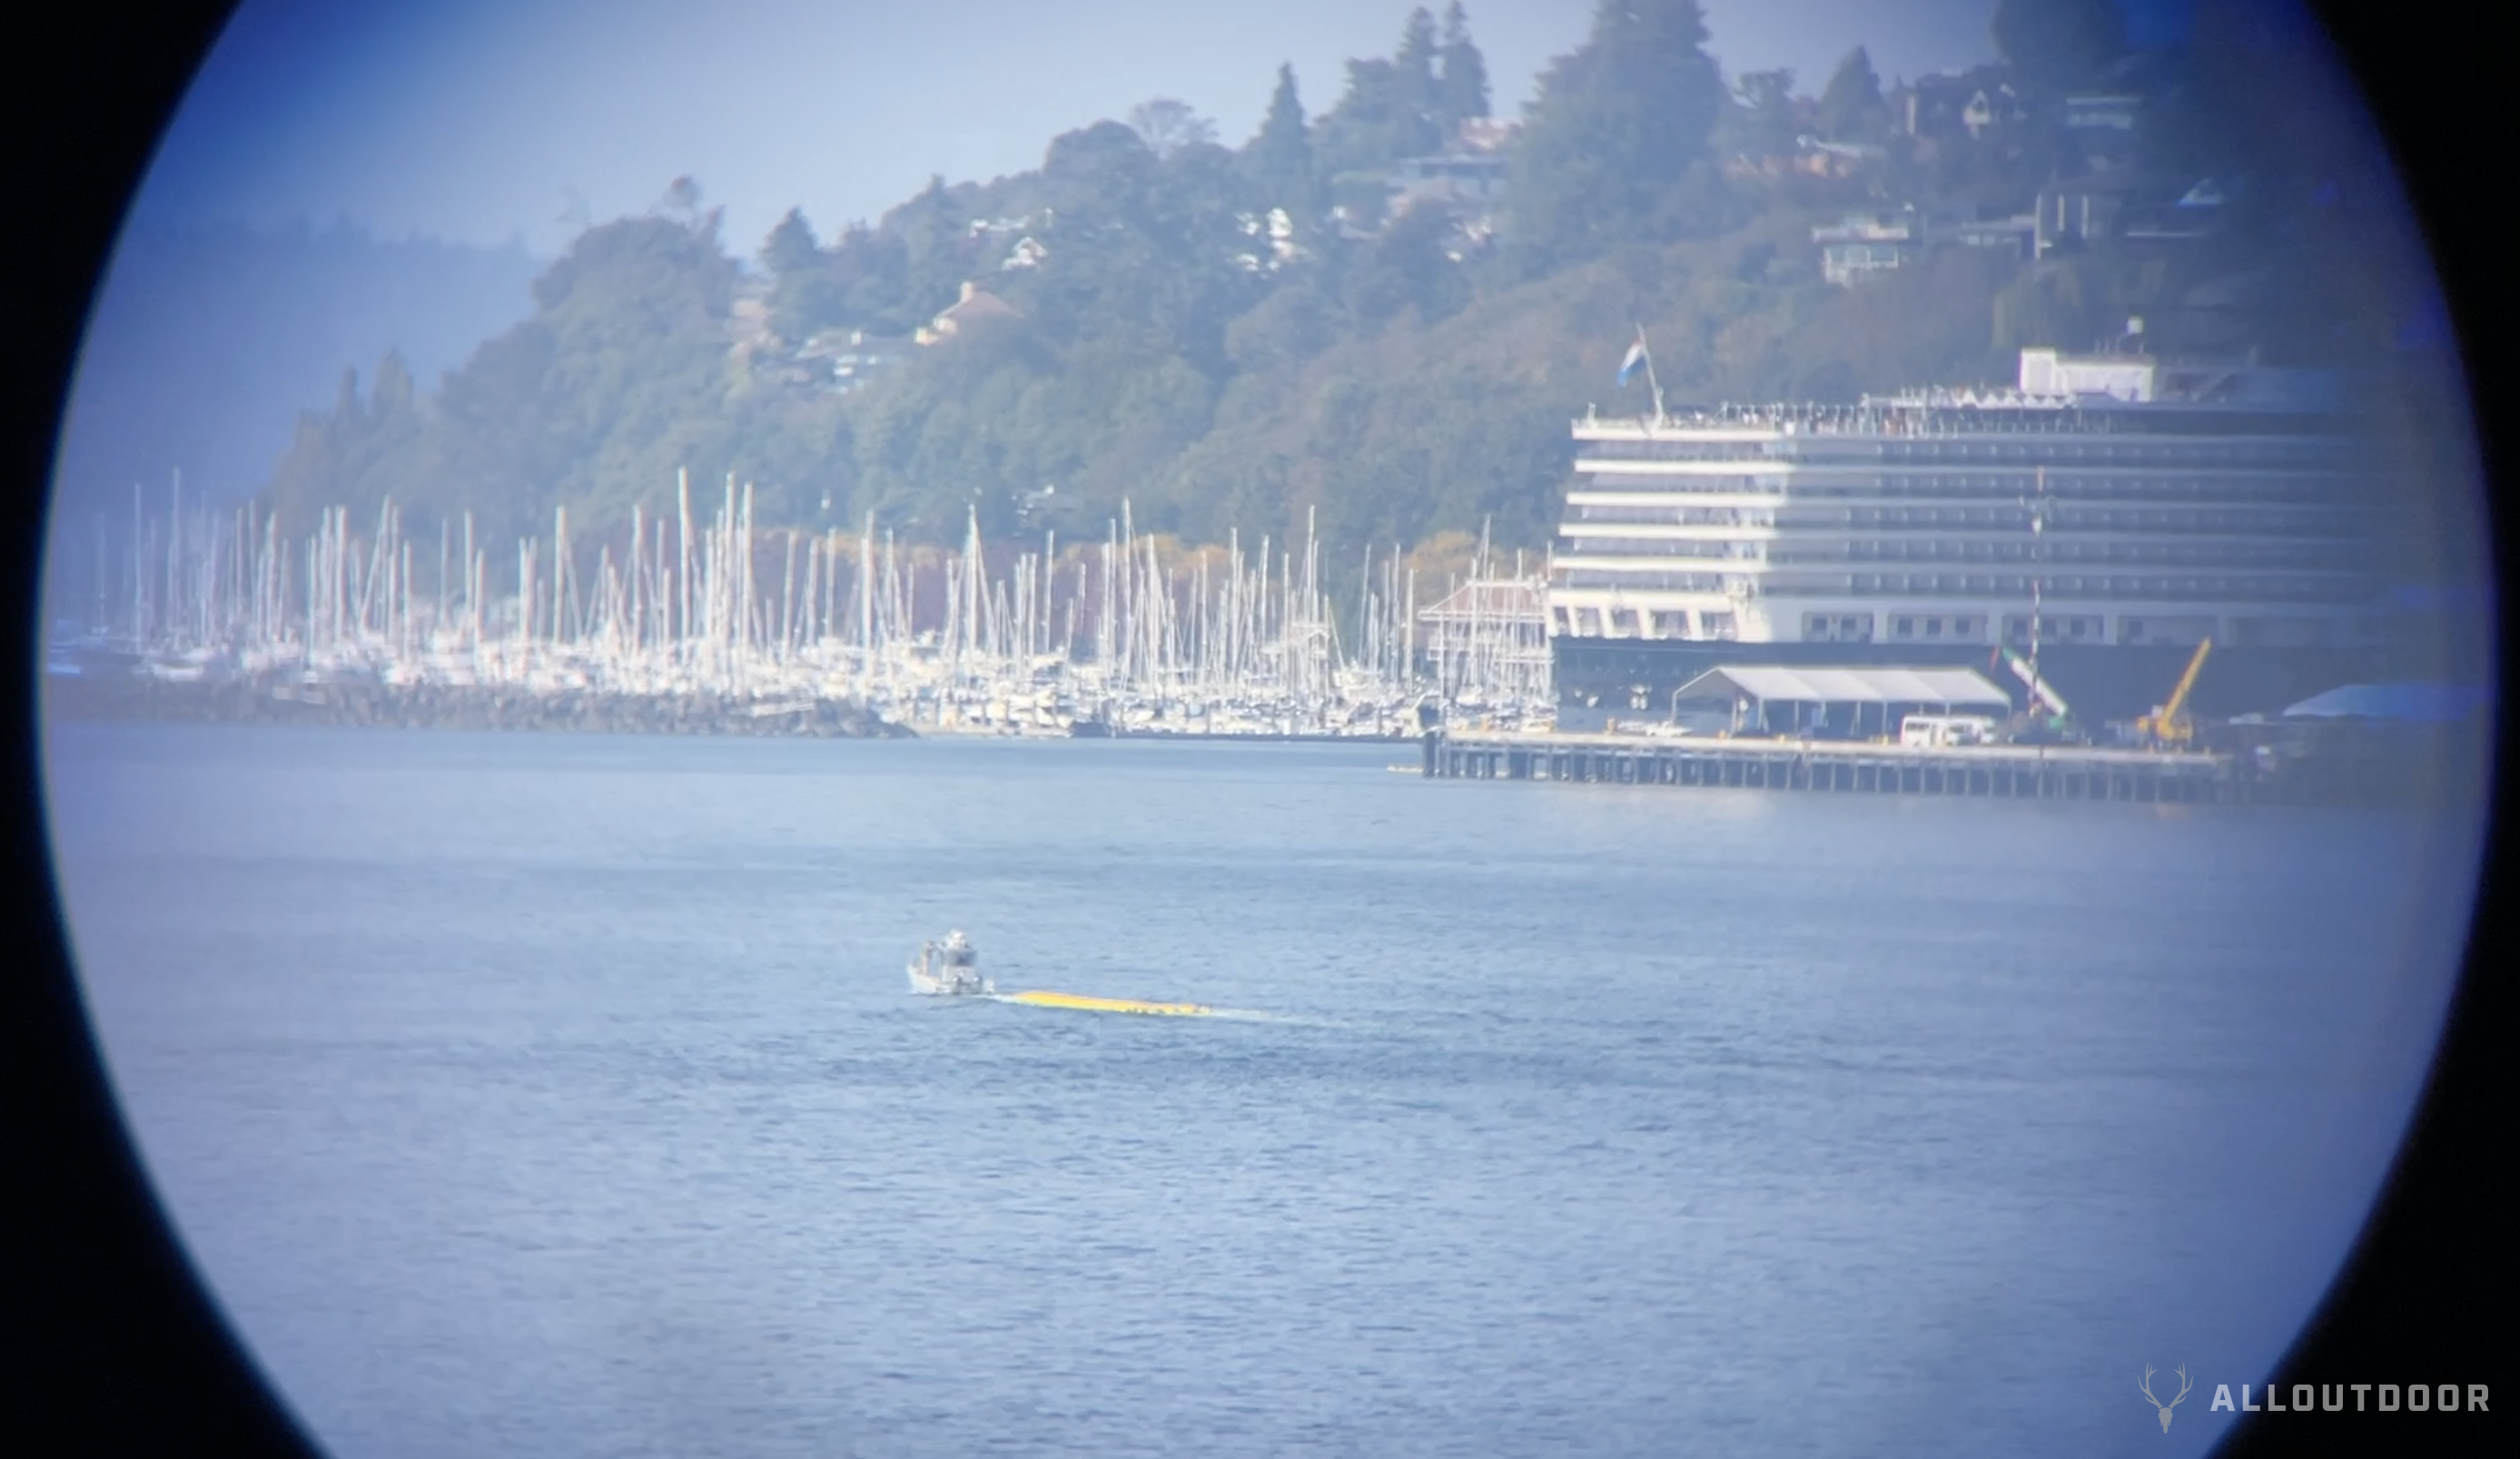
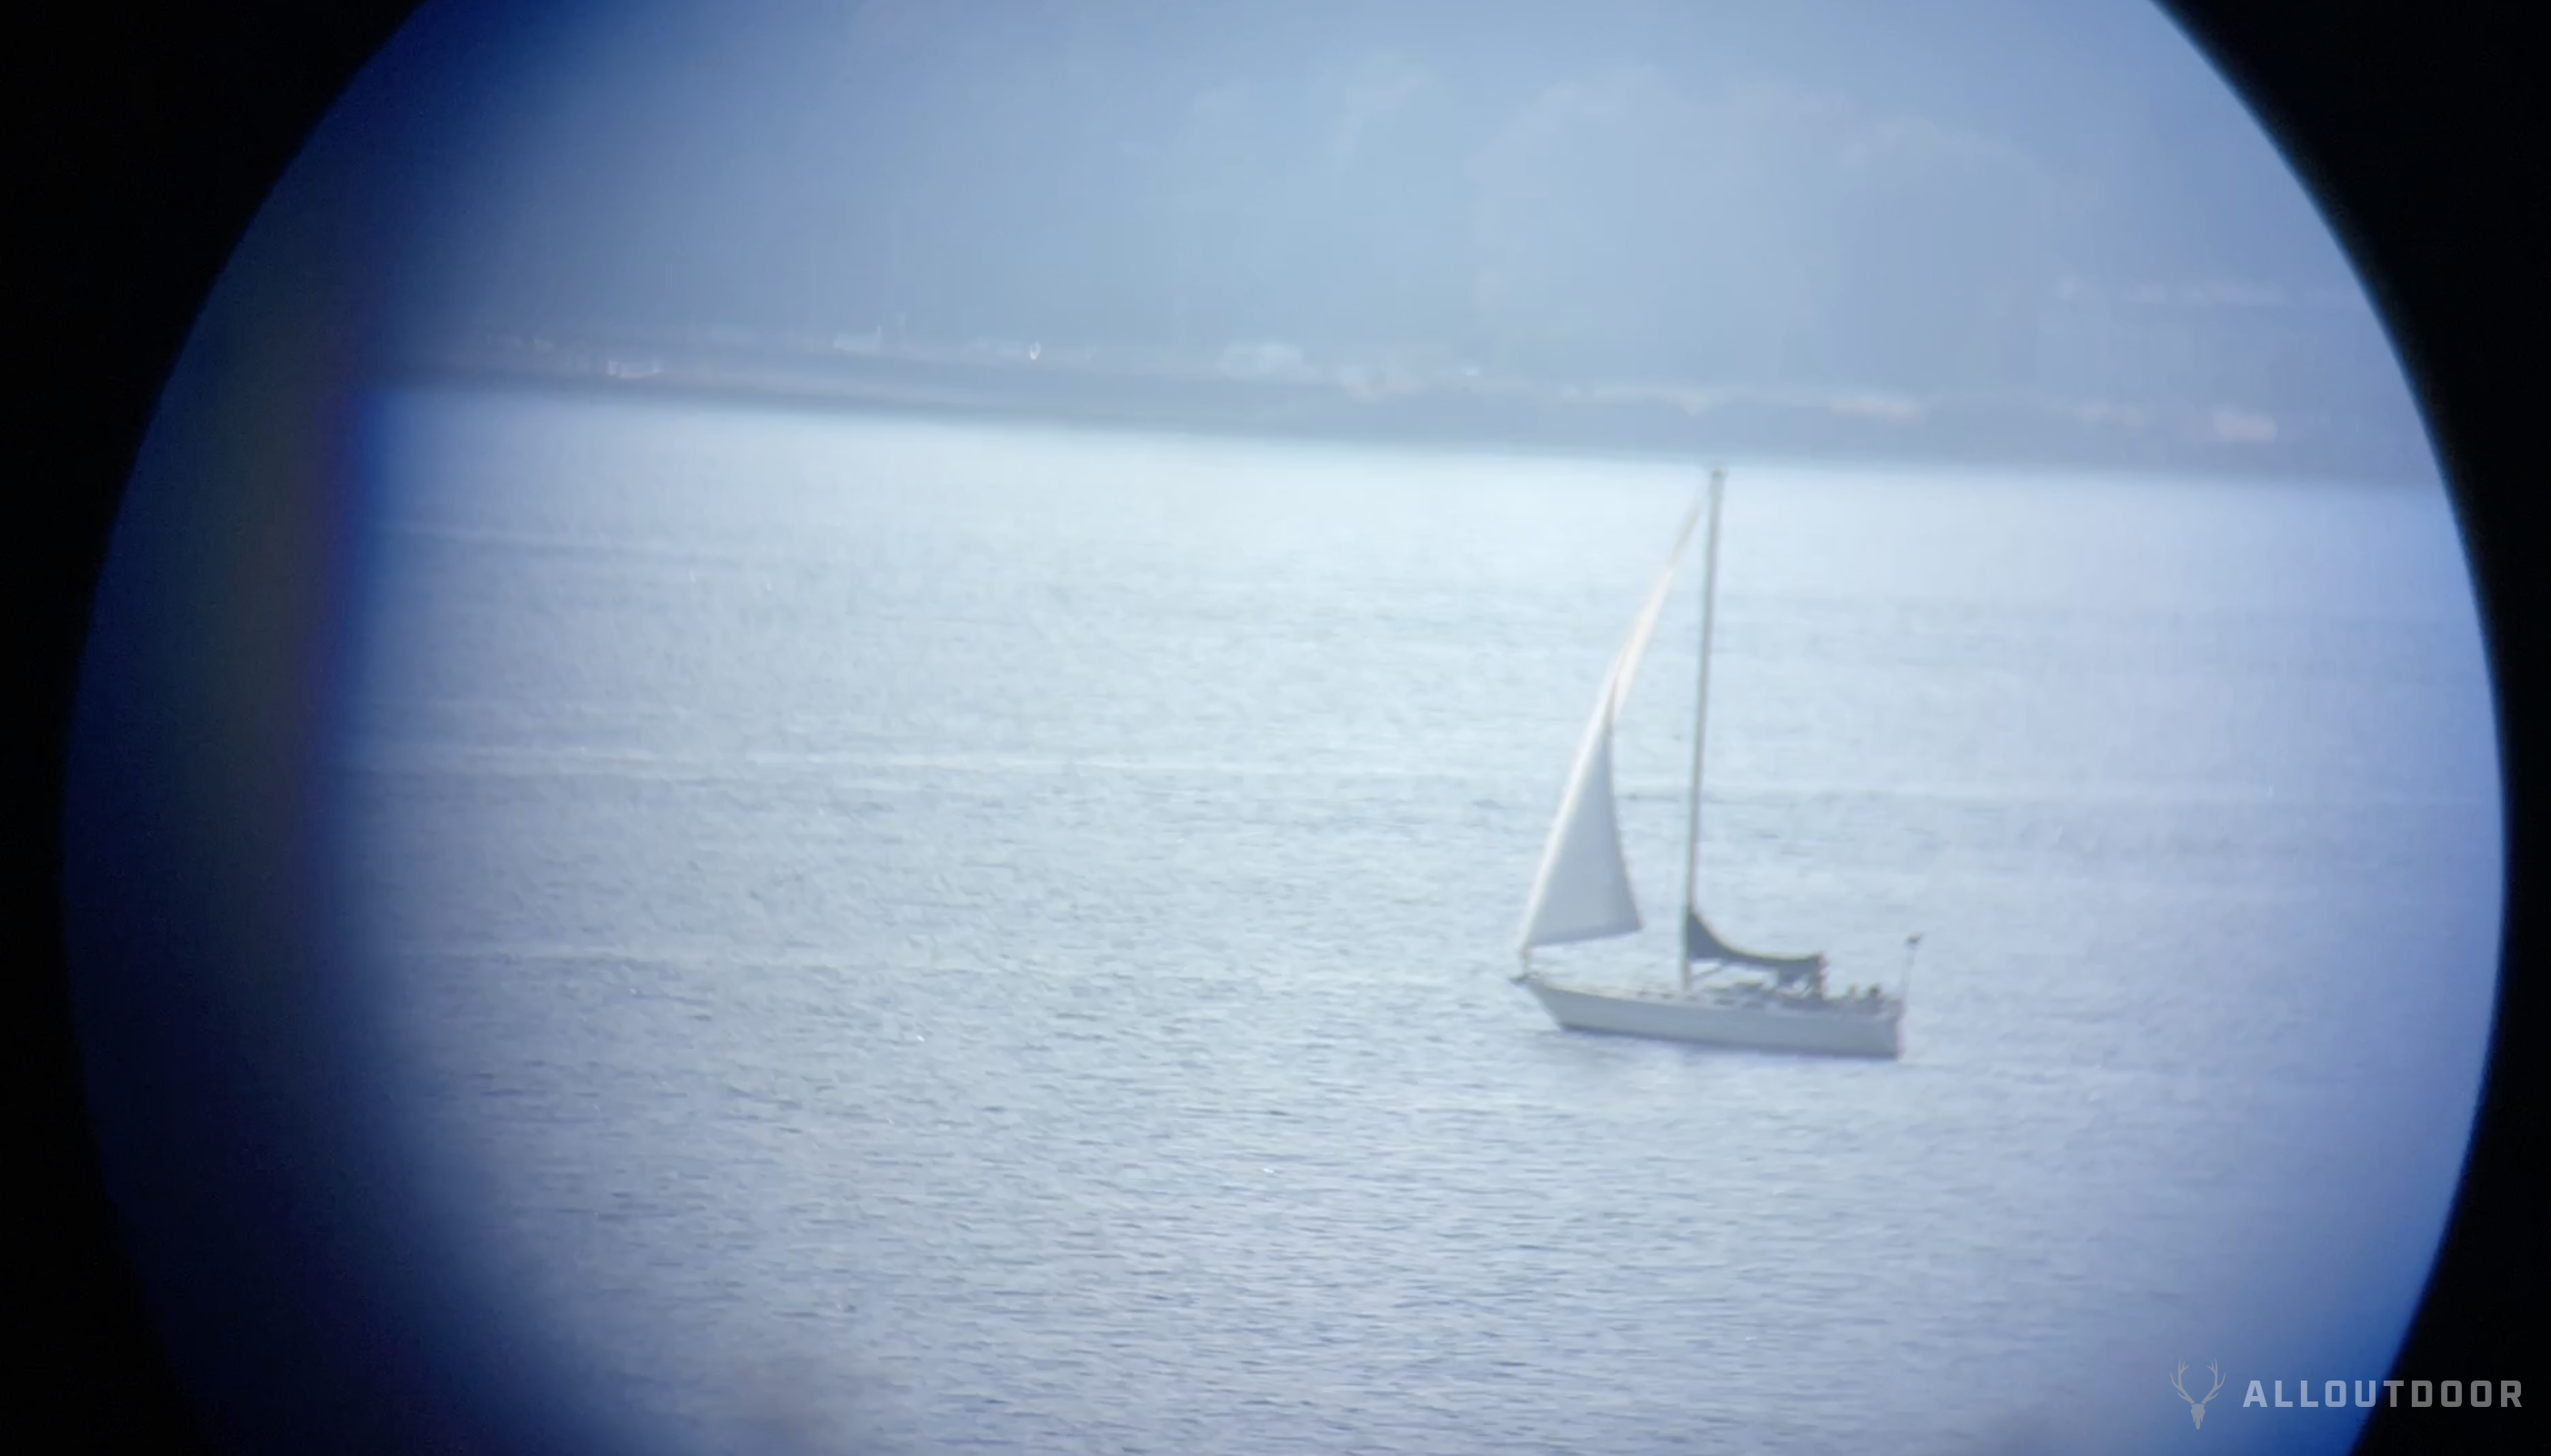
With regards to the ZULU6, I found that having the eyecup half way out was the best eye relief for my iPhone camera. If I have it fully collapsed or fully deployed, I see artifacts in the image. Sort of like scope shadow. See the images below, you can see a bluish fringe at the outer edges.
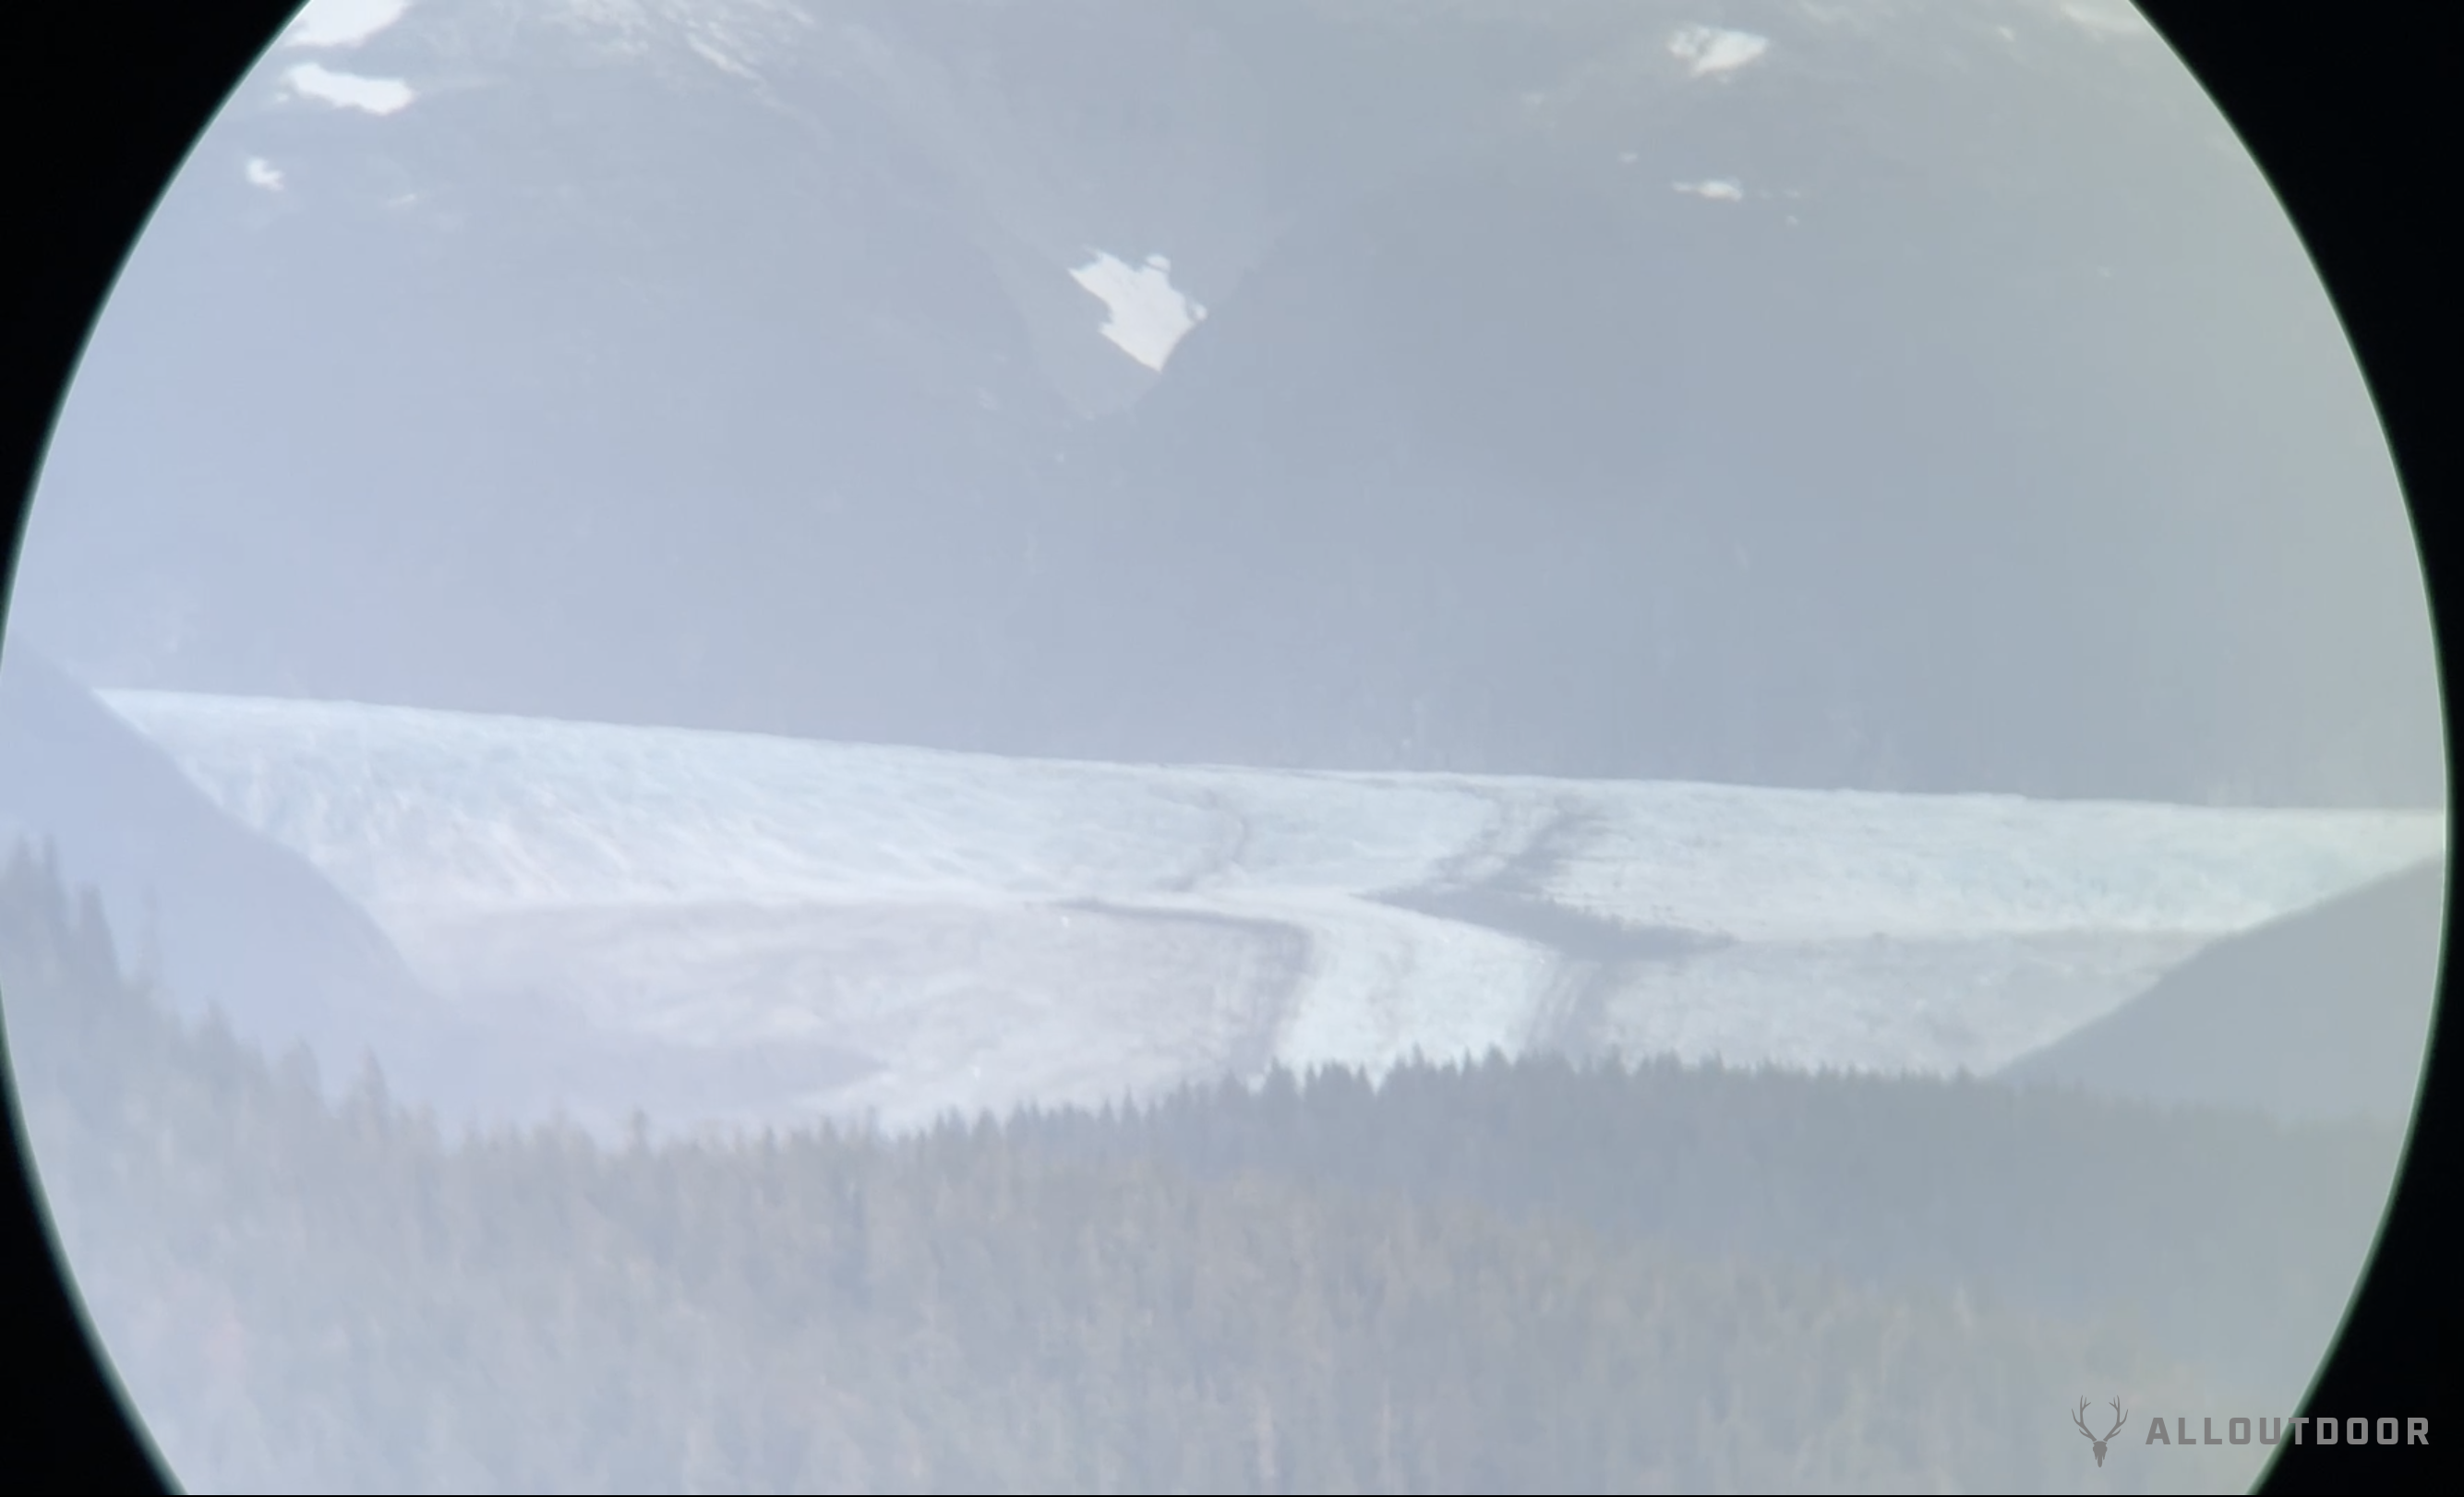
Here is a screen shot from a video I shot on my iPhone of the Mendenhall Glacier. This was while we were on the whale watching boat. This is with better eye relief so there is less artifacts in the image.
Here is a video showing some of the whales and animals I saw on our trip. Most of the video was shot looking through the ZULU6.
Final Thoughts On The ZULU6
As I mentioned at the beginning of this article, my family loved the ZULU6. The image stabilization made it easy to watch animals without worrying about keeping the binos steady to make the image steady. The 16x magnification was decent and I rarely needed more magnification. I thoroughly enjoyed using these. Often we would stand on our state room balcony looking out at the water looking for animals in the ocean. I saw a Dall’s porpoise but sadly it dove back under water before I could photograph it. There were times we saw something floating on the water that was too far for our eyes or my phone’s 12x zoom that could not resolve so we would grab the ZULU6 to see what it was. Often it was a piece of driftwood but on occasion it would be an animal. Like the Sea Otter that was a couple hundred yards away. I saw something small and black in the water. Looked through the binos and sure enough, it was a sea otter.
Looking through the ZULU6 binos was better than what my iPhone captured. I did notice the eye box/exit pupil seems narrower than I would like. I really had to have the pupillary distance dialed-in to avoid scope shadow. The lack of lens caps is a bit annoying and the unconventional design makes it impossible to find an off-the-shelf option for the objective lenses. But the slimness of the ZULU6 is nice as it does not take up that much space in my backpack.
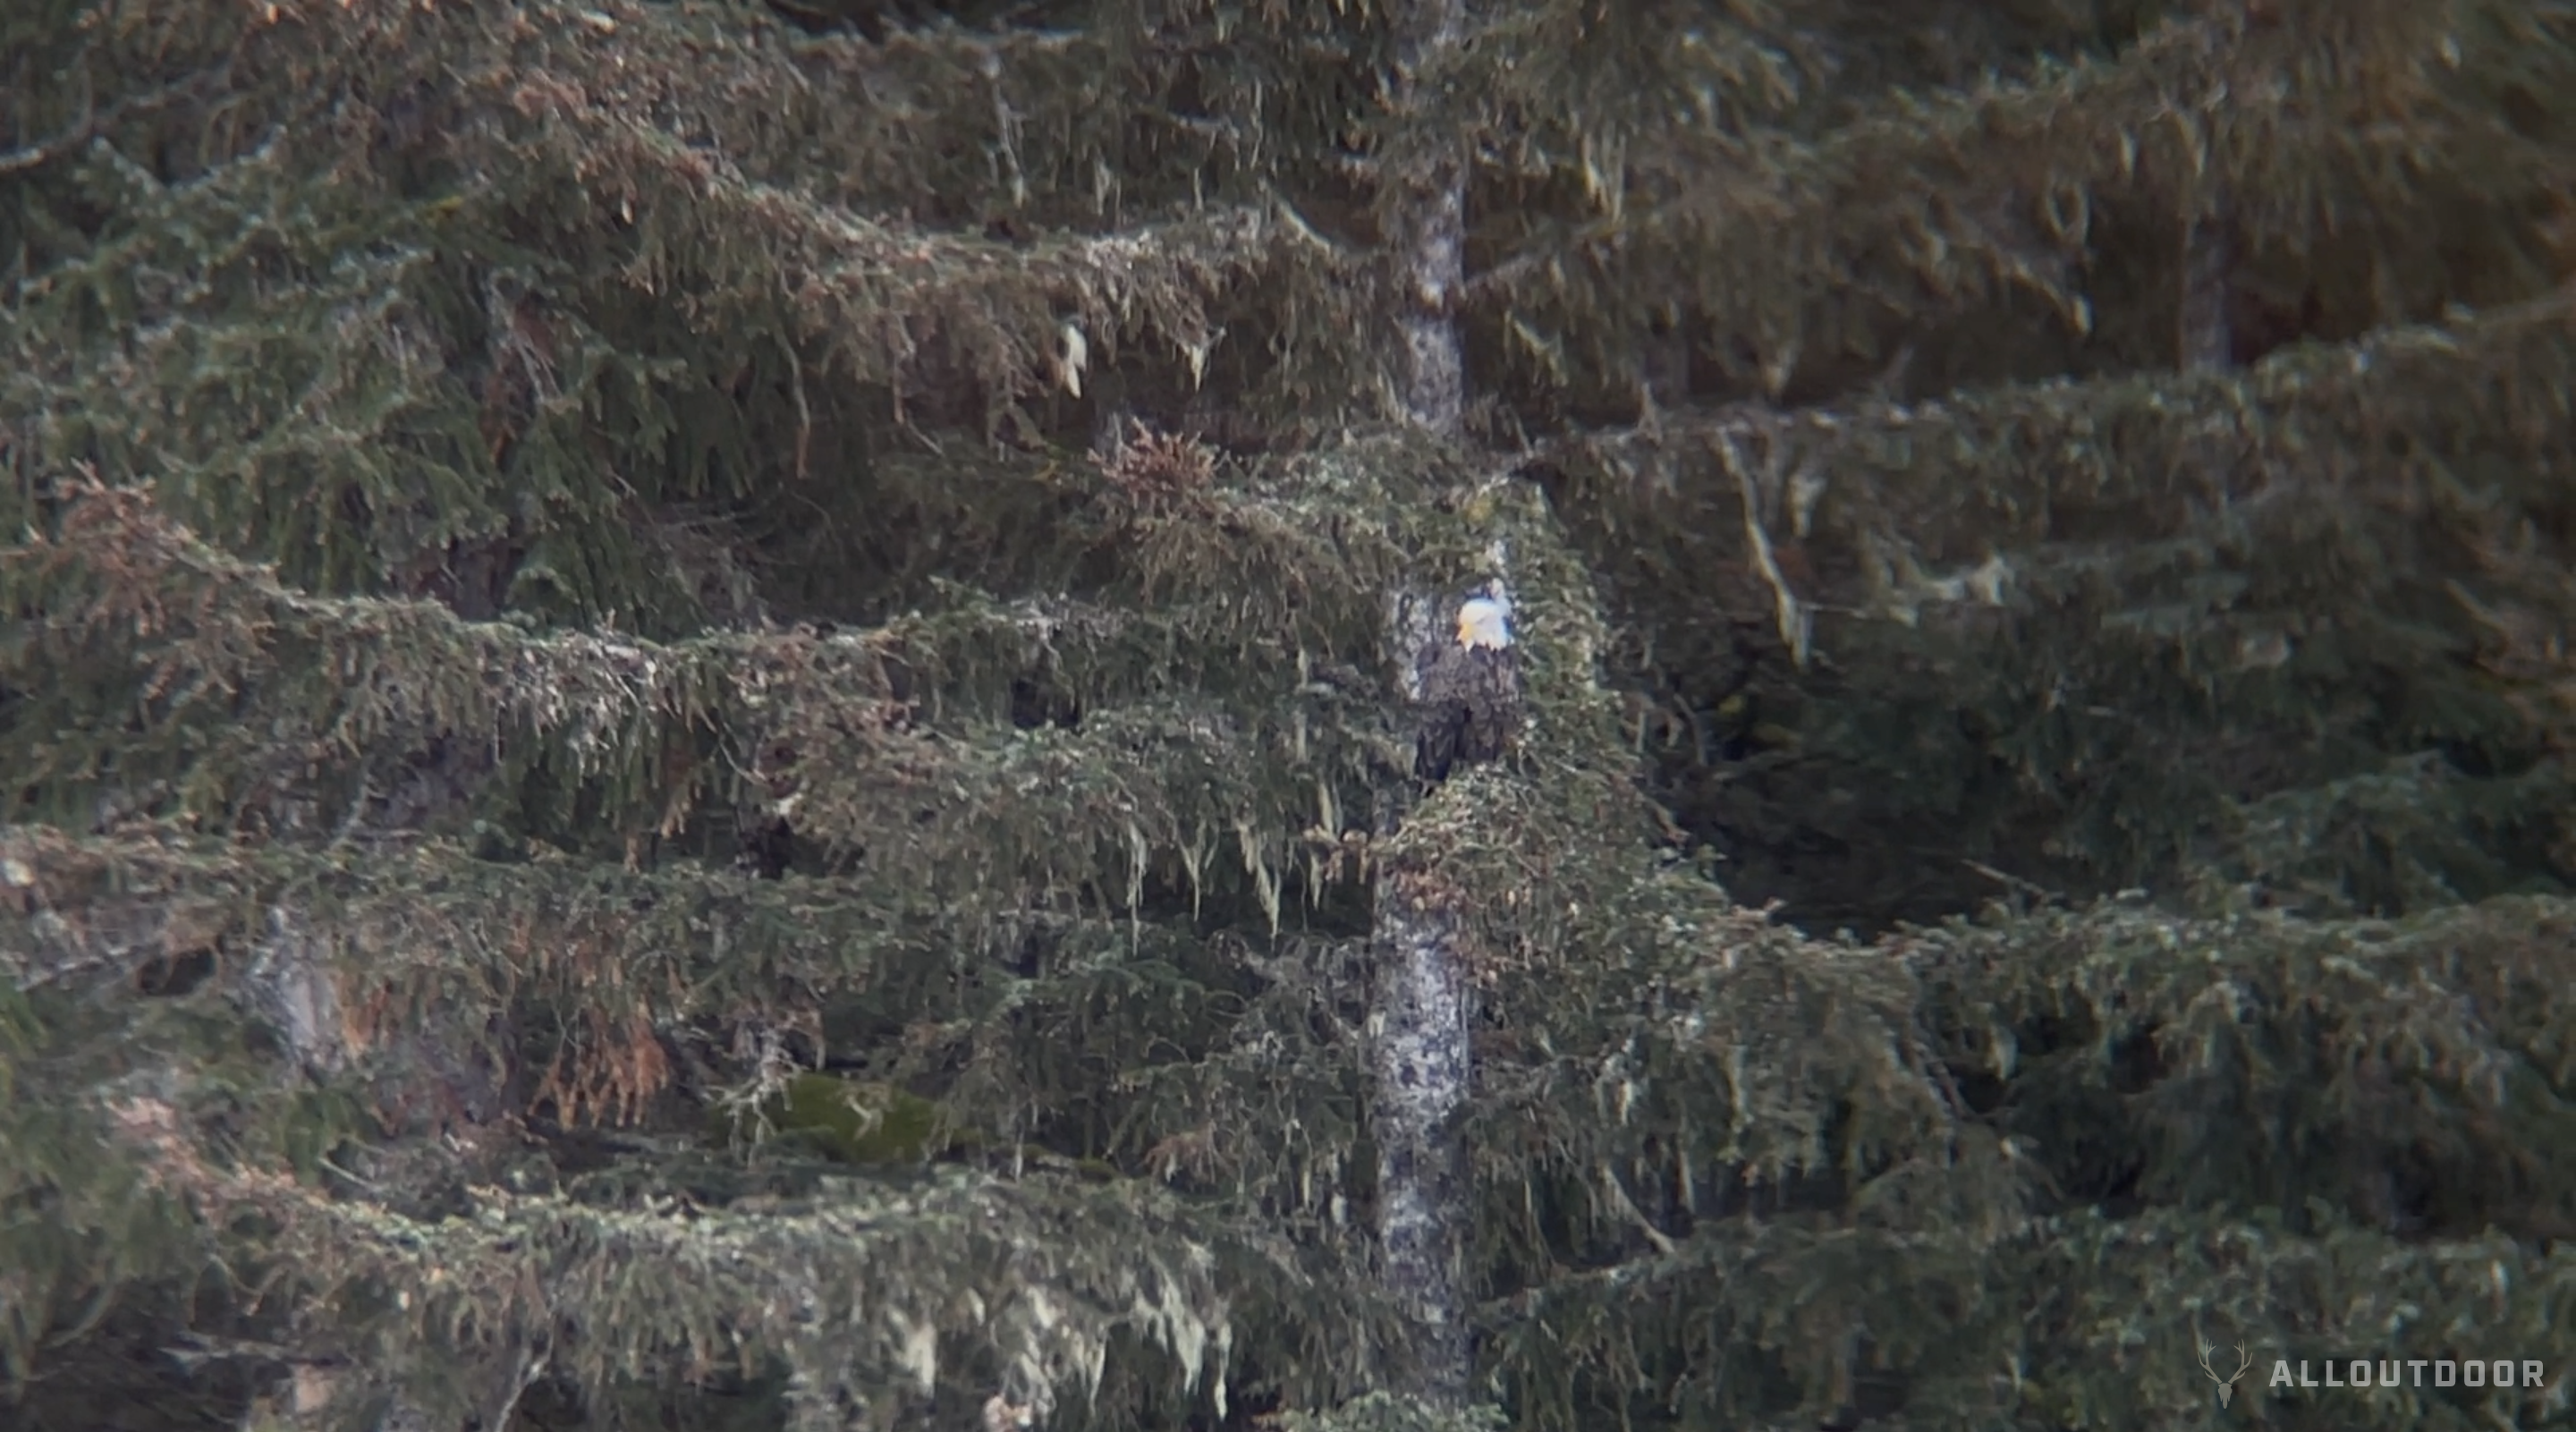
One thing I would like to improve on, besides lens covers, is a way to mount a micro red dot on the ZULU6. 16x is rather zoomed in and trying to point the binos at something small and far away is a bit tricky. Especially when you are looking at miles and miles of open water. When I photographed this Bald Eagle I had to identify some unique feature on the ground near the tree, the eagle was perched on, and follow the tree up with the ZULU6 until the Bald Eagle showed up in the small FOV. A red dot mounted on the ZULU6 would make this much faster.
I have a Trijicon RMR mounted to my high speed camera when I use my Sigma 600mm Mirror lens. I even use red dots on my Bushnell LMSS spotting scope. It just makes aiming them faster and I could see high magnification binoculars benefiting from this.
If you are thinking of getting a light weight, somewhat compact, image stabilized binocular than the SIG SAUER ZULU6 might be something to look into.
