Do-It-Yourself Project (DIY) – Outdoor Kayak Rack
Eugene L. 04.17.24
 – Outdoor Kayak Rack")
So if you have a kayak and are short on garage space like me you need a kayak rack to properly store your kayak. While kayaks are pretty tough they do have a couple of weaknesses. The plastic they are made from is a tough and impact-resistant material but it can warp if you store your kayak improperly. Especially with bigger and heavier fishing kayaks, they can flex over time if stored improperly leading to problems down the road. Which if you have a good deal of money invested into your kayaks is not an ideal thing to happen. So I’ll show you how to make a simple single kayak rack that should work for most kayaks on the market. All you’ll need to make this kayak rack for tools, is a chop saw, electric drill, staple gun, a utility knife, and a couple clamps if you have them.
Do-It-Yourself Project (DIY) Coverage on AllOutdoor
- Do-It-Yourself Project (DIY) – Camo Painting a Rifle Stock
- Do-It-Yourself Project (DIY) – Custom Gun Case Foam Replacement
- Do-It-Yourself Project (DIY) – Collapsible Pier Cart Rod Holders
- DIY: Ghost Shrimp-Yabbie Pump
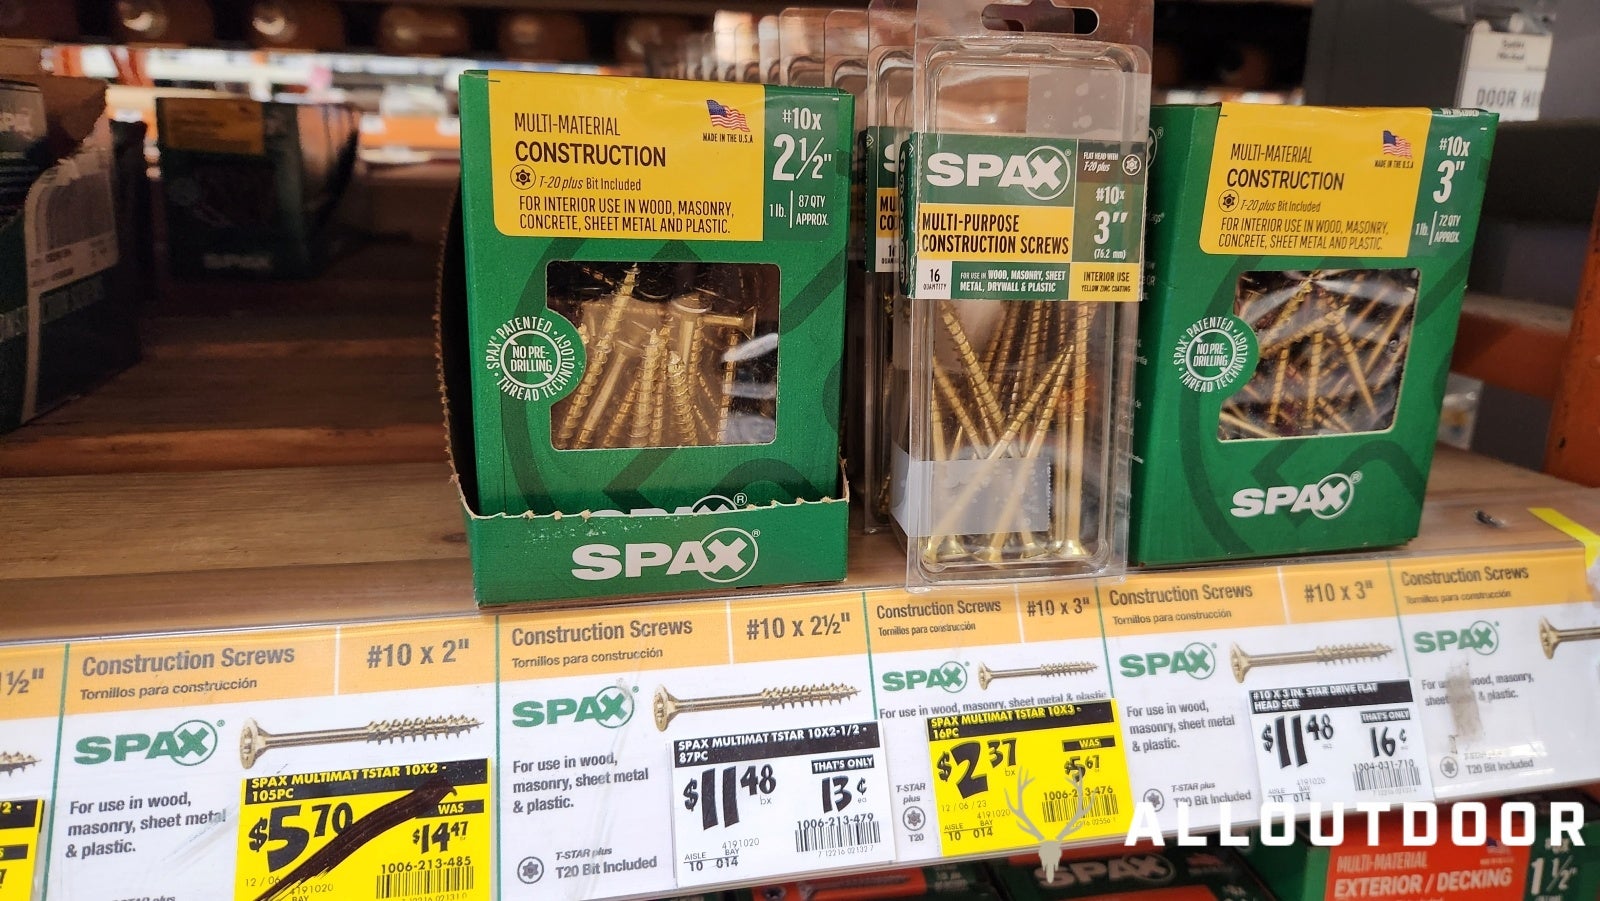
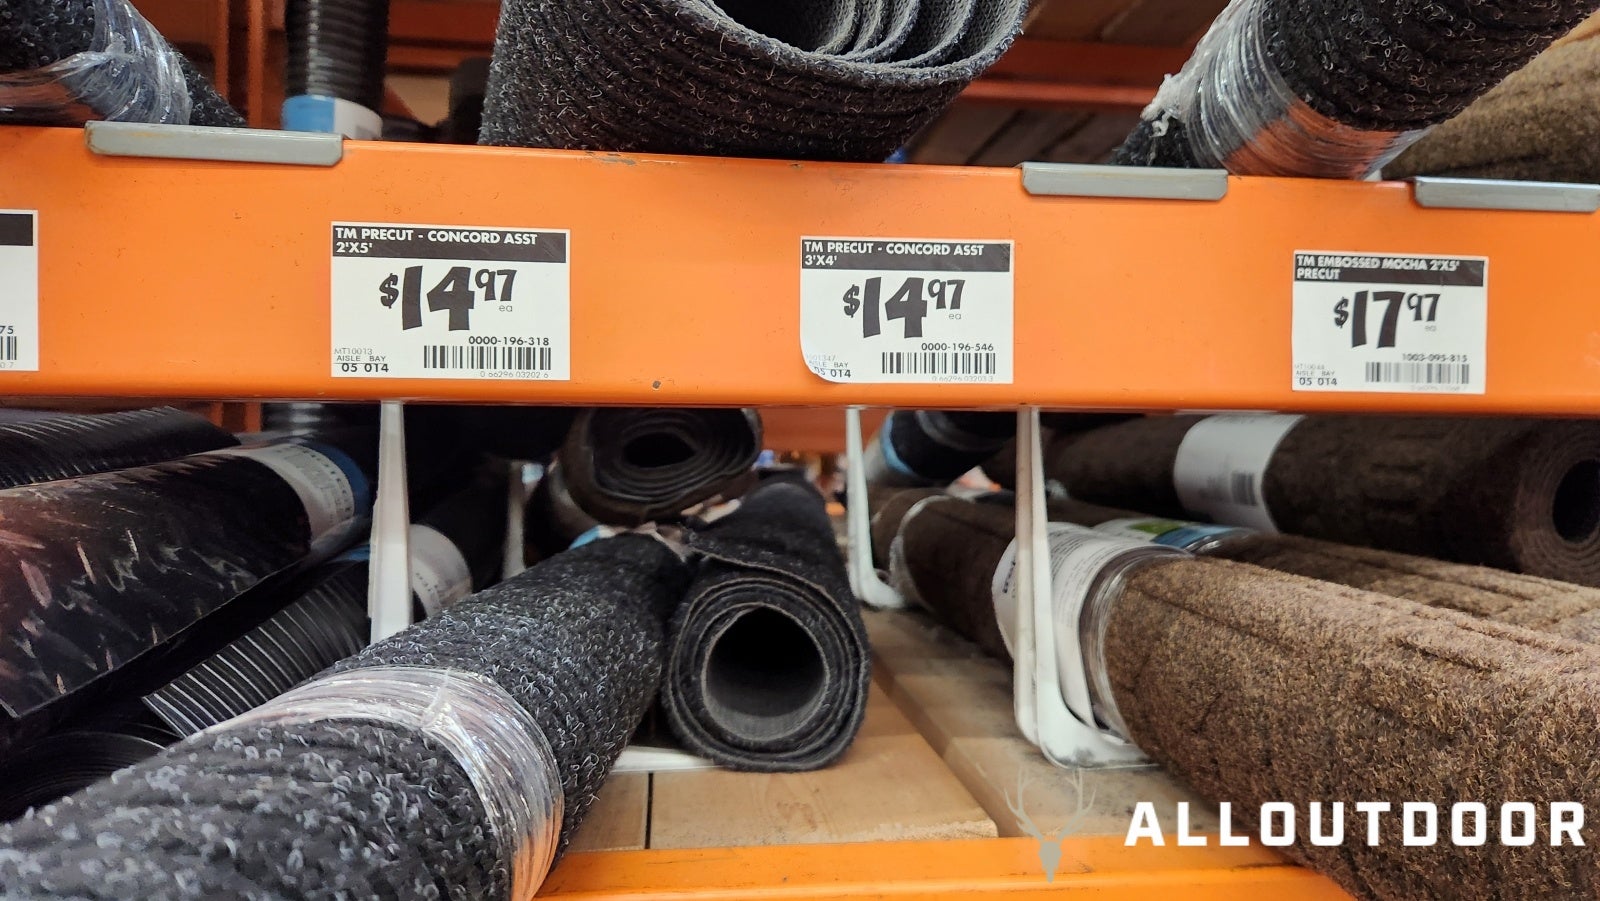
The first thing to do is find a place to put it, I say take your kayak and use it to find a spot with enough space to easily maneuver your kayak in and out of. That way when you place the rack there you aren’t giving yourself a hernia trying overhead press your kayak getting it off the rack and onto your car. Now you have your spot time to go get the materials. I used 1 – 8ft 4×4, 6 – 8ft 2×4, most of a box of self-tapping deck screws, some cheap carpet, and staples. For all the lumber go with pressure-treated for your kayak rack to last longer in the elements.
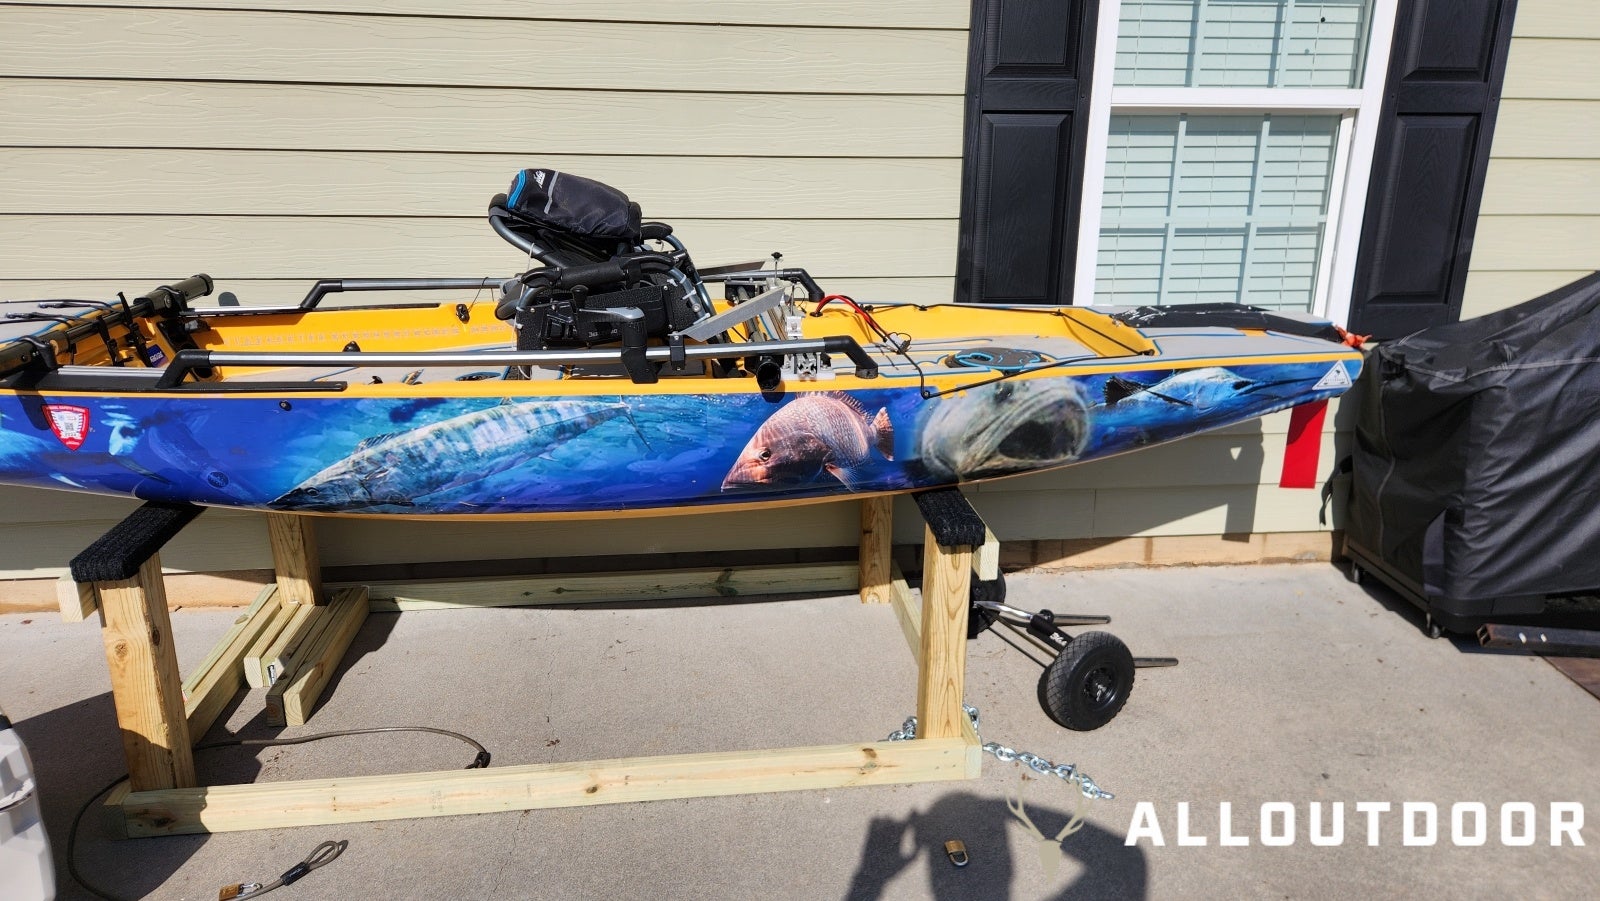
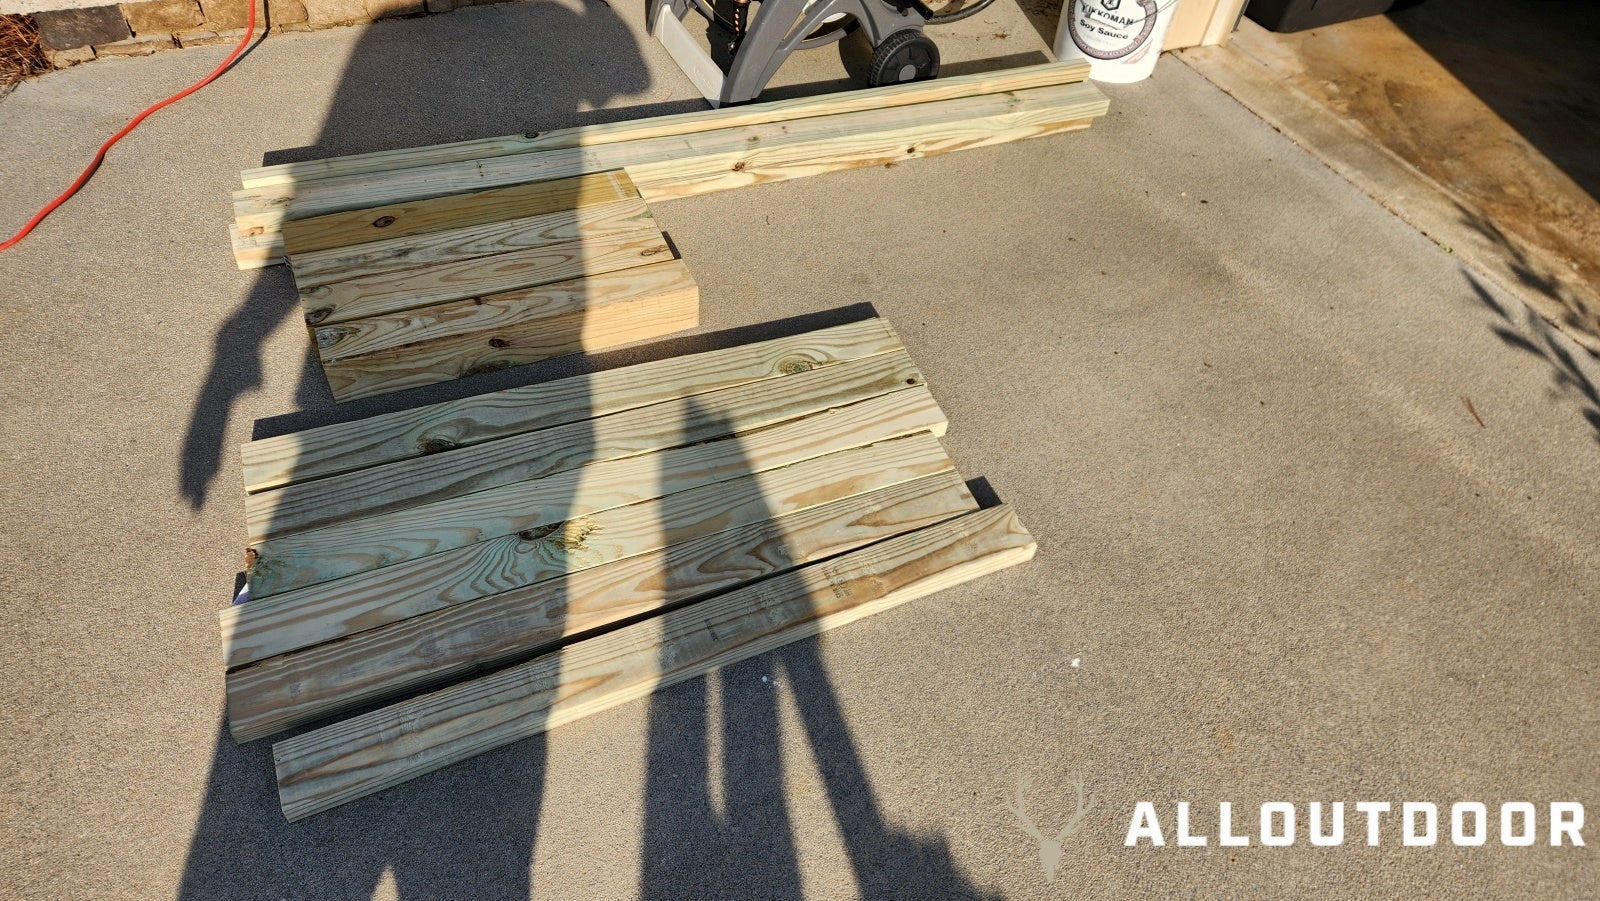
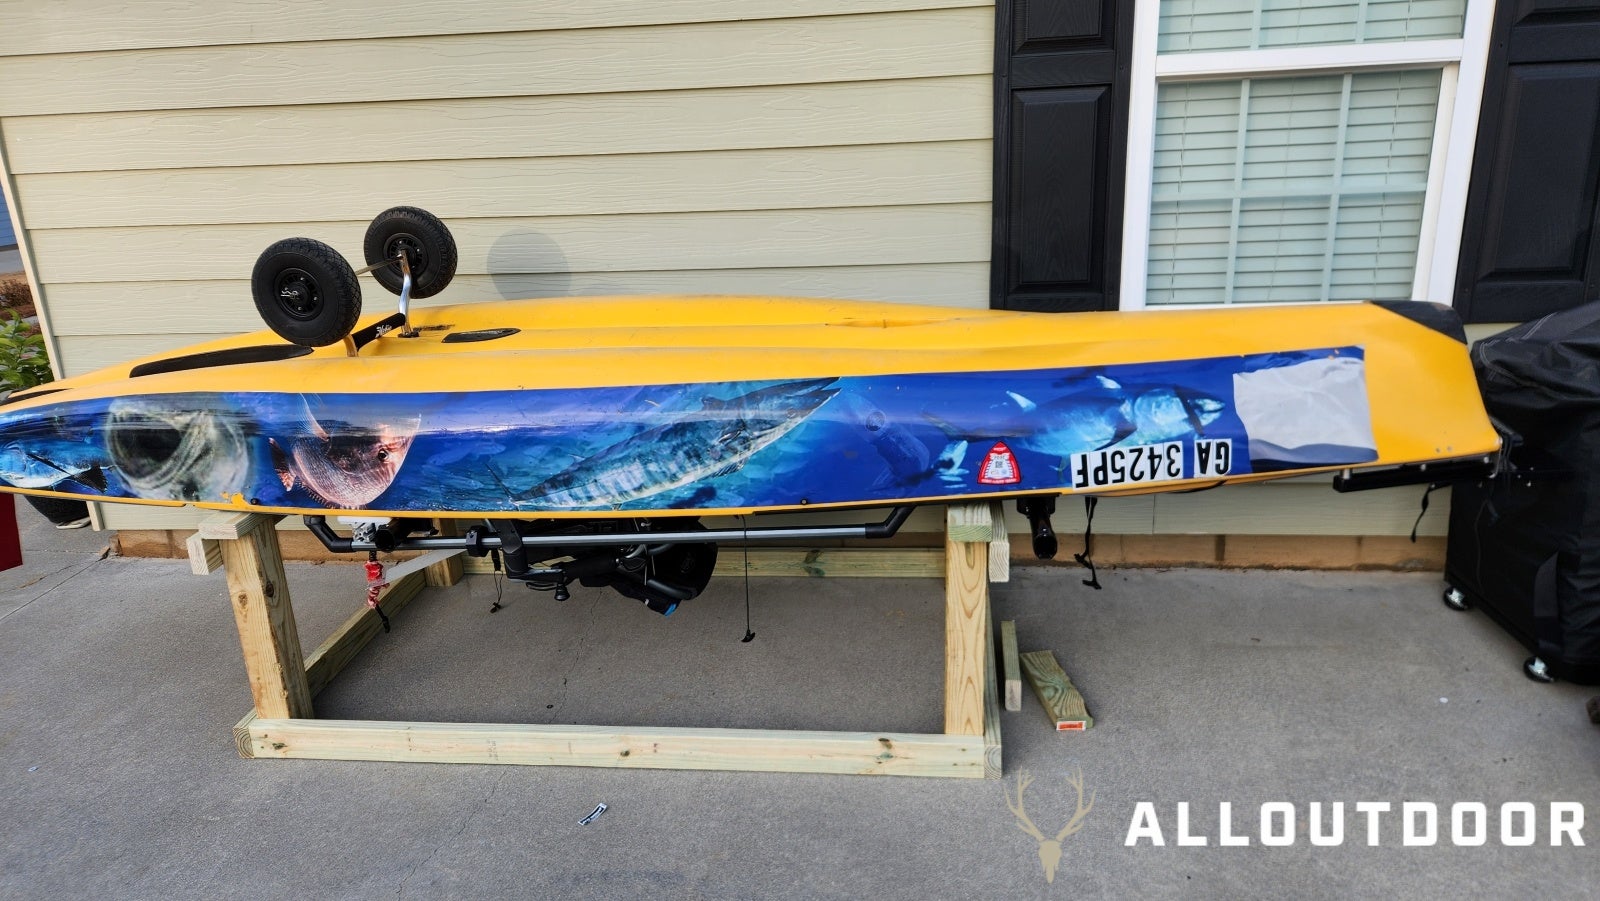
The first step is to cut your lumber to length. Cut the 8ft 4×4 into 4-2ft long to be the vertical posts. 3 of the 2x4s I cut to around 6-ft in length which is the distance between the top rails of the Hobie PA14. The other 3 of the 2x4s got into 2 – 3.5ft lengths, a bit wider than my kayak. I only am giving rough measurements for the rack here because you should adjust your cuts to your kayak. You want your kayak resting on the top rails of the kayak upside down, at least for a sit-on-top kayak. This is the strongest part of the kayak and will keep it from warping especially during the summer heat.
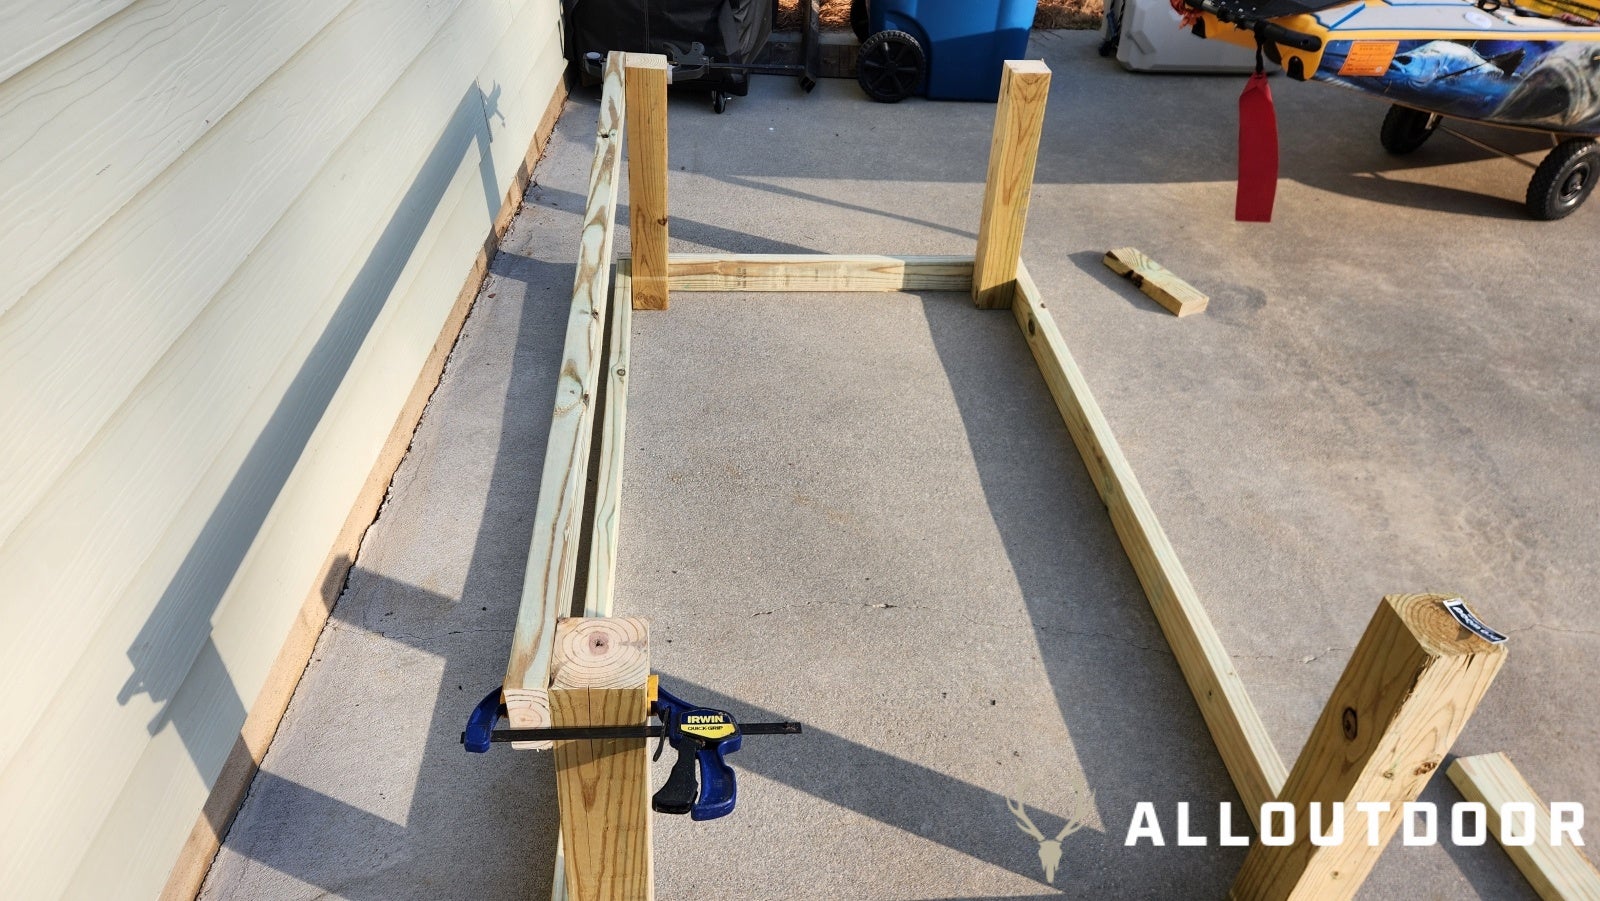
Once you get everything cut to length, it’s time for assembly. I place the frame of the rack out first before starting to screw everything together. Starting at the base of the frame get everything screwed together and square. If you are using self-tapping deck screws you don’t have to predrill. If you aren’t using self-tapping screws, clamp the pieces together and predrill the screw holes. If you don’t you risk splitting the wood. You want the parts clamped when you do this to avoid misaligning the holes.
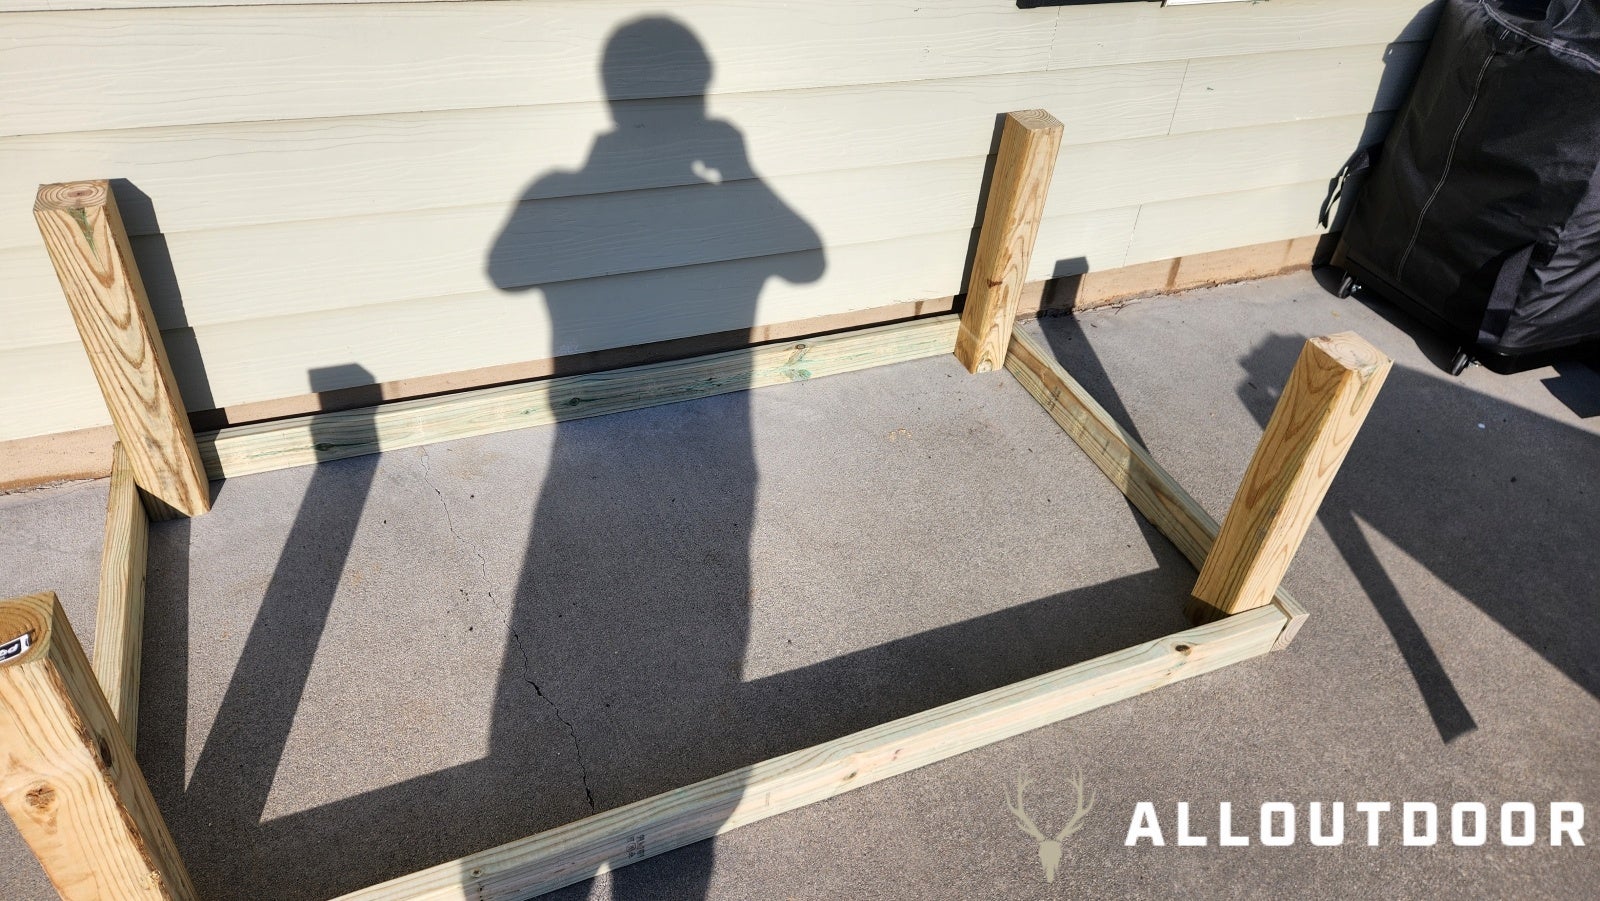
Once you have the base of the kayak rack all put together it is time to start assembling the top of the rack frame. Again using the clamps, secure the 6ft length of 2×4 to the vertical posts, and then screw it together. I use 3 screws per connection in a triangle shape. You only want one long piece of lumber connecting the back two posts on the rack, you want the front two posts to not be connected so you have easier access when handling the kayak. That way you can easily step into the rack when flipping the kayak.
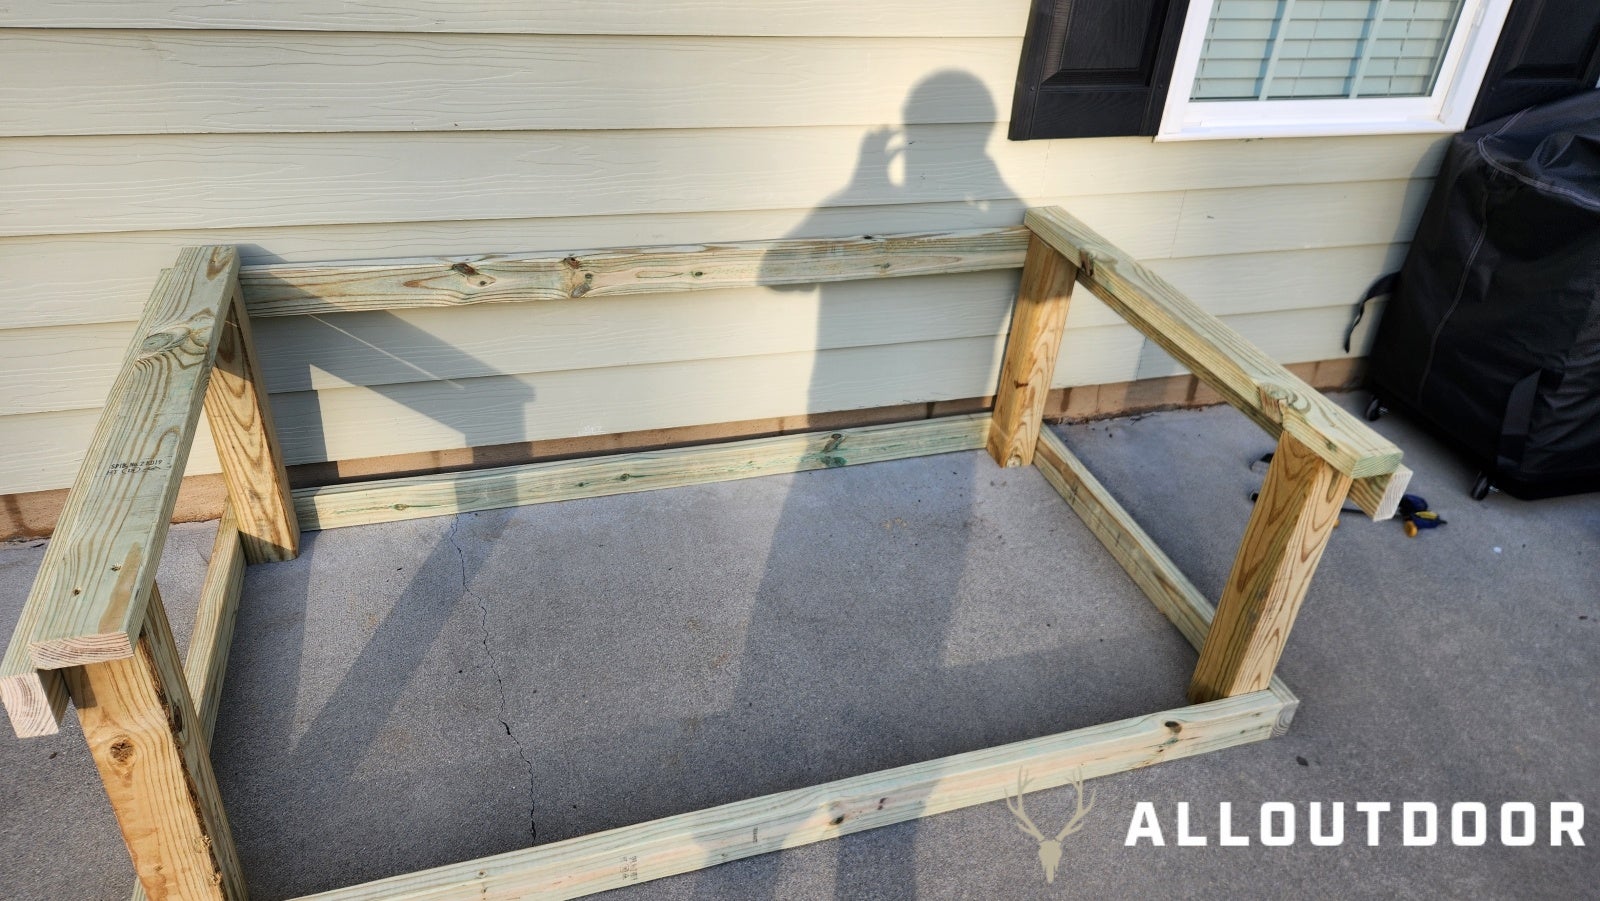
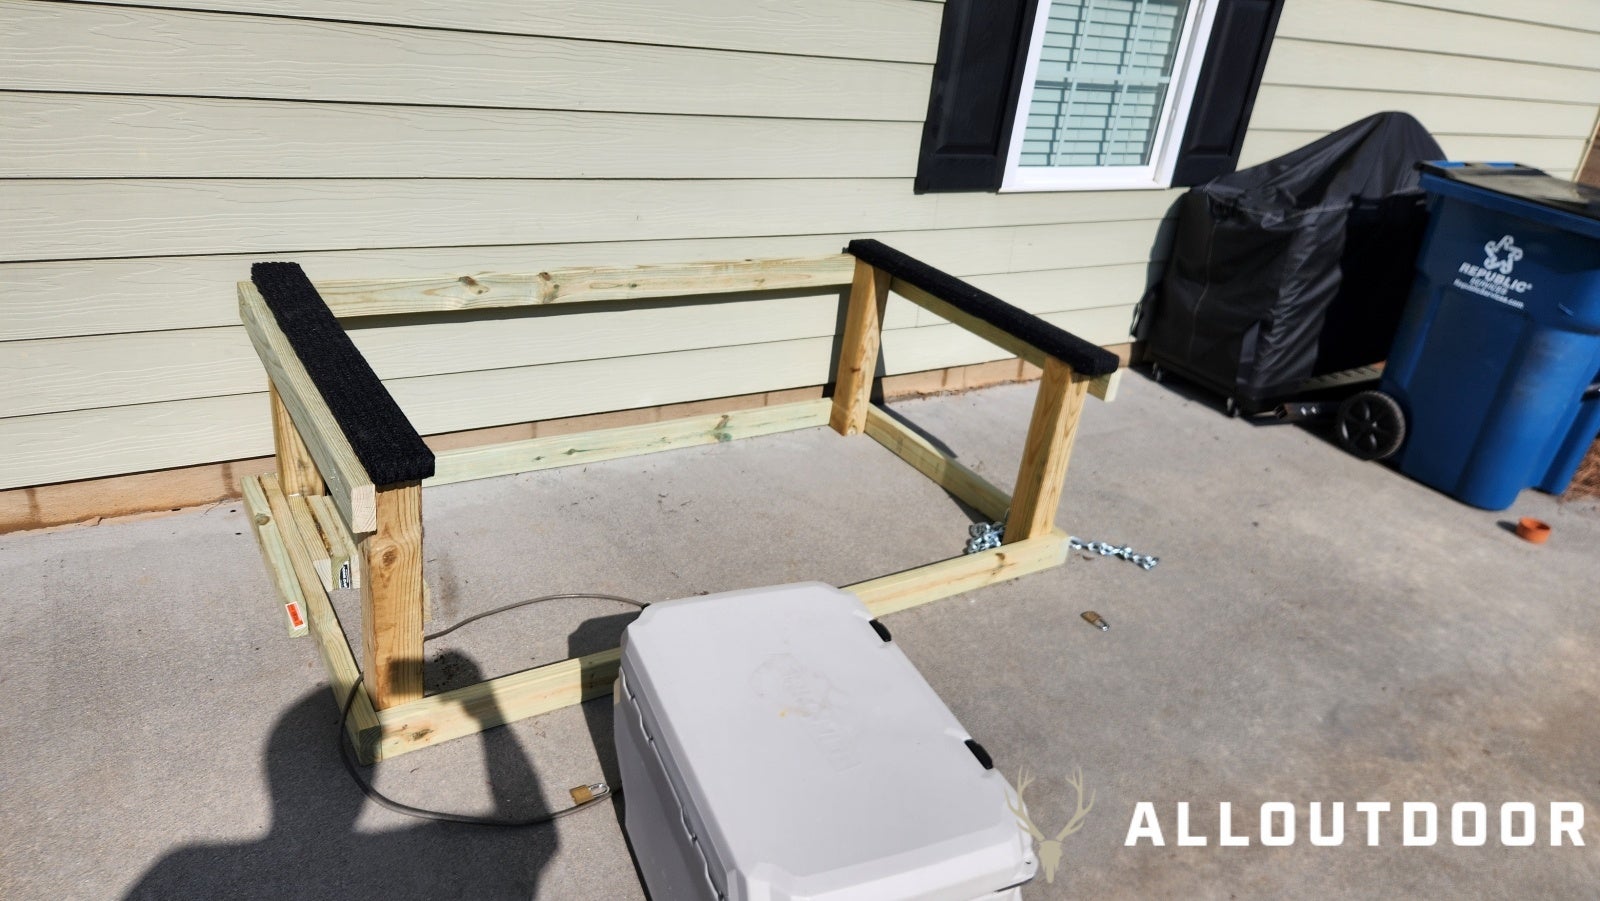
Now attach the last 4 – 3.5ft pieces of 2x4s, two on the sides and 2 across the top of the verticle posts. This makes up the crossbeams that will be holding up your kayak. Make sure the screw heads are flush or below the surface of the 2x4s on the top pieces. That way you don’t have to worry about screws gouging your kayaks.
The kayak rack is essentially done at this point and you can just use it as is. Or you can go a step further and cover the top of the cross beams with some carpet to further protect the money hole that is your fishing kayak.
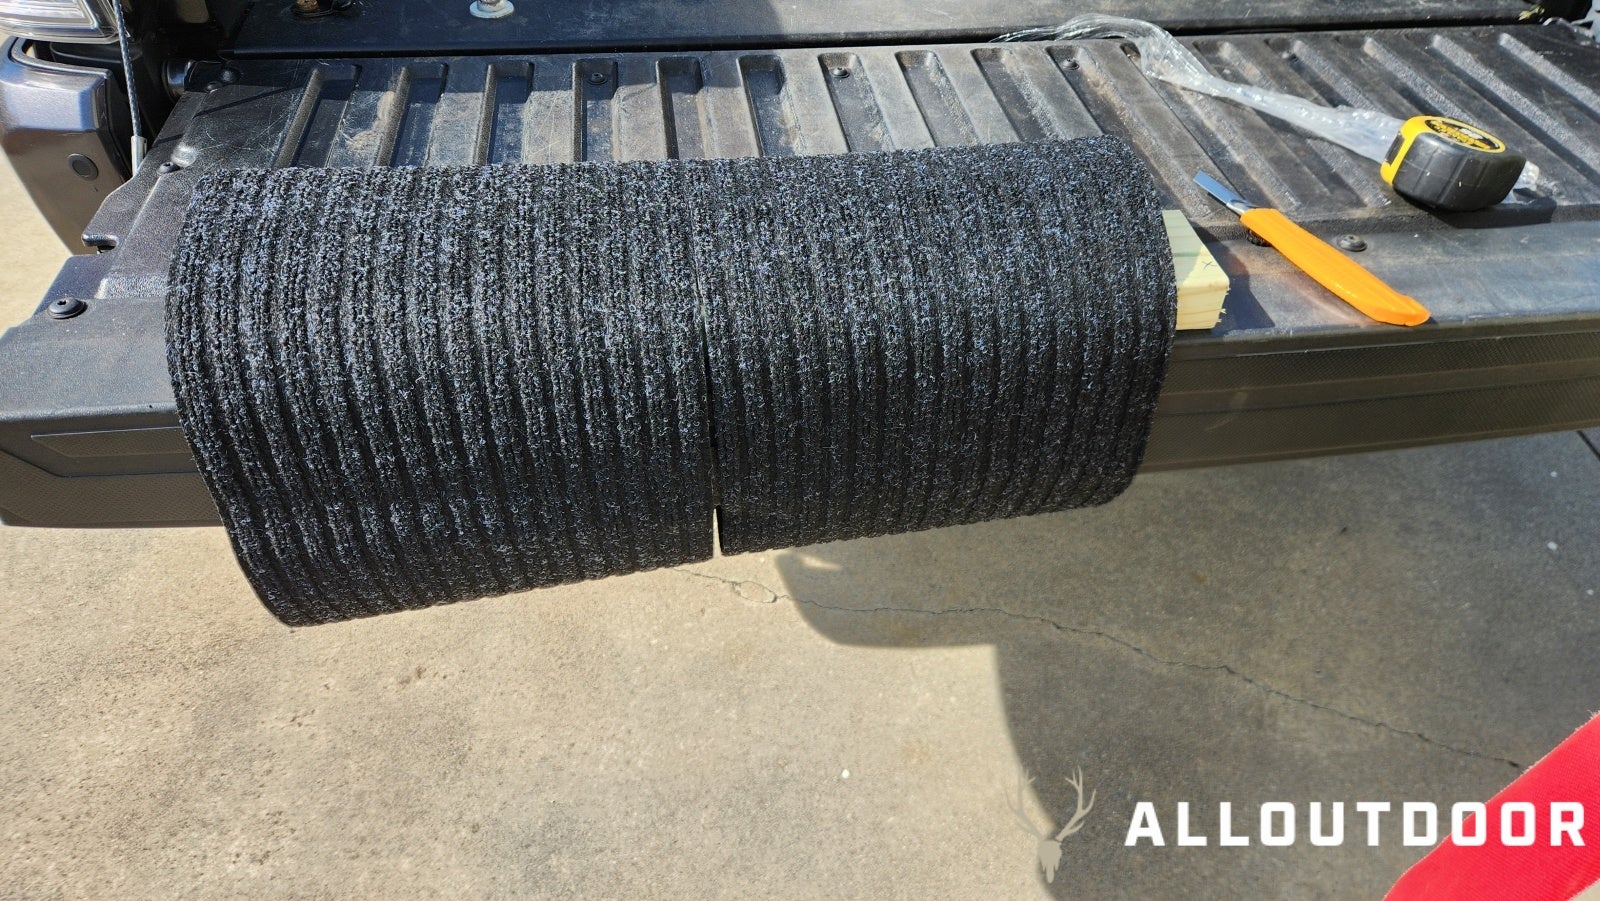
Take that cheap roll of carpet you got, and split it in half with a utility knife. Then lay them over to the cross beams of the kayak rack. You are going to staple these down on the sides of the 2×4 to add a little cushioning and a smoother surface on the rack.
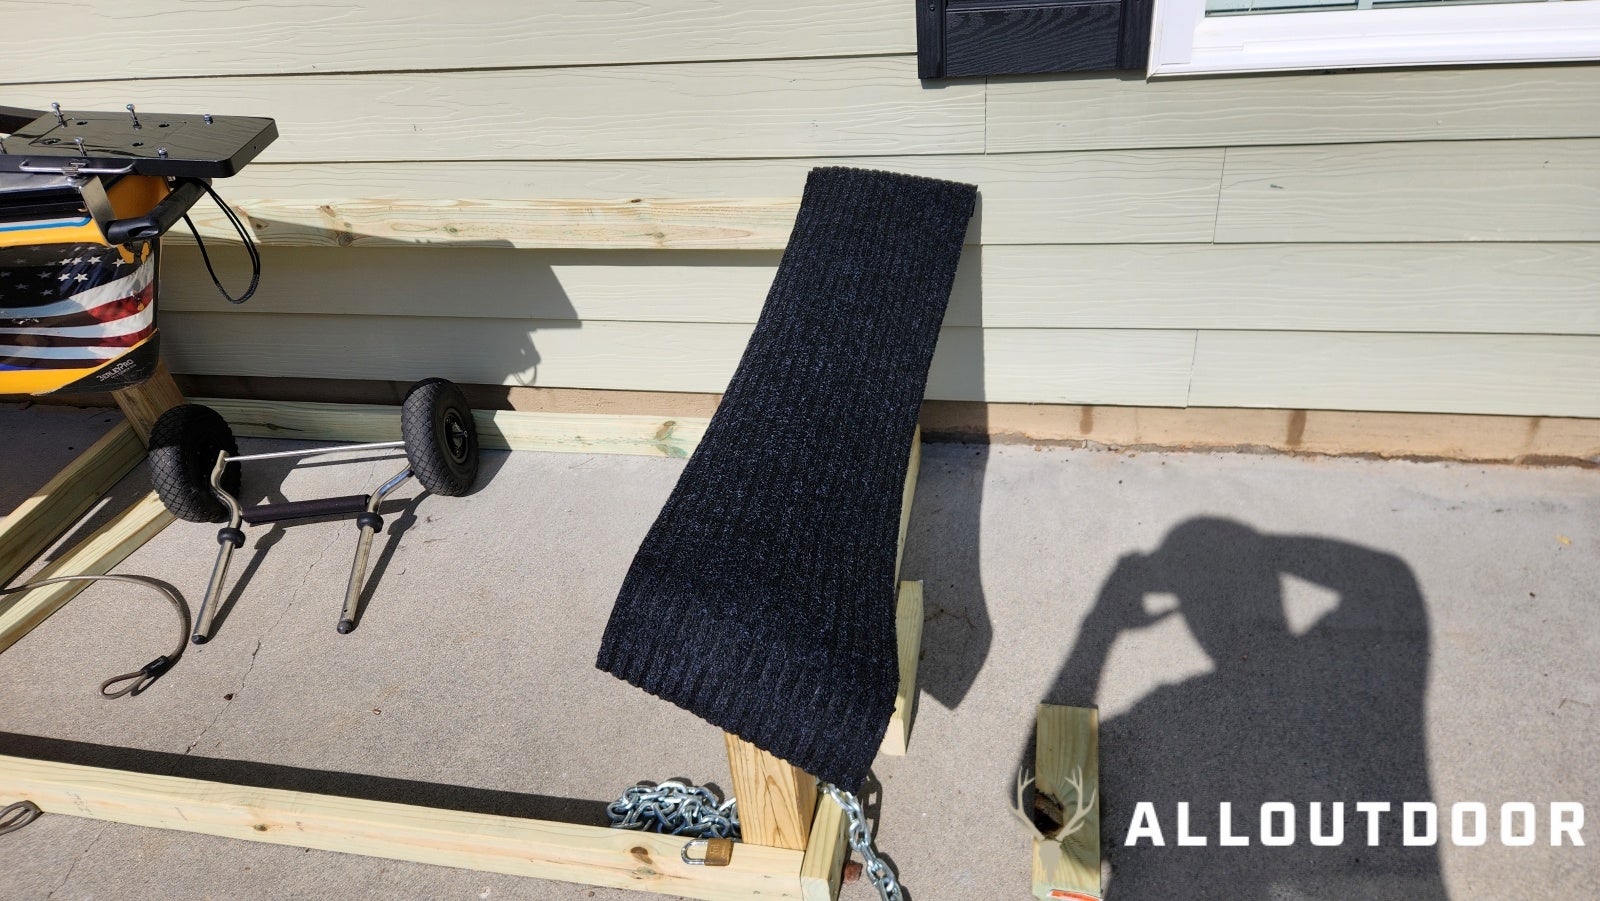
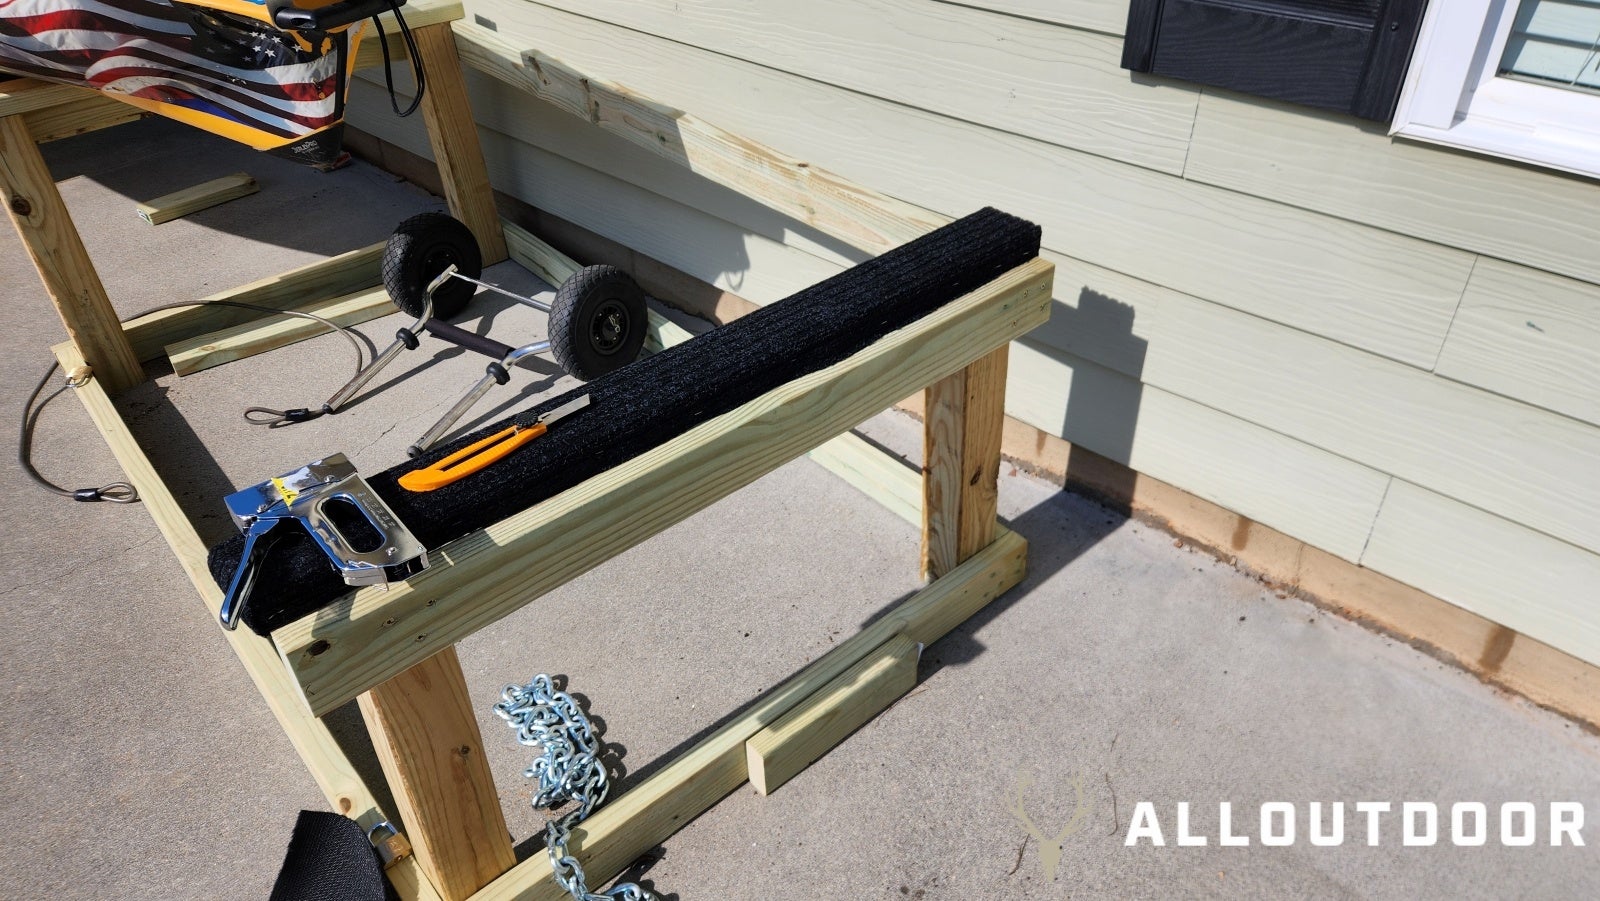
Staple one side of the carpet first, and pull the carpet tight as you staple. This will keep it looking nicer. Keep the utility knife handy as you do this to trim off any excess. Once you get to the ends fold the carpet over the ends neatly, again use the knife to make relief cuts if needed. Then staple it all down. Once that is done you are ready to go.
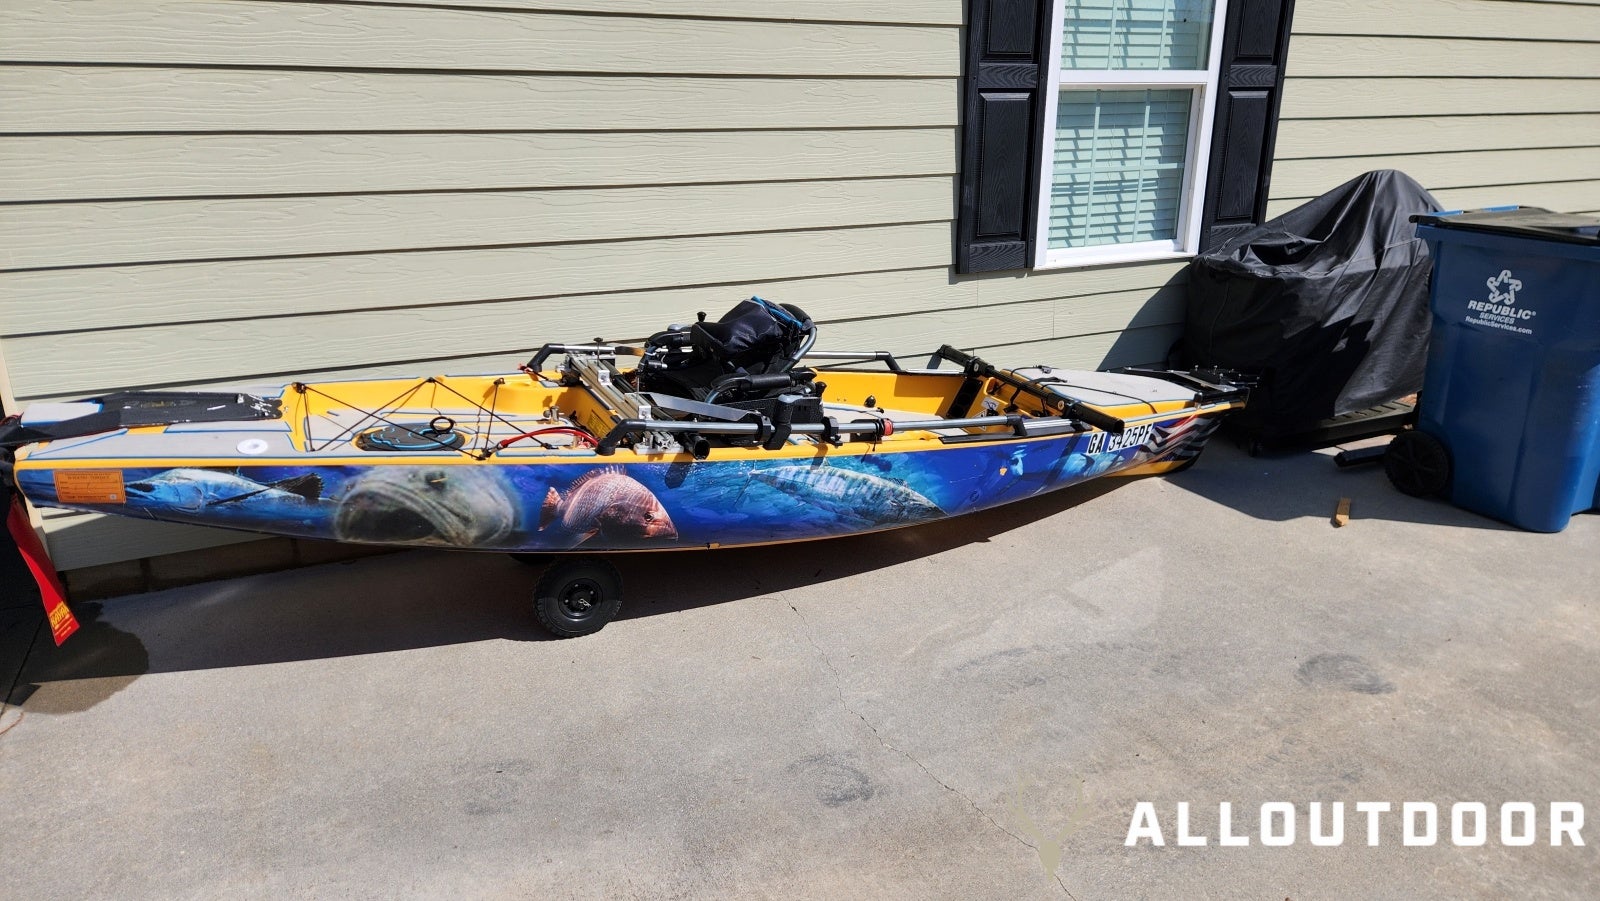
Just slide your kayak onto your rack in whichever position works and then cover it with a tarp to protect it from the Sun. Kayak plastic will deteriorate if you just leave it out in the sun all day every day. With lighter kayaks you can leave them right side up like this, for heavier kayaks flip them upside down so they sit on the stronger rails of the kayak. Next time I’ll show how to easily change this kayak rack up to hold Hobie ProAnglers right side up.